Backup and Restore of Azure IaaS VMS
In this exercise I will cover Backup and Restore of Azure VMs that was recently announced. Very simple process.
Before I proceed with this exercise, Consider to review following blogs for overall information on Azure Backups.
Azure Backup Overview: https://msdn.microsoft.com/en-us/library/azure/hh831419.aspx
Azure Backups with DPM, where Azure Backup Service communicates with DPM server to push backups into Cloud and thus backup all DPM workload to azure as a long term retention. Use Cloud as your tape replacement and offsite backups..
https://blogs.technet.com/b/systemcenter/archive/2014/03/16/using-azure-backup-with-dpm.aspx
Azure VM Backups:https://azure.microsoft.com/blog/2015/03/26/azure-backup-announcing-support-for-backup-of-azure-iaas-vms
Power of backing up to Azure: https://azure.microsoft.com/en-us/services/backup/
Backup Pricing:https://azure.microsoft.com/en-in/pricing/details/backup/
To backup Azure VMs
- Discover the Azure VM’s that you want to backup
- Register the VMs to install backup extension for backup preparation
- Protect the VM’s by setting backup and retention policy
Few things to note during backup and restore:
1.You can backup a VM regardless it is online or offline
2 If you have deleted original VM, you can restore the VM with same or different instance Name on existing or different cloud service
3. If original VM is online or offline, you cannot restore the VM with same instance name, You have to restore VM with a different instance Name
4. All disk associated with the VM's will automatically be restored with data during restore time
5.No need to deploy any agent on Azure VM's, it is automatically handled by azure-backup service
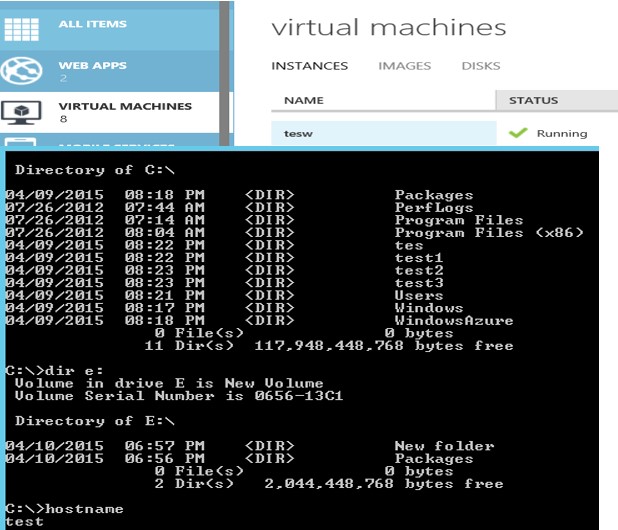
In the following example I want to backup a VM called ‘test”, that has and OS and Data disk
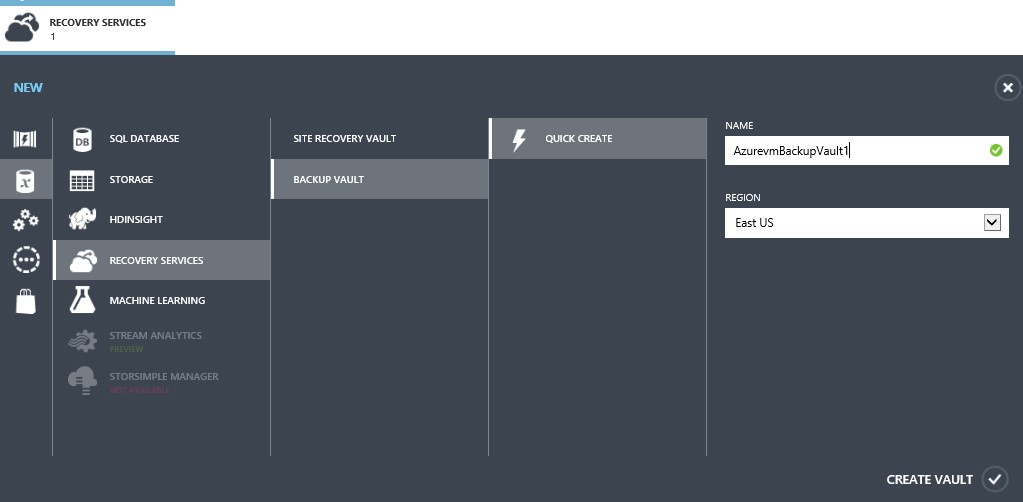
Create a Backup Vault in the same region as your Azure VMs
Form the portal go to “Recovery Services”->”New”-> “Backup Vault”->”Quick Create”. In this example the name for Backup Vault is “AzureBackupVault1” and click on “Create Vault”
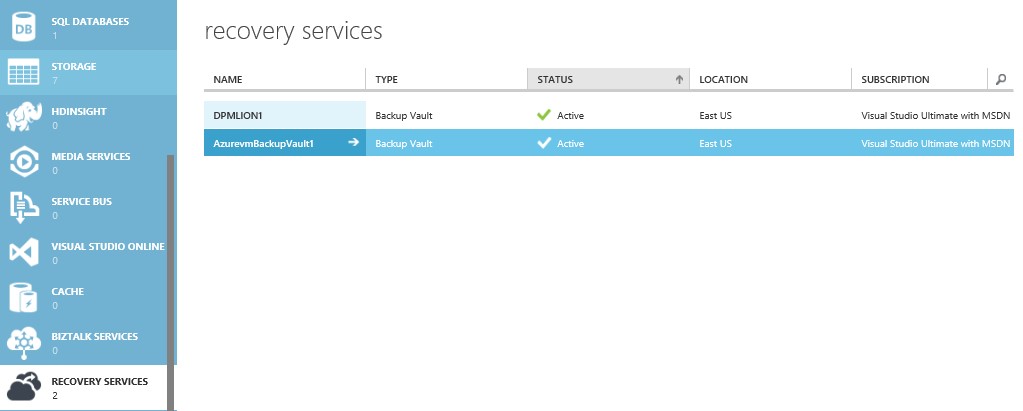
Next Click on the “AzureBackupVault1 ->” that was just created
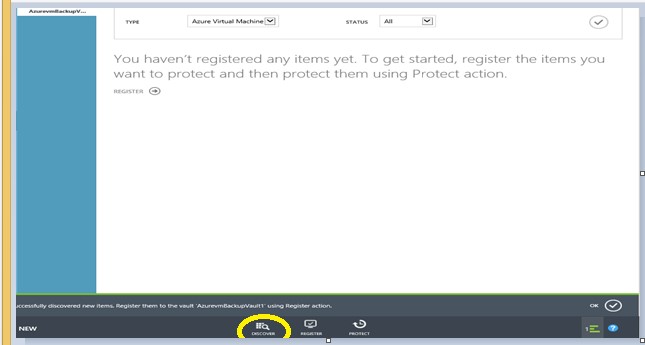
To Protect Azure Virtual Machines, following 3 steps as shown in following screen capture will be performed.
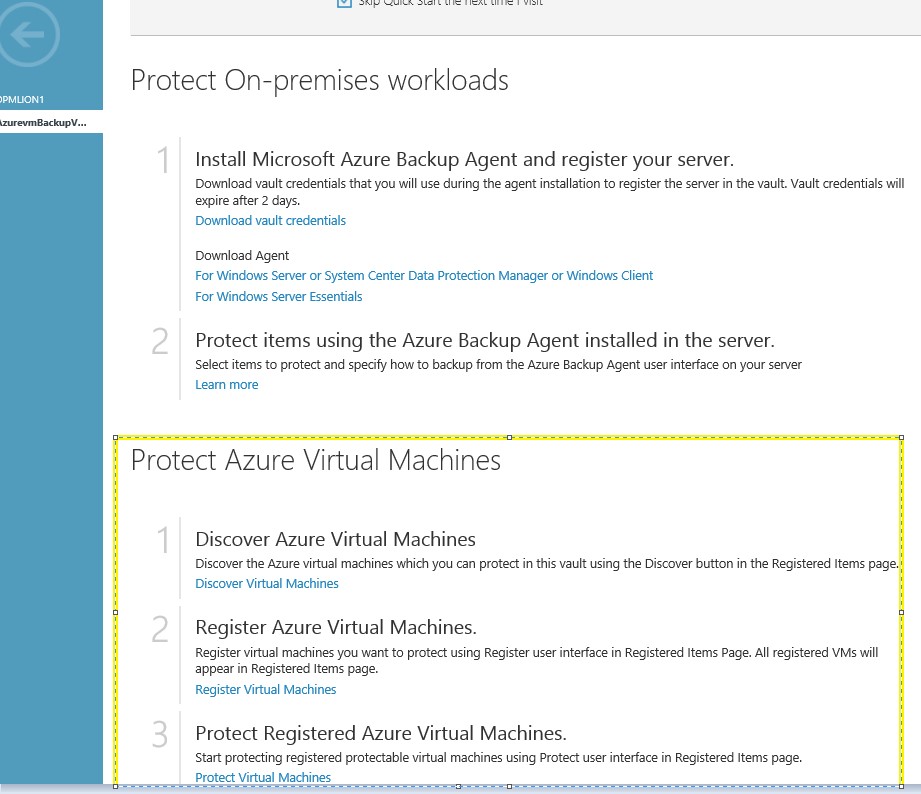
Click on “Discover Virtual Machines” and on “Discover” as shown in following picture
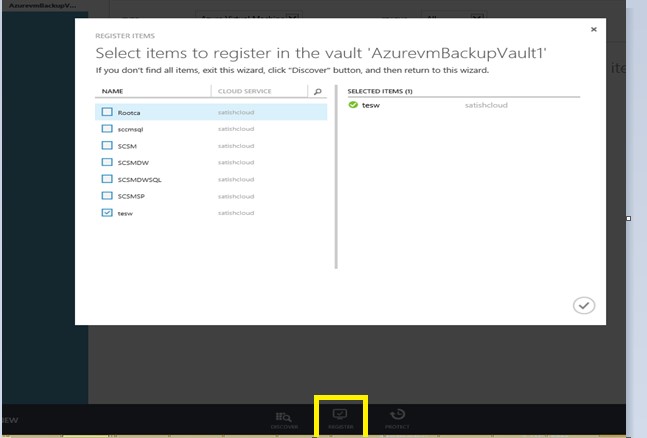
Once is discover is completed Click on “Register”
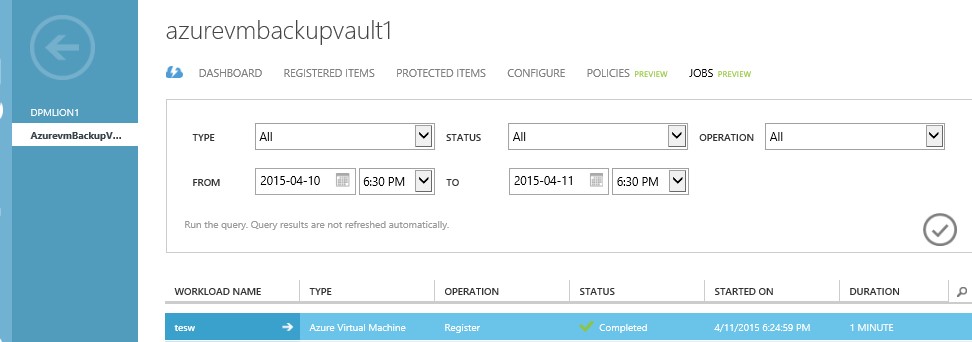
To verify registration is successful. Click on “Jobs”
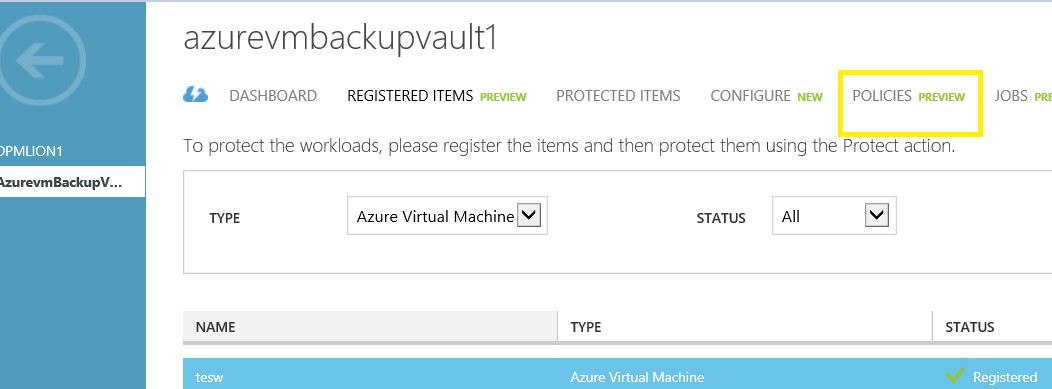
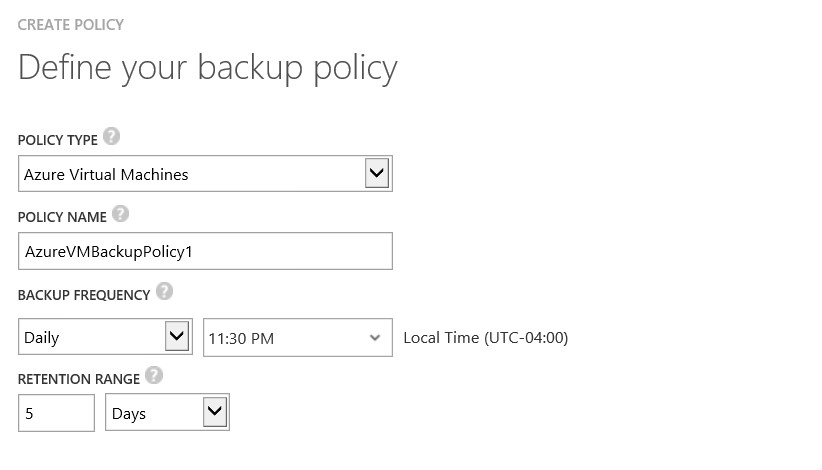
Next go to “Policies” and define the backup policy and add the registered VM “Test” in the backup policy
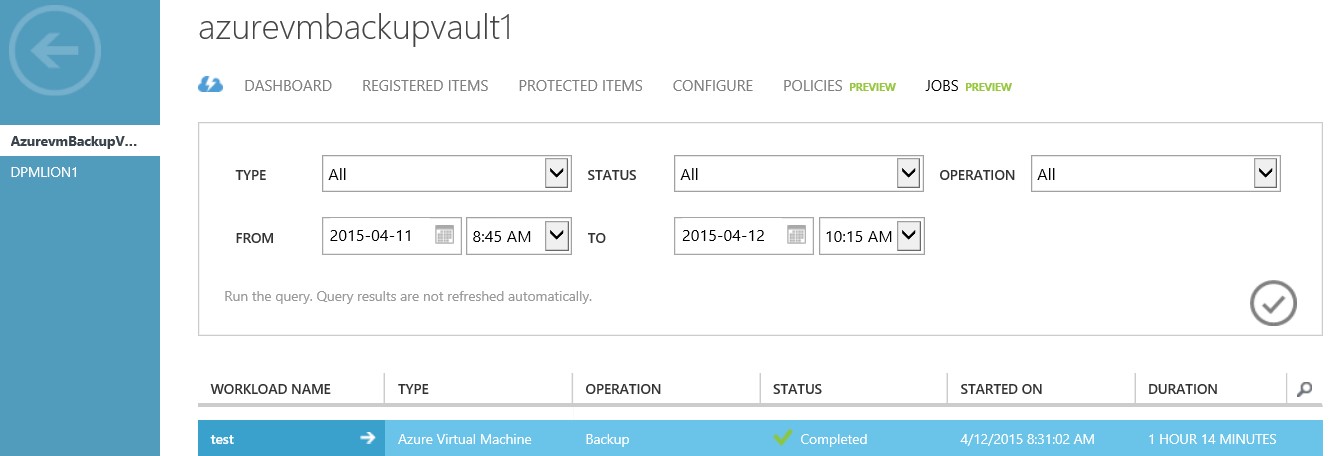
Go to “Jobs” to verify the status, as shown below

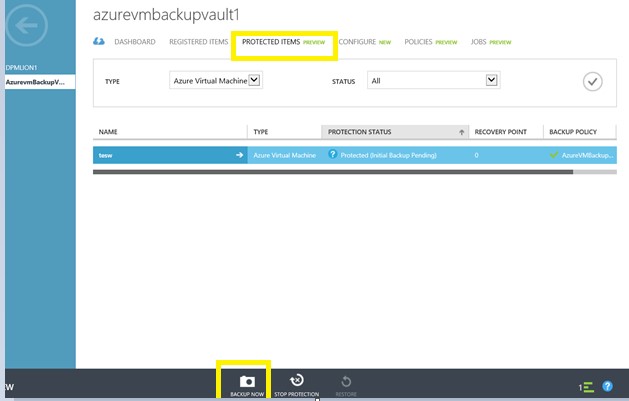
In my case, I initiated the first backup: Go to “Protected Items” and click on “Backup Now”
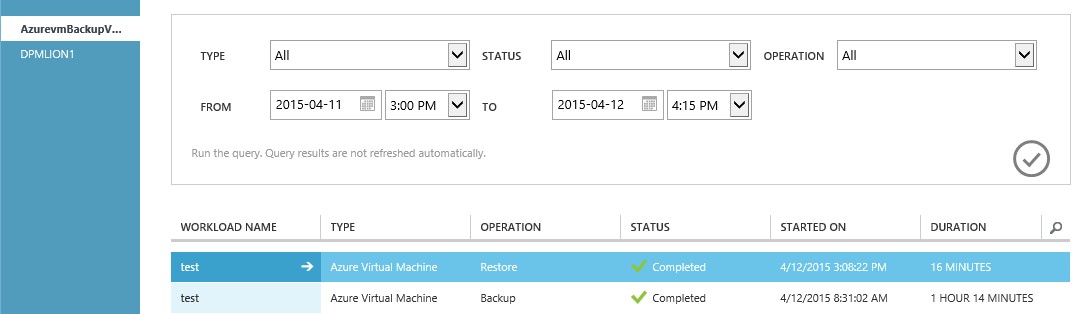
Next click on “Jobs” to check backup status
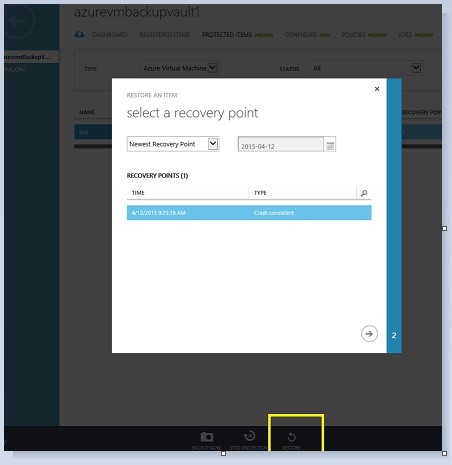
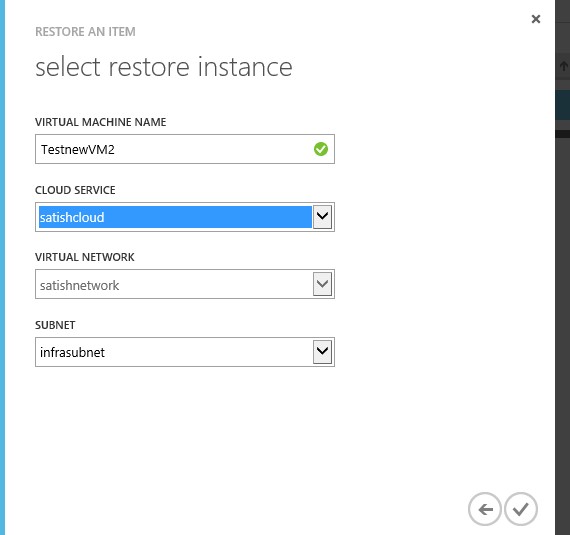
To restore the VM, Go to Protected Items, Click on “Restore” and select a Recovery Point
Select the VM Instance Name, it could be different Name or same name in same or different cloud service. In my example I deleted the test VM and restored it with
a new Instance Name
Please Note: VM Name does not change, Instance Name can be changed, depending on how you restore

DISCLAIMER: This posting is provided "AS IS" with no warranties and confers no rights