Windows 8.1: Side load your apps onto your test device
Lately, I have been working on a Windows 8.1 app for a client of ours and, at the final presentation, they brought their own Microsoft Surface RT and would like us to install the app onto it. I have previously messed around with side loading Windows 8 apps onto test devices and it hasn’t always worked out the way I wanted it to. The requirement of signed packages is a great idea to prevent malware from spreading through the Windows Store but it makes it a little harder for developers to easily deploy apps onto test devices.
In this blog post, I will go through a quick way of side loading apps onto your Windows 8.1/RT test devices without having to import certificates signed by Visual Studio in the app package creation process. Here’s how it goes down:
1. Create the App Package in Visual Studio
Make sure that Visual Studio does not generate an app bundle when it creates the app package. This is done by opening the app manifest and choosing the Packaging tab. Click on the drop down menu next to “Generate app bundle” and select Never.
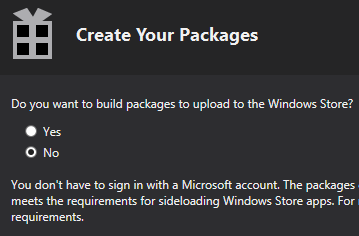
Then, to create the app package, click on Project (in the top), select Store, and then click on Create App Packages… That will open a dialog box with the following question:
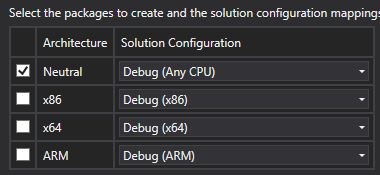
Select No as we do not want to upload anything to the Windows Store right now. Click on Next and choose the output folder and the version of the app if necessary. Make sure to select the right type target architecture. I suggest just creating one version: The neutral that will work on any CPU:
That will create the app package that you will use to install the app onto your desired target device.
2. Obtaining a developer license on the target device
In order to deploy the app onto the test device, you must have a developer account (associated with your Microsoft account). You will need to register your test device with your developer account. This is easily done by this simple PowerShell command:
Show-WindowsDeveloperLicenseRegistration
You must run PowerShell as an administrator on the device to obtain the developer license:
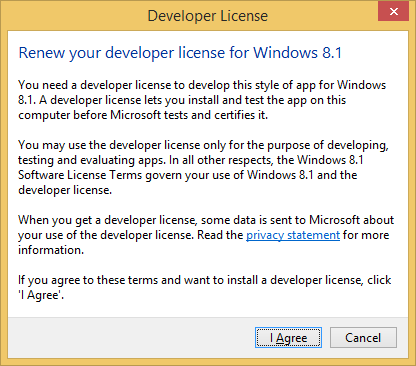
You may or may not already have a developer license installed on the device. In either case, a dialog box similar to the one below will pop up. Simply click I Agree to obtain the license.
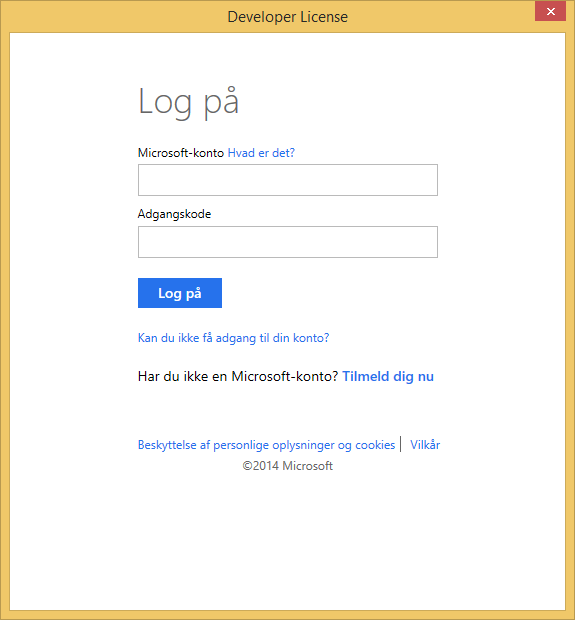
You will then have to log in with your developer account (i.e., your Microsoft account). Here’s how it looks on my Danish machine:
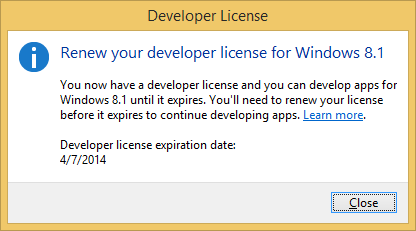
After logging in, it will attempt to obtain a developer license, which should succeed. A dialog box like this will pop up:
You are now ready to install the app on your device!
3. Install the app onto the device
Locate the output package files that you generated with Visual Studio in step 1. I usually copy the whole output folder onto a USB flash drive to move it to my target device (for example, my Surface RT). Copy the folder from the flash drive to the device’s internal storage and open PowerShell as an administrator once again.
Navigate to the app package folder inside PowerShell. Type dir and press Enter to see the contents of the folder. It should look similar to this (with respect to a different app name):
Then simple execute the following command and your app will be installed onto the device:
Add-AppxPackage YourAppName_VersionNumber_AnyCPU_Debug.appx
Remember to replace the .appx file name with your correct file name. And that’s it! Your app is now installed and you’ll be able to test it out on your device. Easy and simple! Have fun testing your app! ![]()

