IIS: Configure local certificate authority on IIS 6 - Server 2003
Configuring the Local Certificate Authority on Server 2003
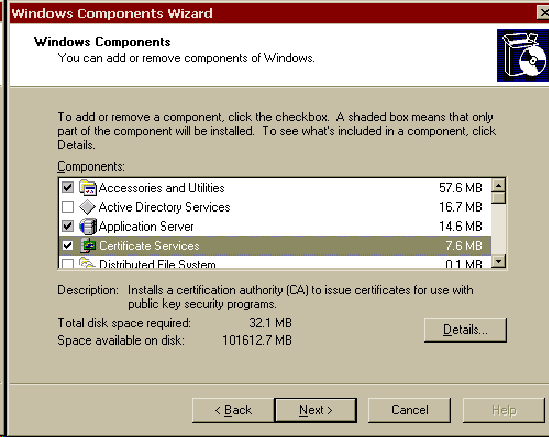
1) Install the local CertificateAuthority.
Go to control panel- > Add Windows component
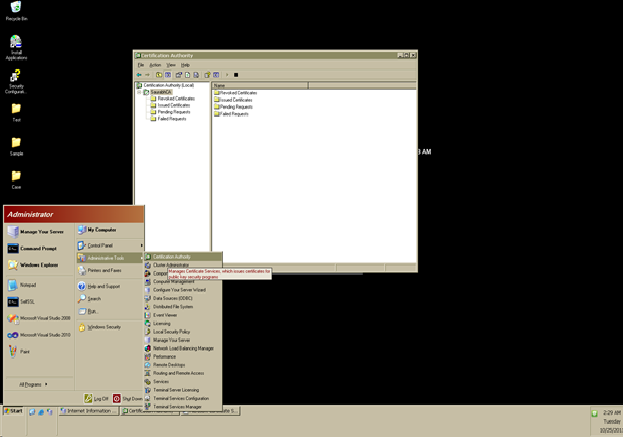
2) Once this is done, run the certificate authority from the Administrative tool.
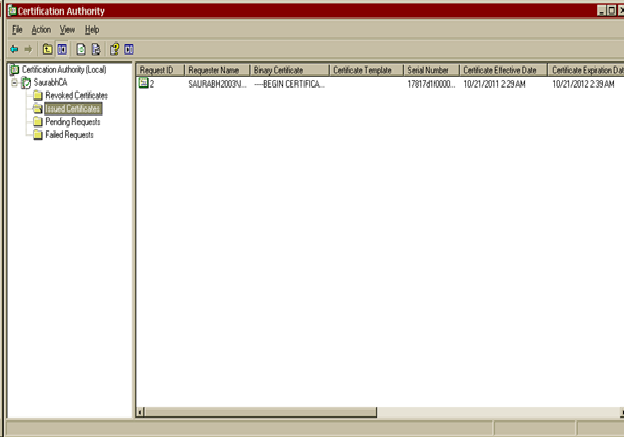
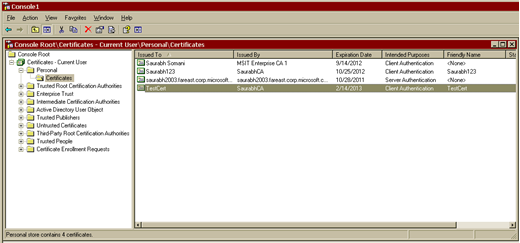
3) We will target to create a client certificate getting listed as below.
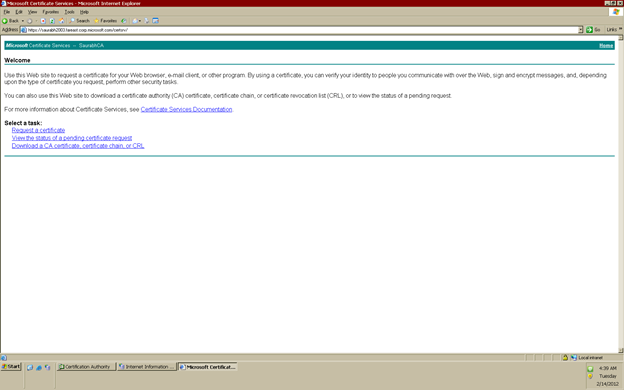
4) Once local certificate authority is installed, it should add itself to default directory, with name CertSrv.
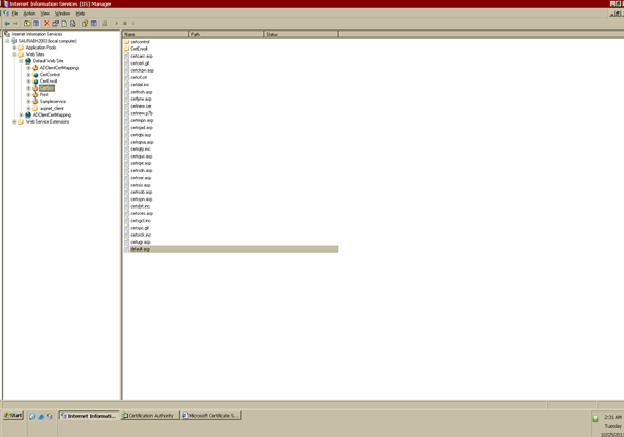
We will browse the default.asp page over Https.
5) Click on request a certificate
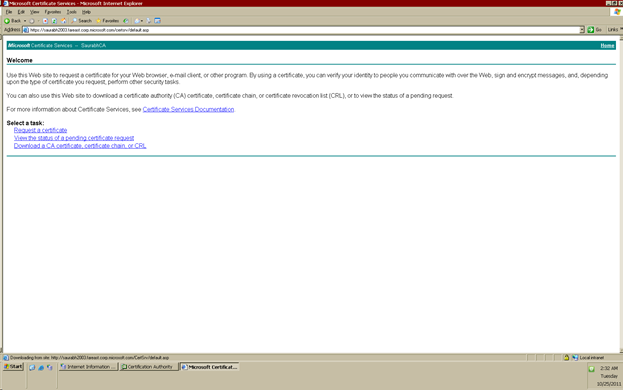
6) Click on Advanced certificate request.

7) Select “Create and submit a request to this CA.”
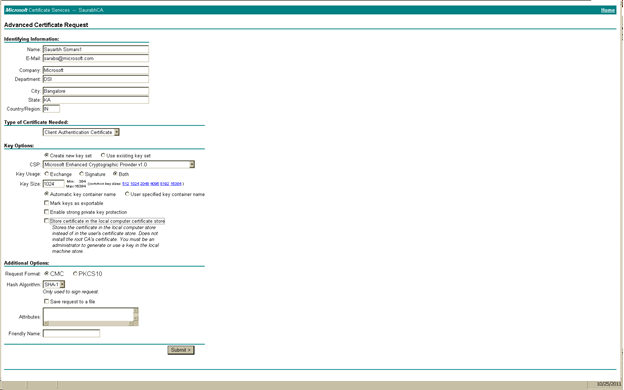
Note: If we want to export this client certificate in future, please select “Mark key as exportable” check box in Key usage section.
Note:
1) Once we complete this step, the client certificate will be generated and will be waiting for approval from Root CA.
2) We can also specify the Friendly Name in additional options section.
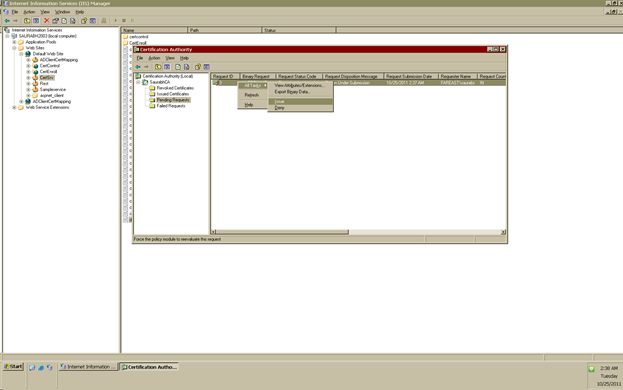
8) Take a Note for the ID

9) Now it’s time to issue the client certificate
Go to Certificate authority utility -> Pending Request -> Check for above request ID -> select All Tasks -> Issue.
10) We will be able to see the new certificate in the Issued certificate section.
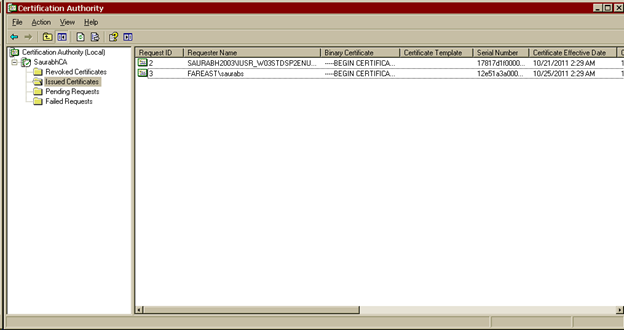
11) Once the certificate is issued, we have to proceed with its installation.
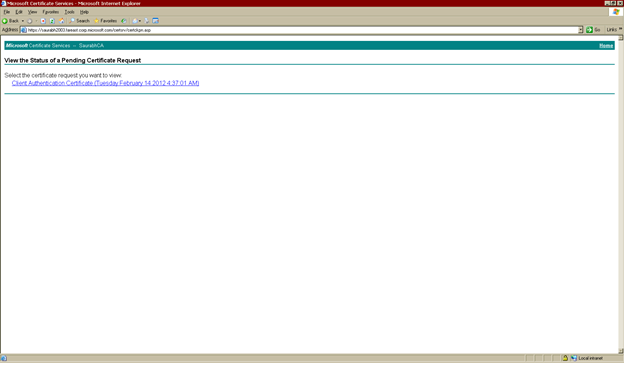
Browse the default.asp page over https as earlier.
Click on “View status of a Pending Certificate request”
12) Select type of certificate request (in our case – client authentication certificate).
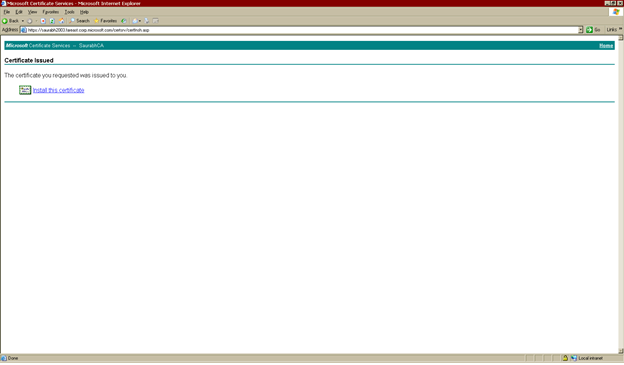
13) Install the certificate
14) You may get, following Pop Up. Click Yes.

15) Once done. We get confirmation.
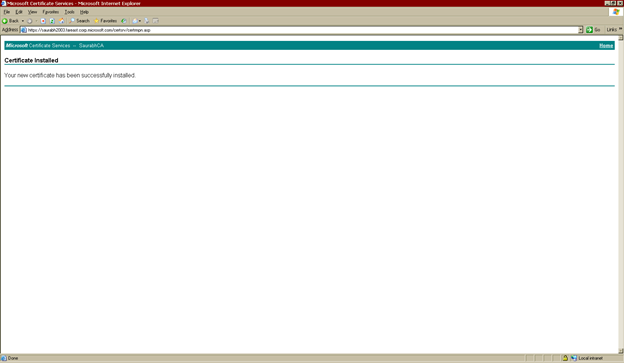
16) Since this is a client certificate, it goes inside the Personal Store of Current User.
Hope these steps help in configuring local CA !