Creating New Power BI Custom Visuals
Step 0
The first step of the process is to install the Power BI Custom Visual Tool globally on your development machine. To do so, you need Node JS and NPM version 5.0 or later.
Our second step will involve generating a localhost certificate, which will be located in your dev machine’s global NPM Node Modules folder.
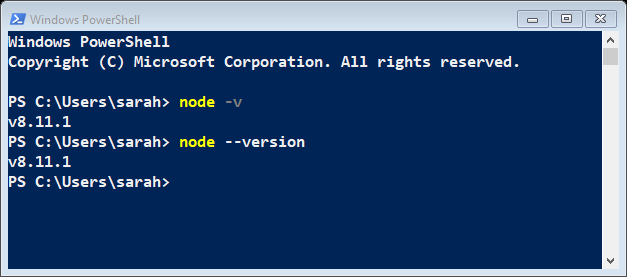
Check to make sure you have Node installed:
Open a Command Line Interface (CLI) terminal, like Windows PowerShell or Command Prompt, and type:
node --version
Step 1
Open any Command Line Interface (CLI) terminal, like Windows PowerShell or Command Prompt (CMD), and
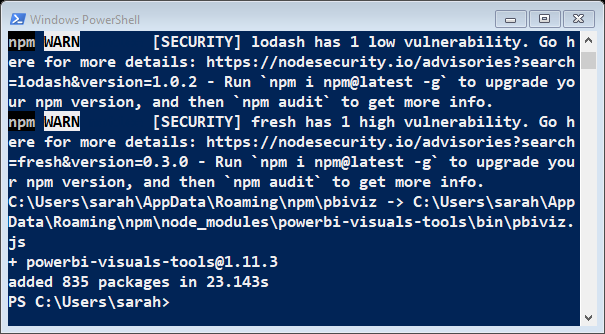
install the Power BI Custom Visual Tool by typing this command:
npm install -g powerbi-visuals-tools
This command can be run anywhere in the CLI, so any default command path is fine.

If your install freezes or times out when installing "powerbi-visuals-tools," make sure "npm config proxy" is set up correctly.
Press “Ctrl + C” to terminate a frozen installation, then try running these commands one at a time, replacing “company” with your own company:
  npm config set proxy https://proxy.company.com:8080
 npm config set https-proxy https://proxy.company.com:8080
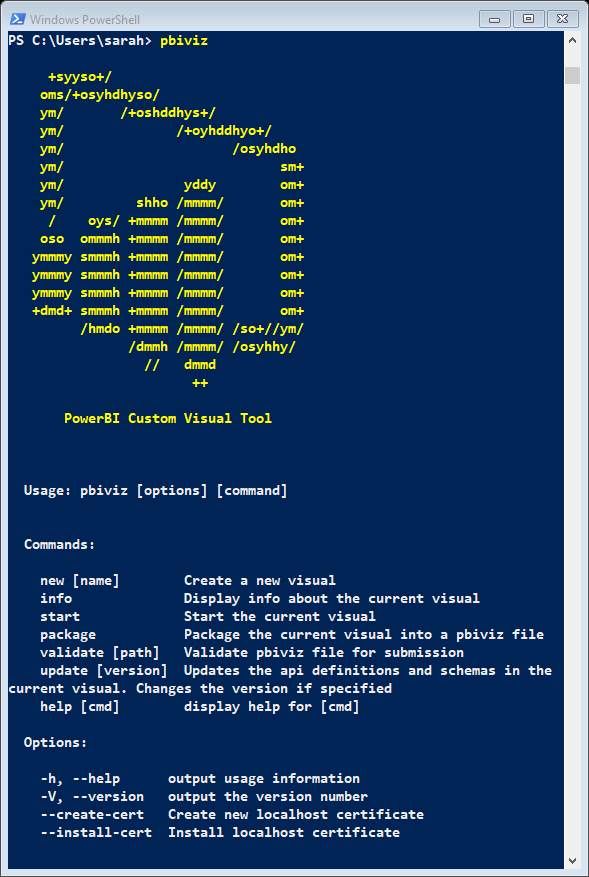
Run this command, which should display the help screen, to confirm it was installed correctly:
pbiviz
Step 2
To access your visual through Power BI, you need to add a trusted certificate for localhost. This will allow Power BI to load the visual assets in your browser without a security warning.
Note: Windows 7 does not have OpenSSL by default.
OpenSSL must be installed to create the "pbiviz --create-certs" certifications. One way to install OpenSSL manually on earlier versions of Windows is to install Cygwin. OpenSSL is installed natively on the latest version of Windows 10. Windows 7 users will need to install Cygwin (cygwin.com/install.html) to work around it. Use Cygwin INSTEAD of PowerShell or CMD.
On Windows 10, run the creation command:
pbiviz --create-cert
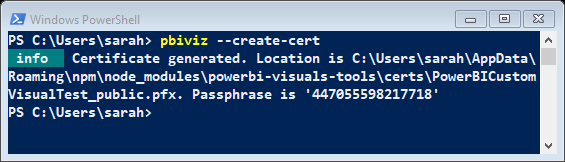
An example location on a Windows PC of this certificate may generate in:
C:\Users\YourUserName\AppData\Roaming\npm\node_modules\powerbi-visuals-tools\certs\PowerBICustomVisualTest_public.pfx.
You will also be given a 15-digit passphrase.
Next, run the installation command:
pbiviz --install-cert
Use the passphrase given to you to install the PFX certificate using the installation wizard.
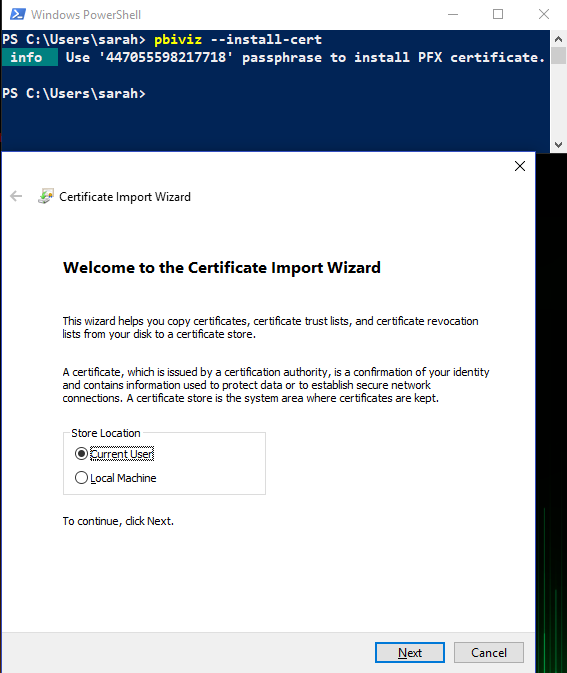
Step 3
Installation wizard:
- Select Current User and click Next
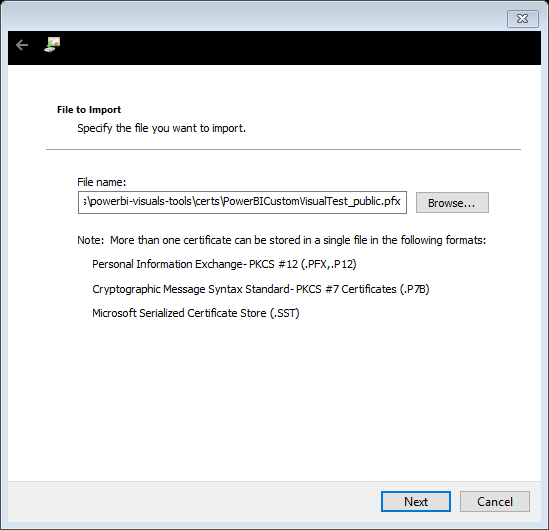
Type the 15-digit password for the private key:

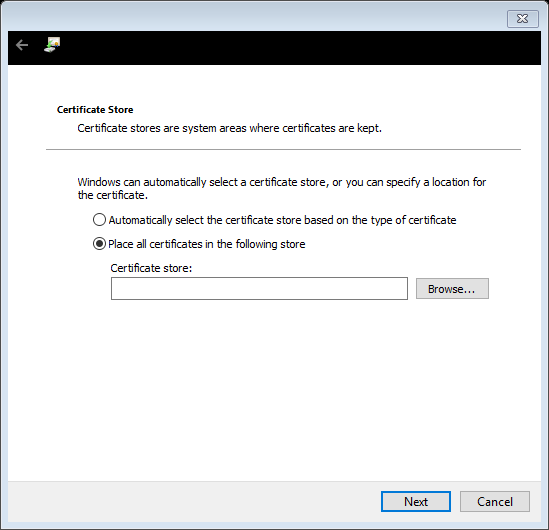
- Select Place all certificates in the following store
- Click Browse...
You should see this dialog:
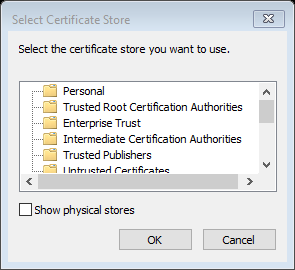
- Select Trusted Root Certification Authorities
- Click OK
- Click Next (previous screen)
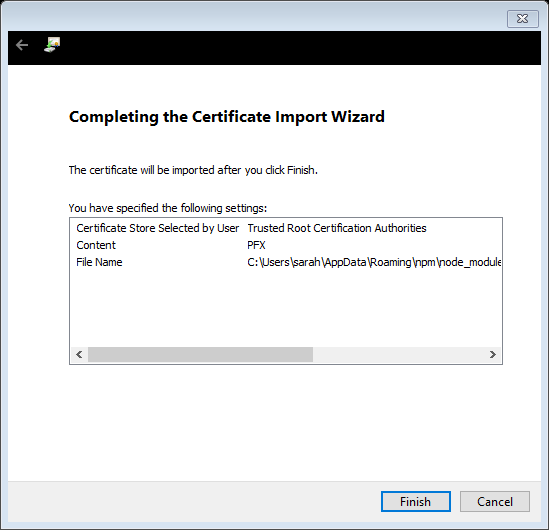
- Click Finish
You will then see this security warning:
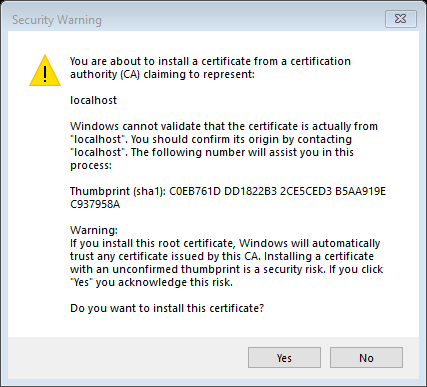
- Click Yes
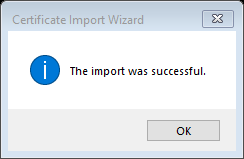
Once this is done, your browser will trust this certificate for connections to localhost, which will allow you to serve visuals. You will need to close all open web browsers before changes will take effect.
Step 4
Creating a new visual
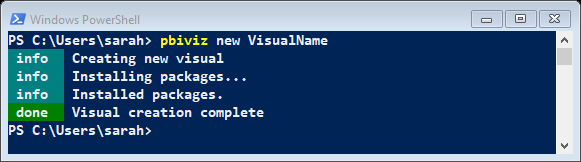
You can create a new visual project with a single command (Replace "MyVisualName" with the name of your visual):
pbiviz new MyVisualName
You can change this later by modifying the generated pbiviz.json file. This command will create a new folder in your current directory and generate a basic 'sample template' for your visual.
Once it finishes, you also need to download all dependencies listed in the package.json file using this command from within the newly created folder:
 cd VisualName

npm install
Note: This command should also be executed if you download and build an already existing visual. 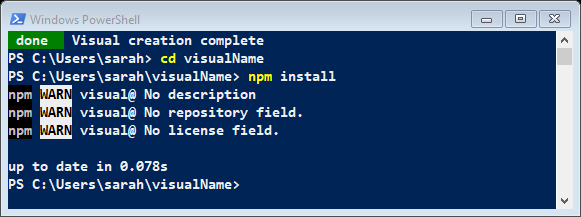
Then use your favorite code editor to start working on your new visual!
Step 5
Running your visual
To run your visual, navigate to the root of your visual project (the directory containing pbiviz.json) and type:
pbiviz start
to build and serve the visual.
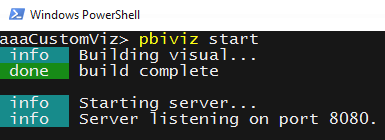
This command will compile your typescript and less files and bundle them for testing. It also launches an https server that will serve your visual for testing in your favorite web browser.
To end the session, type "Ctrl + C" and when you are prompted "Terminate batch job (Y/N)?" type "Y".
Step 6
Viewing your visual in PowerBI
To view your visual, go to your desired report and add the debug visual.
- Open https://msit.powerbi.com/ and log in with your Power BI account
- Go to Settings in the gear menu:
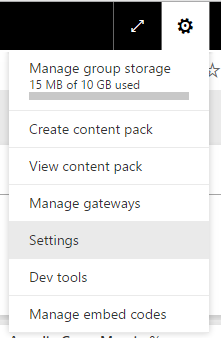
- Click on Developer
- Check the “Enable developer visual for testing” checkbox

- Go back to your Power BI and click on your desired report
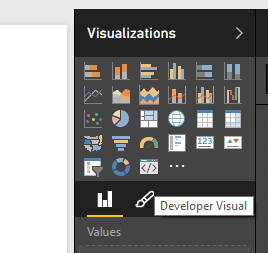
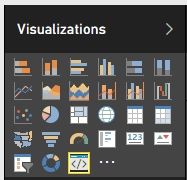
- Find the Visualizations pane by clicking on “Edit report”
- Select the Developer Visual in the Visualizations pane:
- Select the visual in the report canvas
- Bind data like normal
- Begin developing your visual (make sure pbiviz start is running).
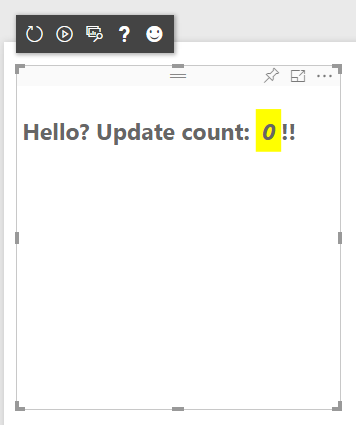
Once your server is started, you will see the default template as your visual.
Step 7
Installing the D3 JavaScript library
To get started on programming your own Custom Visuals, D3 is a great library you can use. D3 is one of the most powerful and flexible JavaScript custom visualization tool, because it does not constrain you to any pre-set charts or visualizations.
In your project folder, via command line, run these two lines separately:
 npm install --save d3

npm install -D @types/d3
Next, open the “pbiviz.json” file in your favorite text editor and find the “externalJS” section:
 "externalJS": [
"node_modules/powerbi-visuals-utils-dataviewutils/lib/index.js",
],
Add this line of code to reference the path to d3.min.js – verify that the d3.min.js is in this path.
"node_modules/d3/dist/d3.min.js"
Next, in your project’s visual.ts file, you want to add D3 to your window Interface.
 interface Window {
    d3: typeof d3
}
When instantiating your private variables at the top of the file, add:
private d3: typeof d3;
And add this line below the constructor:
 constructor(options: VisualConstructorOptions) {
            this.d3 = window.d3;
Step 8
Packaging your visual for distribution
Before you can load your visual into PowerBI Desktop or share it with the community in the PowerBI Visual Gallery, you'll need to generate a pbiviz file.
To package your visual, navigate to the root of your visual project (the directory containing pbiviz.json) and use the following command to generate a pbiviz file:
pbiviz package
This command will create a pbiviz file in the dist/ directory of your visual project. If there is already a pbiviz file (from previous package operations) it will be overwritten.