Installing Power BI Desktop through SCCM
Installing Power BI Desktop through SCCM
Over the past few months, my enterprise customers have been challenged to keep up to date with the latest monthly installations of Power BI Desktop as the product group releases new functionality. In enterprise environments where local users are not administrators on their machines, it is a challenge to work through the company processes each month to get the new version installed. I asked my outstanding System Center PFE colleague, Shawn Rand, to investigate the option of installing it through System Center Configuration Manager (SCCM). He quickly solved the problem for our enterprise customer and wrote up the notes below to share.
Installing Power BI Desktop via SCCM 2012 Application model is simple and provides the ability to supersede the previous application when the new monthly update becomes available.
Download the latest Power BI Desktop installer via https://powerbi.microsoft.com/en-us/desktop/. Place the installer in your SCCM software catalog share.
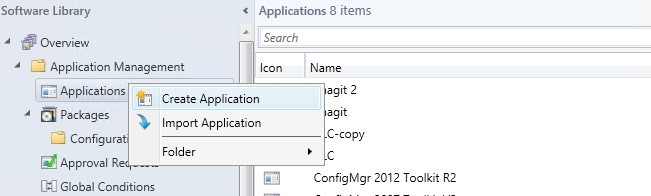
In the SCCM console right click on Applications and choose “Create Application”.
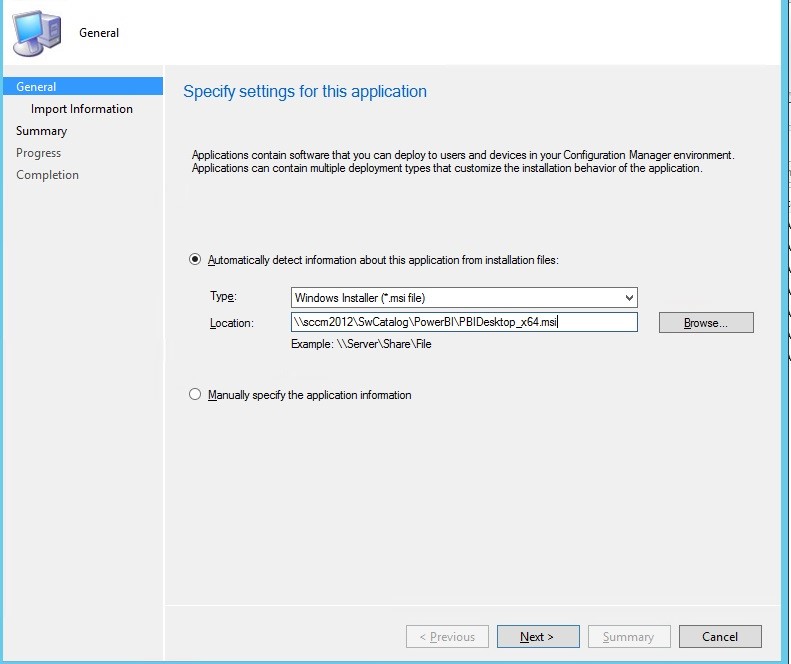
In the New Application wizard, specify the UNC path to the downloaded Power BI Desktop installer .msi.
Click Next and review the “View imported information” summary dialog
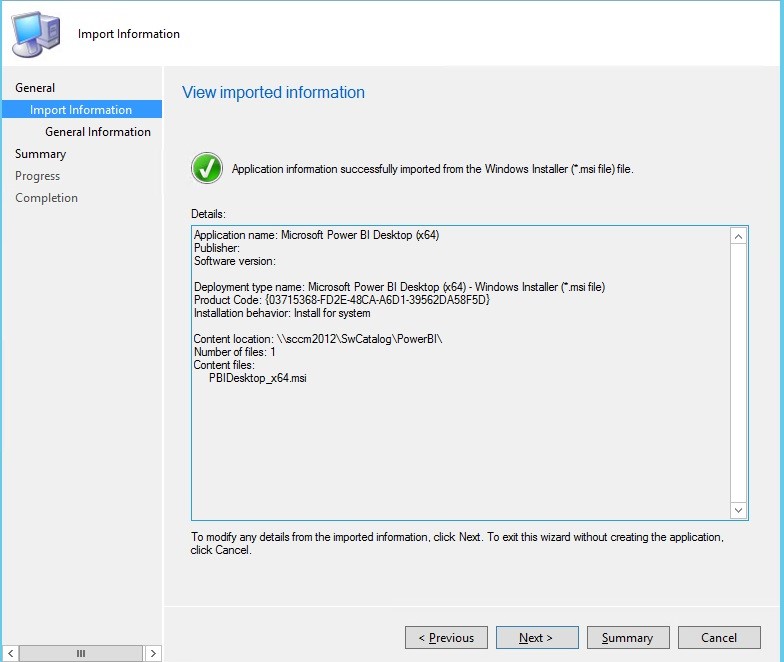
Click Next
On the “Specify information about this application” dialog, I modify the name of the Application to reflect the month of the release. This allows us to later identify the version to easily supersede with next month’s version.
**Important** We need to modify the default “installation program" command line. We need to add ACCEPT_EULA=1 to automatically accept the EULA during the automated installation or Power BI will not install successfully. Without this, it fails with a message stating "MainEngineThread is returning 1603".
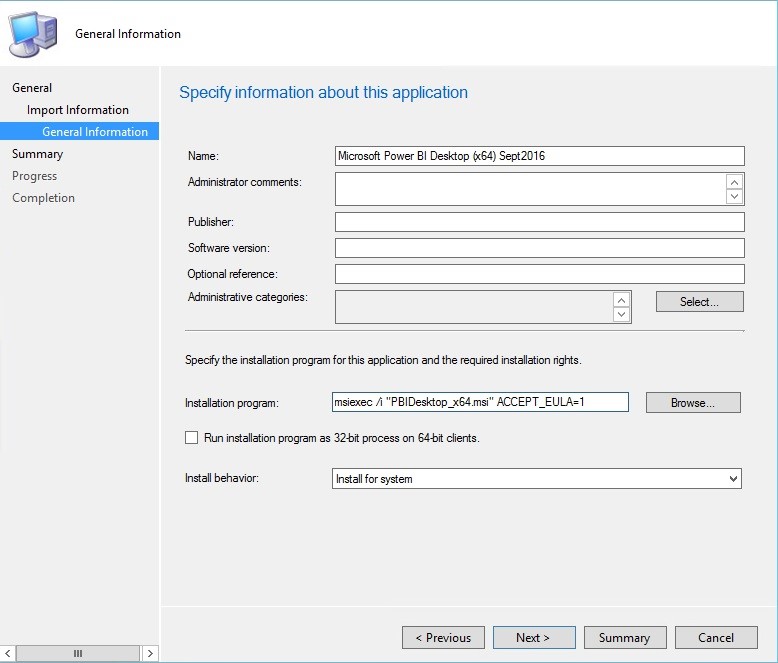
Power BI does not allow installation behavior on a per user basis so we will continue with the install behavior of “install for system”.
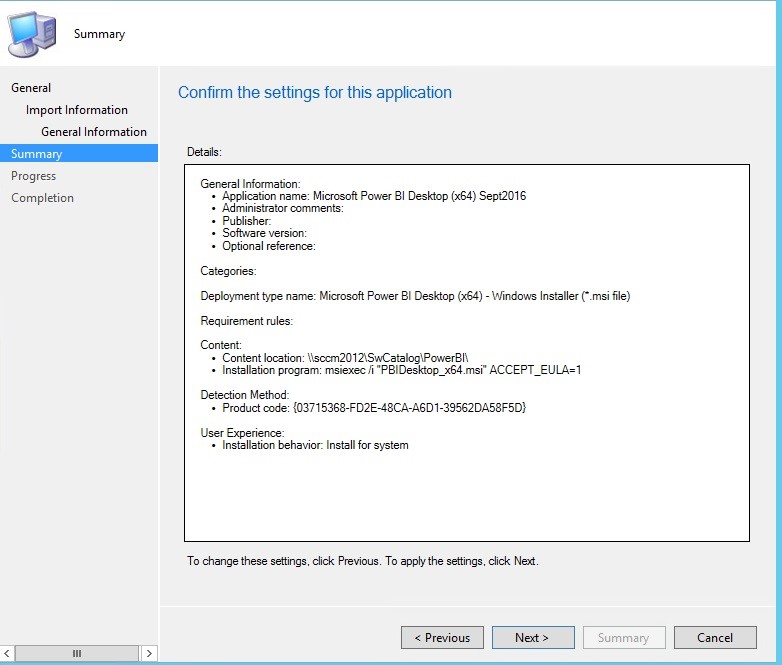
Click Next and review the “Confirm the settings for this application” summary dialog.
Click Next to review “The Create Application Wizard” summary.
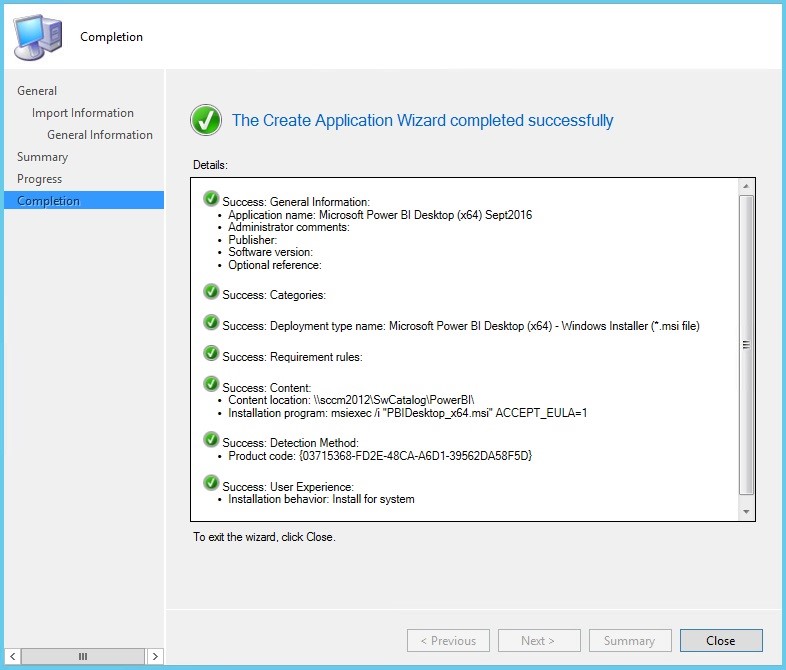
Click Close and distribute the Application Content to the SCCM Distribution Points as you are ready to deploy.
Thanks Shawn!
Hope that helps,
Sam Lester (MSFT)