Windows Azure: Hello World part 2
In the previous post we created a new ASP.NET Windows Azure application. In this post, we will publish in on the cloud. In order to publish the application to the cloud, we have to make sure that except for the .net standard library dlls, all the remaining dlls referenced are to be copied to the output directory, so that they are within the package that will be deployed on the cloud. This is because the cloud doesn’t have additional sdks installed. To achieve that, we must set the "Copy Local" property of all the referenced dlls (other than .net standard) to "True".

Right click "HelloWorldService" project and click "Publish". It will open a folder with two files in it, a package file with the extension .cspkg and a configuration file with the extension .cscfg.
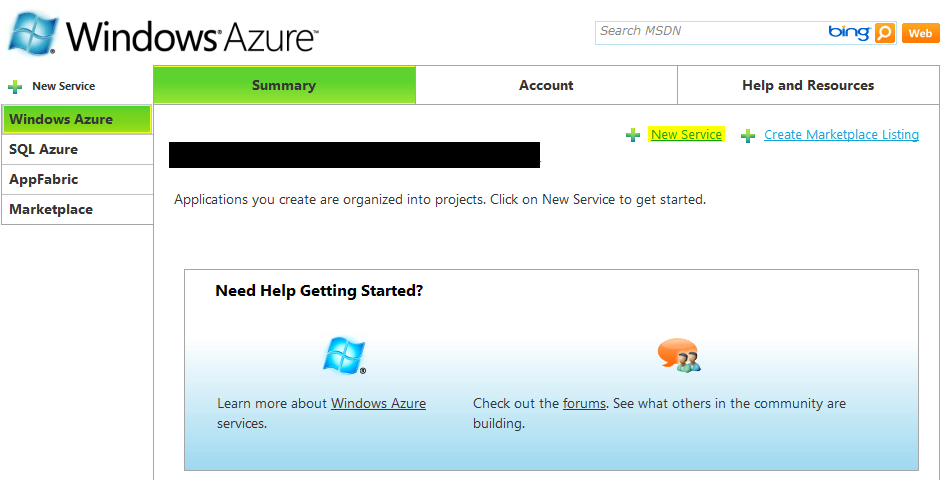
Sign into your windows azure account by going online at https://windows.azure.com
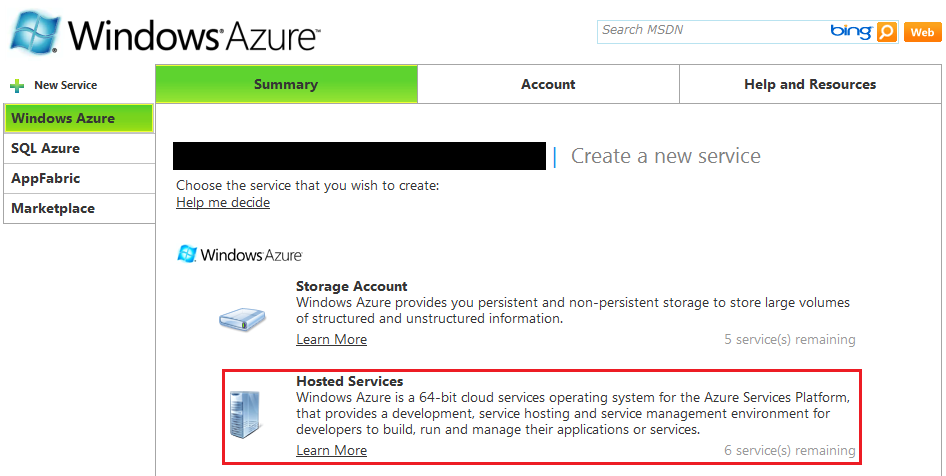
Create a new service by clicking "New Service". This service should be a hosted service, since we want to host an ASP.NET application.
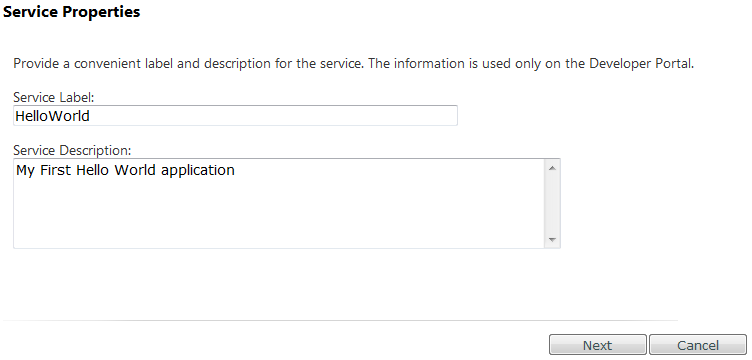
Provide a name and description for it and click "Next".
Enter a public name for your service. Also since we don’t have any dependency with other applications, it doesn’t matter where it is stored.

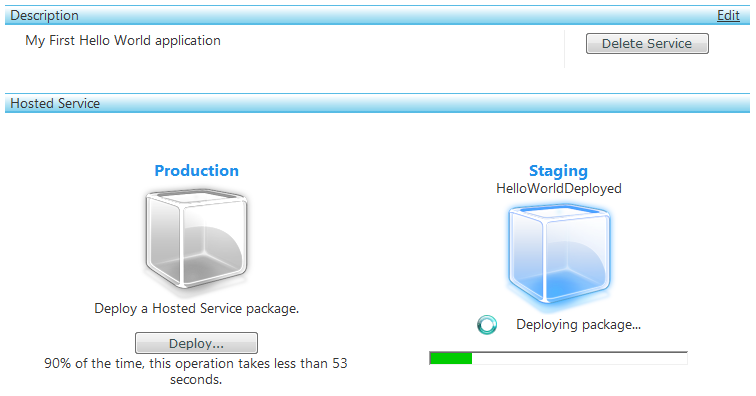
Our service is now ready to receive any deployment. We first try to deploy our application in the Staging area just to test whether it works or not. Once it is successfully deployed over the Staging area, we can easily move it to the Production.

In the Staging Deployment, upload the .cspkg file published by Visual Studio in the "Application Package" and the .cscfg file in the "Configuration Settings". Also, give this deployment a name.

Once you are done, click "Deploy" and it will start deploying the application.
The application will be stopped initially after deployment. You have to click "Run" to make it online.

The status will be "Initializing" in the beginning. It will take some time for the application to be online.

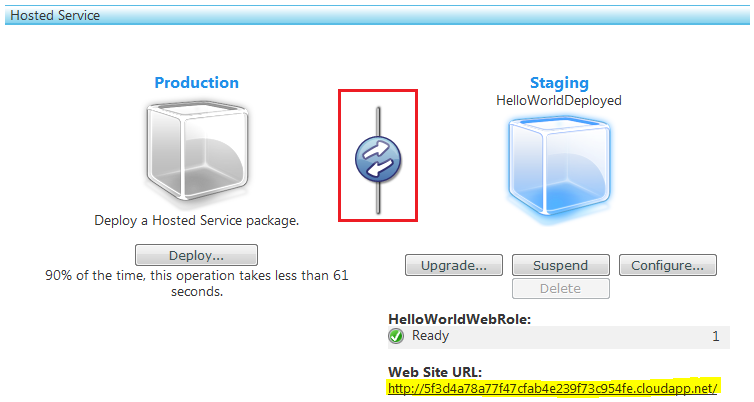
Once the status is "Ready", you can connect to your website using the "Web Site URL" link. You can update and re-configure your website if you need some tweaks here and there. Once you are satisfied with it, you can move it over to Production by pressing the blue button in the center.
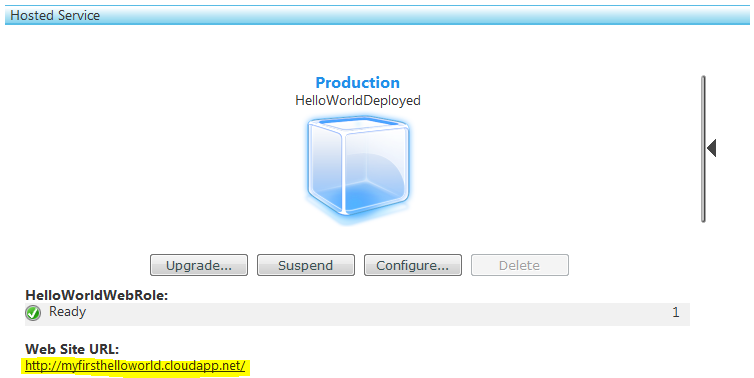
Congratulations, you have just created your own very first Hello World application in cloud.