Understanding the ADMP Part 2: Installing Operations Manager
The Active Directory Management Pack (ADMP) along with all other management packs requires System Center Operations Manager, which itself has a lengthy set of requirements for installation. For my setup, I will be using Operations Manager 2007 R2 and SQL Server 2008 SP1 for the database. At this point, I have a dedicated machine with 3GB of memory and Windows 2008 R2 installed. The machine has been joined to the root domain of the forest.
Create the Default Action Account
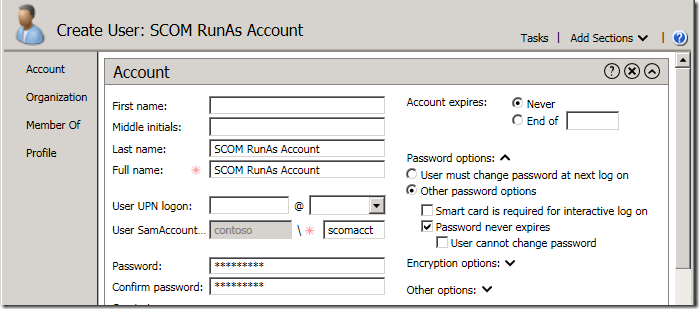
The first step is to create a Run As account, since the Operations Manager installation process will ask for it. We will dive into the finer details of what a Run As account is later, but for now you can think of it as the account that will to the “work” of monitoring, such as reading performance counters, executing scripts, etc. We can create this account the using Active Directory Administrative Center (ADAC):
We only need to provide a display name an SAM account name for the account. For my environment, I have set the password to never expire. This is fine for test environments, but be sure not to do this in a production environment.
Click OK to create the account. You can then close ADAC.
Installing System Center Operations Manager
With the Run As account create, we can start the Operations Manager installation process. Most of this is your typical Microsoft product installation process, but I will call out specific steps of interest.
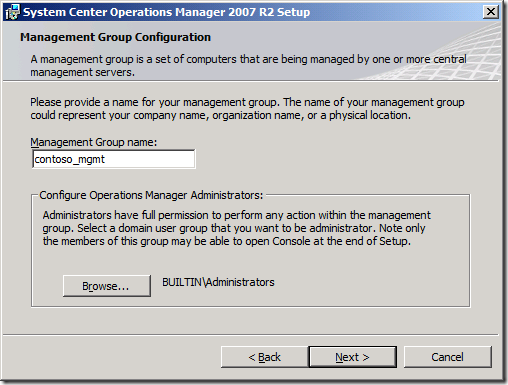
After starting installer and selecting the components you want to install, you will be asked for a management group name. Simply enter a name to identify the group of computers that you will be monitoring. This can be any string (within reason) that you want to use to identify the management group.
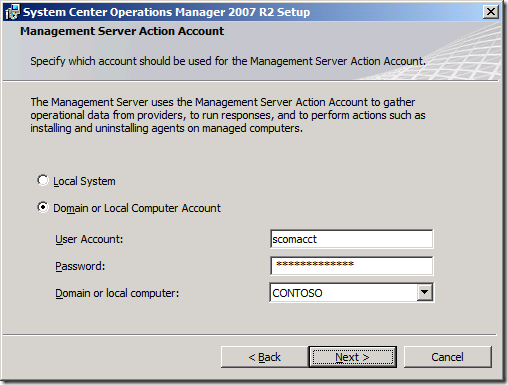
After setting the management group name, the installation wizard with prompt you for the SQL server name and database information. Next, you will need to provide the account name and password for the action account we created earlier.
The following pages of the wizard will ask you to select an account to use as an “SDK and Config Service Account”. Basically, this is the account used to connect and interact with the database, and to perform other configuration-related tasks. I find it best to leave the default choice there. The installation wizard will install Operations Manager and set up the database. This process can take some time, so this would be a opportune time to get a cup of coffee.
If you did not choose to open the Operations Manager Console at the end of the wizard, you can open it from the start menu. We will need the console to deploy the agents, which is our next step.
Deploying the Agents
Now that Operations Manager is installed, we need to deploy the management agent to each machine that we will monitor. The “agent” I am referring to here is a small piece of software that runs as a service on each machine that you will monitor to collect our monitoring data. By itself, the agent software doesn’t do much. However, once we get our management packs installed, the agent will play a critical role in the monitoring process, but we will get into more of that later on. For now, we just want to get the agent installed.
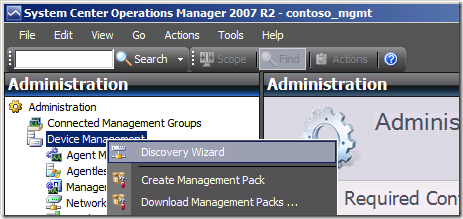
The agent can be deployed either by using the console to “push” the agent software onto the desired machines through a process known as “discovery” or by manually installing the agent software. Since the discovery process automates almost all of the tasks involved, we will use this method. You can start the discovery wizard by selecting the “Administration” tab in the console, then clocking on “Discovery Wizard”.
The discovery wizard window will open. Be sure that “Windows computers” is selected, then click “Next”. In the next page, select “Automatic computer discovery ” since we want the discovery wizard to locate our computers for us. In a large environment with 100’s of computers, you may want to select “Advanced discovery” to pick only the machines you are interested in.
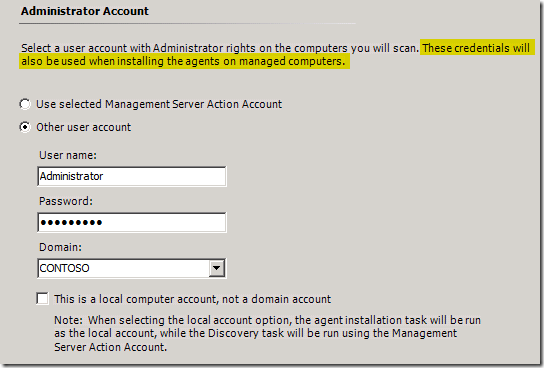
In the Administrator Account page, we will need provide credentials to use for discovering the computers that we want to install the agent on. If you look at the highlighted piece of text, you will notice that this account will be used to install the agent software. If we were to leave the “Use selected Management Server Action Account” option selected, we would find the machines in Active Directory, by the agent installation would fail because the Management Server Action account it a standard AD user which does not have permission to install software on the machines we are targeting. We will use the domain administrator account to discover the machines and install the agent software.
Once the credentials are entered, click “Discover”. The console will then attempt to find all machines in the selected domain that are not currently managed (machines that don’t currently have the agent installed).
When the discovery process is finished, you will see a list of machines that were found.
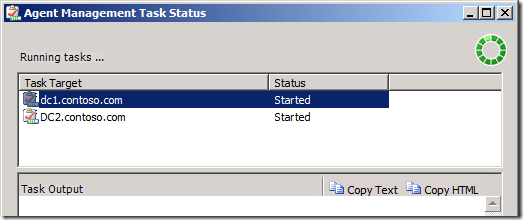
Check the boxes next to each machine where you want the agent installed. Be sure the Management Mode combo box at the bottom of the dialog has “Agent” selected, then click “Next”. Leave the Agent installation directory and Agent Action Account options unchanged (since we want to use the default action account that we set up earlier), and click “Finish”. The wizard will attempt to install the agent software. This can take a while depending on a number of factors, especially in a larger environment, so this may be a good time for that second cup of coffee.
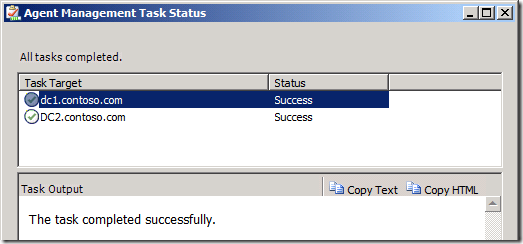
If everything worked out, you should see a success status for each machine that looks similar to the image below. If any of the installations failed, you can use the link provided by the wizard to help troubleshoot the installation.
With the agents successfully deployed, we are ready to import the Active Directory Management Pack. Fortunately, that installation process is far simpler by comparison. We will tackle management pack installation in the next post when we talk about the basics of the ADMP.

