Intelligent Cloud - CRM Online & Power BI
Early in my career as a CRM Technologist I spent a lot of time writing SQL queries, creating dashboards and delivering them to the business. As a technologist, I provided estimates for those reports, then those reporting requirements got into the backlog of reports and at some point it was delivered to the requester. Long story short it was not very productive for either IT or business. Microsoft provides the best in class productivity experience, in this blog one such experience is with CRM Online and Power BI leveraging intelligent cloud.
Connecting CRM Online to Power BI
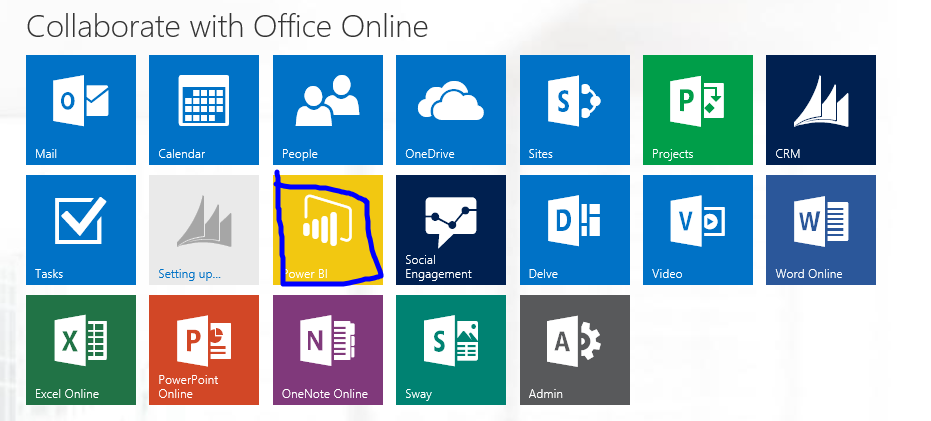
From your Office 365 Portal, click on the Power BI Icon
and then follow the instructions on https://support.powerbi.com/knowledgebase/articles/462791-microsoft-dynamics-crm-content-pack-for-power-bi
Now that you have connected Power BI to CRM Online
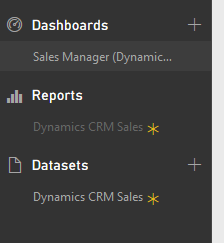
After you have connected CRM Online and Power BI, you see nice looking Dashboards, Reports and Datasets tab and you wonder what is going on, how do I make tweaks to this. So first thing you have to know is that when you connect CRM Online to Power BI by default you get a Content Pack that contains the following. This content pack contains the typical Sales dashboards such as Opportunities, Leads, Competitors etc. In this blog we will look to see how we can bring in more Datasets specific to what you are looking for, adding more reports and then Dashboards.
Dashboards relies on Reports
Reports relies on Datasets
Creating a new Dataset using Power BI Desktop
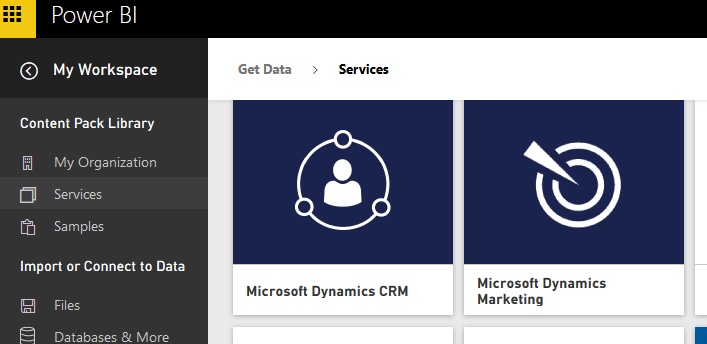
You can click on the + button next to Datasets, but the issue is you will be prompted to Services and then end up with a Dataset just like the default one you have. To create a Dataset of your own the first step is to download and install the Power BI Desktop https://www.microsoft.com/en-us/download/details.aspx?id=45331
Click on Get Data --> More --> Other and Dynamics CRM Online as below.
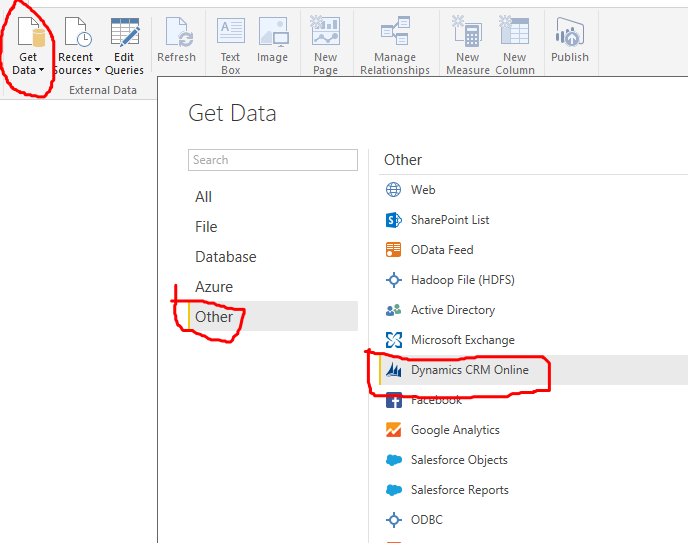
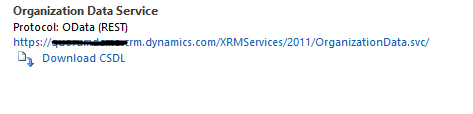
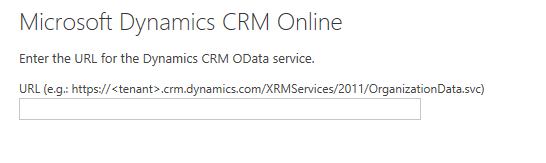
For the connection string provide the Odata URL (Get this from CRM: Settings --> Customizations --> Developer Resources
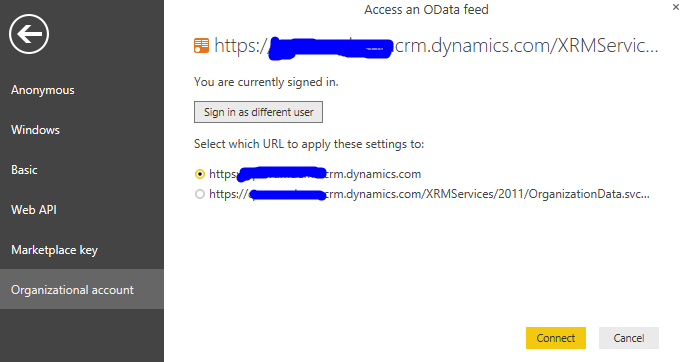
For authentication you want to use the Organizational tab and provide your office 365 credentials
In the Navigator as you can you can select the data set you are interested in then load them directly on further edit before you load to the dataset.
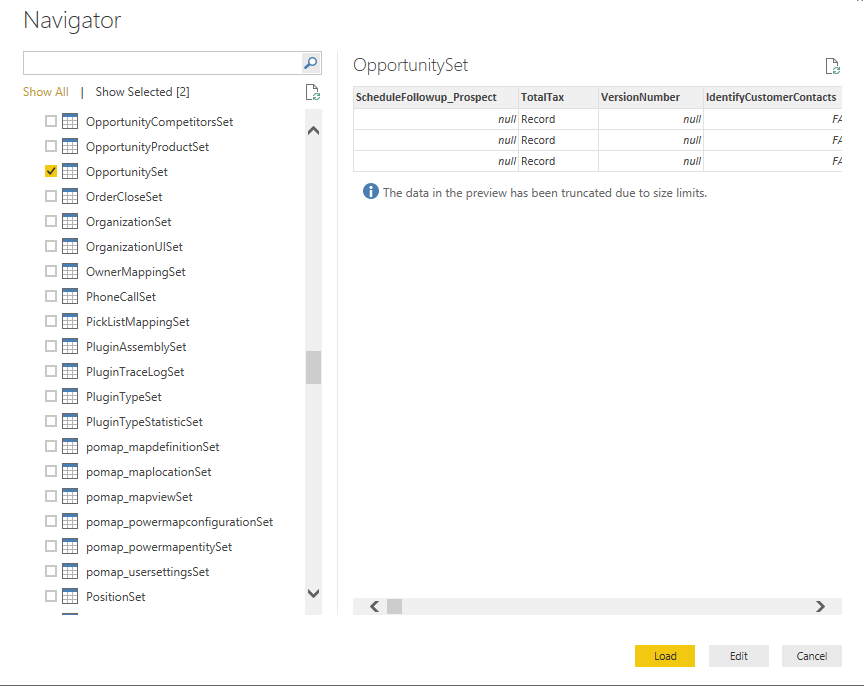
So let's edit the OpportunitySet to bring in Owner details. Click on Edit button.
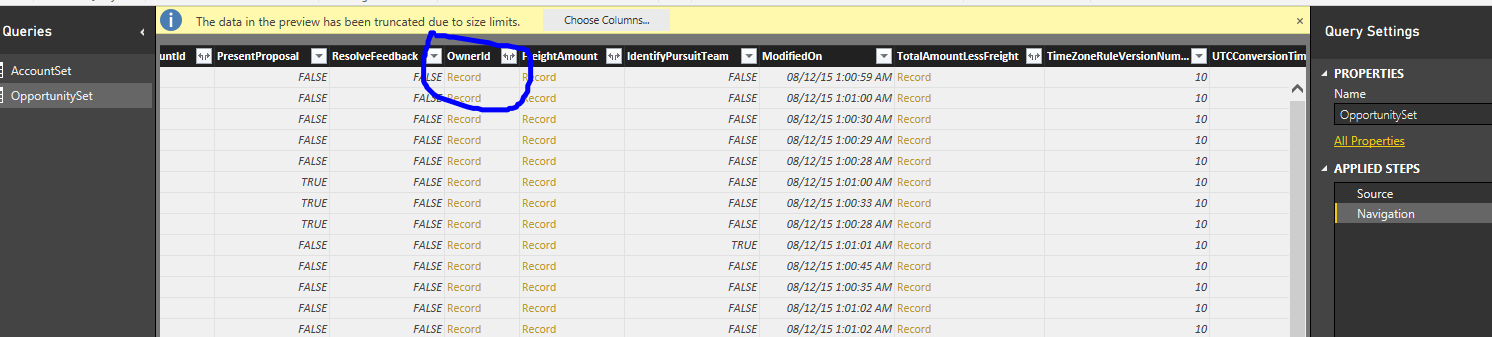
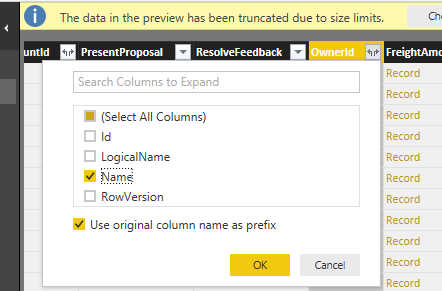
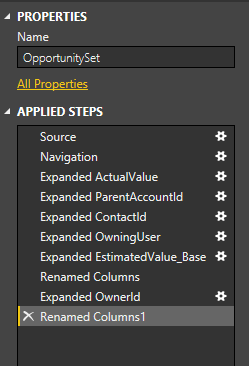
As you would expect all details on an Opportunity obviously is not going to be presenting in the OptySet and you have further bring in Owner Details etc. And on the steps you can see the details what manipulation I have made on the OpportunitySet
Click on Close&Apply and have the model loaded to the Power BI Desktop. Click on the Publish Button.

Go back to your Power BI site and see the new Dataset and a blank report appears. Note: We could have created a report in the Power BI Desktop and it would have rendered here as well.
Creating a New Report
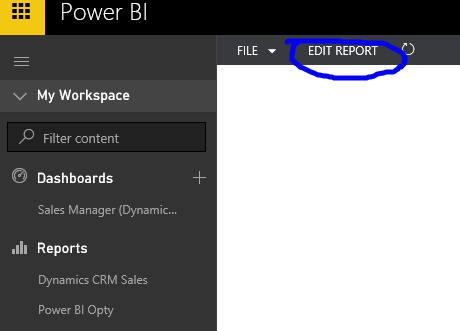
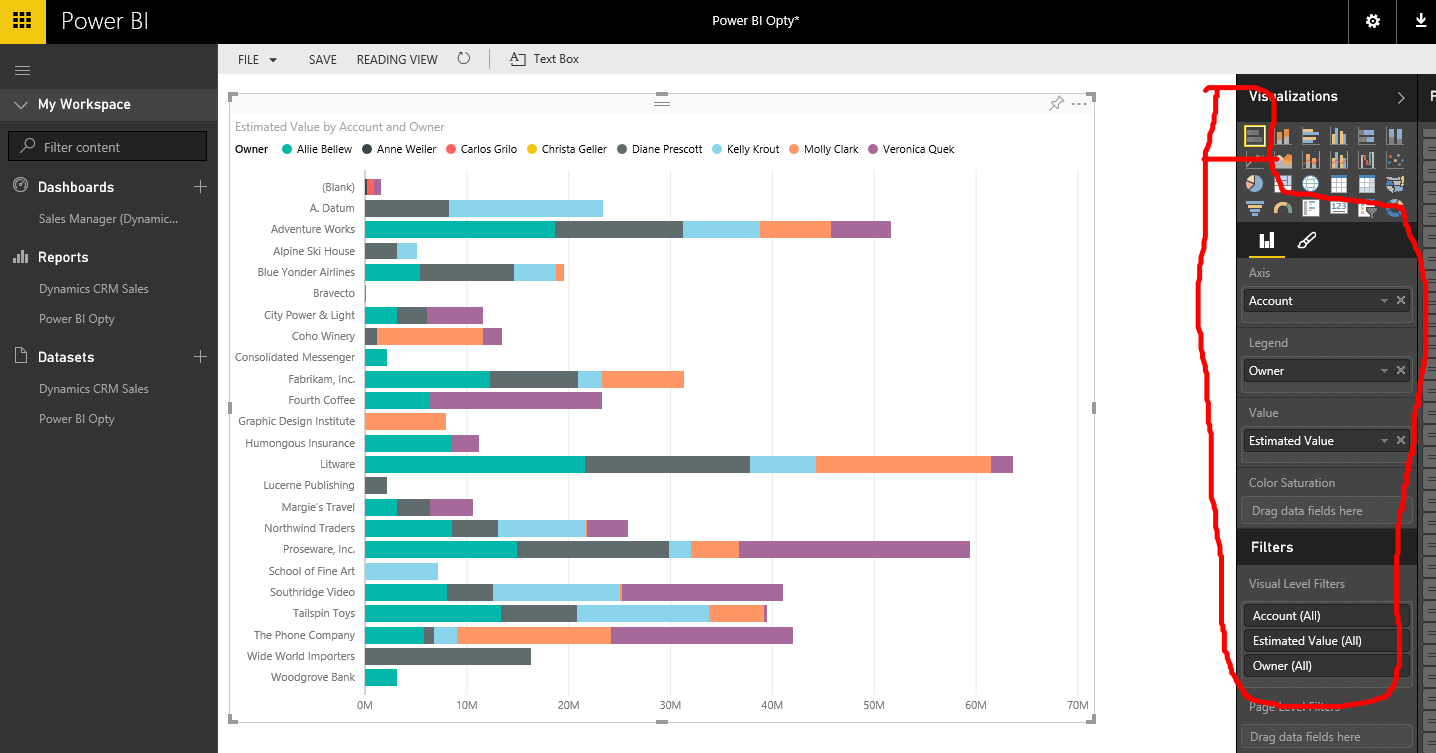
On the Report you want to edit, click on Edit Report and make changes to it as below or just click on Edit Report and save as a new Report.
and see the visualizations sections to see how we are bringing in data.
Creating a New Dashboard
Click on the + button next to the Dashboard and type in the name of the dashboard.
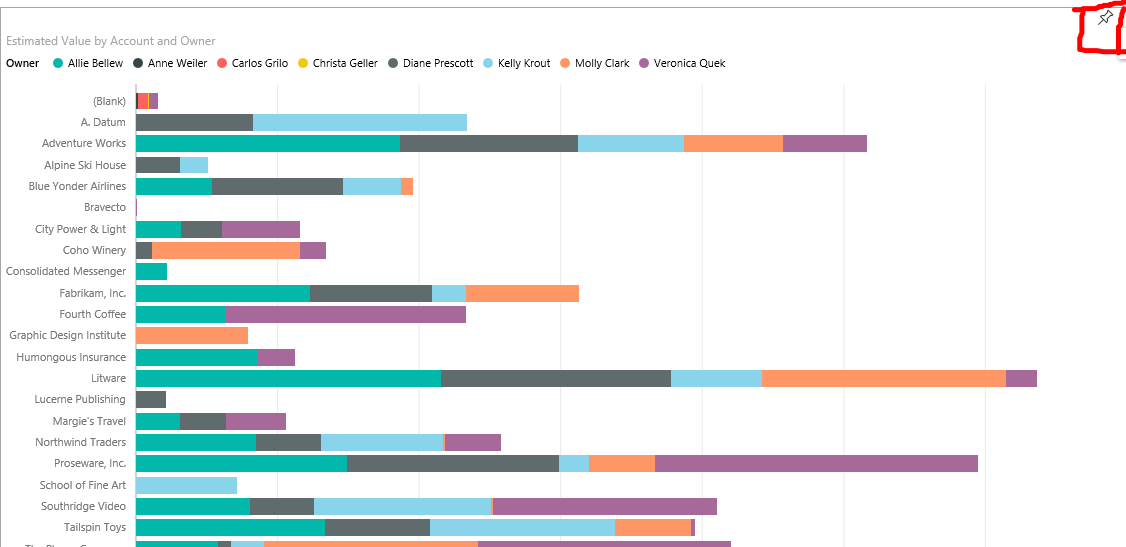
To bring in section to the dashboard, go to the report you are interested in and click on the section that you want to be pinned to the dashboard as below.
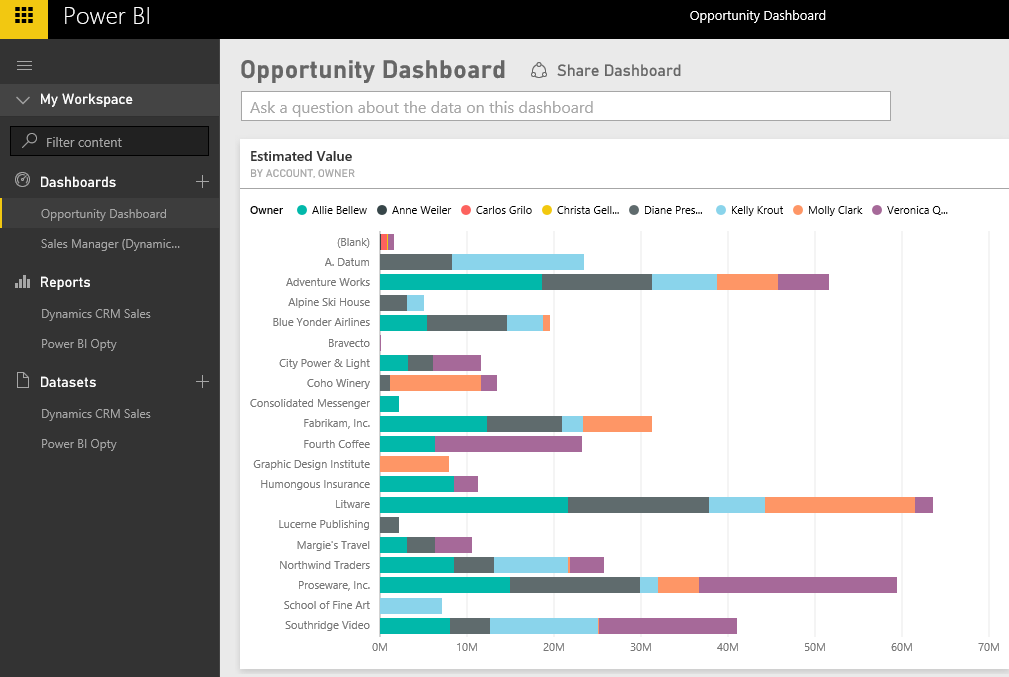
and here it is. You can also leverage the Natural Language Query by typing in a question on the section that states "Ask a question about the data on this dashboard". Try it you will be amazed the amount of insights you can get by simply asking a question.
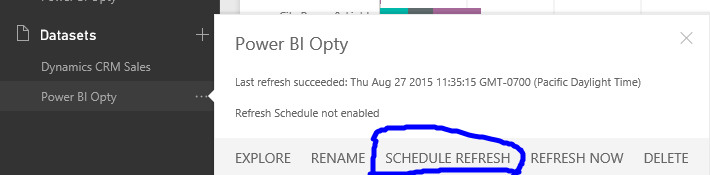
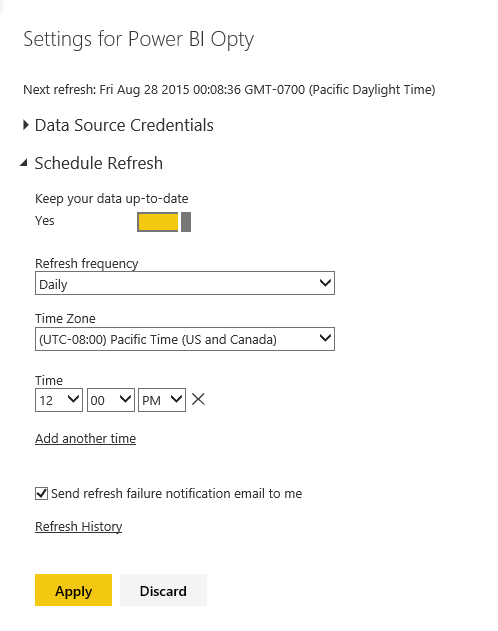
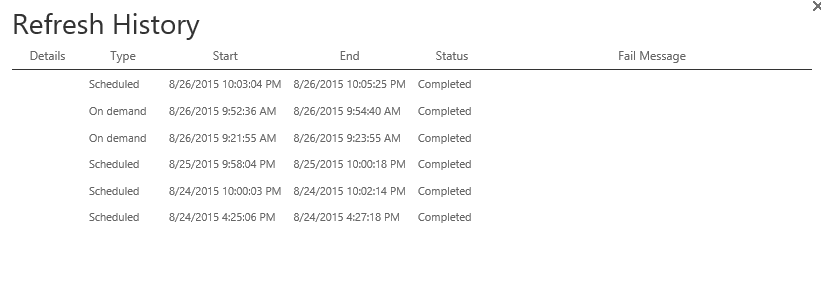
Refreshing Power BI Data
One more feature I would like to show is the scheduled refreshes for CRM Online data, you can schedule your data refresh to Power BI as below or by click on the Refresh Now button. You can do this multiple times a day by click on the Add another time.
Hope this was helpful as you look forward to using CRM Online and Power BI together.