Host SharePoint 2010 VM with VirtualBox
This is a standalone SharePoint farm all in one vm. VirtualBox is used here for hosting vms on Windows 7.
- Create a new vm
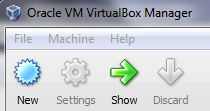
- Click Next
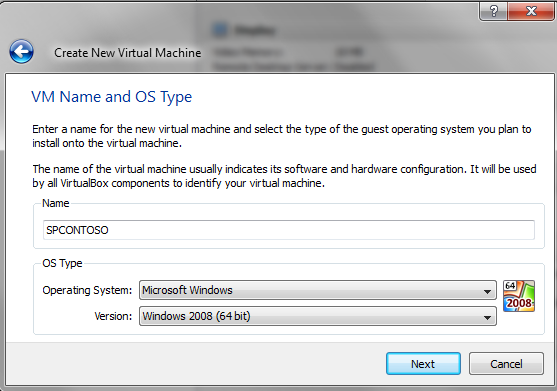
- Enter a name for the new vm and choose OS Type: Windows 2008 (64bit)
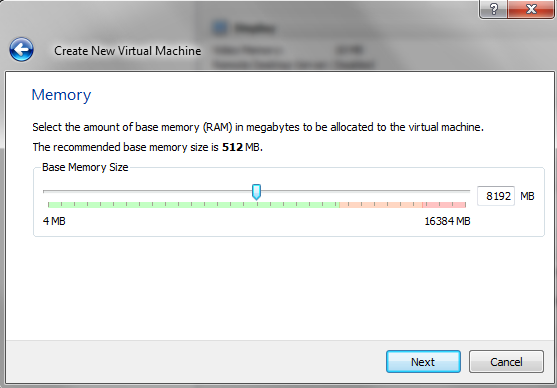
- Select an amount for memory (8G)
- Choose an existing hard disk
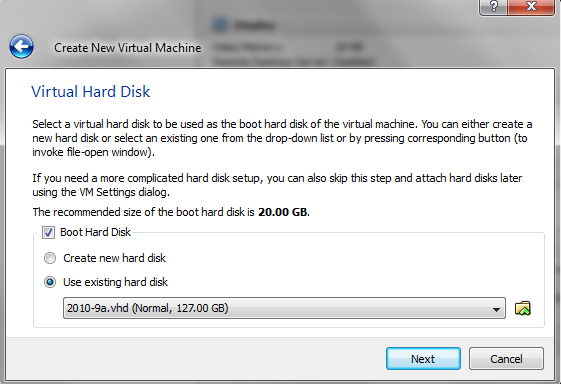
- Click Finish
- From VirtualBox Manager, click Settings > Storage. If Storage Tree does not already have IDE Controller, add it.
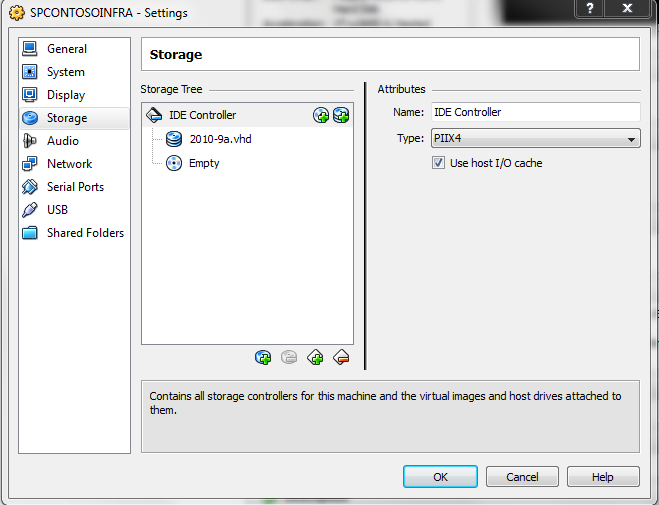
- Next to IDE Controller, click the plus disk icon to add the existing hard disk as a disk.
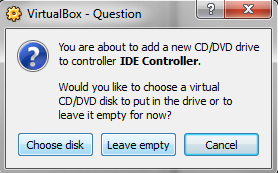
- Next to IDE Controller, click the plus CD/DVD drive icon to add an empty disk drive by clicking the Leave empty button.
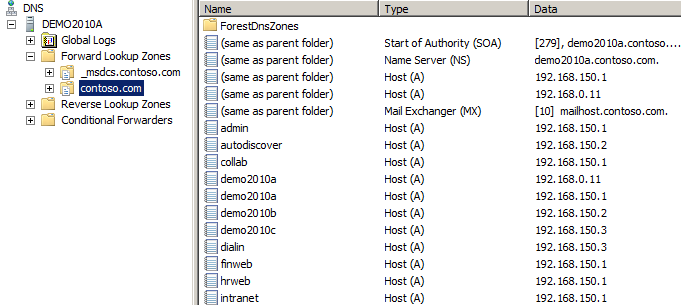
- For the case where your DNS has static IPs. To determine this, from the vm, open DNS Manager. NOTE these mappings are mapped to static IPs.
- From the Settings window, choose Network. Click the Adapter 1 tab, choose "Host-only Adapter" and "VirtualBox Host-Only Ethernet Adapter"
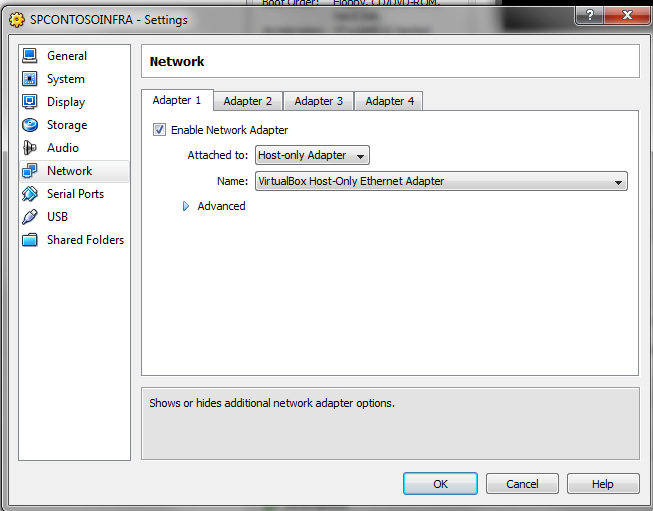
- Click Adapter 2 tab, check "Enable Network Adapter", choose "Bridged Adapter", and choose [Your host LAN adapter]
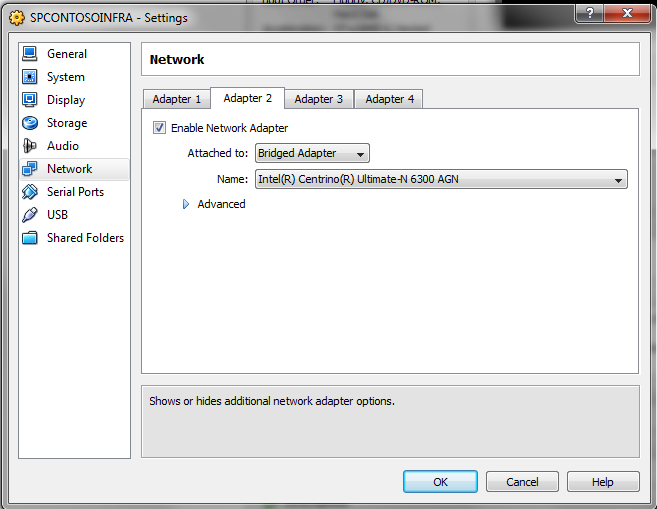
- Click Ok
- Start the VM. After the VM has started, log in as the administrator. Open network configuration. NOTE: There are two network connections, one for intranet and one for internet

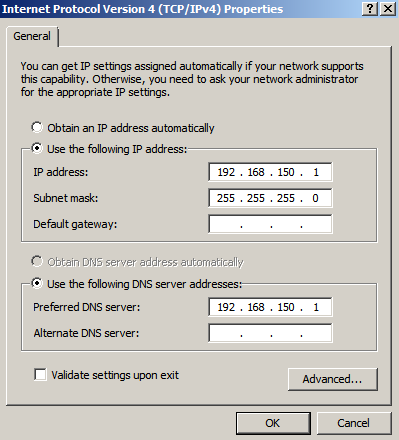
- Double click the first LAN connection and configure the IP of the server to the same IP as indicated in DNS. [In this case, it is set to 192.168.150.1]
- Start IE, try a few SharePoint sites to ensure intranet connectivity. Try a few public URL to ensure internet connectivity.
[OPTIONAL] If you do NOT have static IPs configured in DNS, you can change the DNS to use the same IP as the server (automatically assigned by the router). This way your vm will use the same network adapter as the host, then configure your Network adapter within your vm as follows:
- connect vm to host lan/wireless adapter
- set IP of network connection within vm to static and ensure DNS is mapped to the same server. Example:
- IP Address: 192.168.0.17
- Subnet mask: 255.255.255.0
- Default gateway: 192.168.0.1
- Preferred DNS server: 192.168.0.17
- Alternate DNS server: 192.168.0.1
- Since we are dealing with a DNS server, do the following to ensure the new IPs are registered:
ipconfig /flushdns
ipconfig /registerdns