Azure Automation in Azure Government
If you have been following closely, you would have realized Azure Automation is now available for Azure GOV. There are a couple of things you need to keep in mind when you are trying to run your first automation script with Azure GOV. I’m going to be outlining the steps below:
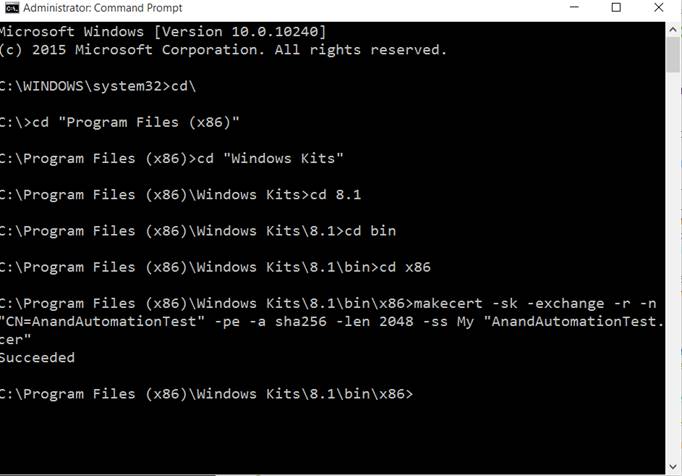
Step 1 - Create a certificate with makecert (or you could use IIS too)
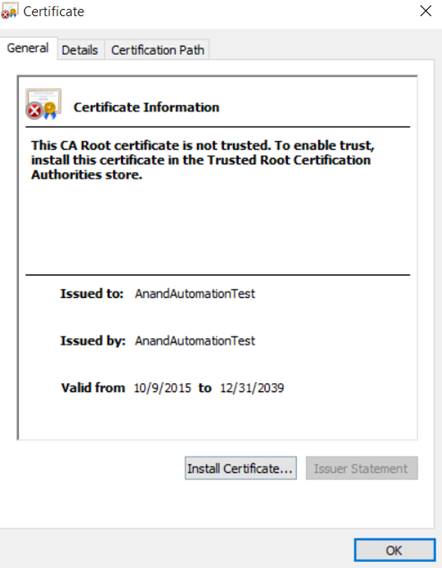
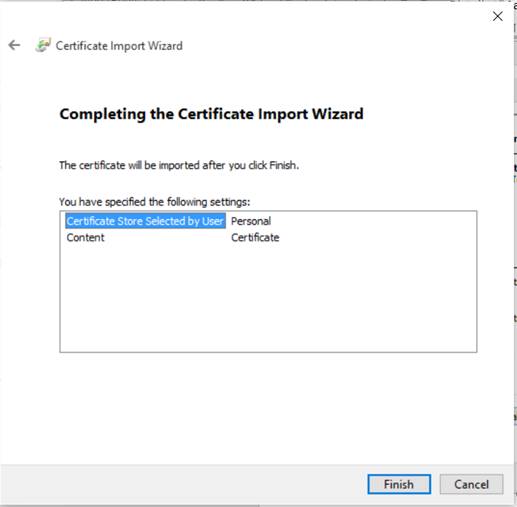
Step 2 – Install the certificate in the CurrentUser’s Personal Certificate Store
Step 3 – Upload this certificate in the management certificate section of the Azure Subscription (the .CER file )

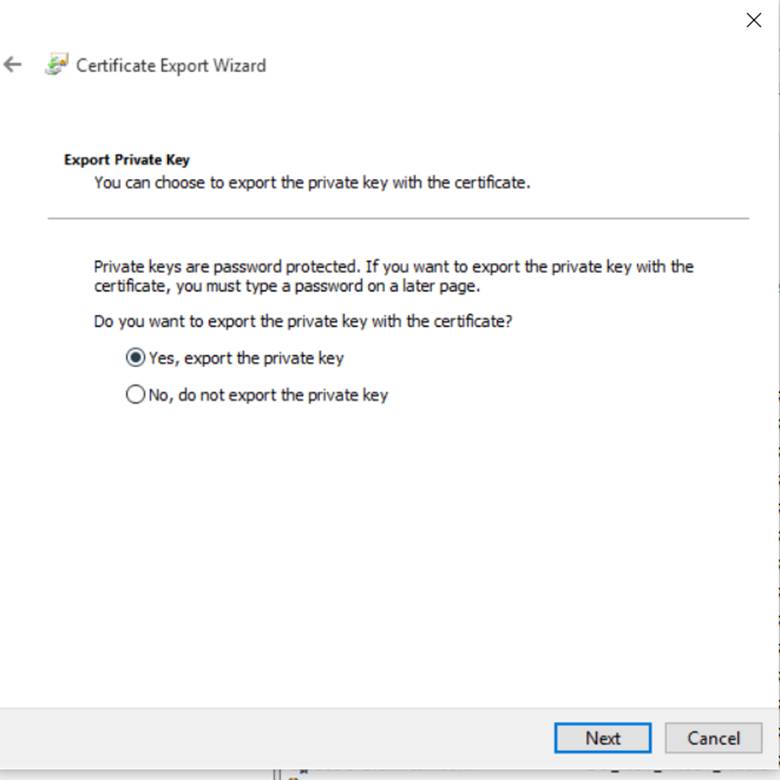
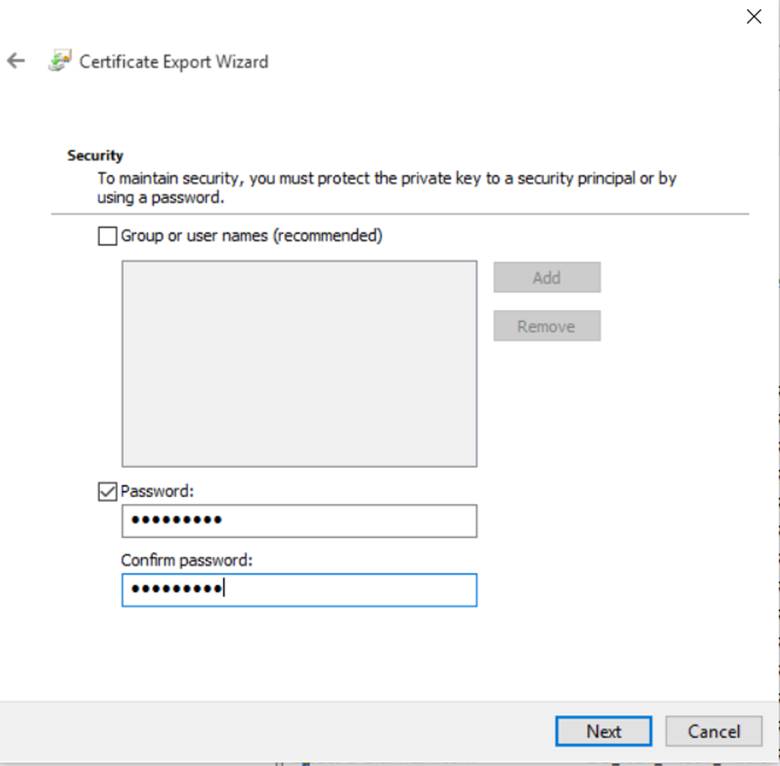
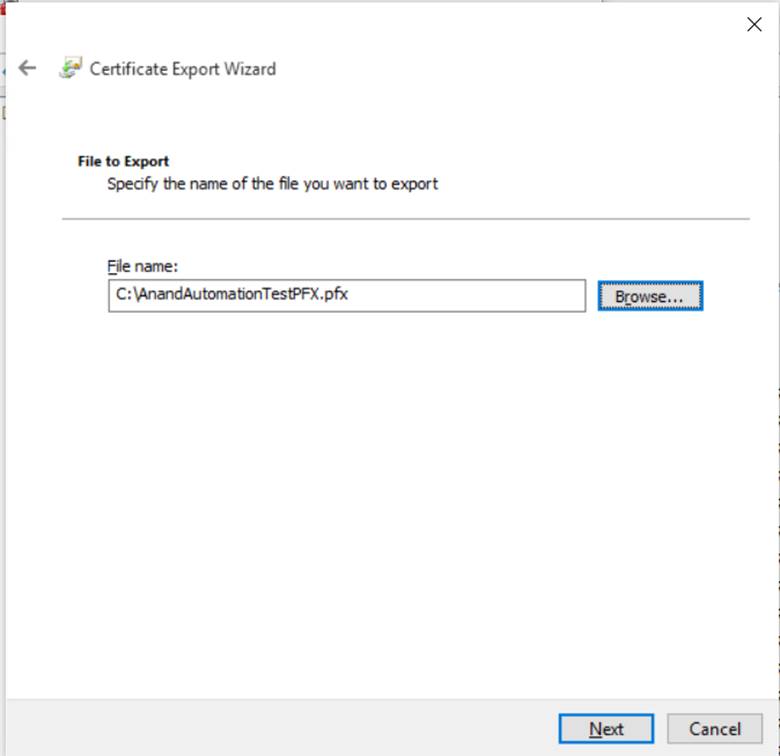
Step 4 – Now export the certificate from the personal store using a password and save it to a .PFX file

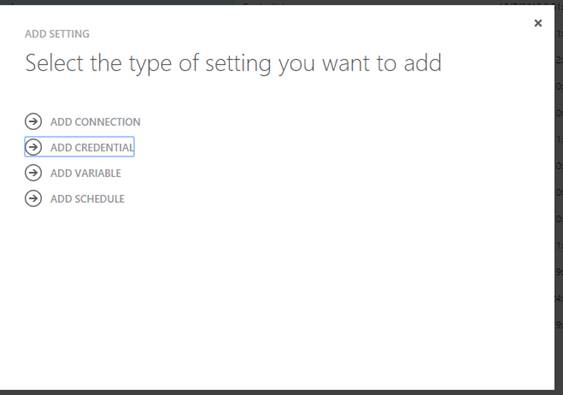
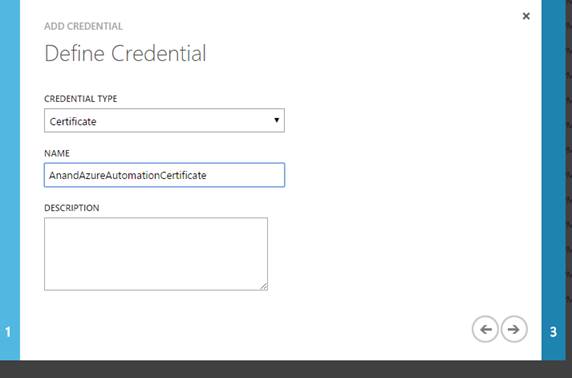
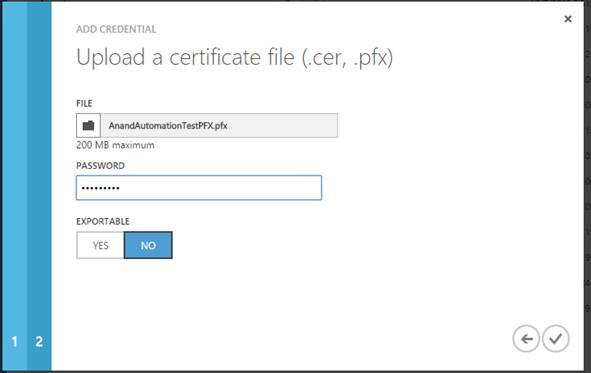
Step 5 – Now add the .PFX file as an asset onto Azure Automation
Step 6 – Create variables for ‘SubscriptionName’ and ‘SubscriptionID’
Step 7 – Create a Runbook under Automation and enter the following to establish a connection and get started. The ones that we need to explicitly add for the Azure Government are highlighted below
workflow AnandTestRunbook
{
Add-AzureEnvironment -name “AzureGovernment” -serviceendpoint https://management.core.usgovcloudapi.net
$subscriptionID = Get-AutomationVariable -Name 'SubscriptionID'
$subscriptionname = Get-AutomationVariable -Name 'SubscriptionName'
$certificate = Get-AutomationCertificate -Name 'AnandAzureAutomationCertificate'
Set-AzureSubscription -SubscriptionName $subscriptionName -SubscriptionId $subscriptionID -Certificate $certificate -Environment "AzureGovernment"
Select-AzureSubscription -name $subscriptionname
}
Step 8 – From here on you are good to go, you should be able to use it how you would normally use an Azure Automation script
Good luck and Happy Automating!!