Creating a Test Certificate with Windows Apps
If you create a Windows Universal App in Visual Studio 2013 +, your packaging is automatically taken care of. Visual Studio provides you with a test certificate so you don’t have to do anything additional to be to run your Windows app on your Local Machine. However, if you have exported a project from a different tool such as Construct 2 , you are not provided a certificate. Therefore, you have to go in and create a test certificate to be able to run and test your app on Local Machine. Let’s go ahead and walk through that process.
Go ahead and open your existing Visual Studio solution and open the package.appxmanifest file shown below.
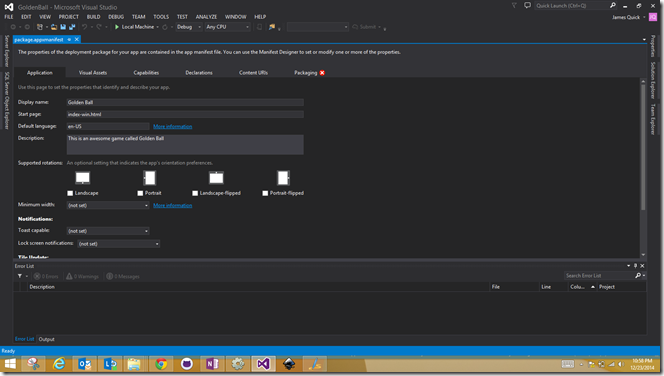
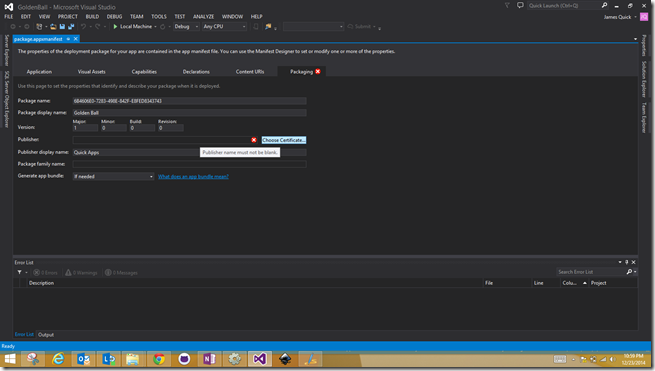
Notice that I have the Red X by the packaging tab. This is because we need to go in and create the test certificate. Go ahead and click on the Packaging tab.
I am assuming at this point that you are logged into Visual Studio as a developer. If you are not you might be prompted to log in. Regardless go ahead and click Create Certificate.

Now, click “Configure Certificate” and then “Create Test Certificate”.
")
Give your certificate a password and then click OK.

Then click Ok again. Now, you should notice that your packaging error has been resolved and all of the packaging details have been filled out as shown below.

That’s it. That’s all you have to do to create a test certificate for your Windows apps. Now, you can successfully run and test your game or app! Comment below with and questions or concerns or find me on twitter, @jamesqquick.
Thanks!