REST APIs in App Studio Part 1- Building the Shell
In this series, I am going to talk about how to add support for REST APIs with projects built in App Studio. If you have never used App Studio before, I would recommend taking a quick look at some of the documentation and videos. You can check out the “How to” page, the “Sample Apps Page”, or just start exploring the App Studio Website. Additionally, a coworker of mine, Joshua Drew, has a pretty good post on an introduction to App Studio, here. If you would prefer to follow this post in video, you can it on youtube here.
All in all, App studio is a quick and easy tool to build Windows Phone 8 Apps and/or Universal Apps that support both Windows Phone 8.1 and Windows 8.1. Furthermore, one of the greatest benefits of App Studio, is that you can actually download the source code for your project in C# and XAML, and then extend from there. That means that you can build something in App Studio quickly, download the source code, and then add on in code. Being able to add on to an App Studio Project is what got me thinking about the possibility of extending it to add support for REST APIs. In my first couple of posts and demos, I will be working with data about movies from the Rotten Tomatoes API. I would recommend that you check out my previous post on the Rotten Tomatoes API to get a feel for the API as well as to sign up for your API Key. It is not required to use this API, but it will make following along with the demo easier.
My plan is to use App Studio to set up a shell that will take care of a lot of the tedious work, the layout, the data binding, the structure of the bound objects, etc. We will be creating a dynamic collection that typically App Studio stores for you. Because it sets all of that work up, we will just need to go into the source code and change the source of the data from the database that App Studio stores for us, to information coming back from an API. That’s the basic idea here, so let’s go ahead and get started at the App Studio Website.
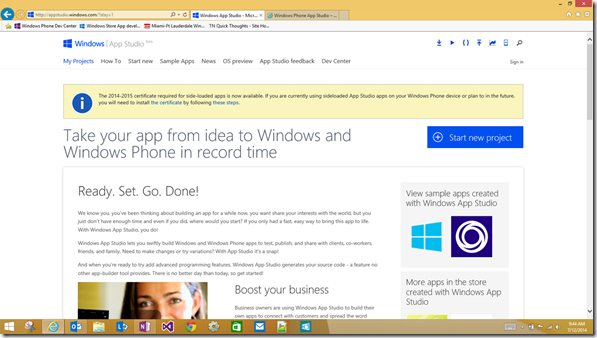
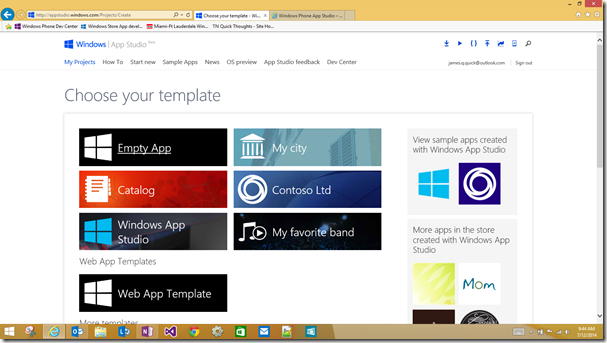
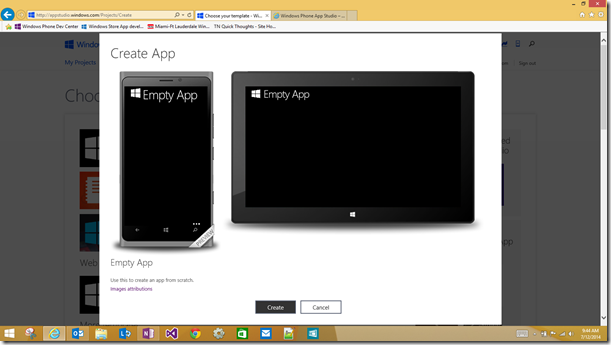
If you aren’t already, go ahead and click sign in at the top right. After you have done so, let’s go ahead and click on “Start" New Project”. From there, we will have the choice to create an empty app or start from a template, but we are just going to start with an empty app. So, go ahead and select the “Empty App” option.
Then, click “Create”.
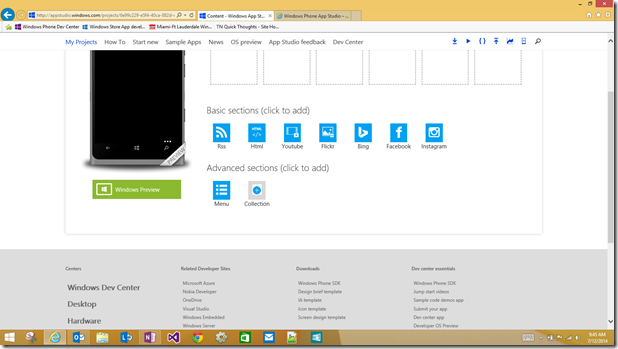
And then we will be brought to the content page, where will add all of the content to our page. We are going to keep this “shell” very simple by just adding one dynamic collection. So go ahead and click to add a collection at the bottom of the page.
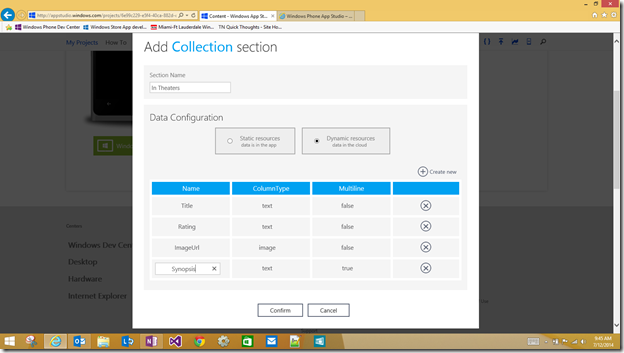
The “Add Collection Section” menu will pop up next. You will need to give it a name (remember it too because we will reference that name in code). I am going to name my section, “In Theaters”, because I will be displaying a list of movies that are currently in Theaters from the RT API. Along the same lines, I will edit the columns of my collection to include Title, Rating, ImageUrl, and Synopsis as shown below where all are strings except the ImageUrl, which is of type image. Once you have that, go ahead and click “Confirm”.
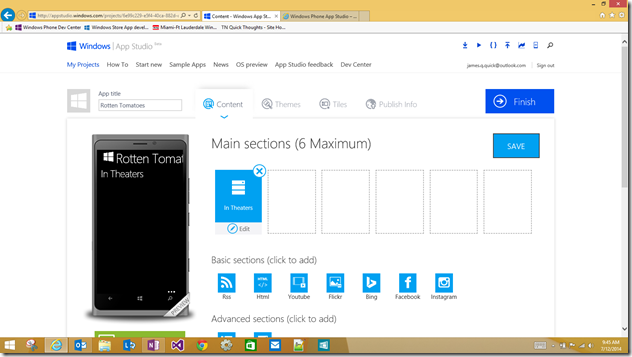
Now that we have that section added to our project as shown below, we want to click “Save”, and then click to edit our new section.
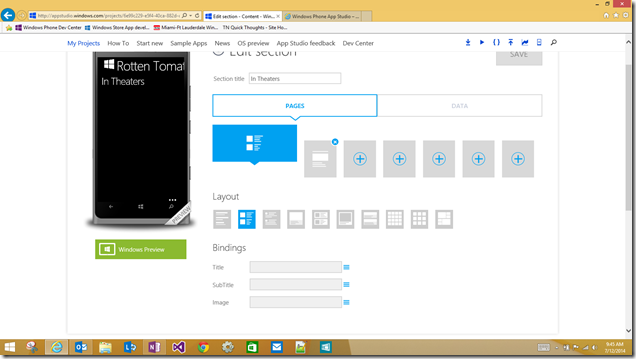
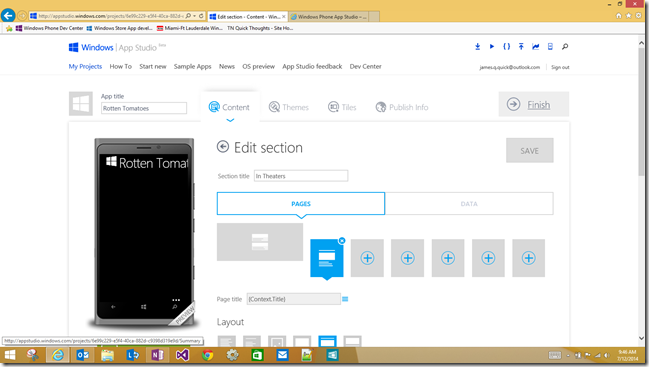
Here we will be changing the layout of our section as well its data bindings.
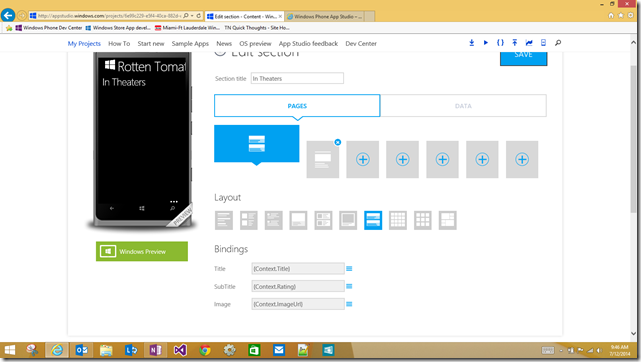
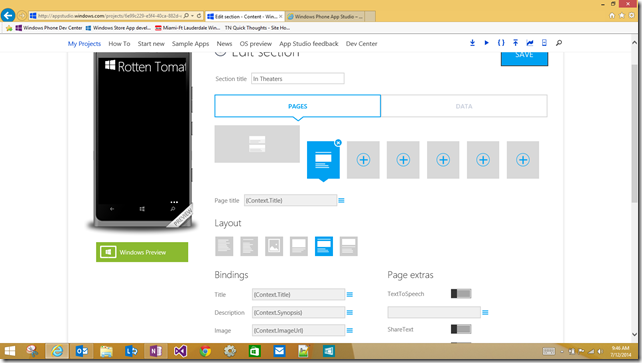
My “In Theaters” section will have two pages; a list of movies, displaying the title, rating, and image, and a details page, displaying the title, synopsis, and image, of a selected movie. The first page is already selected, so you can go down to the bottom “Bindings section, to change the bindings appropriately. Title should be set to Context.Title, Subtitle to Context.Rating, and Image to Context.ImageUrl as shown below. Additionally, I have chosen a layout (fourth from the left) that I fee fits most accurately. You could choose any of these, but keep in mind, that the controls for data binding might change too.
Now, we similarly change the details page that will display information about a selected movie. Choose one of the layouts, and then set the Title to Context.Title, the Description to Context.Synopsis, and the Image to Context.ImageUrl. Keep in mind again, that if you use a different layout than the one I am using there might not be the same bindings available.
Once you have the layout and bindings set for both of those pages, you can go ahead and click to save your project.
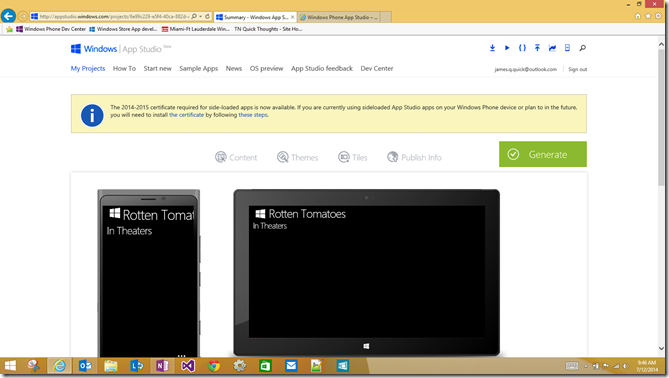
Now, there is a ton more that we could do in App Studio at this point, but I am just focusing on building the simple shell that we talked about earlier. This is all we need for that shell at this point, so go ahead and click on “Finish” in the top right now.
Then, click generate.
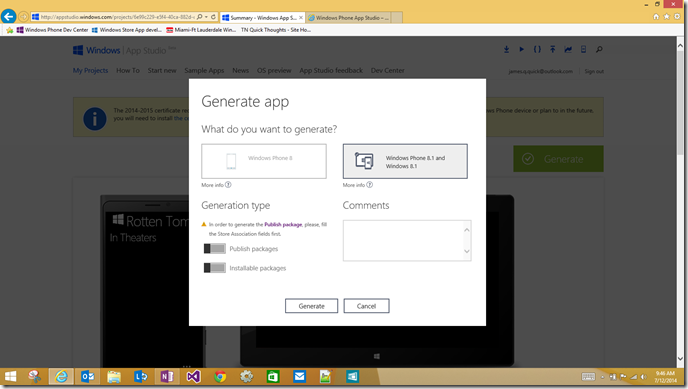
Choose to target both platforms as shown below.
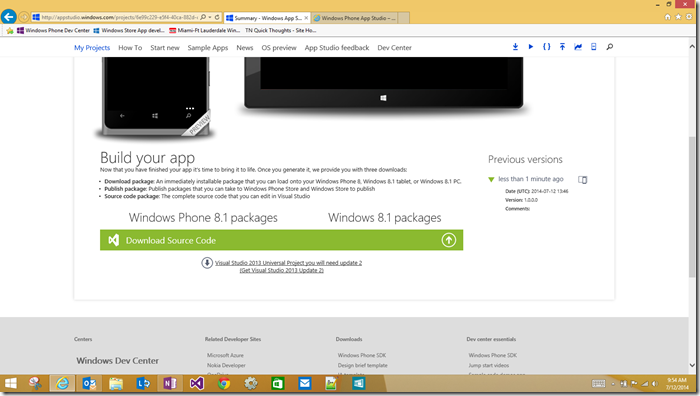
Once App Studio is done generating your source code, you can download it at the bottom of the page by clicking “Download Source Code”. Then click the downward arrow to the left of the stuff about Visual Studio.
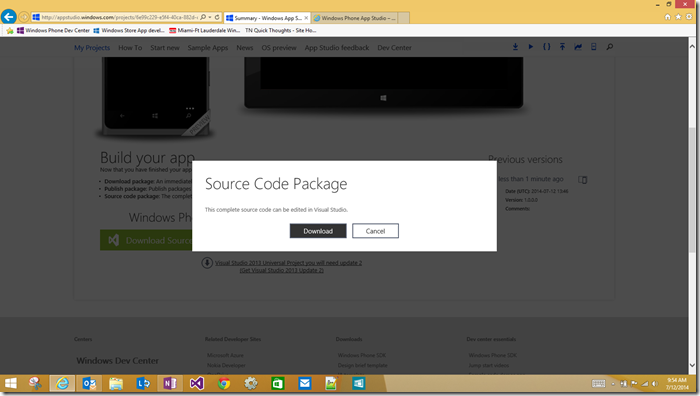
Then click “Download”.
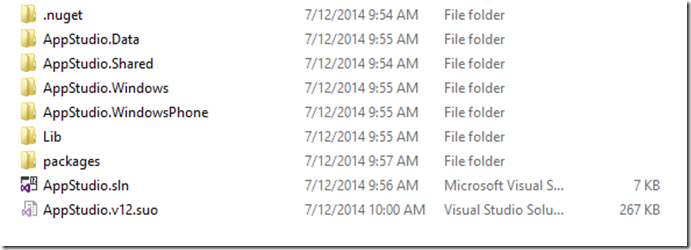
 Once you click to download, you be given the option to save, so go ahead and save the zip file somewhere you can find it. Then, go ahead and extract the files from that folder, and if you look inside, you should find a Visual Studio Solution like so.
Check out Part 2, where we will open the project in Visual Studio and start making the necessary changes to add REST API support for the Rotten Tomatoes API.
As always comment below with questions, comments, or concerns, and feel free to follow me on twitter @jquickwit.
