Atlanta becomes a product….System Center Advisor
Last November I was part of an exciting launch at the SQL PASS conference of the beta of a project called Atlanta (see my original post on this topic at https://blogs.msdn.com/b/psssql/archive/2010/11/12/microsoft-atlanta-begins.aspx)
I’m excited to tell you that what started as an idea several years ago, then became a project with a codename, (this is big at Microsoft) is now an official Product name. The Release Candidate (RC) for System Center Advisor was launched today at the 2011 Microsoft Management Summit in Las Vegas.
Like the beta, the RC for System Center Advisor is free for anyone to download and explore. Some of the new features that have been built into this release are:
- Improvements to the User Interface
- New SQL Server rules (bringing the total of 50 rules for SQL Server)
- New rules for Windows Server, Windows Server Active Directory, and Windows Server Hyper-V
- Email notifications when alerts are fired
- Auto-resolution of alerts based on changes you make on your server (you are going to really like this one)
Over the next two weeks I will be posting a series of blogs on more information about System Center Advisor including some of these features but more importantly to show you some of the rules for SQL Server and behind the scenes information on how and why we created them.
You will also have questions about System Center Advisor that will come up that might already be answered at the following product website: https://www.microsoft.com/systemcenter/en/us/Advisor.aspx
But to start with, let me show you how easy it can be to install this product. For a complete set of instructions on how to deploy System Center Advisor, see this link: https://onlinehelp.microsoft.com/en-us/advisor/ff962510.aspx
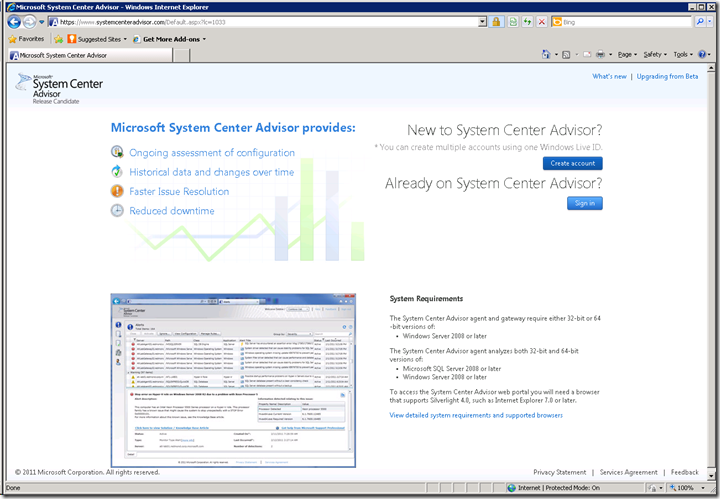
First, you need to sign-up for the service at https://www.systemcenteradvisor.com
On this page, select “Create Account”. All you need is a valid Windows Live account. You will be asked to fill in a few small details about yourself and then you are ready to proceed to install this on servers you want to assess.
For me, I’m already a System Center Advisor user (because I’ve been testing a bunch leading up to the launch) so I’ll pick the option here that I’m already on System Center Advisor.
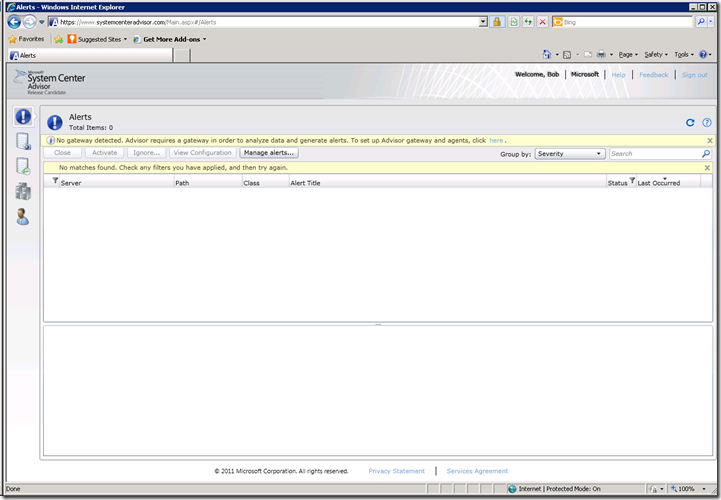
I’m immediately led to this page which is the main “Alert Dashboard” to show me what alerts System Center Advisor has found on servers I have selected to assess. The warning on this screen indicates I’ve not installed System Center Advisor on any servers associated with this account. It includes a hyperlink to do this.
I’m prompted to download 2 things: 1) A certificate used to identify a specific gateway server with my account 2) The setup installation program. The name of the setup program is AdvisorSetup.exe.
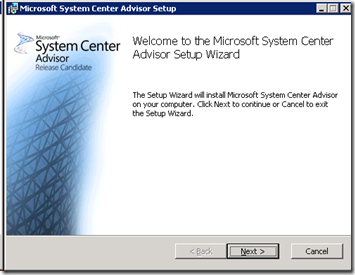
I want to install this on a server in the Microsoft network at my office in Texas that has SQL Server 2008 R2 installed on Windows Server 2008 R2. I know for this server it has internet access so I’ll be installing everything on this computer. When I launch AdvisorSetup.exe, the following describes the simple setup process to get this going. It took no more than 5 minutes to go through this on my server.
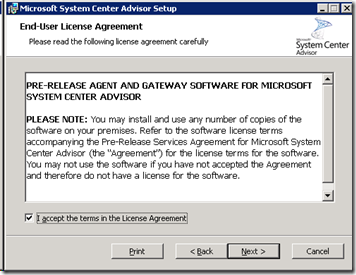
After selecting Next I must accept the License agreement.
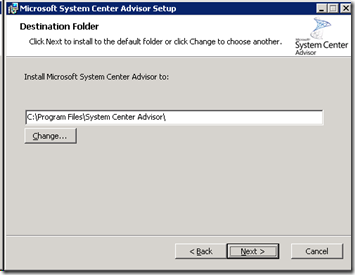
Now I’m asked what folder to install the Software. By default it is %programfiles%\System Center Advisor
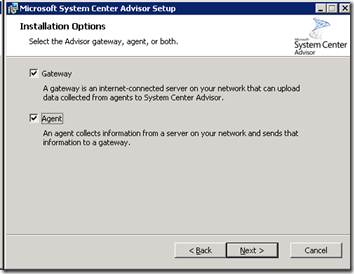
Next I need to select whether I’m installing the Agent Service, Gateway Service, or both. I’ll talk more in future blog posts about what these services are. But for now think of the Agent service as the software that performs the assessment and the Gateway services as the software that communicates with the System Center Advisor service in the cloud. For my server I know it is connected to the internet (via proxy) so I’ll install both services. If you have a server that has no internet connectivity, you would first install the software and choose Gateway on a computer that does have internet access (can be through a proxy). Then on the server that are you assessing that is not connected to the internet, copy over the AdvisorSetup.exe and select Agent. When you select Agent you are prompted to provide the name of the computer where you installed the Gateway. For me, I’m just installing them both on the same server.
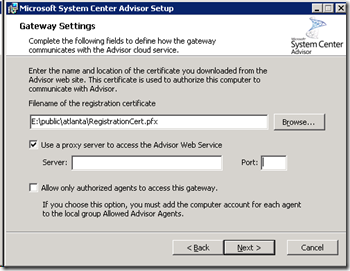
Since I chose Gateway I have to provide some information. First, use the Browse button to select the Certificate you downloaded from the web site as I described earlier. Second, you may need to provide a proxy server and port depending on your network infrastructure. I won’t cover the last checkbox for now so have left that blank.
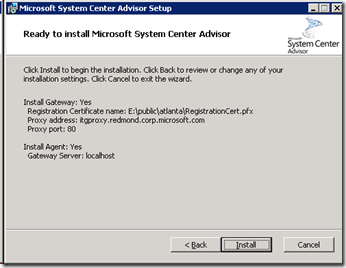
After selecting Next, I’m prompted to Install.
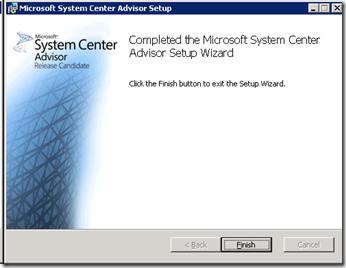
In about 2-3 minutes, I received the screen that the install had completed
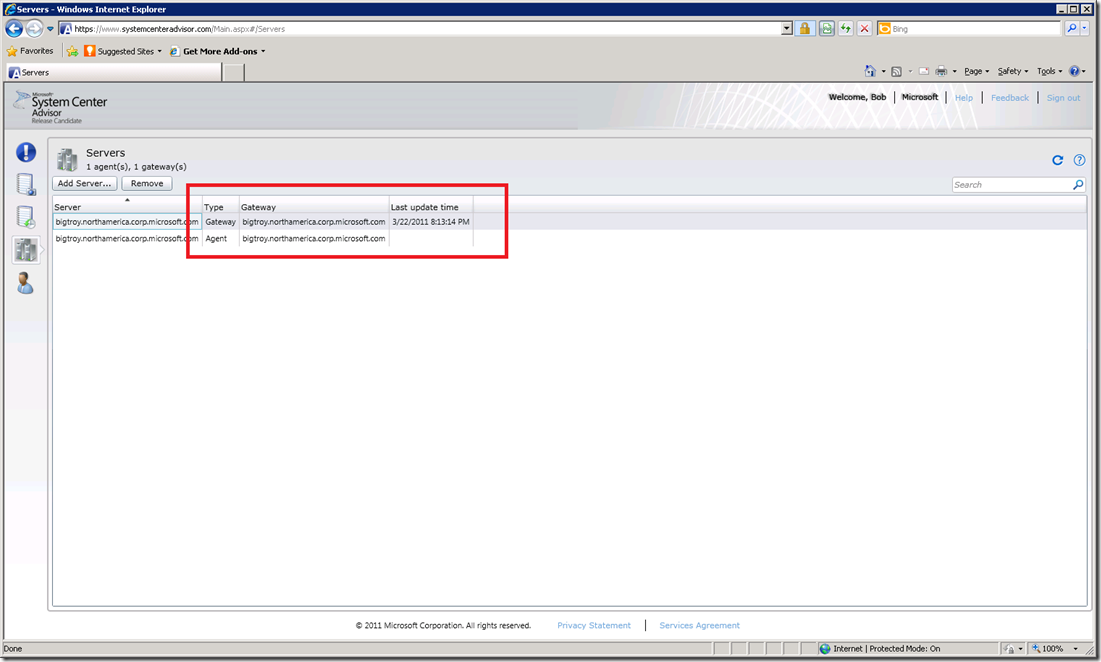
OK, so now what?. The setup was easy. What do I do now? Well, first I always like to go to the web portal and ensure the System Center Advisor back-end services have acknowledged my installation. Go back to the portal you logged in at www.systemcenteradvisor.com and select the icon on the left side which looks like servers stacked on each other. You should see that a Gateway and Agent have been registered for your server name. You should also see a Last update time very close to when the install competed for the Gateway. This means the Gateway has successfully registered with the System Center Advisor service.
System Center Advisor was built by default to be lightweight. So by default we schedule on a daily basis a check of this server you have installed the agent on and then transmit this to the System Center Advisor service in the cloud through the Gateway. This does not occur typically immediately but generally in off hours. So now that you have seen how simple it can be to deploy this, my next post tomorrow will be what happens the next day when I come into the office and see what System Center Advisor has found on my server.
Bob Ward
Microsoft
