Access Services and my data
This post is targeted at users who have a local set of data in a MS Excel file, MS Access database, SharePoint list, ODBC Database, CSV file, or any XML file. All of these platforms are useful and have their merits. You may want to extend this data to a large number of users, or you reached a network bottleneck that inhibits the performance of your source data, or experienced data corruption. You need to move it to an 'Enterprise' backed service and are evaluating your options.
- SharePoint On Premise: Access Services leverages an On Premise SQL Server set of instances/databases.
- SharePoint Online: Azure Access Services leverages Azure SQL.
With Access Services you gain Enterprise scale and performance with integration points to SharePoint. You can easily modify your source data in a familiar interface. This post will demonstrate porting an excel file into Access Services. I will then use an Access front-end (if ports 1433 are not blocked) with a back-end that is stored in an enterprise database via SharePoint Access Services. In a future post I'll create a custom web application and consume the data via Entity Framework as well as extend through Business Connectivity Services to any site in your SharePoint farm or tenant.
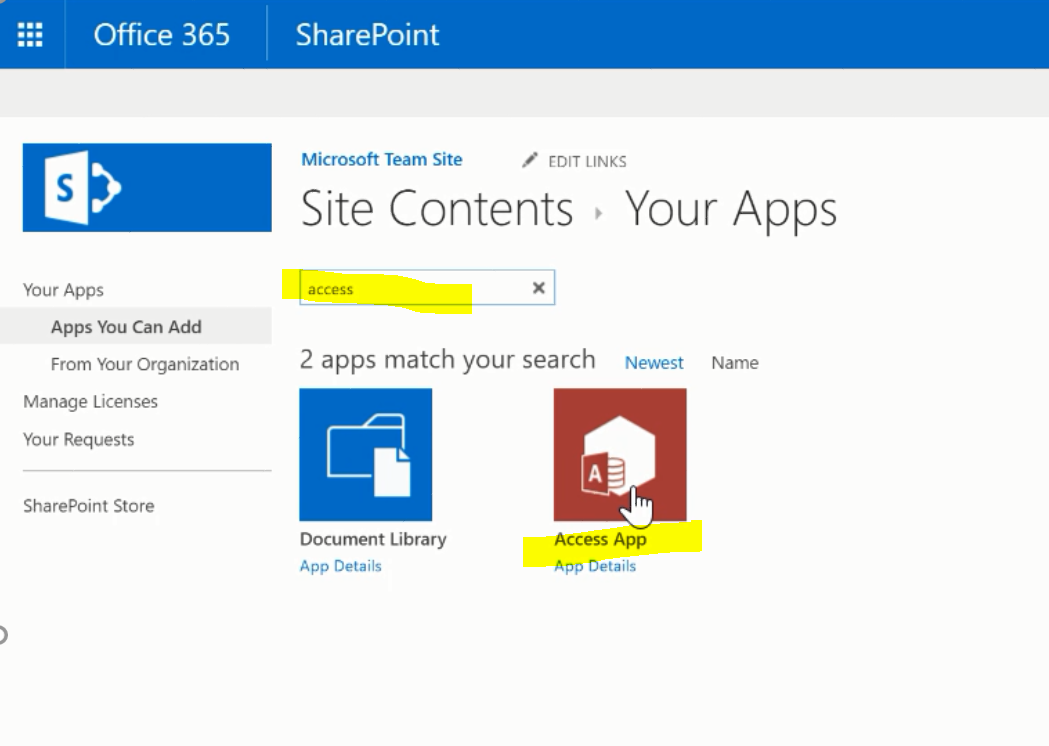
The first step is to create the Access Services Add-In. Use the out of the box controls to 'Add an App'. We will search for the Access App.
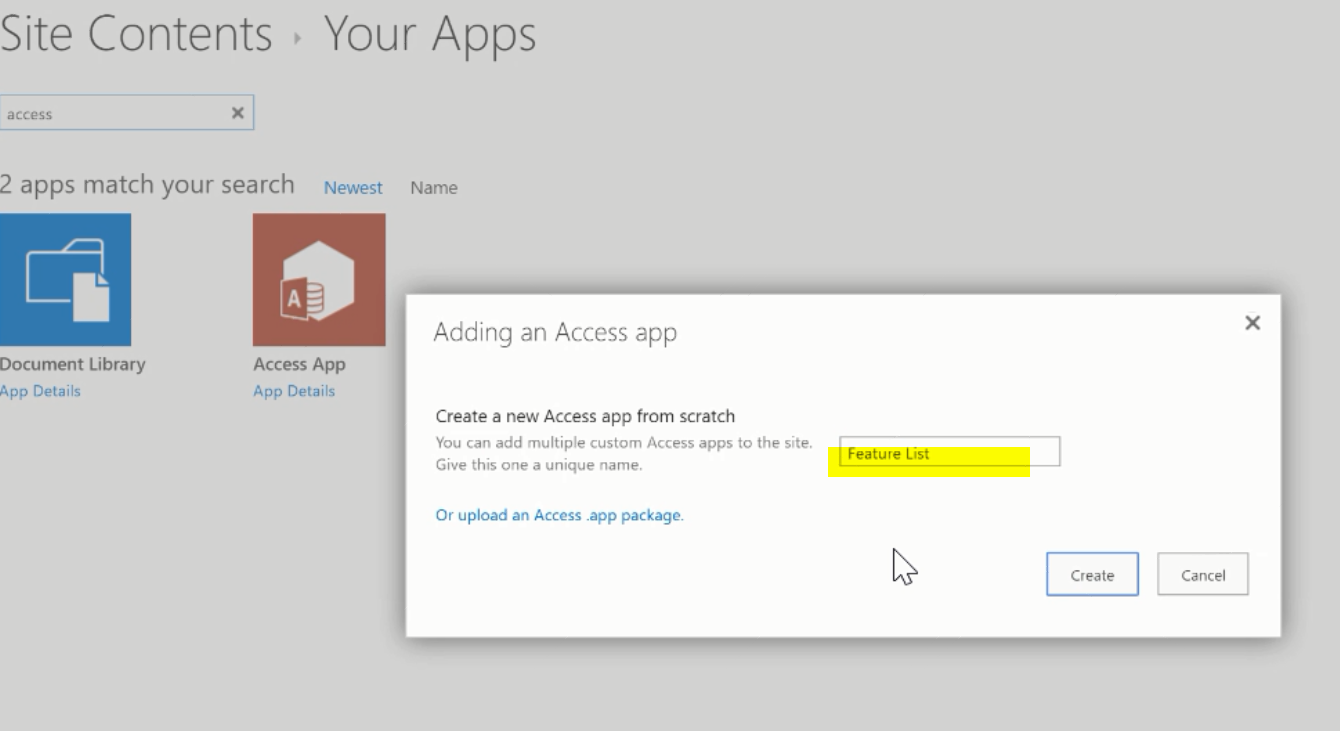
Provide a unique name for the Access app
After some time the Add-In will be provisioned with its' isolated App Web
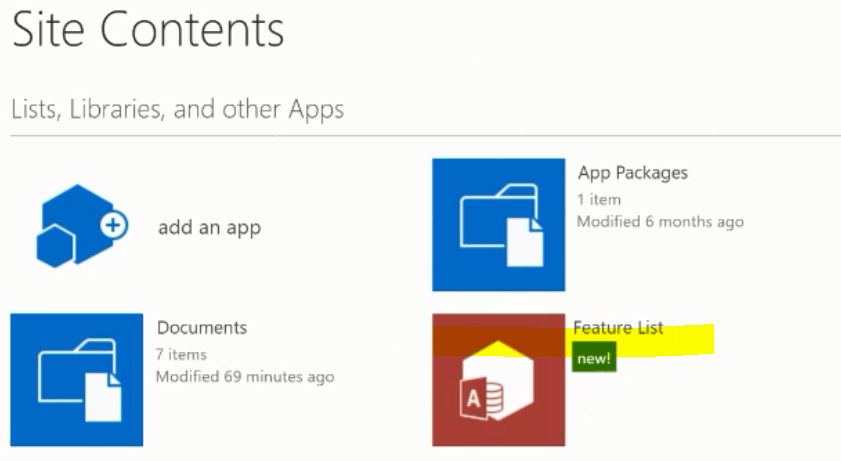
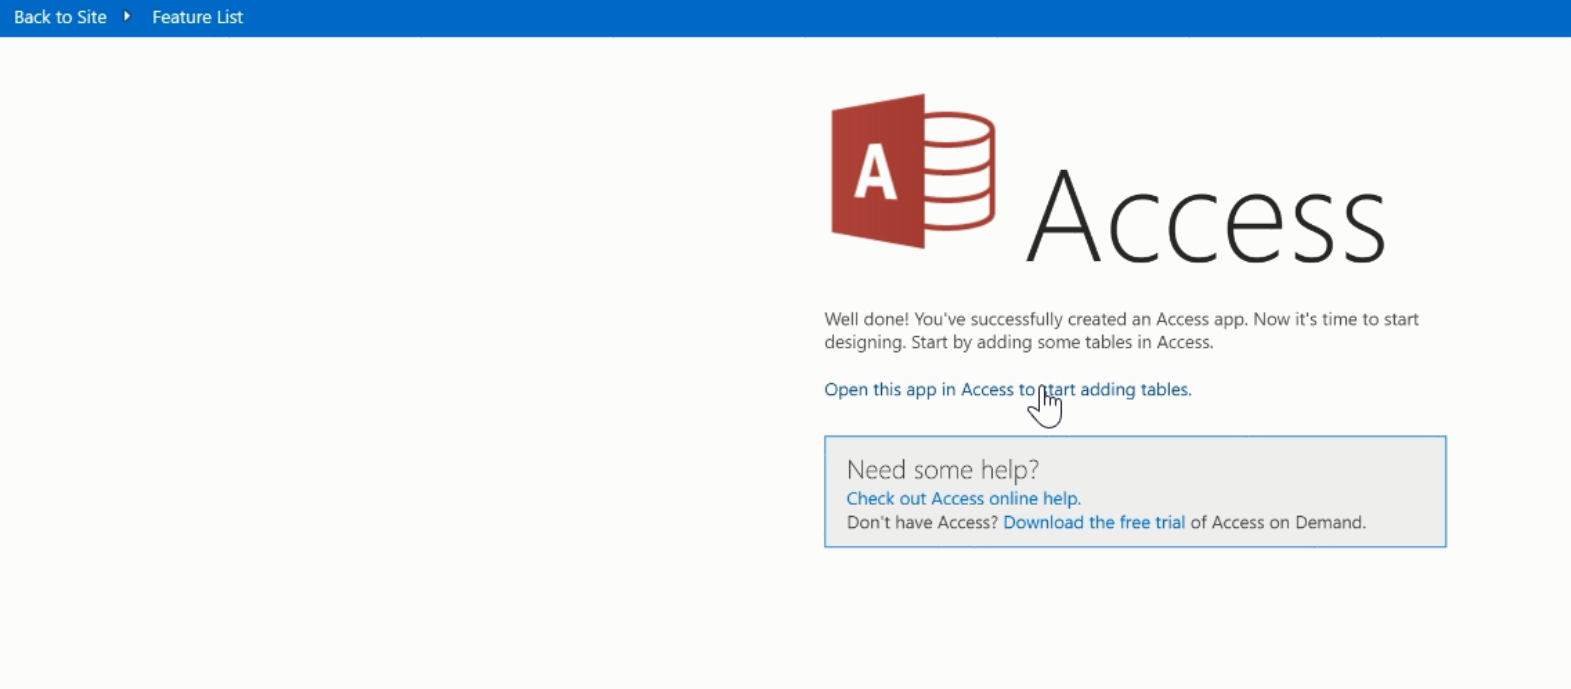
Click on the new Access Add-In. You can then open the Access Services' database in an Access web application database.

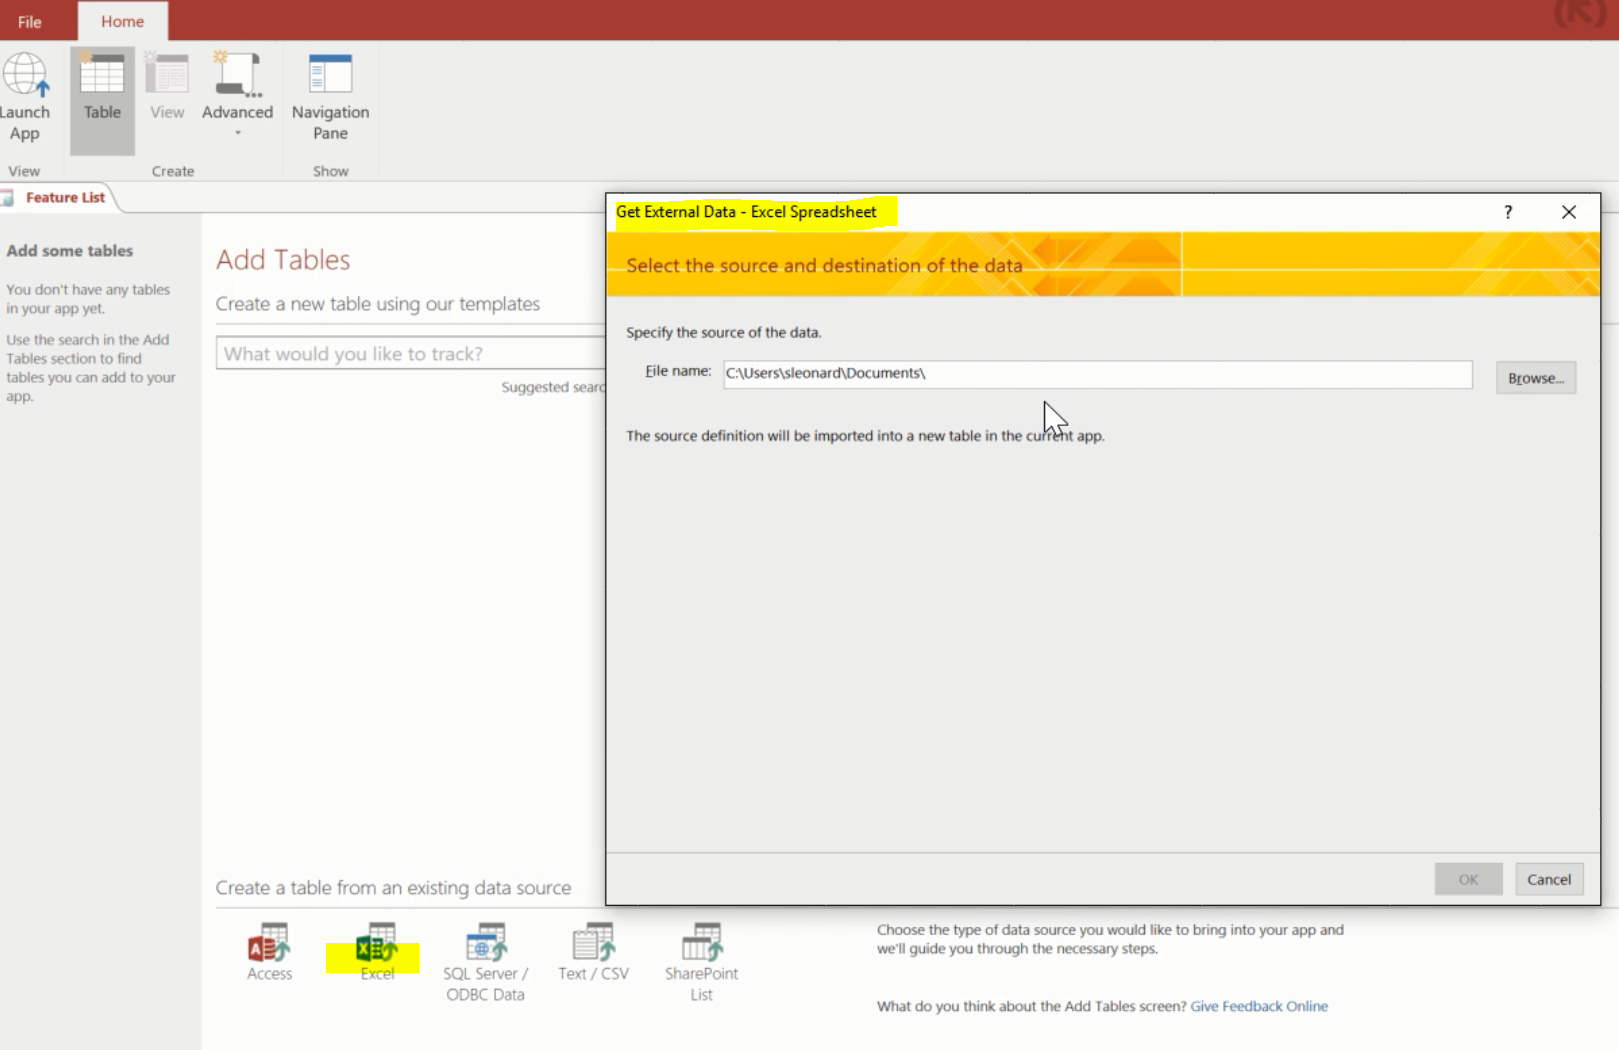
We will create a table by importing an Excel file
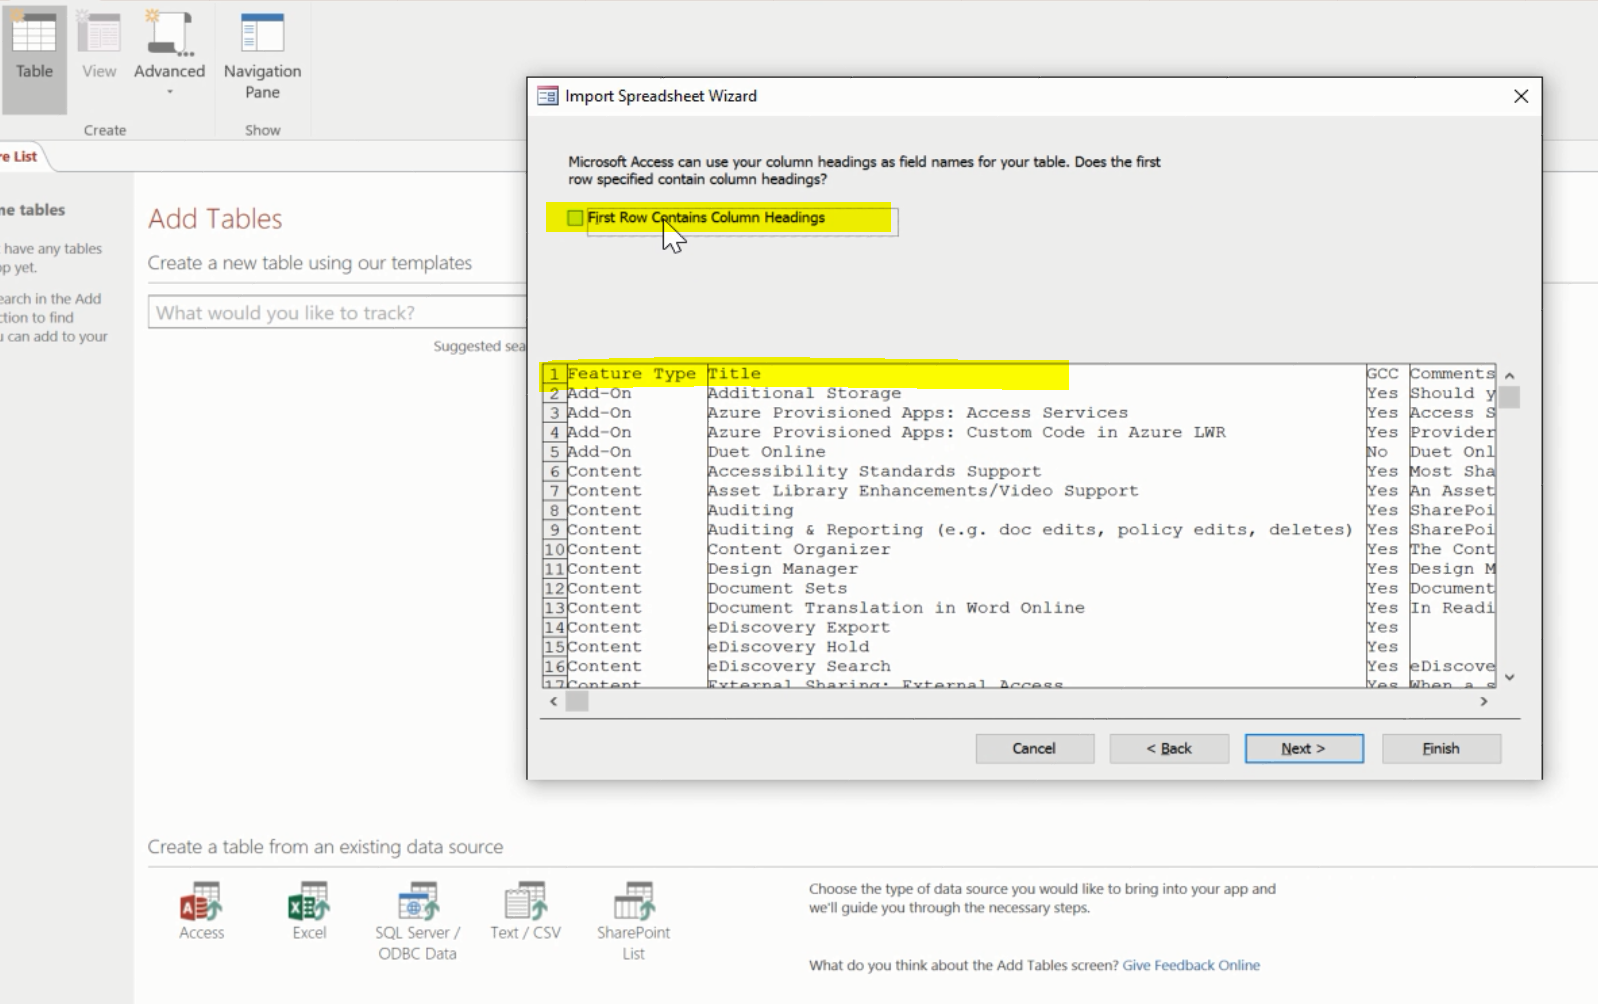
This will launch a wizard allowing you to modify column details from the first row of the Excel file. Mark the first row as containing column headings.
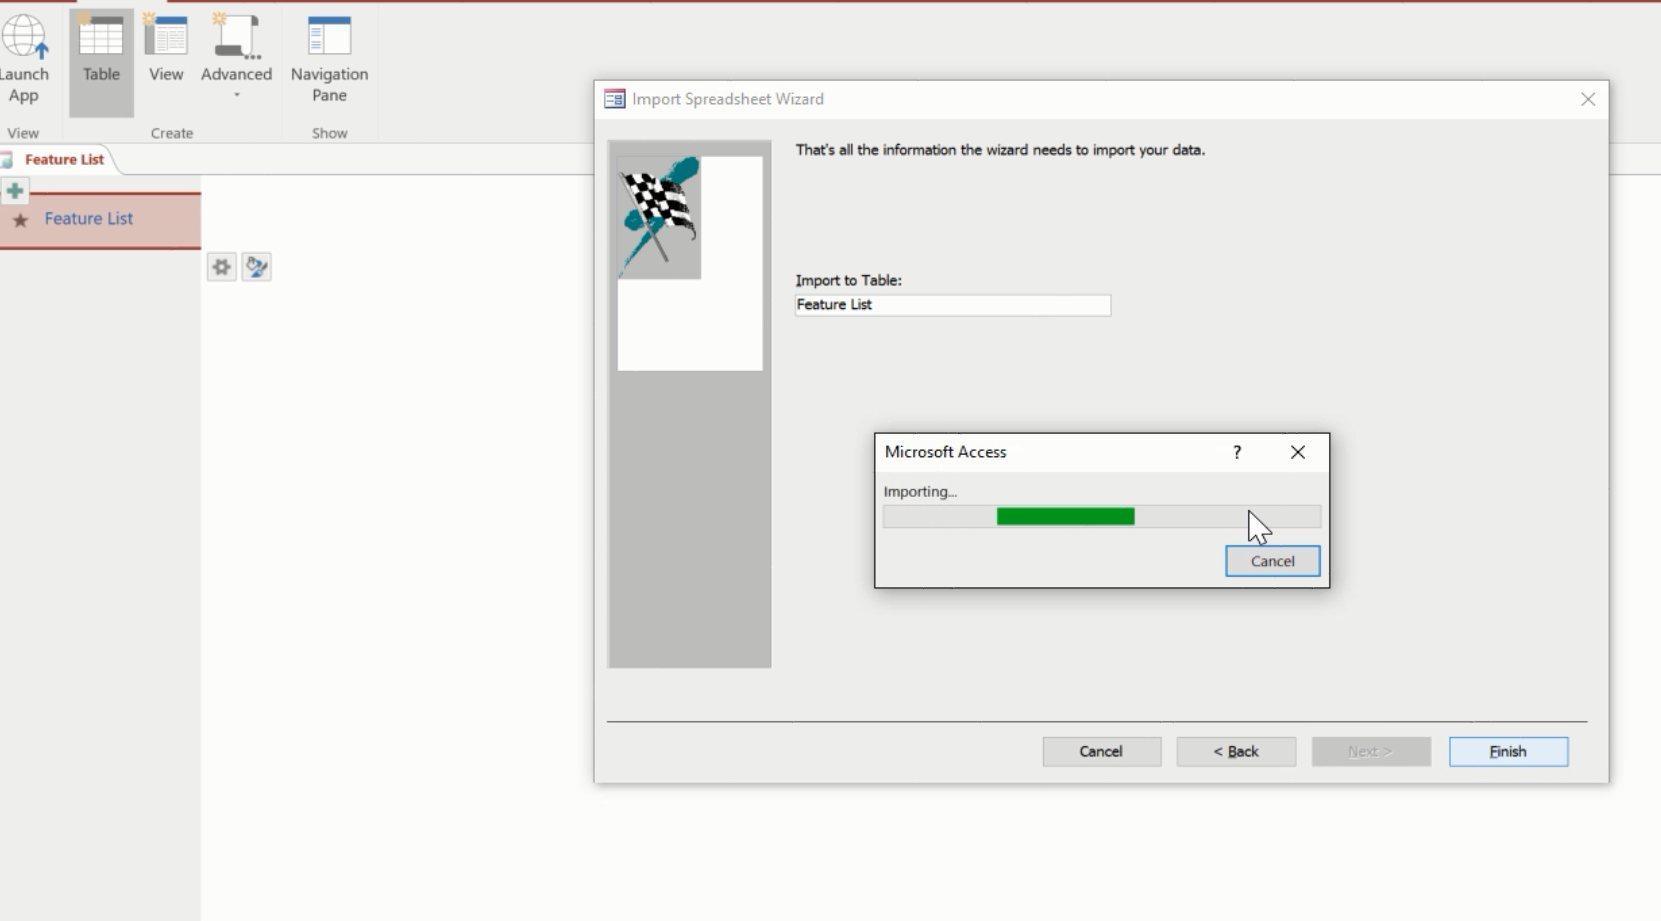
Add a unique name for the table and process the import by clicking Finish
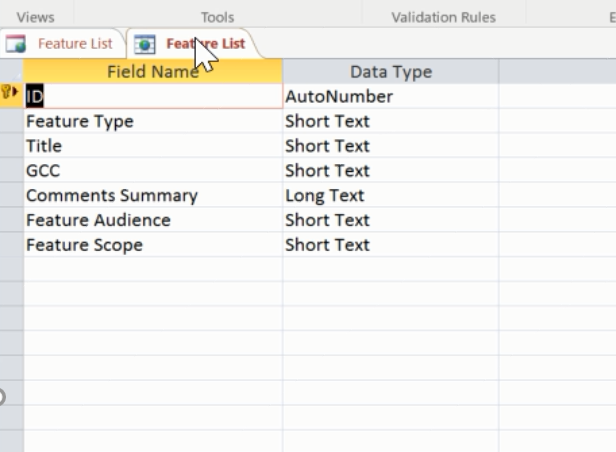
You can tweak the table design or leave as-is.
You can switch to Datasheet mode; view and/or edit data. All data changes you effect are performed on the server and you are not required to save the file to persist changes.
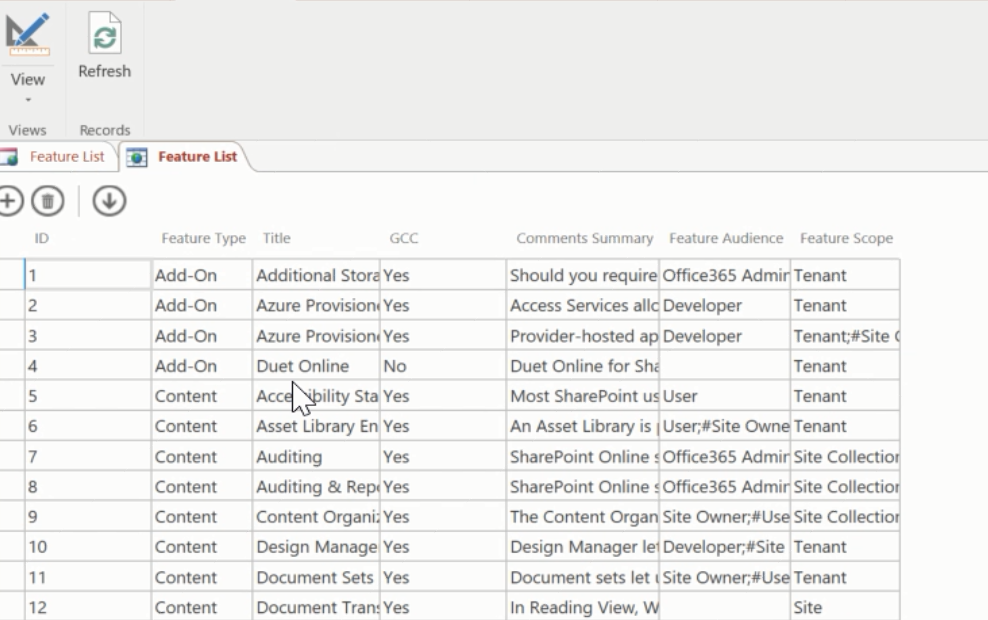
Let's close the Access web application database. Navigate to the SharePoint Add-In (if you are already there hit refresh) and you'll be presented with the table. You can click on each row and view the detail pane with basic form capabilities.

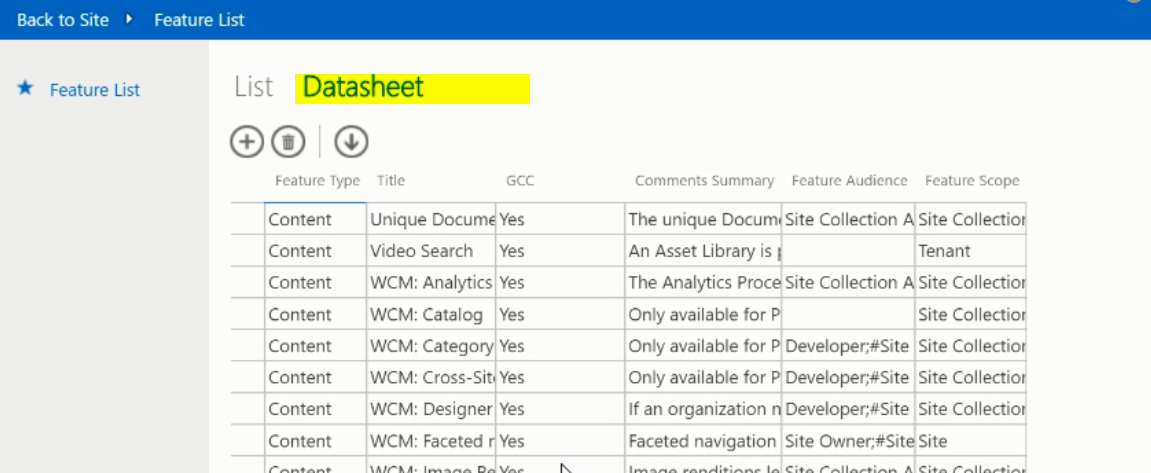
Switch to Datasheet mode and you can edit data just like you can with MS Access
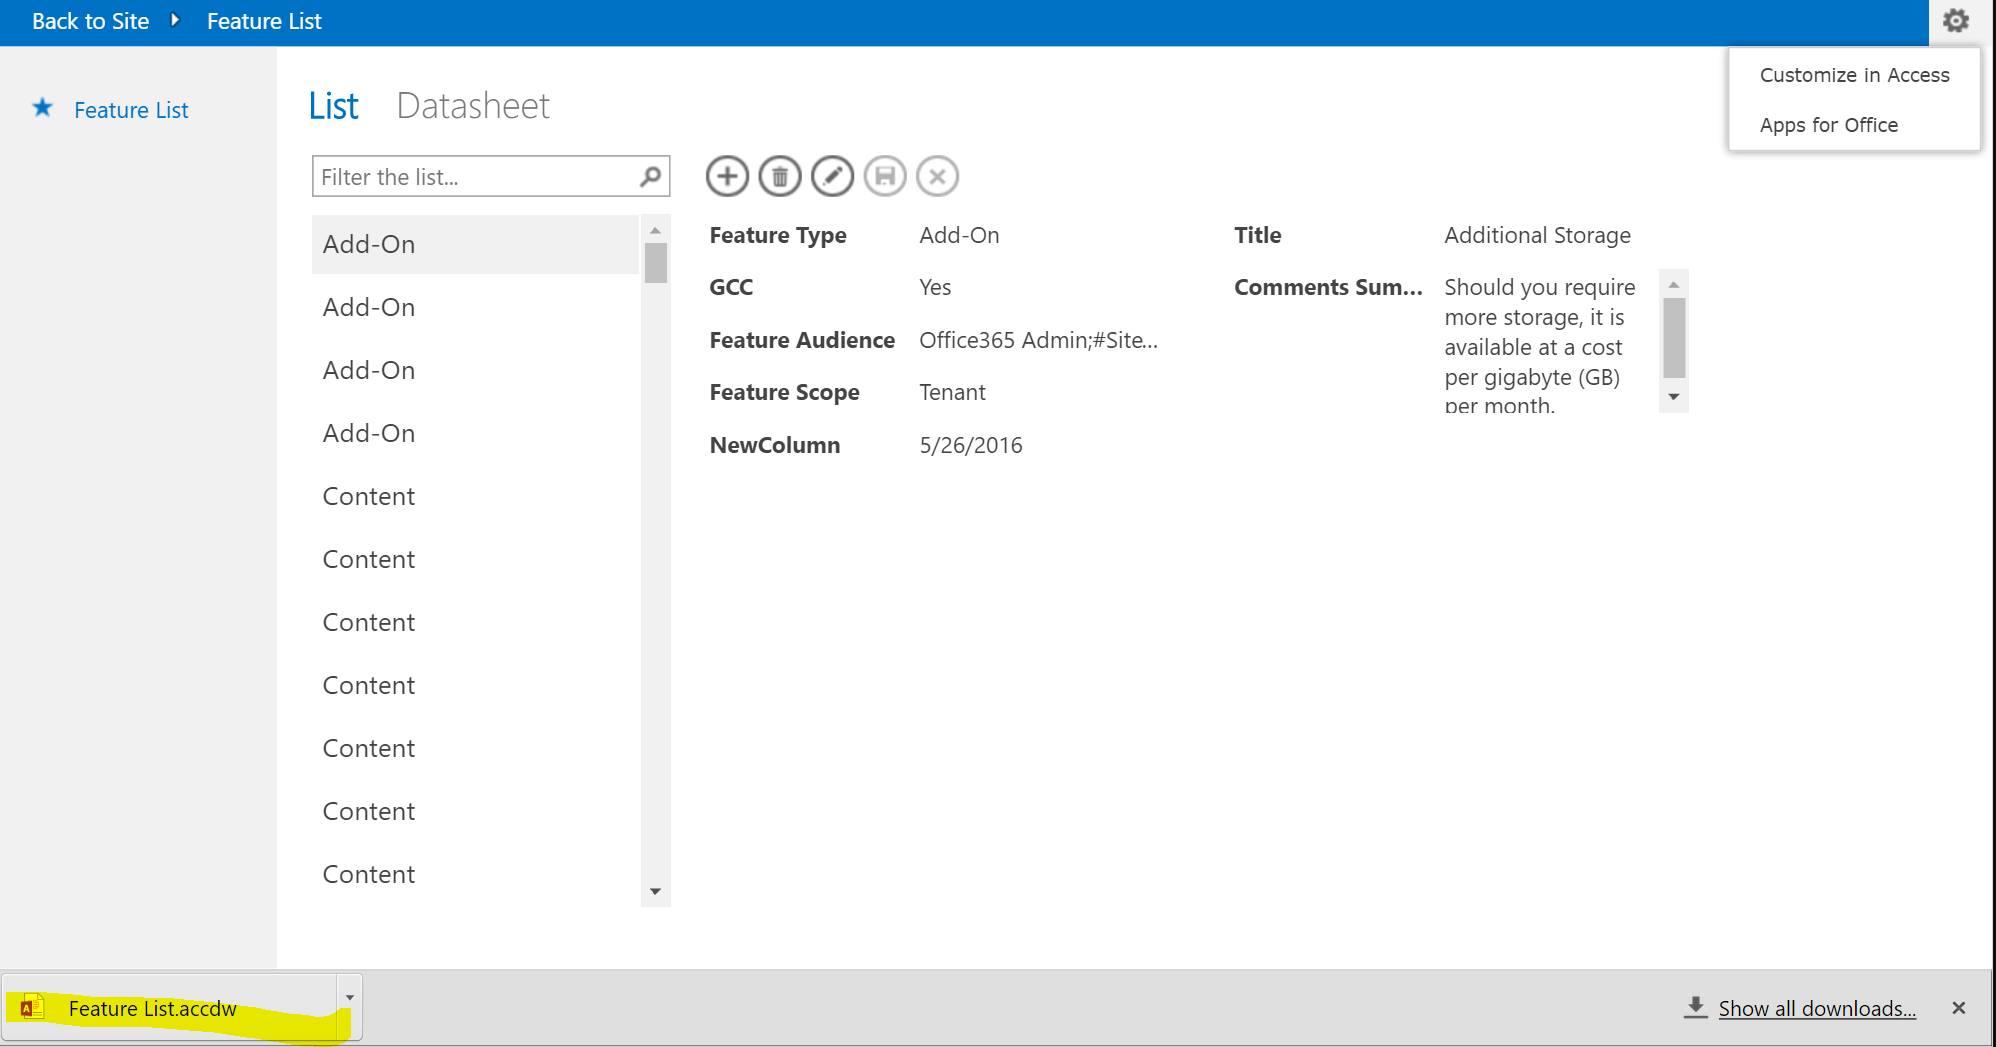
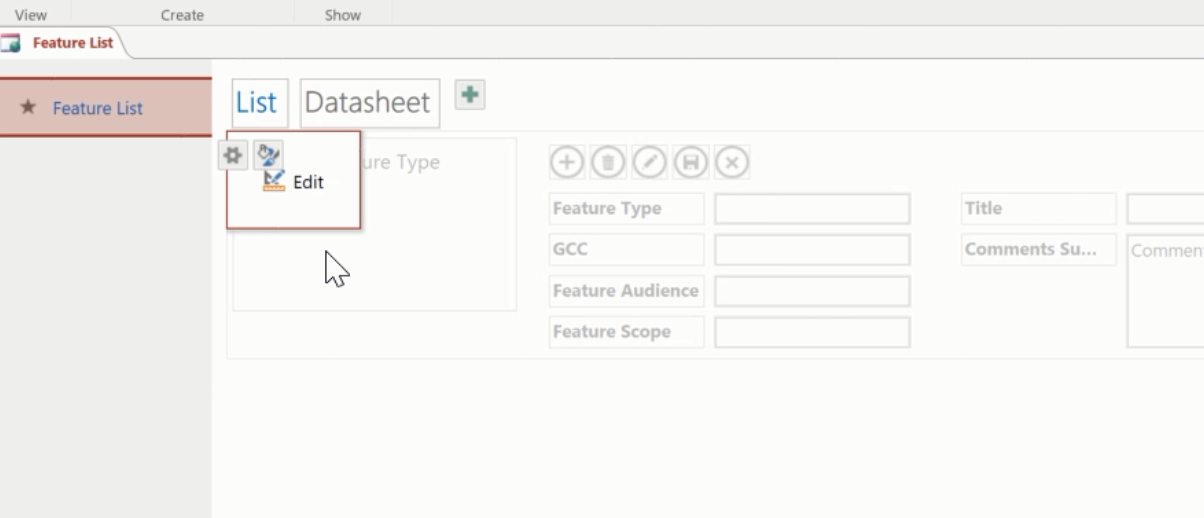
At any time you can customize the table(s) by opening the database with the 'Customize in Access' option

The Access Web Application (accdw) file will download. Open the file to further customize your Access Services database
Open the table to customize. If you want to expand and customize the Access Web application take a look at this post https://support.office.com/en-us/article/Build-an-Access-database-to-share-on-the-Web-cca08e35-8e51-45ce-9269-8942b0deab26 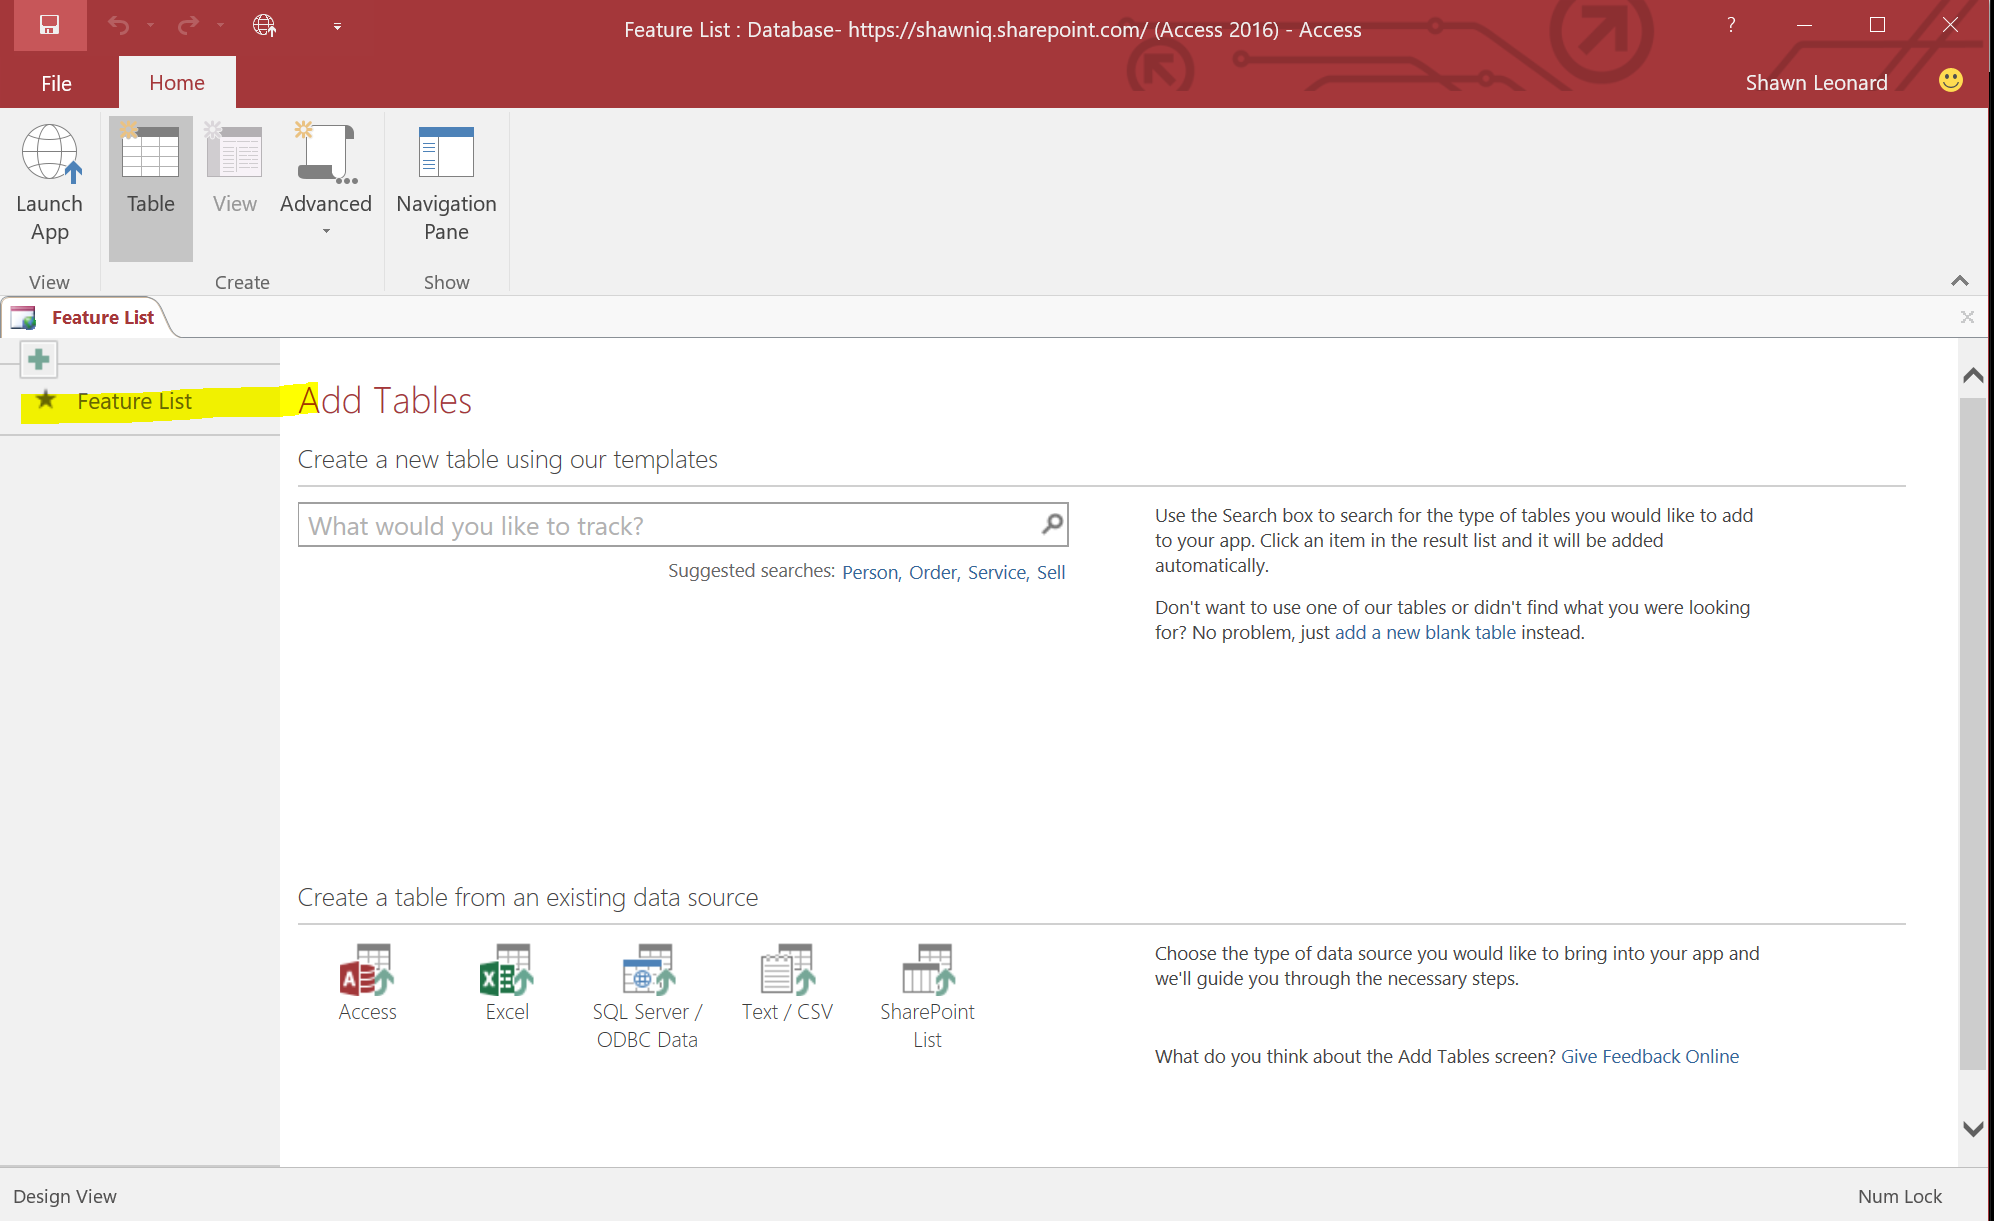
Edit the table
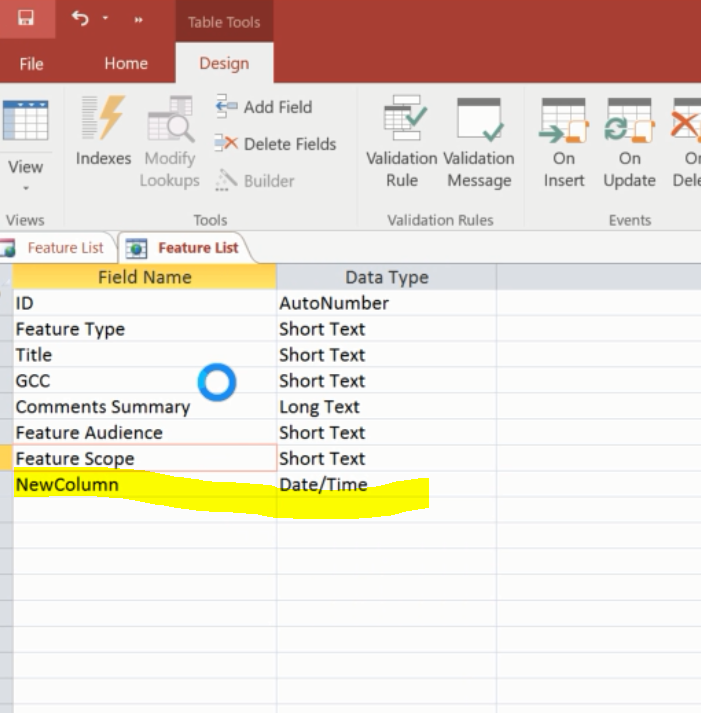
Add a new column. You can save the changes or close the design pane and be prompted to save changes.
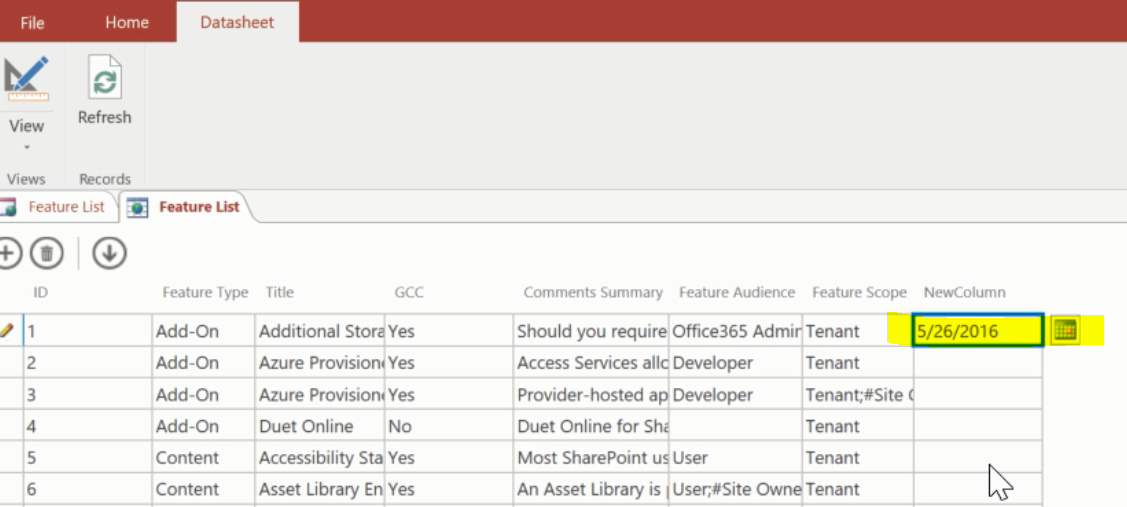
Add data to the new column by navigating to datasheet mode
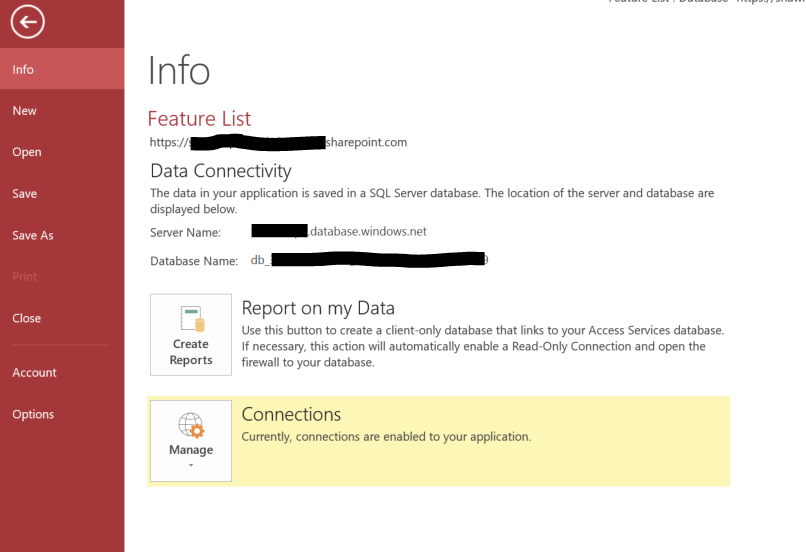
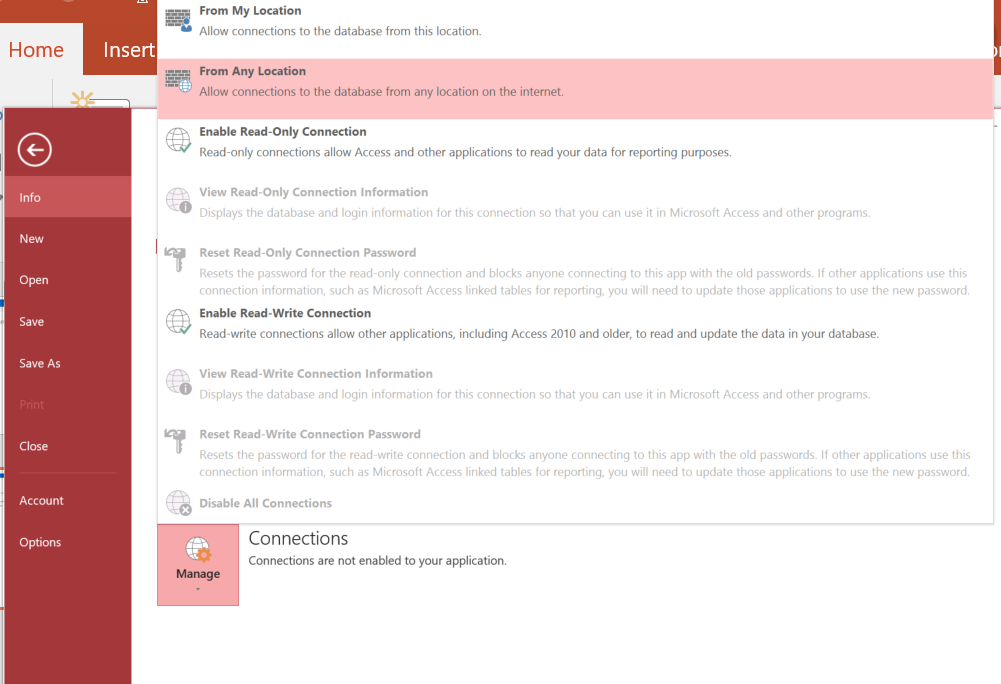
We successfully imported a table, modified the database schema, and updated data via the Access Add-In and Access Web database. We can manage the database by setting the database connections (firewall rules and permissions). From the manage connections screen we can also review the database connection properties.
Set the firewall rules to enable a connection to the Access Services database from Any location
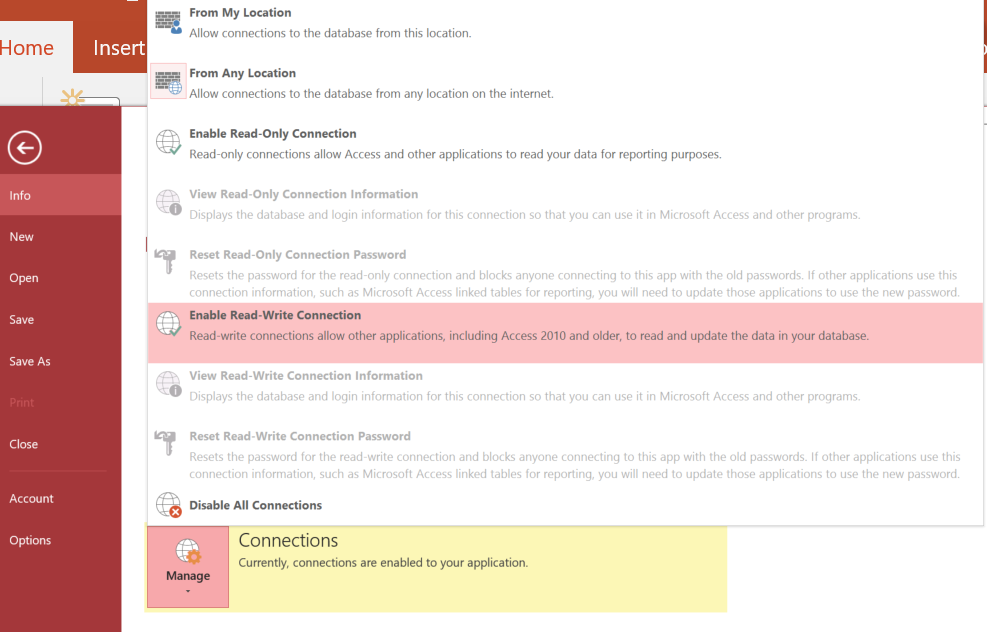
Enable Read-Write connection. This will allow us to read/write from an Access database, SQL Server IDE, Web Application, or BCS Services
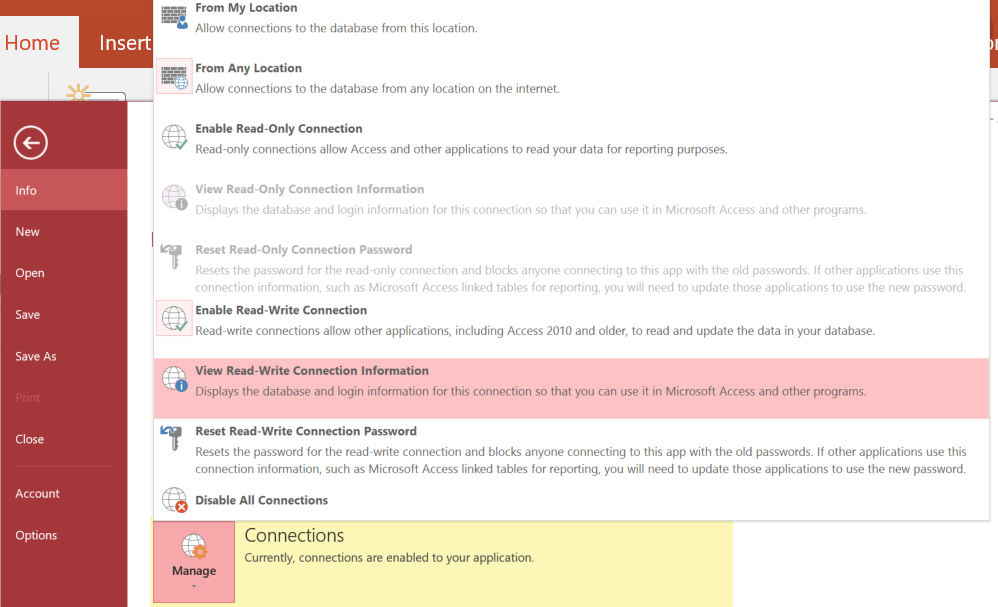
After we enable the connection for Read or Read-Write we can now view the Connection Information
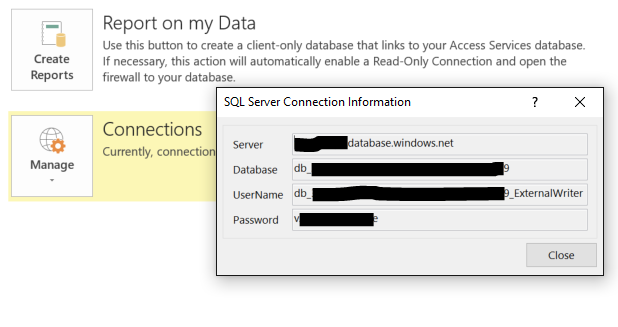
You can view this connection information anytime by launching the ACCDW. Take note of the username, password, server name, and database name. The user account will not be able to enumerate other databases on the server. All connections to the database must specify the database name as the default database
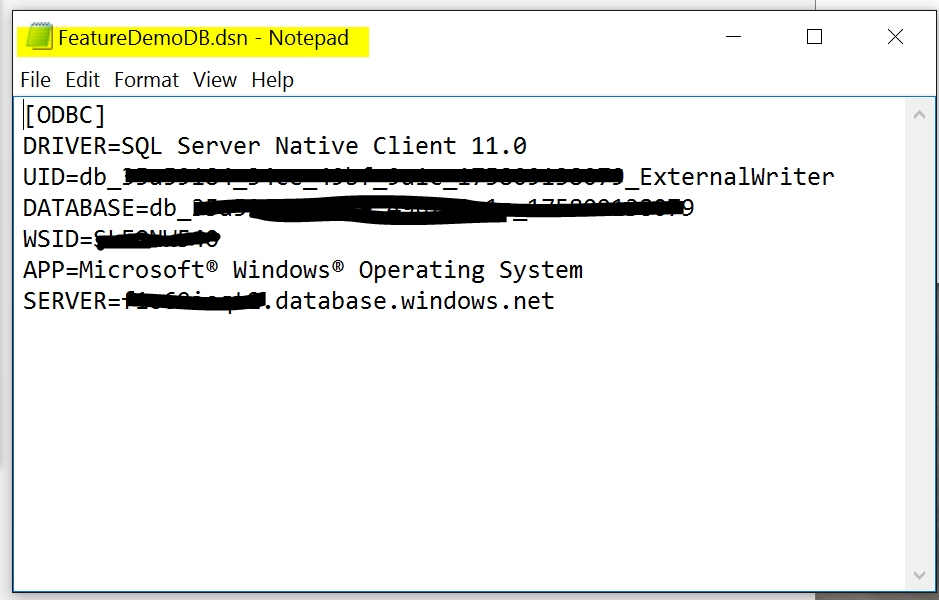
We will create a DNS file using notepad or any other text editor. Take note of the specific variable names.
- [ODBC]
- DRIVER=SQL Server Native Client 11.0
- UID=[your username]
- DATABASE=[your database name]
- WSID=[your computer name]
- APP=Microsoft® Windows® Operating System
- SERVER=[your server name]
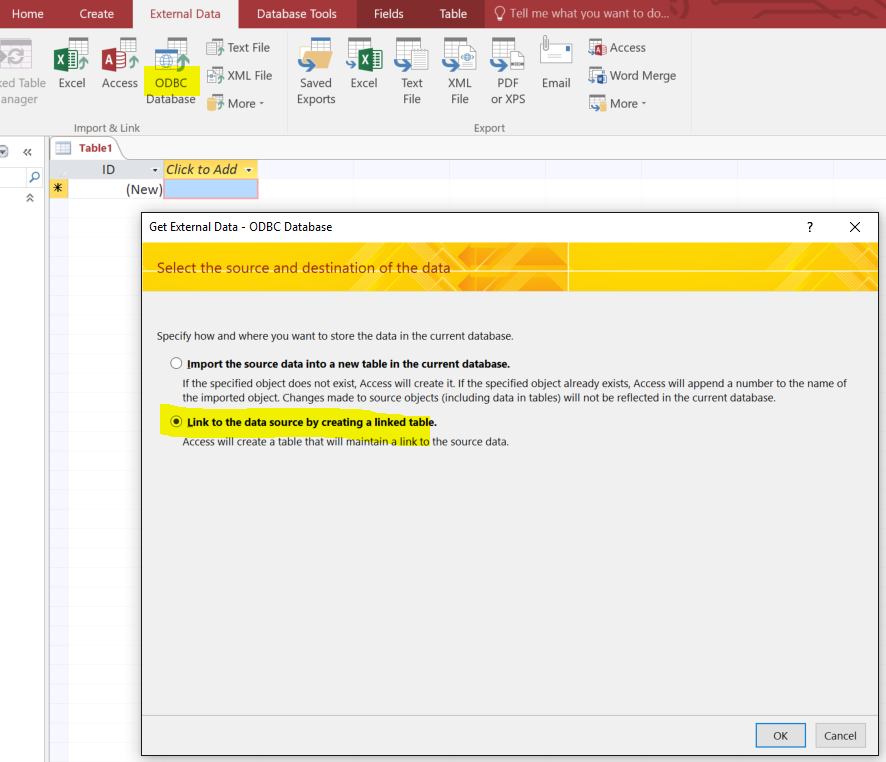
Now that we have the connection information and a DSN file we can create a link table in a new Access database. Let's link to a data source by choosing an ODBC data source.
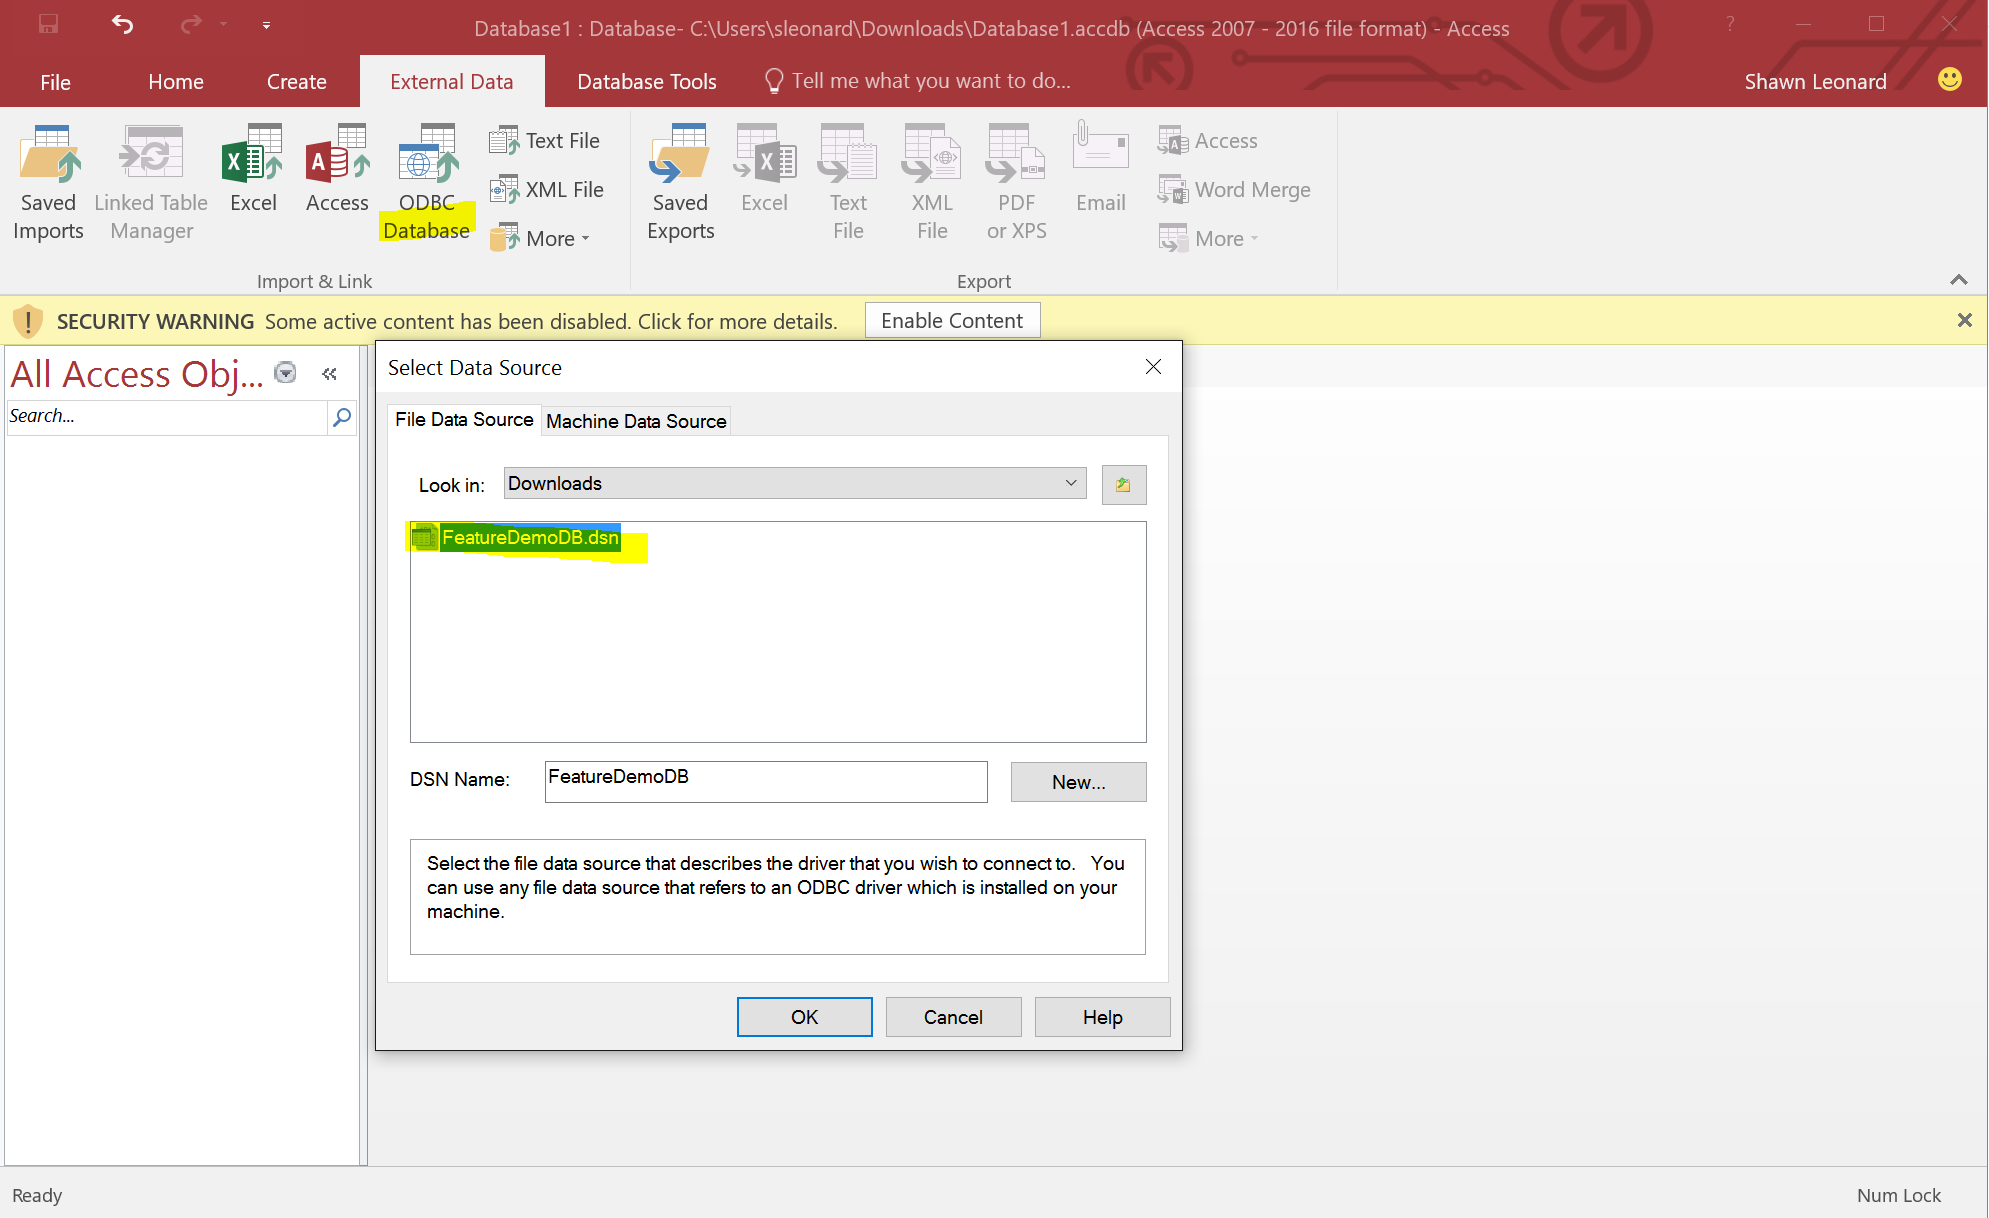
Navigate to the DSN file
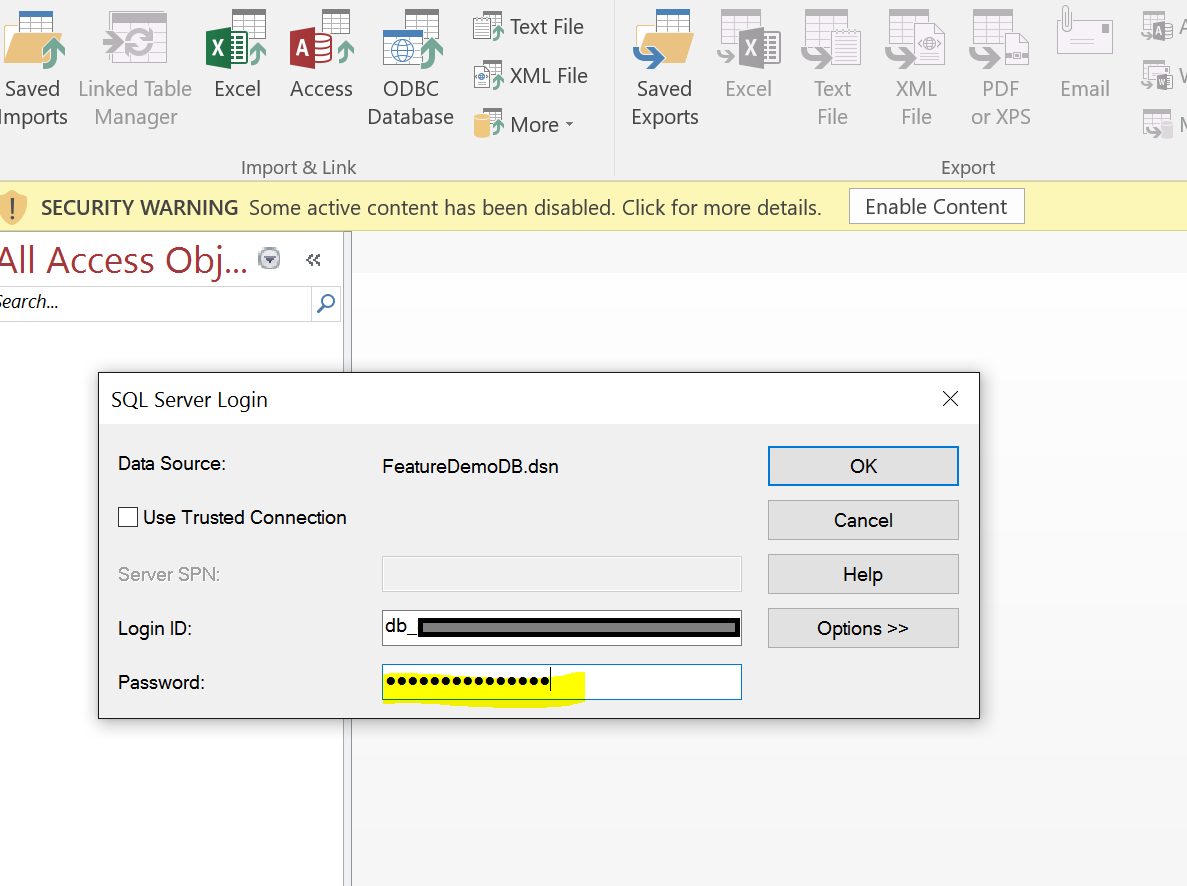
You'll be prompted for a password. Use your password from the connection information
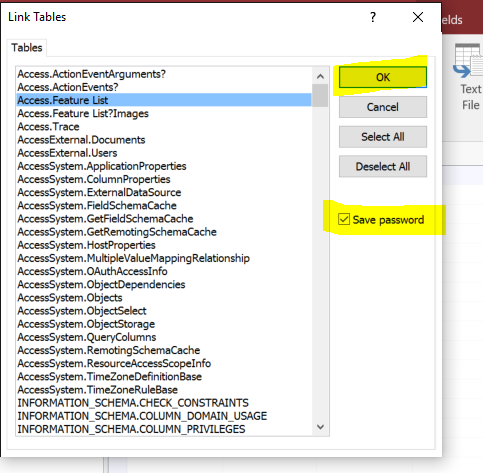
Once you click Ok you'll be presented with a list of tables from your Access Services database. Select the table you've created. You can leave the Save password unchecked and be prompted for the password next time you open the access db. In this sample I'll check the Save password option.
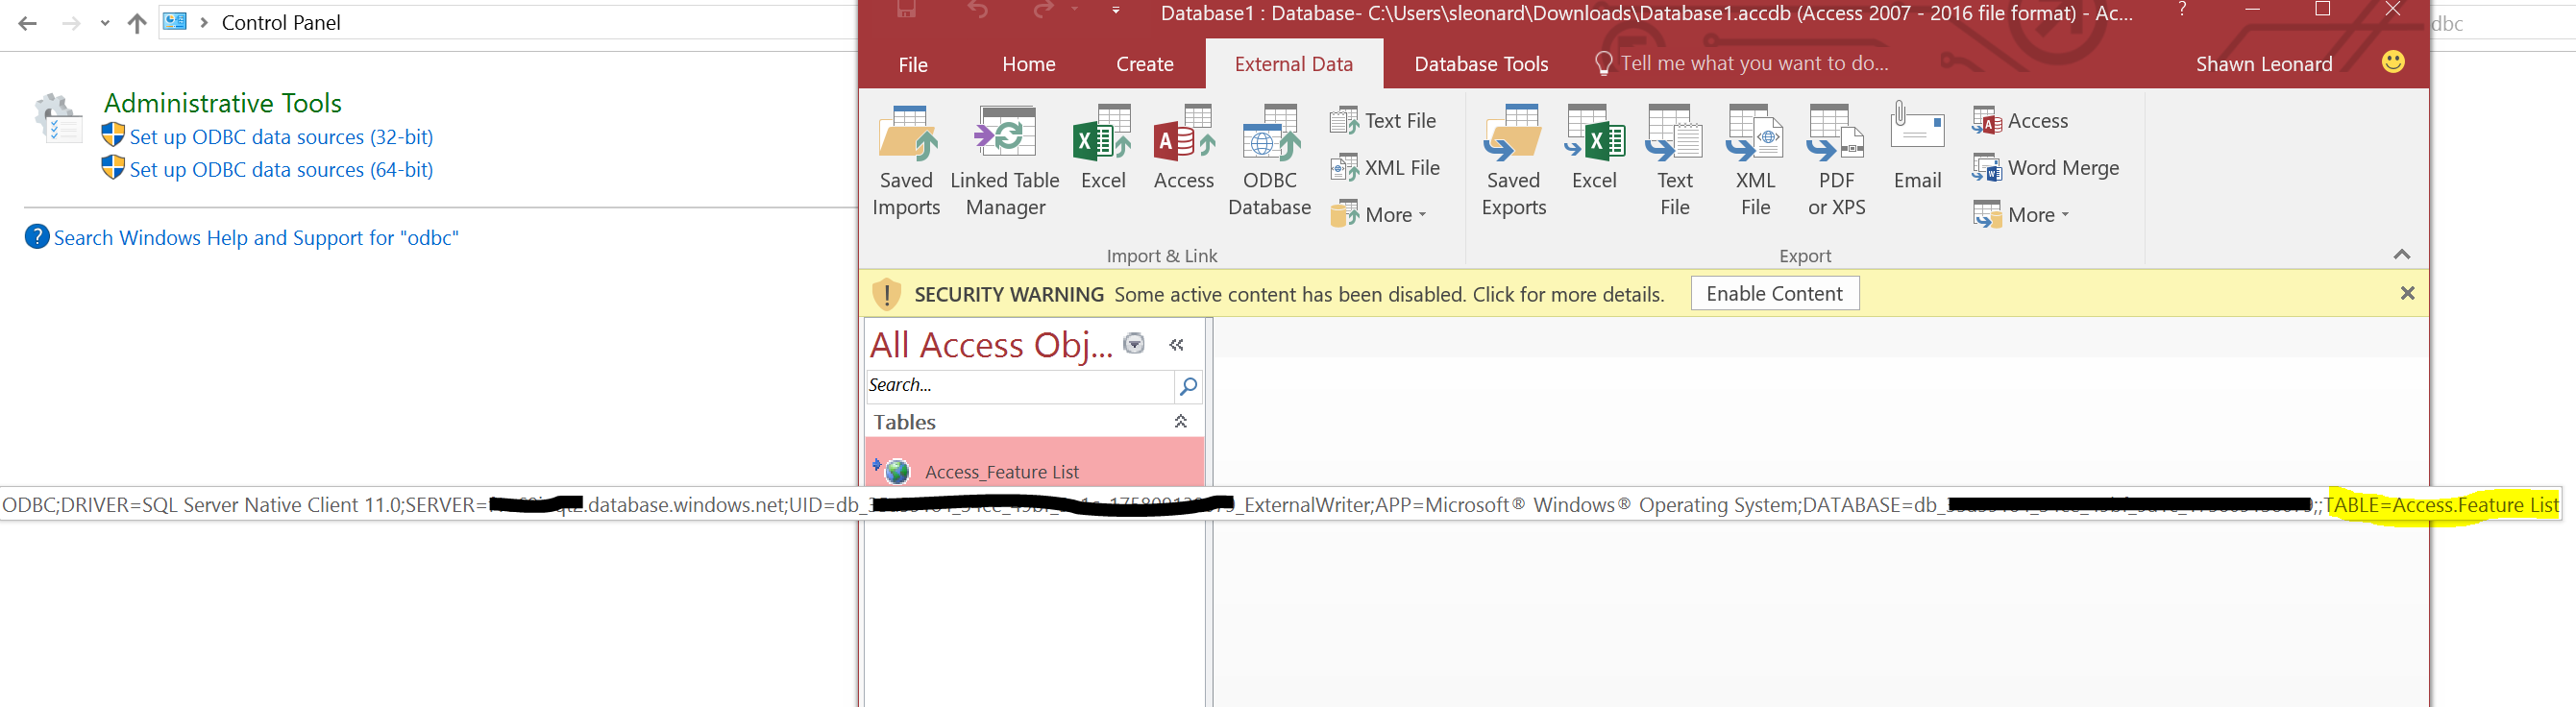
The Linked table is created in the access database. I hovered over the table to display the database connection properties.
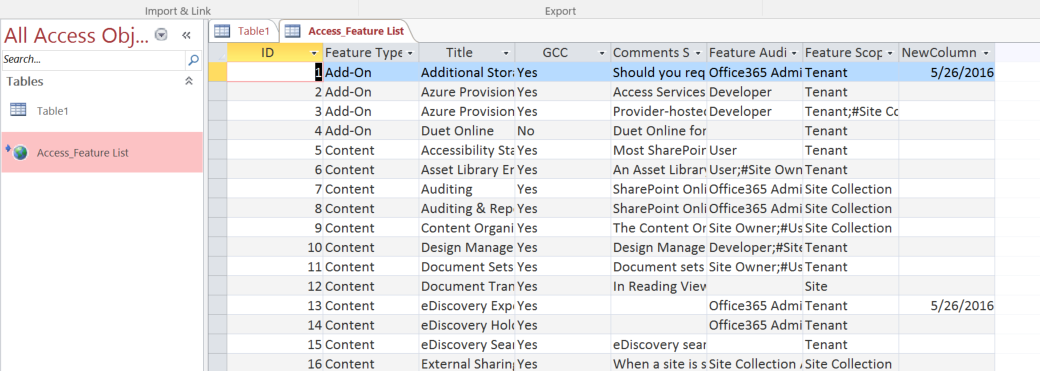
Open the table in Datasheet mode to view the data in the database and change it.
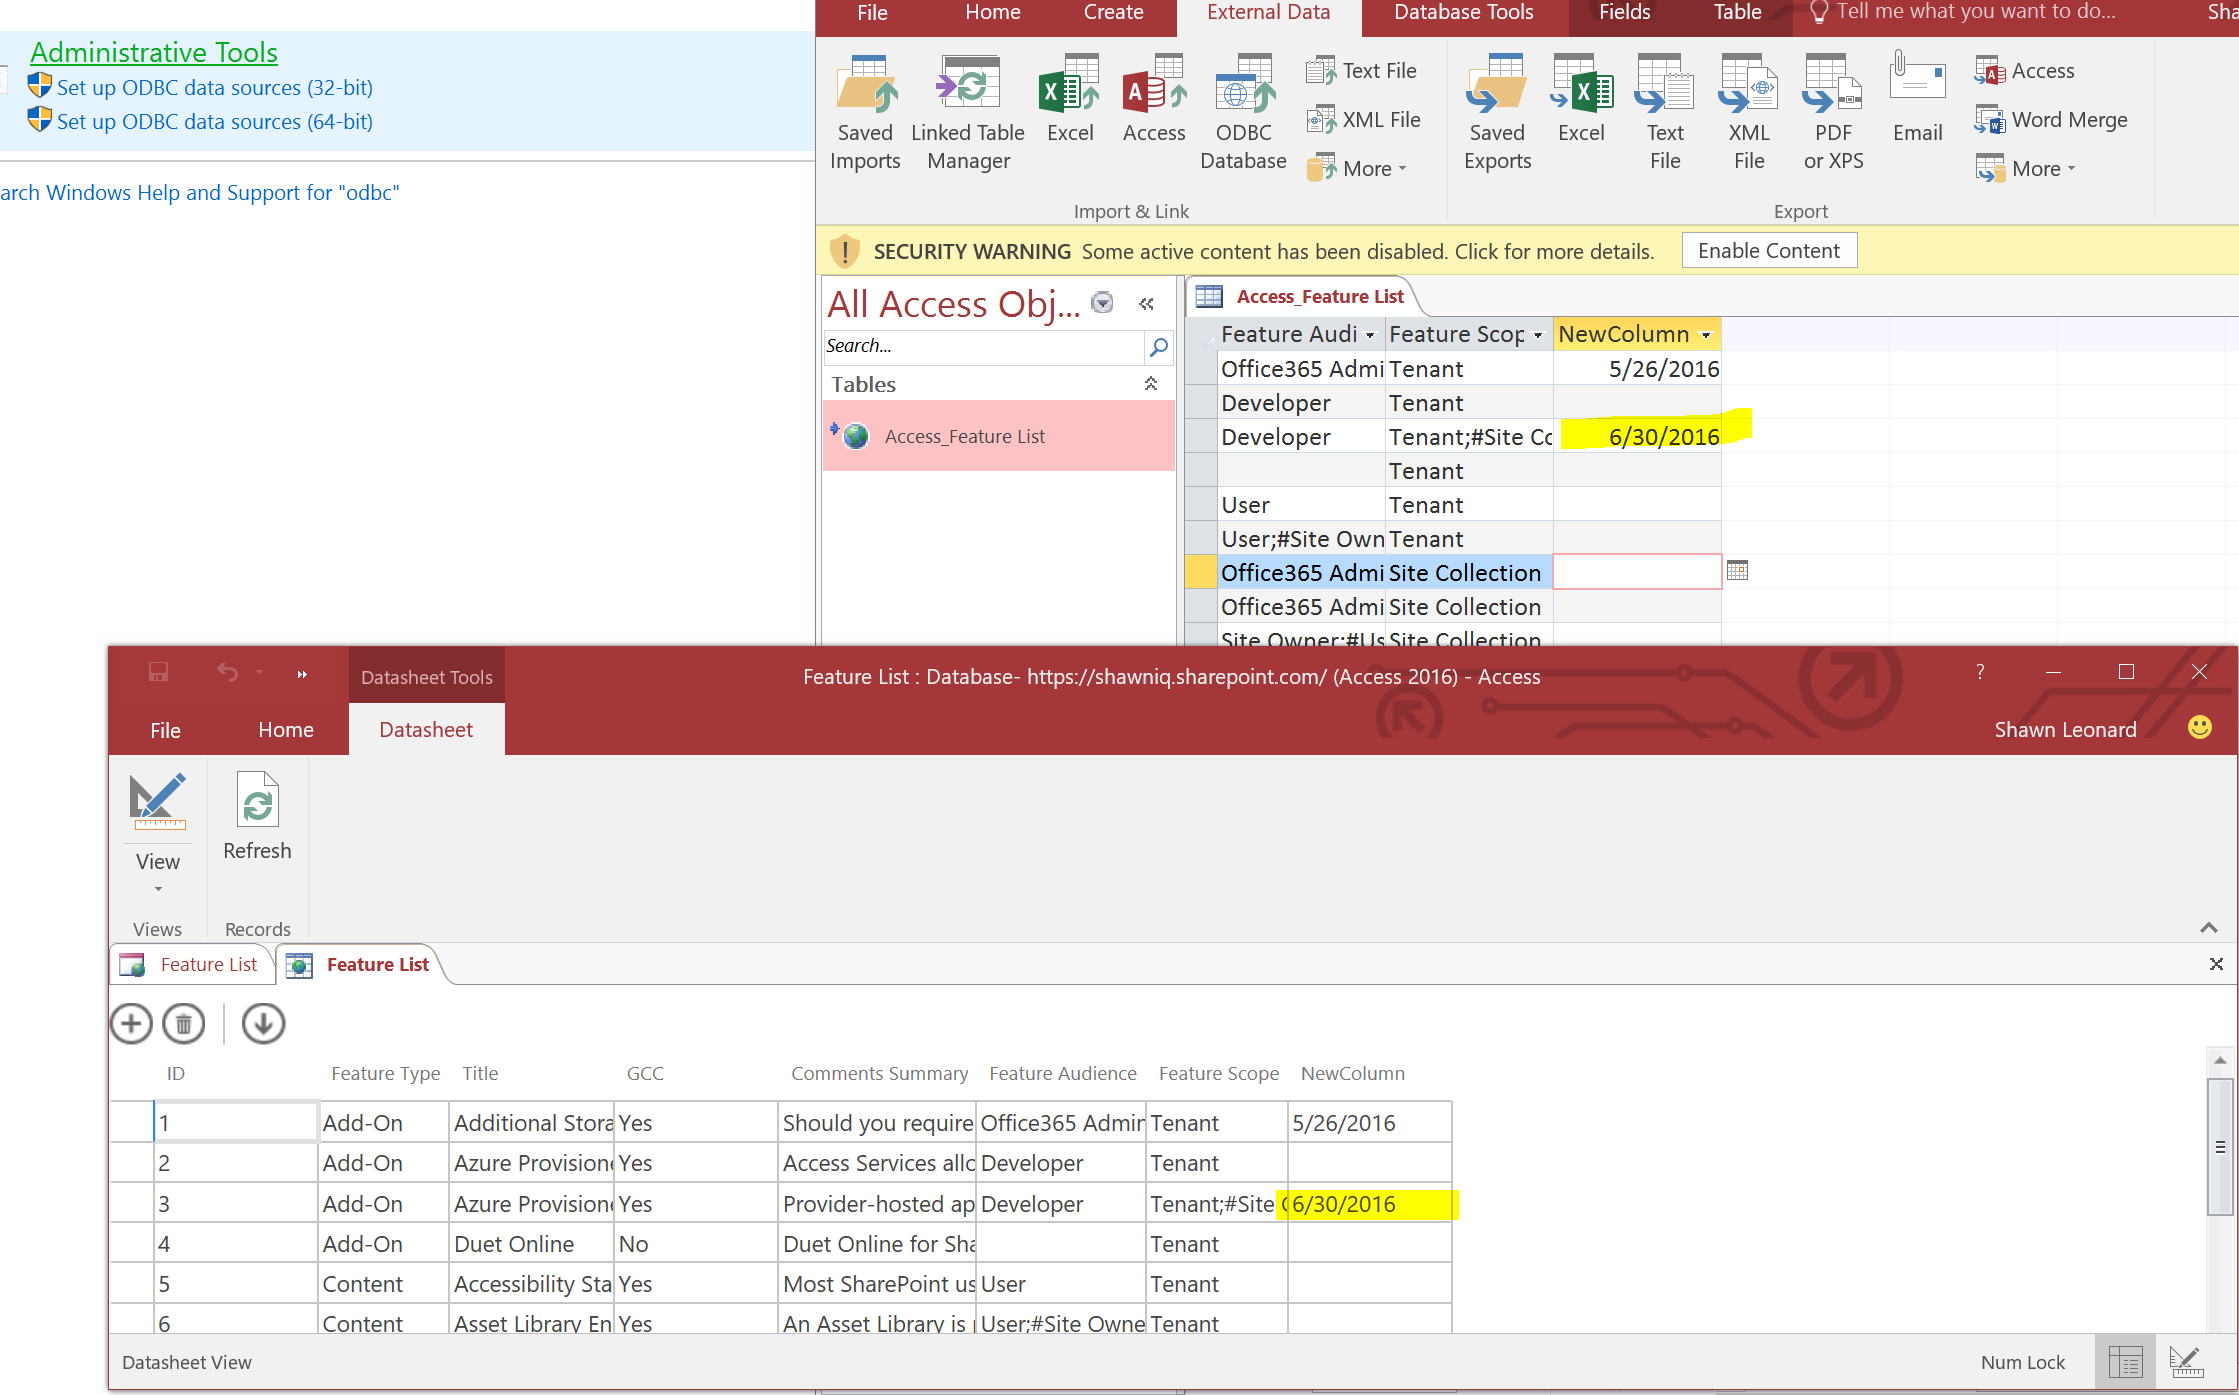
In this screenshot I'll demonstrate the same data rendering in the Access web application db and the Access db through the linked table. You can edit the data in either one, hit refresh in the other db, and view the modified data.
In the next two blogs we will use the same Access Services database to expose the data via two different options
- A custom web application via Entity Framework.
- Business Connectivity Services via external content types and an external list