How to backup and restore user database from SQL server to Windows Azure blob storage.
From Cumulative Update 2 for SQL Server 2012 Service Pack 1, SQL Server provides more storage option for backup and restore. SQL Server backups can be storage in Windows Azure Storage. You can backup and restore to/from Windows Azure Blob storage by using Transact-SQL and SMO(Server Management Objects). This enhancement can be used on an on-premise SQL Server. But, it will be a great backup storage of SQL Server on VM(Windows Azure Virtual Machine). Let’s see how to backup and restore to/from Windows Azure Blob storage.
Pre-requisite
To use this feature, you need to install cumulative update 2 for SQL Server 2012 Service Pack 1(SP1). You can download cumulative update 2 for SQL Server 2012 Service Pack 1(SP1) from here.
You need to have a Windows Azure account.
If you do not have one, you can use Windows Azure 90 day free trial from here.
Creating a Windows Azure Storage
To backup database to Windows azure blob storage, you should create your Windows Azure storage account.
- Log in to the Windows Azure Management portal.
- At the bottom of Management Portal, Click NEW
- On the ribbon, select DATA SERVICES – STORAGE – QUICK CREATE

- In URL, type a subdomain name to use in the URI for the storage account. The entry can contain from 3-24 lowercase letters and numbers. In REGION/AFFINITY GROUP, Choose a region or an affinity group in which to locate the storage.
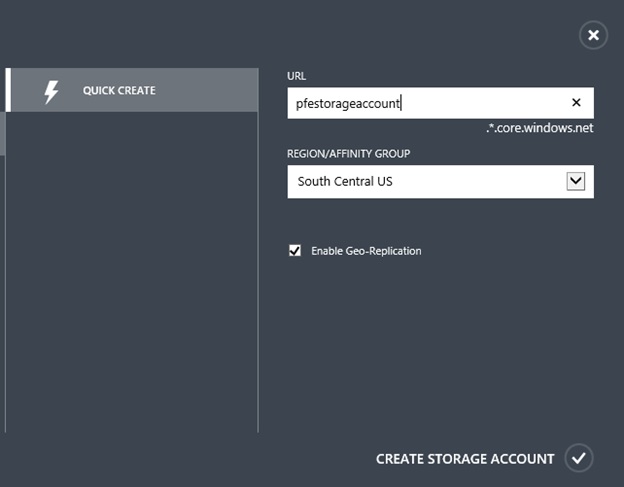
- Click CREATE STORAGE ACCOUNT.
Create a Container
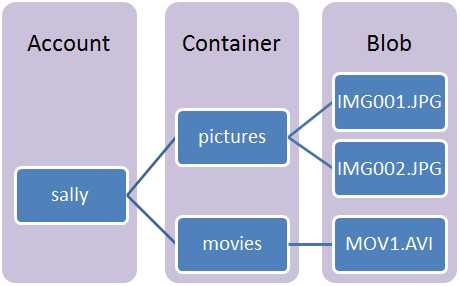
Next, you need to create a container in storage account. A container provides a grouping of a set of blobs. All blobs must be in a container. An account can contain an unlimited number of containers. A container can store an unlimited number of blobs.
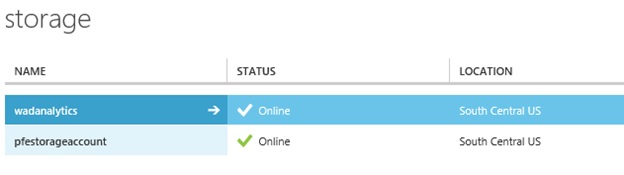
- Select the storage account from Management Portal. Dashboard of selected storage account will be opened.
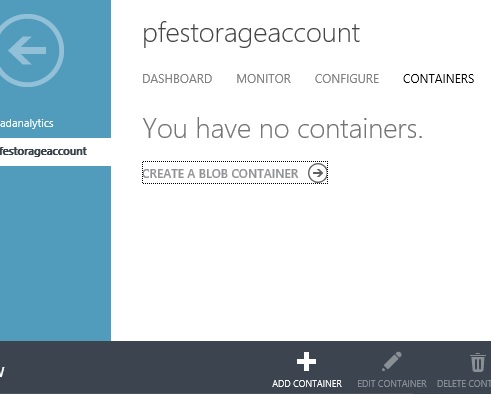
- Click CONTAINERS tab to view a list of container. There is no container, because you just created the storage account. Click CREATE A BLOB CONTAINER or ADD CONTAINER button.
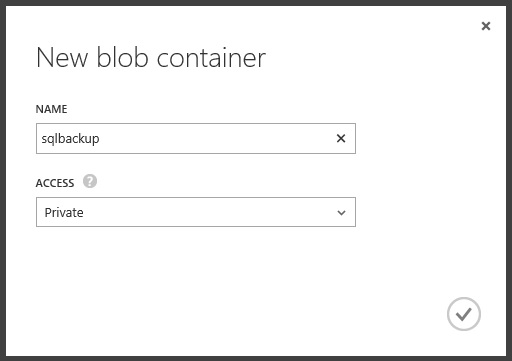
- New blob container screen will be opened. In NAME, Type the Name of container. set ACCESS to private and click finish button.
Creating a credential in SQL Server
First, you need to create a credential that store the Windows Azure storage authentication information in SQL Server.
Connect to SQL Server using SQL Server management studio and open a new query window.
The following Transact-SQL code snippet shows creating a credential of Windows Azure storage authentication. Copy the following code to new query windows.
CREATE CREDENTIAL mycredential
WITH IDENTITY = 'mystorageaccount',SECRET = '<storage access key>';
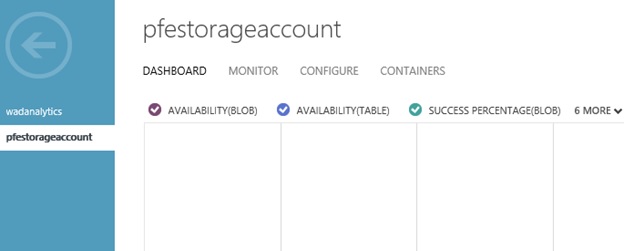
Back to Windows Azure Management Portal, click DASHBOARD button of your storage account.
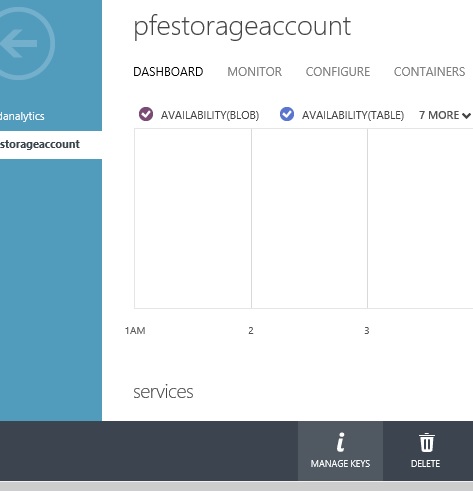
Manage Access Keys windows will pop up.
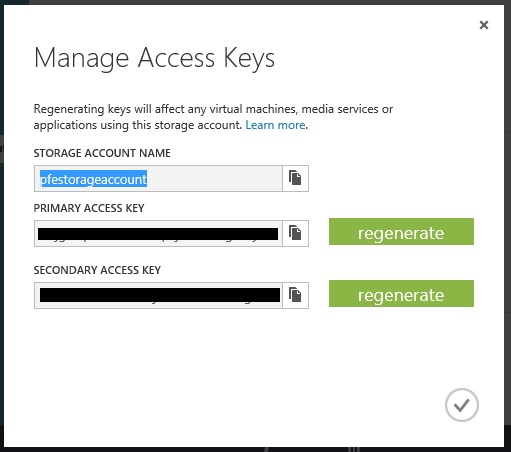
Copy the name of storage account(pfestorageaccount) and paste it to 'mystorageaccount'.
Copy value of PRIMARY ACCESS KEY or SECONDARY ACCESS KEY and paste it to '<storage access key>'.
Your Transact-SQL will be

Execute t-sql statement.
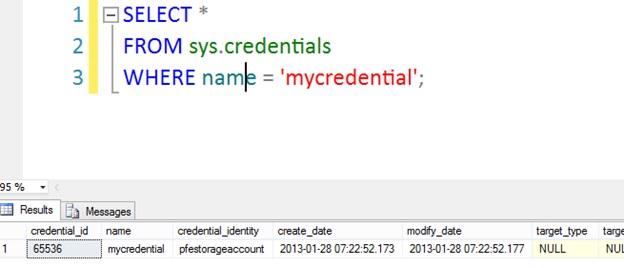
You can verify ‘mycredential’ credential is created successfully by using the following statement.
Backing up a database
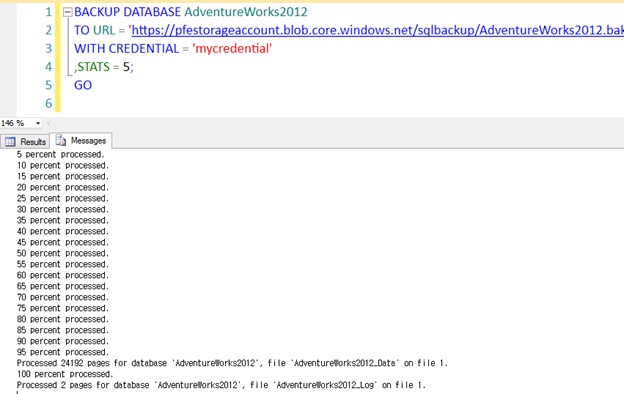
After creating a credential, you can back up your database to the Windows Azure blob storage using your credential. The following example backs up the AdventureWorks2012 database to the Windows Azure Blob Storage service:
BACKUP DATABASE AdventureWorks2012
TO URL = 'https://pfestorageaccount.blob.core.windows.net/sqlbackup/AdventureWorks2012.bak'
WITH CREDENTIAL = 'mycredential'
,STATS = 5;
GO
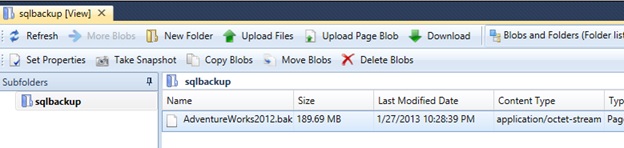
If you have any 3rd party management tool of Windows Azure Storage, you can check the backup file using that.
Restoring a database
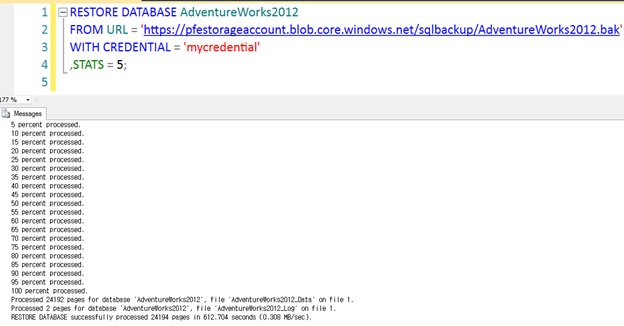
To restore a full database backup, execute the below Transact-SQL:
RESTORE DATABASE AdventureWorks2012
FROM URL = 'https://pfestorageaccount.blob.core.windows.net/sqlbackup/AdventureWorks2012.bak'
WITH CREDENTIAL = 'mycredential'
,STATS = 5;
GO
There is more detailed steps on MSDN library. Please refer to this tutorial.
By JYSeong