Creating an Item Template Extension (Part 3)
The VSIX file we created in Part 2 is the new unit of deployment for extension in Visual Studio 2010. VS knows how to install these types of extensions, and the VS Gallery is a place where you can host them. Also, the contents of the Gallery are then discoverable from within Visual Studio.
Step 6 – Publishing Your Extension
To publish your extension, point your favorite web browser to: www.visualstudiogallery.com. You must log into the site, using a Windows Live ID. If you don’t have an ID, it’s easy to create one for a hotmail account. After you’ve logged in… near the top of the page, just below the main header, you’ll find a link to “My Contributions” .

Click that link, and it will bring you to a page that lists all of the extensions that you have posted to the Gallery.
On the right side of that page, you will see an Upload button. Click that button to begin the upload process…
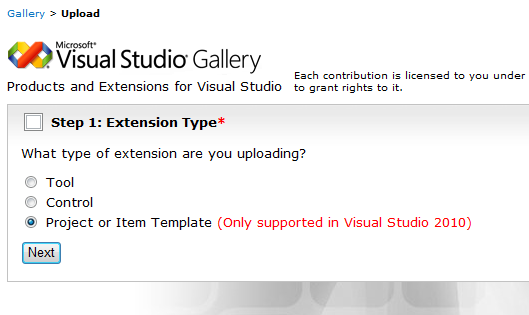
First, select the extension type that we’re posting. In this case it’s the Project or Item Template entry. Control is used to designate toolbox controls. And, everything else is a Tool.
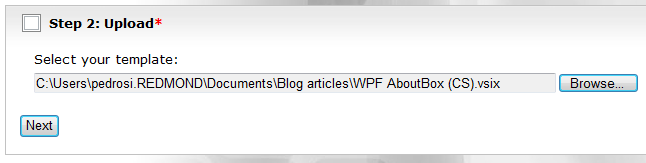
Then, enter the path to the VSIX file that you want to upload. The Browse button brings up a File Open dialog to help locate your VSIX file. There is validation performed on the VSIX file you’re about to upload. If there are errors in your VSIX metadata file, you will get error messages when you click the Next button.
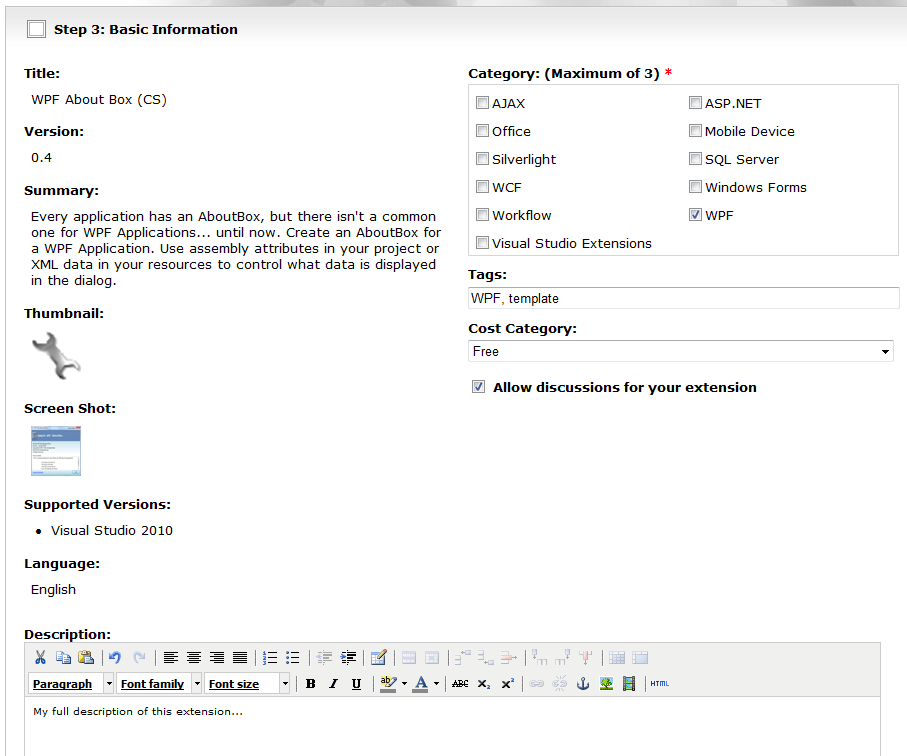
The fields on the left (Title, Summary, Version, Thumbnail, etc) are retrieved from you VSIX manifest file and populated on this page (if you want to change those, you need to go back and edit the VSIX manifest for your extension). You need to fill in the rest:
· Category: corresponds to the categorization scheme on the Gallery. This is WPF template, so we only selected that one.
· Tags: you can tag your extension with additional keywords. These keyword tags are used during Search, so they may make finding your extension easier.
· Cost Category: This can be either Free, Free Trial, or Paid. (Note: Paid can only really be used with Reference Links… there is no mechanism for paid extensions hosted on the Gallery).
· Description: this is a free form field where you can be as descriptive as you’d like about your extension. This description is only shown on the website. In the Extension Manager, you only ever see the Summary of your extension.
Once you are done entering your extension information, read and check the “I Agree to the Contribution Agreement” checkbox. Then, you can click the Create Contribution button.
When you return to the Contributions page, you will now see your new extension listed there…
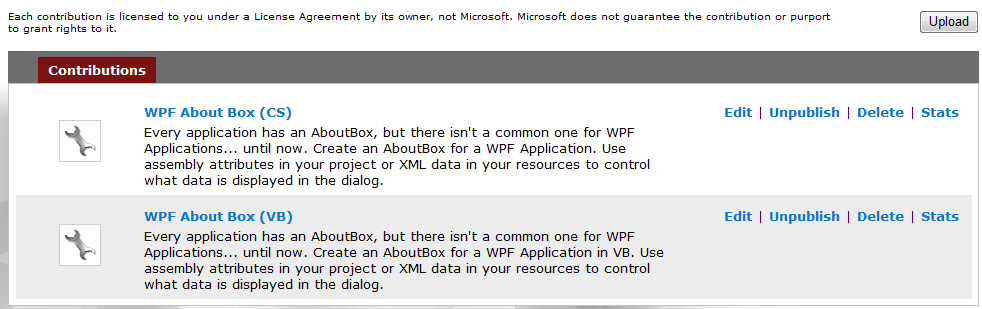
You’ll also notice that each extension has links to edit them again (you can update your description and tags as much as you’d like), and unpublish or delete (if you do not want your extension on the Gallery any longer). Plus, Stats lets you see how many times your extension has been downloaded.
Note: If you make updates to your extension, you need to come back to this Contributions page and select Edit, to upload a new version of the extension. Please be sure that the extension has a new version number, so the Extension Manager will know it’s an update.
Conclusions
These posts have given you the nitty-gritty details for preparing and publishing a template for Visual Studio 2010. Unfortunately for Beta 1, the process for templates is a little bit cumbersome because it wasn’t the focus of the tools we built into the Visual Studio SDK. But running through these steps as I was working on these posts has made that quite obvious to me and a few other folks. So, we are looking at a few things that will make this process a whole lot easier for Beta 2.
But, I’m really looking forward to people following these steps, and producing lots of new templates for all Visual Studio developers to use.
Finally, the SDK tools for building packages, tool windows, and editor extensions have really streamlined this process. The project templates we have to build packages and editor extensions, automatically build a packaged up VSIX file every time you build your extension, so all you really have to do is build the extension and upload the VSIX file in its output directory. And, there is a VSIX manifest editor that lets you easily edit all of the metadata about your extension. So, give those tools a try for you non-template extensions.