Upload Files on Microsoft Azure Storage Container from Windows Store App
This blog post will walk you through the process of creating a Microsoft Azure storage account, configuring a new container for public access, uploading an image (you can arbitrary upload any other binary format) in that container from Windows Store app using Azure Storage extension and finally preview the uploaded image using absolute path of container.
A Microsoft Azure Storage Account hosts three type of services; container, queue or table. A container is primarily used to store blob data. What’s blob data? Simply put, if you need to store large binary content (examples include image or an MP3 sound file, a pdf document, etc.), you use blob.
A discussion around other types is beyond the topic of this blog post however for those interested, here’s a good read from official documentation.
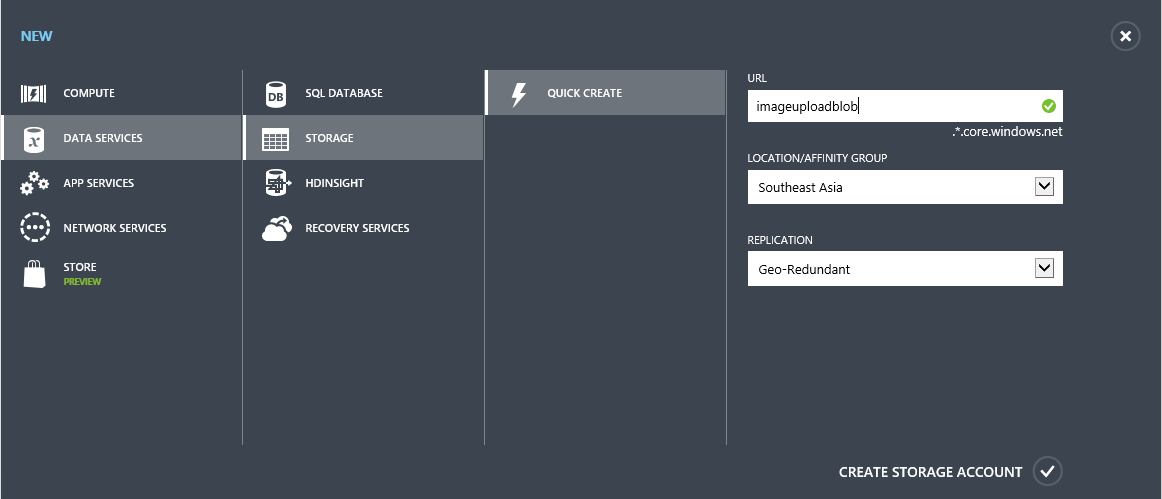
First, move to Windows Azure management portal and click on create New > Storage
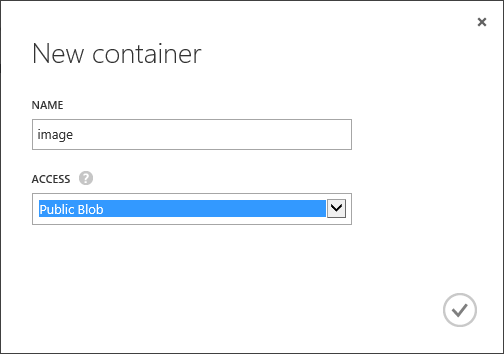
Click on that storage and navigate to ‘Containers’ tab. You’ll notice that no containers exists. Click on Create a Container. Provide a name and make (you’ll need that name later in client app) sure you change the Access from Private to public Blob to ensure it can be previewed in our client application.
That’s it. Your new storage and container is created to storage blob type data. You can store as many containers within a storage as you want. A storage account can contain any number of containers, and a container can contain any number of blobs, up to the 500 TB capacity limit of the storage account.
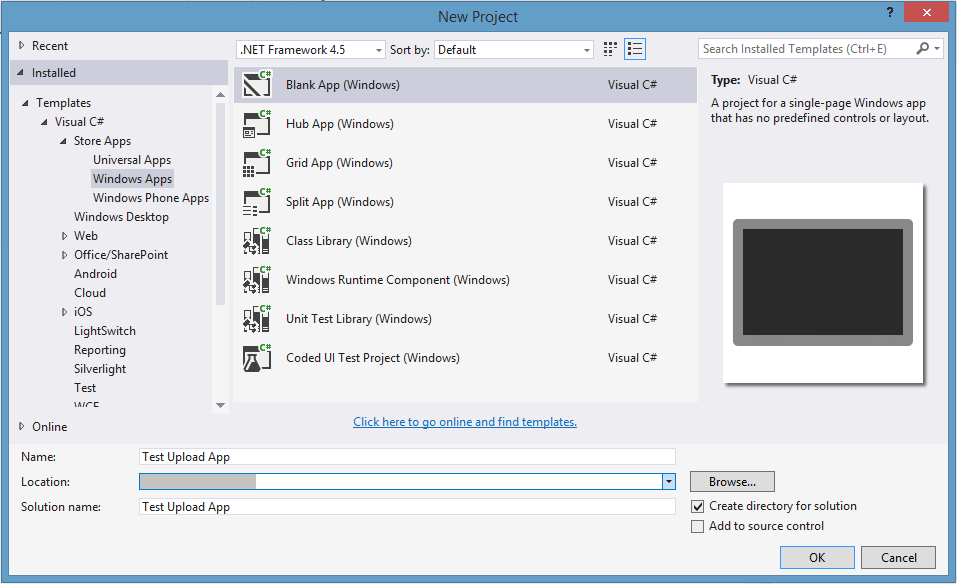
Now let’s create a new Windows Store app.
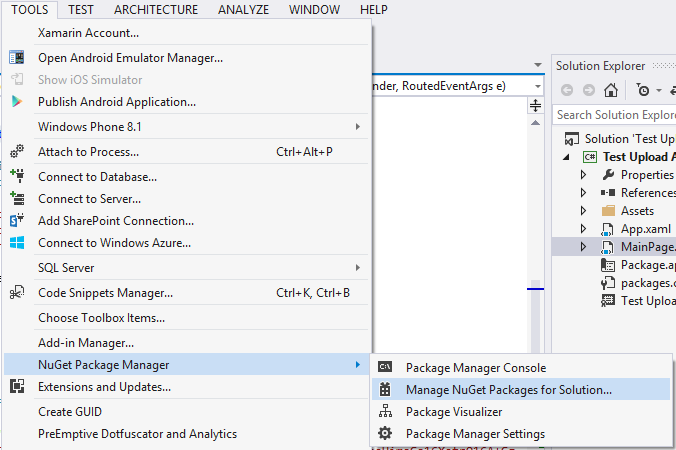
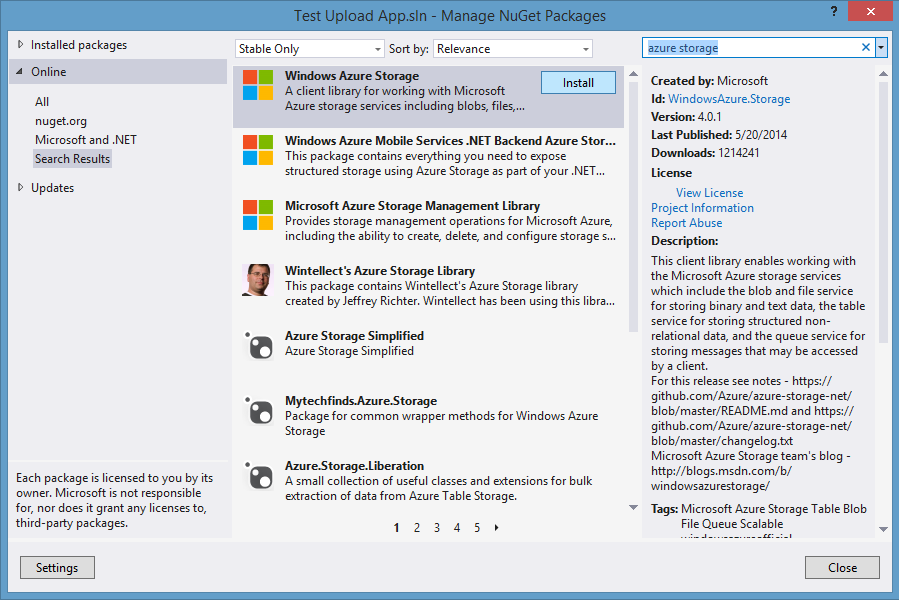
Let’s first add Windows Azure Storage Extension in the new app. For this go to Tools > NuGet Package Manager > Manage NuGet Packages for Solution…
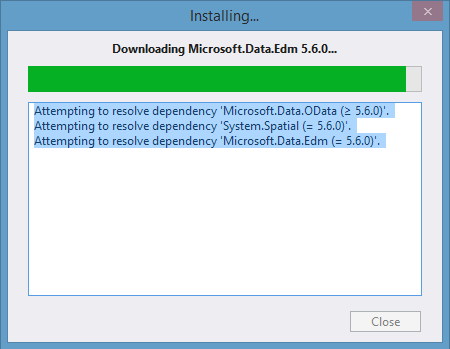
In the dialog search for “azure storage” and add the library ‘Windows Azure Storage’ extension. After downloading and installing the packages, it will ask for a confirmation prior adding references in your project.

That’s it, you are almost done. Now open you MainPage.XAML and place a Button upon clicking which we’ll allow user to select an image file using FileOpenPicker control. Upon selection of the file, the file will be uploaded on Azure. To preview progress while file is uploaded, we’ll also place a progress ring control on XAML and lastly once the file is uploaded, we’ll preview it from server for which we need an Image control on Main Page. Here’s how our XAML code looks like,
  <Grid Background="{ThemeResource ApplicationPageBackgroundThemeBrush}">
 <StackPanel Margin="60">
 <ProgressRing Name="ProgressRing1" IsActive="False" ></ProgressRing>
 <Button Click="Button_Click">Select And Upload File</Button>
 <Image Name="Image1"></Image>
 </StackPanel>
 </Grid>
The code to FilePickerControl allowing user to select an image file is,
 using Microsoft.WindowsAzure.Storage;
 using Microsoft.WindowsAzure.Storage.Auth;
 using Microsoft.WindowsAzure.Storage.Blob;

 private async void Button_Click(object sender, RoutedEventArgs e)
 {
 FileOpenPicker openPicker = new FileOpenPicker();
 openPicker.ViewMode = PickerViewMode.Thumbnail;
 openPicker.SuggestedStartLocation = PickerLocationId.PicturesLibrary;

 openPicker.FileTypeFilter.Add(".jpg");
 openPicker.FileTypeFilter.Add(".jpeg");
 openPicker.FileTypeFilter.Add(".png");

 StorageFile file = await openPicker.PickSingleFileAsync();

 if (file != null)
 {
 UploadFile(file);
 }
 }
The code to upload the image is found in method UploadFile once user has selected a file.
  private async void UploadFile(StorageFile file)
 {
 string accountName = "<Storage Name Here>";
 string accountKey = "<Storage Key Here>";

 try
 {
 StorageCredentials creds = new StorageCredentials(accountName, accountKey);
 CloudStorageAccount account = new CloudStorageAccount(creds, useHttps: true);
 CloudBlobClient client = account.CreateCloudBlobClient();
 CloudBlobContainer sampleContainer = client.GetContainerReference("<Container Name Here>");
 sampleContainer.CreateIfNotExistsAsync();

 CloudBlockBlob blob = sampleContainer.GetBlockBlobReference(file.Name);

 //Before uploading, set the progress ring to be active to show progress
 ProgressRing1.IsActive = true;

 await blob.UploadFromFileAsync(file);

 //After uploading is complete, stop progress ring progress
 ProgressRing1.IsActive = false;

 //Preview the image by pointing to the Uri of the container
 ImageSource imgSource = new BitmapImage(blob.Uri);
 Image1.Source = imgSource;
 }
 catch (Exception ex)
 {
 MessageDialog dialog = new MessageDialog(ex.ToString());
 dialog.ShowAsync();
 }
 }
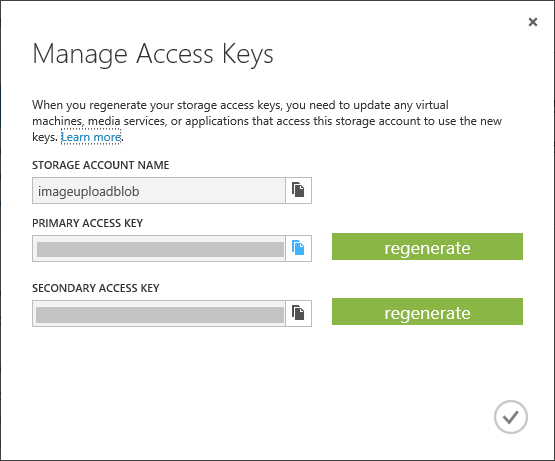
Note that you’ll have to provide Account Name and Account Key of the Storage. Click on the Storage and select manage keys.

From the dialog box, you can find storage name and storage key. You’ll also need name of the container which is the name you provided upon creation in step 2.
That’s it, start the application, select an image and upload that on the Windows Azure blob storage. As soon the progress ring will finish, the uploaded image will be displayed using Azure Storage Container absolute path.

Using this method you can upload an MP3 or any other binary file to Blob. Happy Coding :)
The code is attached as .rar file however you’ll have to provide Account Name, Account Key and Container name to make it work.