Getting started with Windows Azure - part 2
Welcome to the second blog post from the series that intends to provide you a step-by-step guide on how to connect with an SQL database hosted in Azure using Azure Cloud Service. In an earlier blog post we saw on how to create and manage our database. Now it is time to get hands on Windows Azure Cloud Service.
Note: Please make sure you have Windows Azure SDK 2.1 installed. The SDK differs for Visual Studio 2010, 2012 and 2013.
SDK 2.1 for VS 2010: https://go.microsoft.com/fwlink/?LinkId=313855
SDK 2.1 for VS 2012: https://go.microsoft.com/fwlink/?LinkId=313853
SDK 2.1 for VS 2013: https://go.microsoft.com/fwlink/?LinkId=313852
Go to Visual Studio > New Project > Cloud > Windows Azure Cloud Service
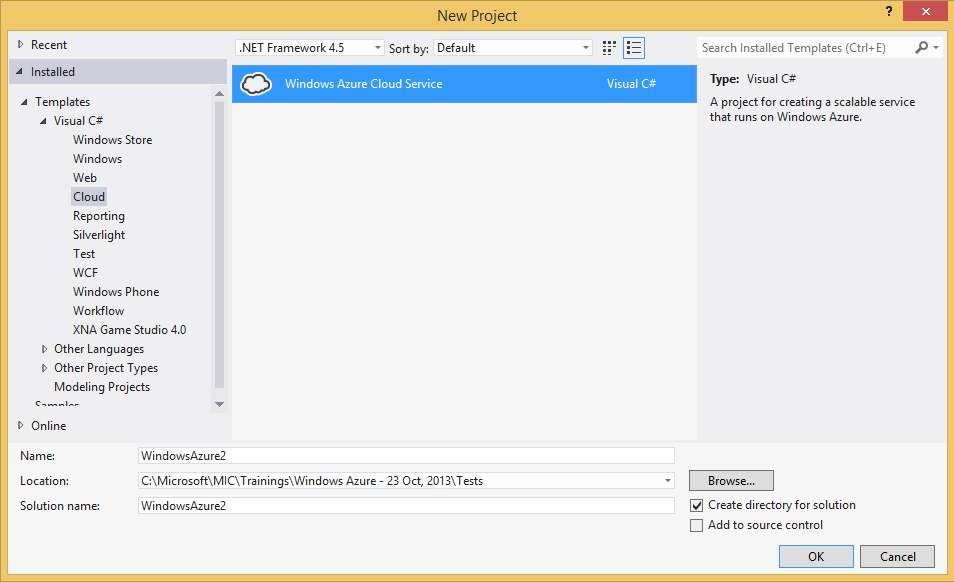
From the dialog that appears, select WCF Service Web Role from the left hand side and move in the right hand list to be included in the solution. Press OK and Visual Studio will prepare two projects for you, one with service and other with configurations that can be deployed.

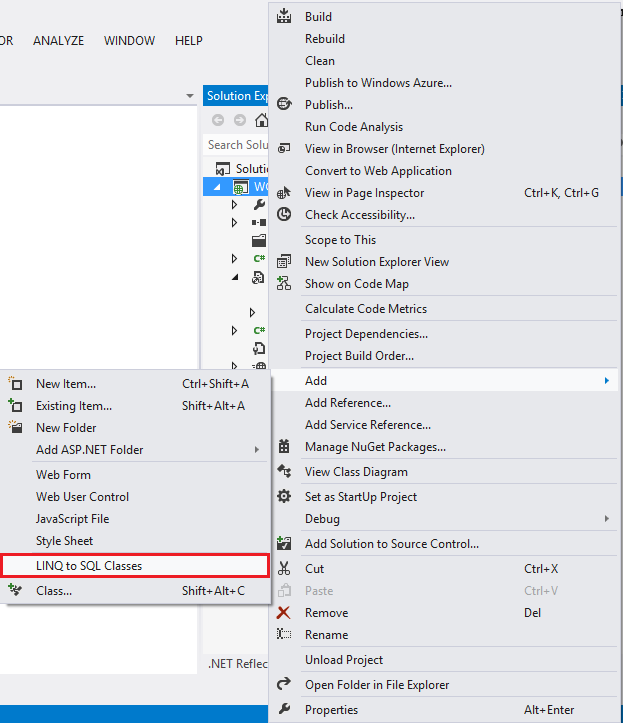
Right click on the project with service (WCF ServiceWebRole) and either add new item and select LINQ to SQL Classes.
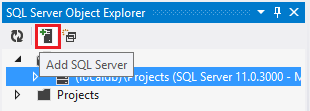
Now comes the interesting part. We’ll create data context and relative classes against each database table and that requires us to connect with Azure database that we created in part 1. Open SQL Server Object Explorer from View menu.
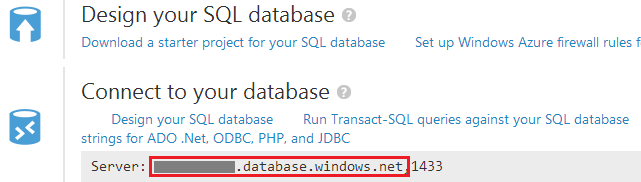
In the dialog that follows you need to provide Azure database server name. You can grab the server name by clicking on the Database on Windows Azure portal,
Specify server name and credentials and connect. If your IP entry in the Azure portal firewall is added (refer part 1 of the series for more details), the SQL Server object browser will list a new node that refers to Azure server. Expand to locate your database, select the table and drag drop that on the LINQ to SQL class relational design pane,
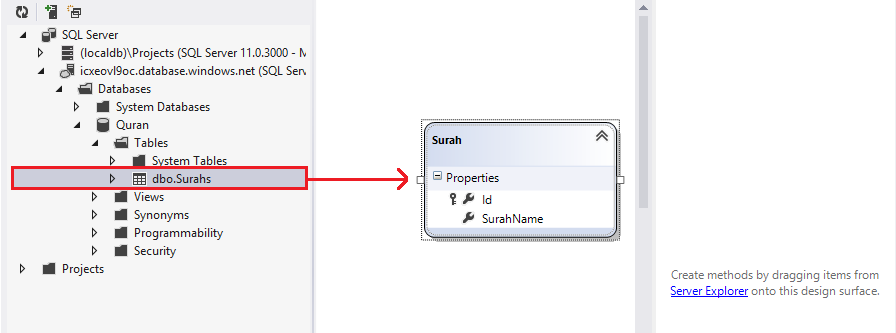
This will create the POCO class relative to our table.
We now need to do some code to add/update/delete and select records from that database using the LINQ to SQL class just generated. For the purpose of this post I’m going to write two methods; to add a new row in the table and a method that will fetch all rows from table. Here are the methods provided in the Service1.svs (don’t forget to add relative signatures in IService1.svs along with [OperationContract] to ensure the methods are available in WSDL)
  public void AddSurah(string surahName)

 {

 using (DataClass1DataContext context = new DataClass1DataContext())

 {

 Surah surah = new Surah();

 surah.SurahName = surahName;

 context.Surahs.InsertOnSubmit(surah);

 context.SubmitChanges();

 }

 }

 public void DeleteSurah(int id)

 {

 using (DataClass1DataContext context = new DataClass1DataContext())

 {

 var result = from s in context.Surahs where s.Id == id select s;

 Surah surah = result.First<Surah>();

 context.Surahs.DeleteOnSubmit(surah);

 context.SubmitChanges();

 }

 }

 public Surah GetSurah(int id)

 {

 Surah surah = new Surah();

 using (DataClass1DataContext context = new DataClass1DataContext())

 {

 var result = from s in context.Surahs select s;

 surah = result.First<Surah>();

 }

 return surah;

 }

 public List<Surah> GetSurahs()

 {

 List<Surah> lstSurahs = new List<Surah>();

 using (DataClass1DataContext context = new DataClass1DataContext())

 {

 var result = from s in context.Surahs select s;

 lstSurahs = result.ToList<Surah>();

 }

 return lstSurahs;

 }
Now we need to publish the service on Azure. Unlike Database starter project that we downloaded from Azure, Windows Azure service project was created locally and thus to publish this project we need to have following,
a- Create a Cloud Service end point on Azure portal
b- Import publish settings
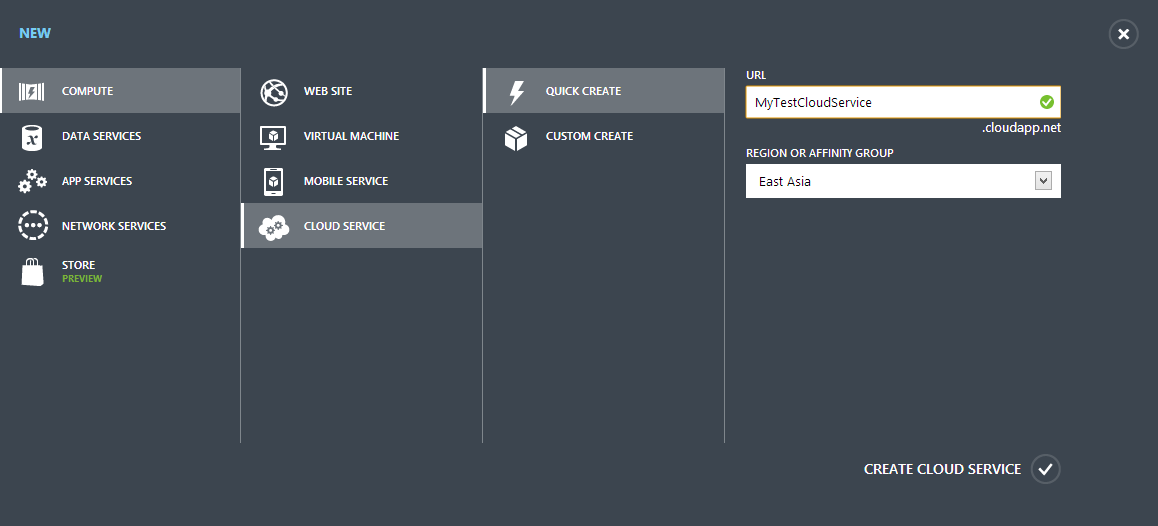
Let’s first create an end point. To do this, go to Cloud Service item on Azure portal and create New, provide the name and that’s it. Within a few seconds your end point will be ready to host the service we created above.
To download publish settings, go to View > Server Explorer and given that you have Windows Azure SDK 2.1 installed, you’ll find the node for Windows Azure within. Right click and select ‘Import Subscription’,
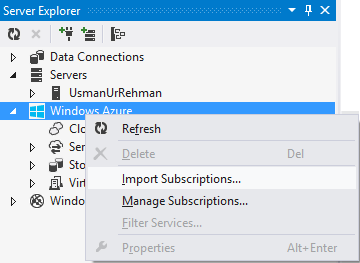
This will bring forth a dialog for importing Windows Azure subscription. Clicking ‘Download subscription file’ will open a browser window from where a subscription file will be downloaded.

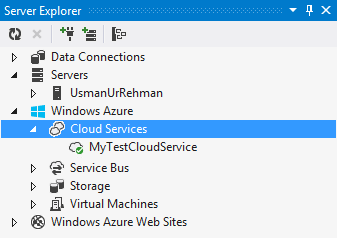
Save that on your system and provide that path to that file and press import. Your Server Explorer is now connected to Windows Azure backend and you will now be able to see the cloud service listed you created on Azure portal within Windows Azure node,
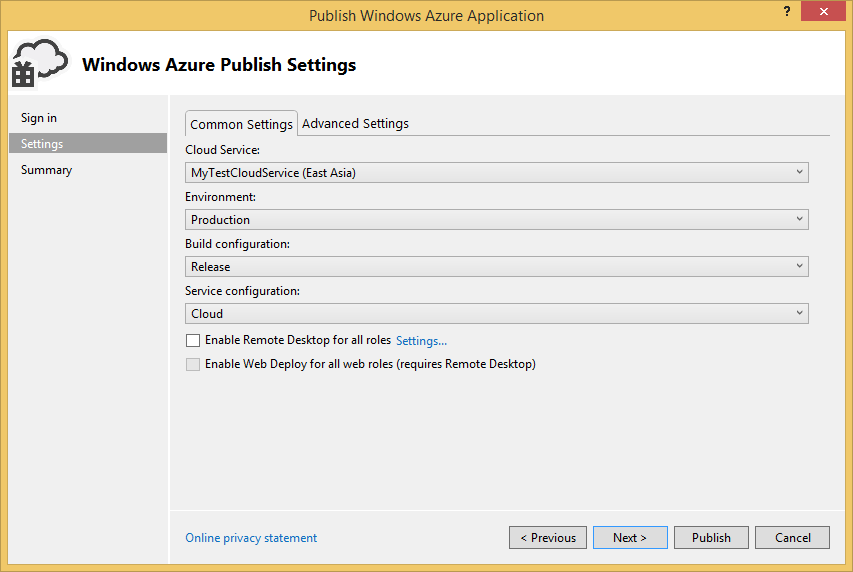
Now it is time to publish the service we created. To do this right click on the publish project in Visual Studio and select ‘Publish’. This will bring forth a dialog that will list your subscription (since in last step we connected Server
Explorer with Azure). Press ‘Next’ and from the drop down before Cloud Service, select the service you created earlier. The dialog will also ask you to create a Cloud Storage. Just give it a name and it will take care of the rest. Press ‘Publish’ and all your work will be published on the service.
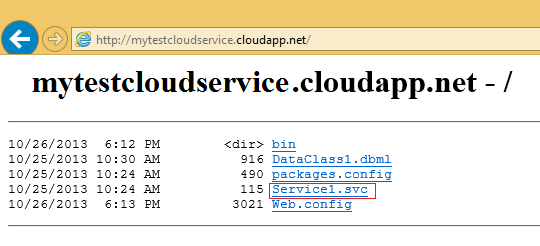
Once your settings are published, try accessing the cloud service end point and you’ll see the available services in directory listings. Click on your service (in our case it is Service1.svc) and copy the WSDL file path since that we will use in part three to connect clients with the service.
Summary
In this post we discussed how to create a Windows Azure Web Role Cloud Service using LINQ to SQL class and published that on Azure portal. In the next and final part of this series we’ll create clients in Windows Store and Windows Phone to consume this server.