Windows 8 App Development: Understand Semantic Zoom
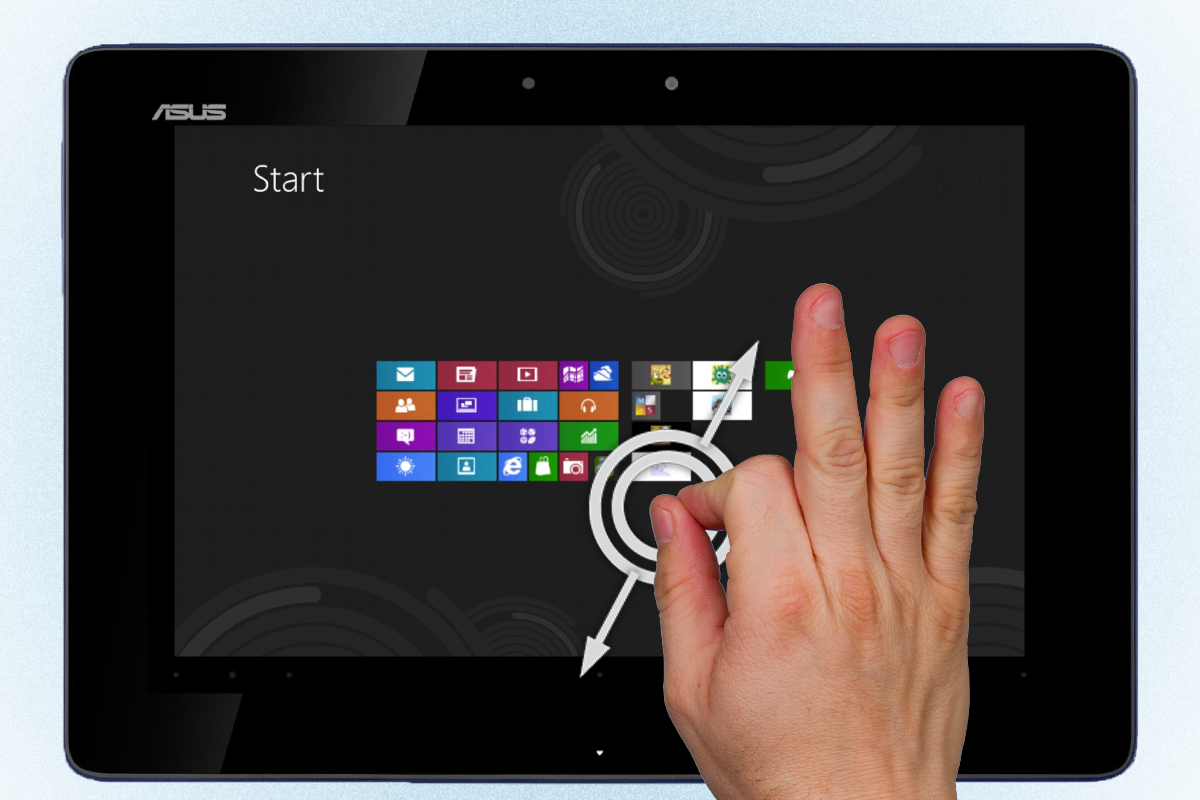
Semantic Zoom is a powerful but unfortunately little understood and seldom used control in our local developer community. This is a beginner level post and will help you understand how this control is laid out and operates. Note that even if you haven’t heard the name before, chances are bright that you frequently use this control in Windows 8. Each time you perform zoom in/out on Windows 8 start screen, switching between views is made possible using Semantic Zoom control.
To get started with development, let’s first understand how the control is structured. Since the control offers switching between two views (usually to mimic many to many parent, child relationship) the control has two sections,
  <SemanticZoom>

 <SemanticZoom.ZoomedInView>
 <!--Your ZoomIn view here-->
 </SemanticZoom.ZoomedInView>

 <SemanticZoom.ZoomedOutView>
 <!--Your ZoomOut view here-->
 </SemanticZoom.ZoomedOutView>

 </SemanticZoom>
By default switching from ZoomIn to ZoomOut is carried out by calling a method ToggleActiveView whereas soon as you perform a selection in ZoomOut mode, view will automatically switch back to ZoomIn. Let’s divide the screen in two rows. One having button clicking which we’ll toggle the view and a semantic zoom control at the bottom with two list views each for zoom in and zoom out views. Here’s how it looks like,
  <Grid>
 <Grid.RowDefinitions>
 <RowDefinition Height=".20*"></RowDefinition>
 <RowDefinition Height="*"></RowDefinition>
 </Grid.RowDefinitions>

 <Button Click="Button_Click_1" Grid.Row="0" >-</Button>

 <SemanticZoom Grid.Row="1" Name="SemanticZoomData">

 <SemanticZoom.ZoomedInView>
 <!--Your ZoomIn view here-->
 <ListView>
 <ListViewItem>Hello</ListViewItem>
 <ListViewItem>World</ListViewItem>
 <ListViewItem>Hello</ListViewItem>
 <ListViewItem>World</ListViewItem>
 </ListView>
 </SemanticZoom.ZoomedInView>

 <SemanticZoom.ZoomedOutView>
 <!--Your ZoomOut view here-->
 <ListView>
 <ListViewItem>1</ListViewItem>
 <ListViewItem>2</ListViewItem>
 <ListViewItem>3</ListViewItem>
 <ListViewItem>4</ListViewItem>
 </ListView>
 </SemanticZoom.ZoomedOutView>

 </SemanticZoom>

 </Grid>
We’ll switch the active view on button click event handler,
  private void Button_Click_1(object sender, RoutedEventArgs e)
 {
 SemanticZoomData.ToggleActiveView();
 }
Finally in case you are interested in capturing the events associate with this view change, you can hook ViewChangeCompleted and ViewChangeStarted. Press F5 or run the application to see how semantic zoom works. The snapshot below depicts the transition,

