Download and Install CRM Carousel - Version 0.9
We've done the best to keep the installation Easy for all of you.
Download file here
Prerequisites:
Client Side:
- Mandatory: Silverlight
- Facultative: Office communicator, Internet Connection
Server Side:
- Mandatory: Create a picture field on the contact entity
Step 1: Create the picture field on the contact entity
Annotation: Silverlight can only display JPEG and PNG files, so don't try to indicate a gif file.
We enable the possibility to display contacts picture, so we created an additional attribute on the contact entity :
Name: Picture Url
Schema Name: new_pictureurl
Type: nvarchar
Format: Text
Maximum Length: 250
This field only contains pictures url as we cannot stored image in MD CRM 4.0.
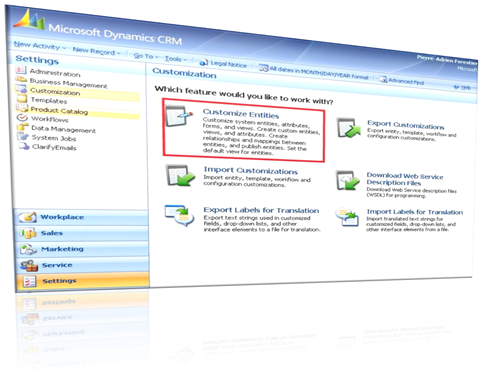
- You must customize the contact entity. For that, go to “settings” section in left menu and Click on “customization”, then on “customize entities”. You must have a security role including "System Customizer"
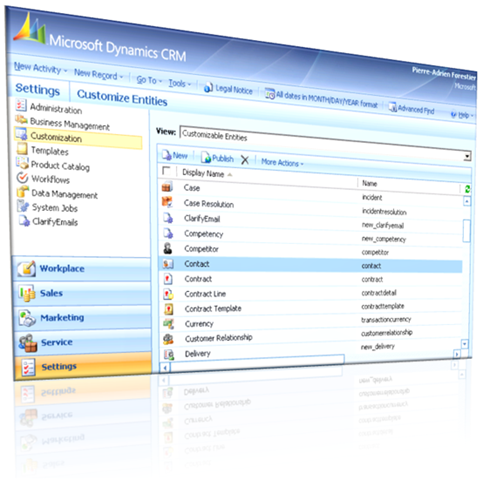
- Double click on Contact Row
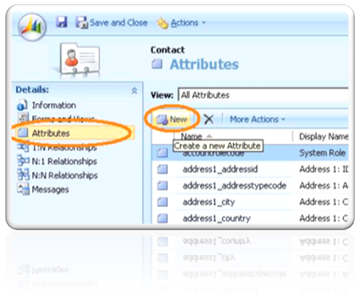
- Select the "attributes" section and click on the "new" button.
- Create a new attribute with the following properties :
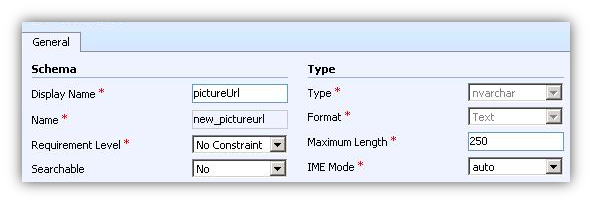 Name: new_pictureurl
Type:
nvarchar
- Add this new field on the contact form and publish contact entity
Step 2: Move the Silverlight application on your MD CRM 4.0 web site
Download the application here. Unzip the file and copy the carousel folder on your CRM Server " <serverroot> \ISV" folder.
Step 3: Add link to the carousel in the CRM site map
Exporting the Site Map
-
- In the Navigation Pane, click Settings, click Customization, and then click Export Customizations.
- In the View drop-down, select Client Extensions.
- In the list, select Site Map.
- Click Export Selected Customizations and then click OK to close the notice about information that may be exported.
- Click Save and save the customizations.zip file to a location of your choice.
- Click Close. .
Now, decompress the zip file and open the customizations.xml file in your XML Editor (Visual Studio in my case)
-
- Here is a sample group to add below an Area: Just change the server name
<Group Id="Addons" Title="Addons">
<SubArea Id="nav_carousel" Title="Carousel" Icon="/_imgs/qfinddown.gif" Url="https://[serverName]/ISV/Carousel/carousel.html" Client="Web" PassParams="1"
/>
</Group>
After you modify the Site Map element in the customizations.xml file, you import the modified customizations.xml file to apply changes
Importing the Site Map
-
- In the Navigation Pane, click Settings, click Customization, and then click Import Customizations.
- Click Browse to locate an XML file or a compressed (.zip) file that contains customizations and settings exported from Microsoft Dynamics CRM.
- Double-click the file or select the file, and then click Open.
- Click Upload.
Step 4: Try the carousel
Refresh your browser and click on the link previously added :
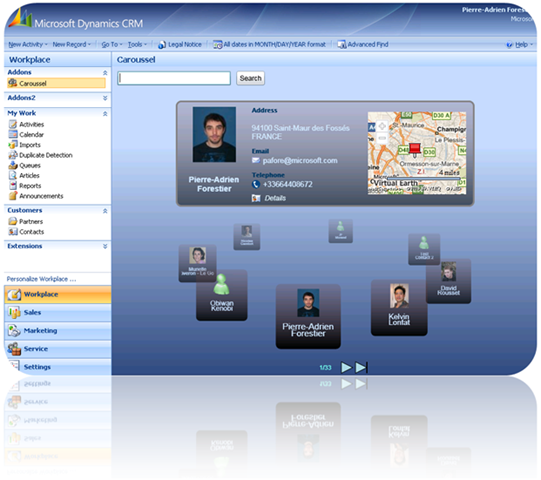
We're waiting for your feedbacks