Insert or Print Documents to OneNote
Before OneNote came along, I would typically attend a meeting, bring a pen, and take lots of notes right on the handout. Aahh, good times, right? Actually, a lot of that still goes on today. Look around you the next time you attend a meeting and see if you can spot one of these pre-historic note takers. I bet if you follow him/her around they would have a hard time finding their notes when they really need them.
Enter, the digital world. Now you have no excuses...because you have OneNote. You get the same level of functionality, (well, almost), as you would if you had brought that trusty old writing utensil with you. Yes, that means you can even take notes on a digital copy of the document. Just insert the document as a printout right onto the OneNote page surface before the meeting. Once there, you just begin taking notes like you would if you actually had the document in front of you in the meeting. After all, in reality…you do.
But, the beauty is that your notes are searchable. i.e. it's easy to find them when you really need them. But did you know that the text inside the handout is searchable too. You see, when you insert a document as a printout, what you're really doing is inserting a picture of each page of the handout onto the OneNote page surface. But how can a picture be searchable? OneNote uses Optical Character Recognition (OCR) to identify characters and words in a picture, then inserts them into the searchable index. So if you don't remember what words you used when you took those notes, but happen to remember the subject of the meeting/class, just type in the search term and it finds it in the printout.
Tips:
-
- To insert a file as a printout, click Insert -> Files as Printouts -> select the document you wish to print -> and click Insert. A set of printed pages will then appear in OneNote along with a copy of the file.
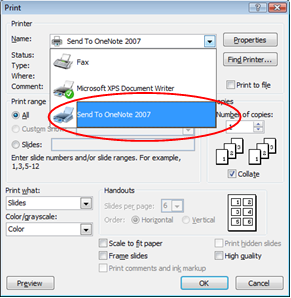
- You can also print a document from any printing Windows application, such as MS Word, Adobe Acrobat, Internet Explorer, etc. To do so, just go through your normal routine of printing a document, but select the Send to OneNote 2007 printer driver from amongst the current list of printer drivers, like so, (note: this feature is unavailable with Windows Vista 64-bit systems):
-
- Generally when printing a document to OneNote, it is automatically placed in the Unfiled Notes area, which means you will have to manually move it to another section if you don't want it to remain there. However, you can customize where it goes by clicking Tools -> Options -> Send to OneNote -> then choose between any of the following options:
- New page in section: …Unfiled Notes.one (this is the default)
- New page in the current section (a new page is created at the end of the section where the printout will appear)
- On the current page (The printout appears beneath all your existing notes on the current page)
- One minor difference in using this method is that a copy of the file does not get embedded in your notes.
- Once the file has been inserted, you can take your notes right on top of the file's pages.
- Since each page is treated as a picture, you can drag it around, resize it, etc.
- You can anchor the printout page to OneNote's page surface by right-clicking on the picture -> Set Picture as Background.
- Once the printout is in OneNote, the text in the printed pages can be searched. This happens automatically, but it does take some time. If you need the text to become searchable immediately, you can right-click on the picture -> Make Text in Image Searchable -> then select the appropriate language.
- If you prefer to not have OneNote search for text in pictures you can disable the feature by clicking Tools -> Options -> Other -> Disable text recognition in pictures.
- In addition, the text found in the image can be copied and pasted elsewhere in OneNote. Simply right-click the picture -> Copy Text from Picture.
- One final note. The pages of the printout will be printed at the page size specified in the application they were printed from, (generally standard sized paper - 8.5" x 11"). While you can affect the size of the printed pages in OneNote by adjusting their paper size in the application, sometimes it just simply won't fit on your OneNote page surface.
- Generally when printing a document to OneNote, it is automatically placed in the Unfiled Notes area, which means you will have to manually move it to another section if you don't want it to remain there. However, you can customize where it goes by clicking Tools -> Options -> Send to OneNote -> then choose between any of the following options:
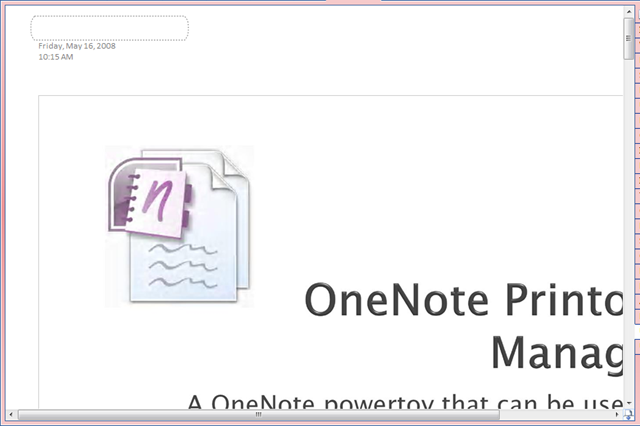
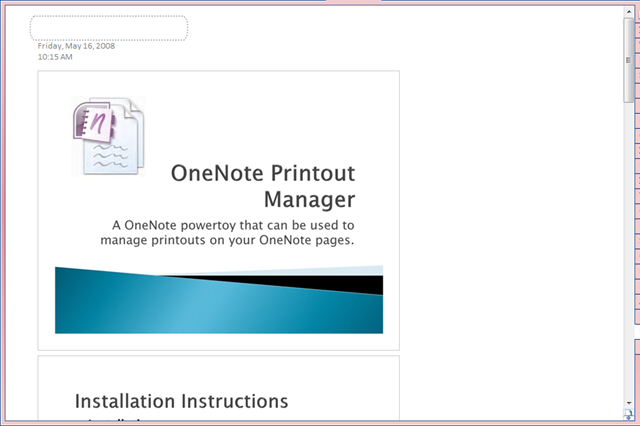
For example, below on the left is a PowerPoint slide. The one on the right is a sample of how it prints to OneNote. You can see from the red outline that the page extends beyond the OneNote window borders. This can sometimes cause problems when attempting to take notes on the printout.
A while ago I created a powertoy called the OneNote Printout Manager to resolve this problem. Once pages have been printed to OneNote you can easily adjust their size, position, etc.
-
So, you can make this... 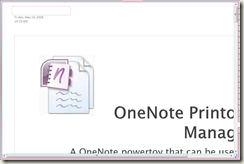
...look like this... 
-
...with a simple click of a button.
If you insert or print files to OneNote, give this powertoy a try. Click here to download it. Just as an FYI, the download also contains a copy of the PowerPoint referenced in this blog. That way you can experiment by printing it to OneNote and running the powertoy.