Installing and using PowerPivot for Excel in Denali CTP
For you PowerPivot fans you absolutely have to download and try the new version. It is just GORGEOUS!
In order to get going, here’s a quick guide and some of the new features that are available. First off my assumption is that you have Excel 2010 (and the latest update of course).
Go download the latest CTP of PowerPivot from here –> https://www.microsoft.com/download/en/details.aspx?id=26721
Please ensure you download the right bit-version for your installation of Excel 2010. You can find this by going to Excel 2010 –> File –> Help.
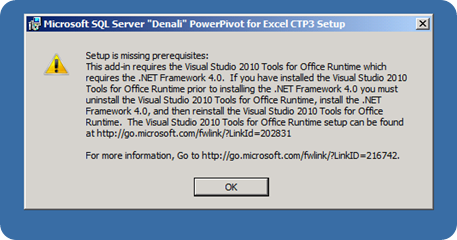
Before you double-click the install you’ll need a few more items. .NET 4.0 and the Visual Studio 2010 Tools for Office Runtime (again, download the right bit-version for you version of Office). Ensure you install .NET 4.0 FIRST and then the VS 2010 tools.
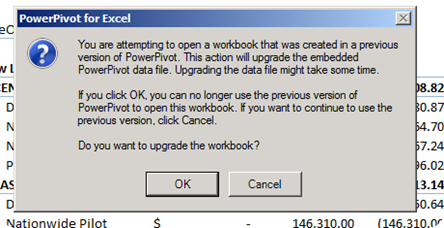
Once these are installed click on the PowerPivot.msi and then walk through the install. You are now ready to roll with the new version. Let’s take a look at what’s now here. The best way to start is to use your existing PowerPivot workbooks. Do note though that you’ll be asked to upgrade your workbook so ensure you make a copy first.
Let’s head over to the PowerPivot Tab and take a look at the new capabilities. Not much has changed here but there is the introduction of
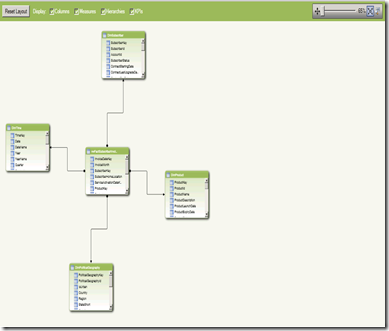
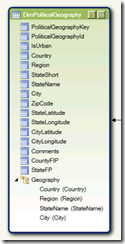
some new icons, namely Create, Edit, and Delete KPIs. Take a look at the new PowerPivot Diagram, Measure Grid, visually view joins, to name a few.


