Azure AD B2C - Part 1 - Overview
Hi,
Azure AD B2C has been generally available for a while now and I'm seeing real interest from customers on this topic. I have lots of customers that have public facing applications and have real headaches managing the identity\security aspects. This is exactly the problem that Azure AD B2C is looking to address by providing:
- A single identity platform that supports your customer facing applications (OpenID Connect and OAuth 2.0 capable applications).
- Seamless authentication and provisioning with Azure AD B2C or consumer identities.
- Granular authentication control on a per application basis.
- Resilience, performance and scale.
In this series of posts we will look at B2C features, deployment and the consumer experience, but first let's define an example scenario .
Contoso Recruitment has 2 customer facing websites that both require authentication. Contoso Recruitment wants their customers to be able to use consumer identities for a better experience and to reduce the amount of management required to support customer facing applications. Applications are:
- A Job Portal that requires users to log in so relevant jobs are surfaced to those users and to simplify job application.
- A Payroll Portal that requires stronger authentication to allow users to view payslips, manage bank details etc.
So it makes sense for both sites to use the same authentication platform (as job seekers will hopefully become employees and vice versa) but obviously the payroll site has a need for a greater level of security. So how does Azure AD B2C address this requirement? Let's take a look...
I have 2 web applications (Contoso Jobs Portal and Contoso Pay Portal) which I have set up with Visual Studio using the sample applications located here.
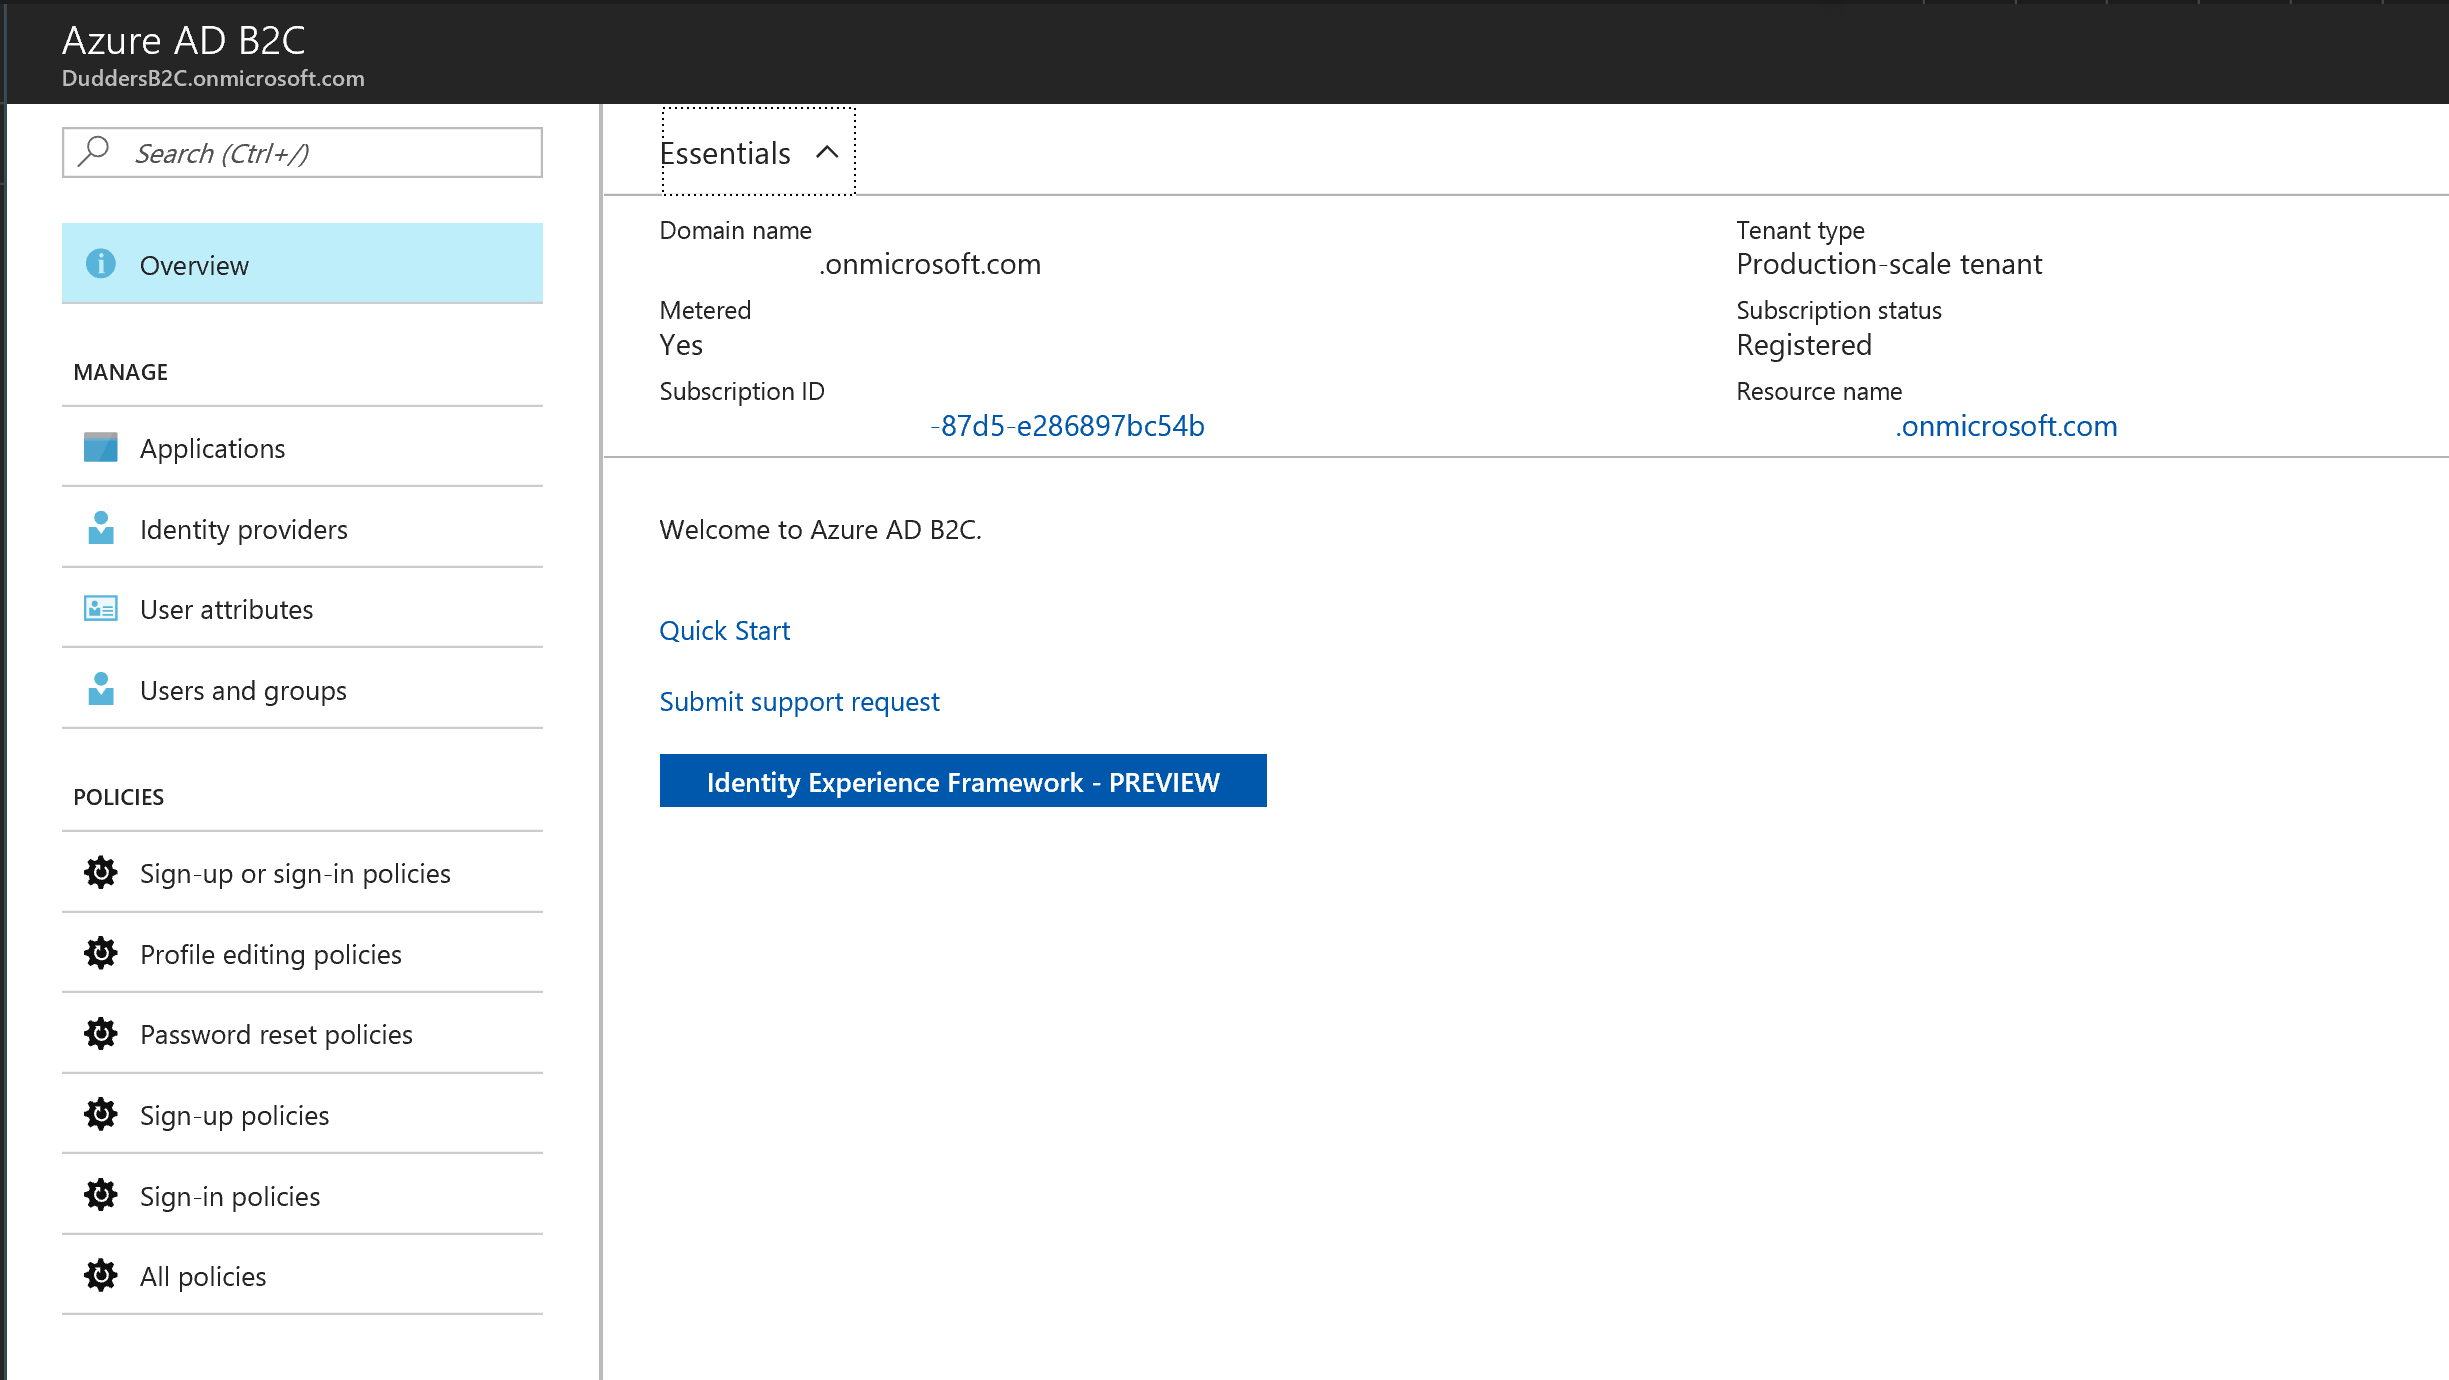
The first step is to set up the applications in Azure AD B2C. In the Azure Portal navigate to the "Azure AD B2C" Blade.
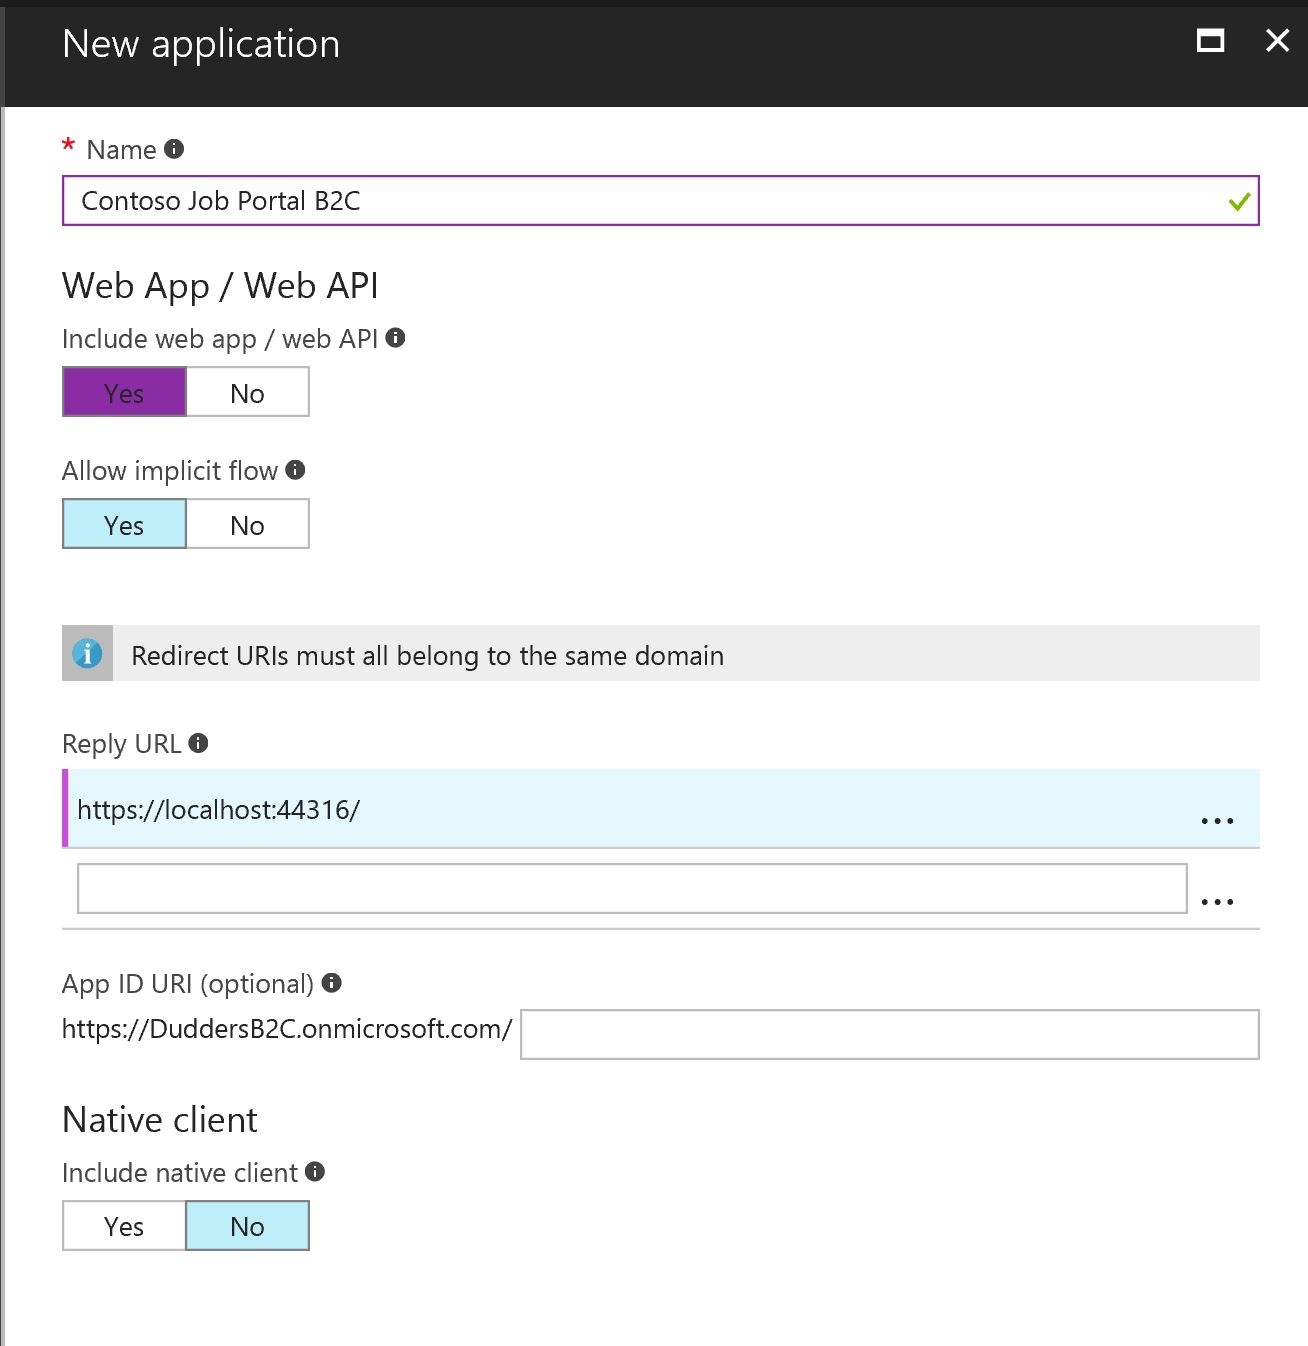
Within the "Azure AD B2C" Blade select "Applications" and click "Add". Enter a name for the application and select the type of application you are integrating. In my case it's a "Web App/Web API" so I need to add a "Reply URL" which is the location that Azure AD needs to send the authentication token\response to. (https://localhost:44316/ in my example as I'm running the application locally).
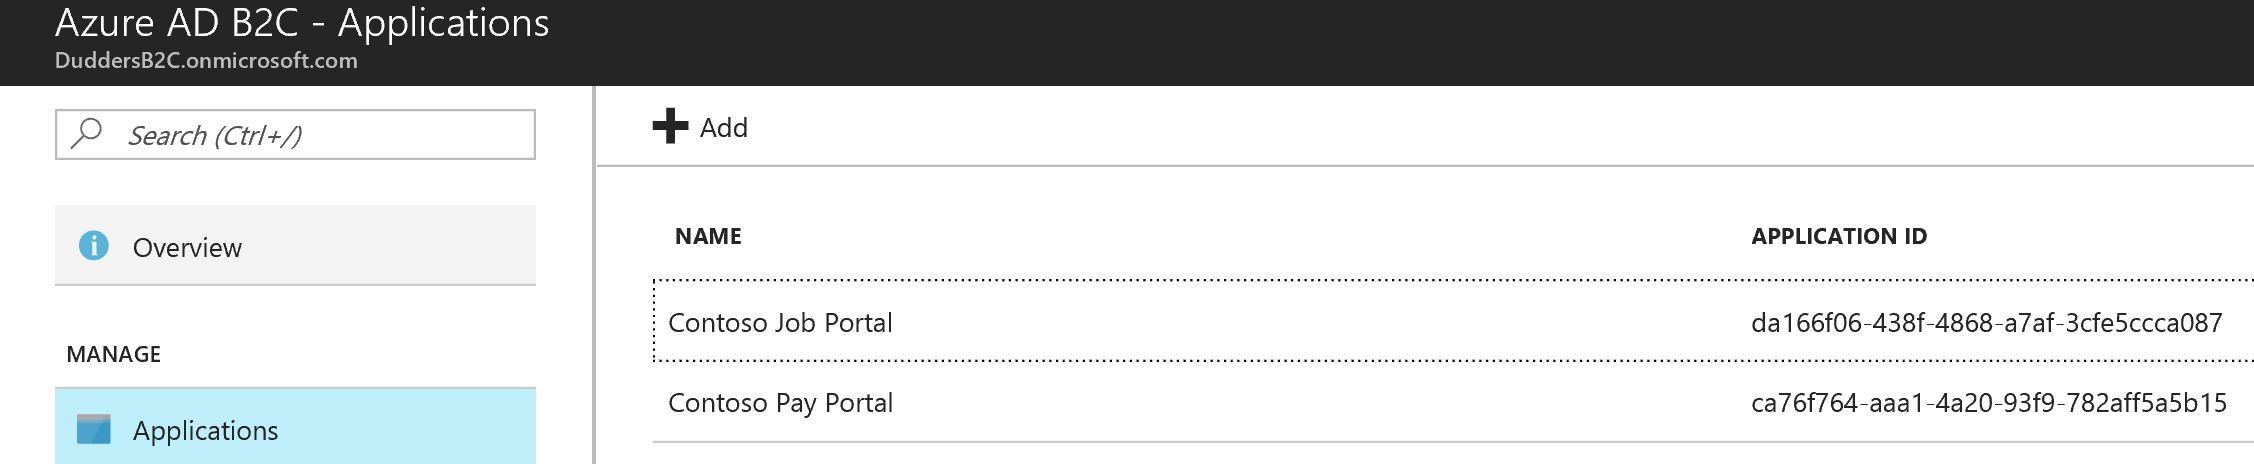
Click "Create" and you should see that it has successfully provisioned with the "Application ID" populated
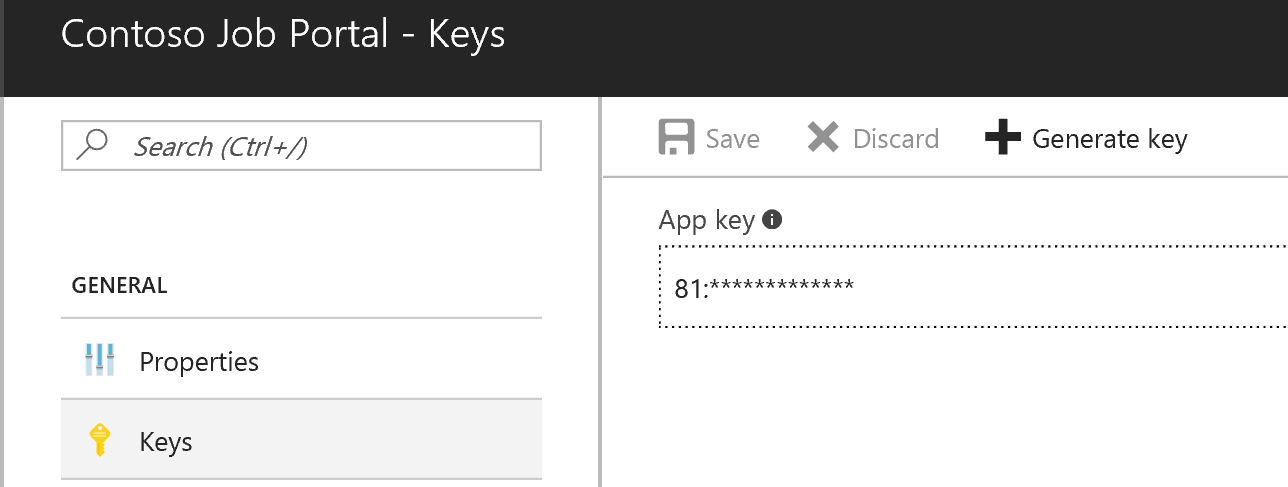
You'll need The "Application ID" for your application integration and you'll need a "Client Secret\Key" which is generated in the settings of the application you have just created.
Now let's move on to the next step which is to configure the "Identity Providers". By default "Local Accounts - Email" is provided which allows users to provision\log on with an email address (which under the hood is provisioned as a Azure AD B2C account) but you have many options to select here including Consumer\Social Identities. I'm going to add Facebook as an Identity Provider.
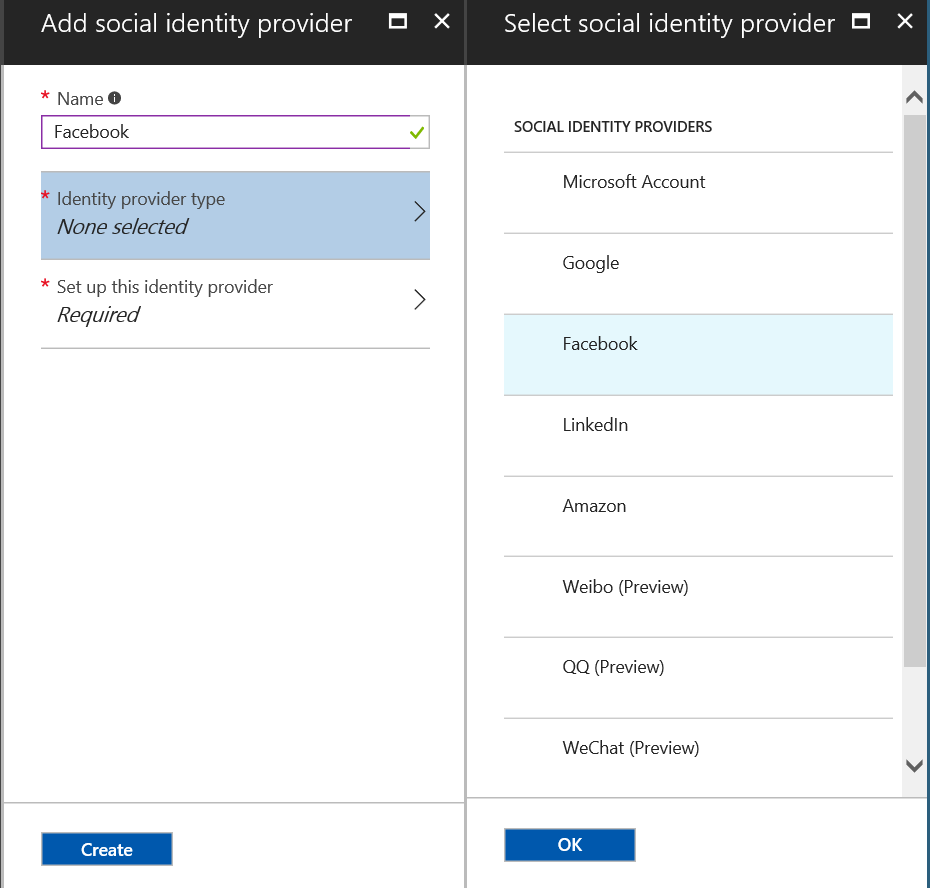
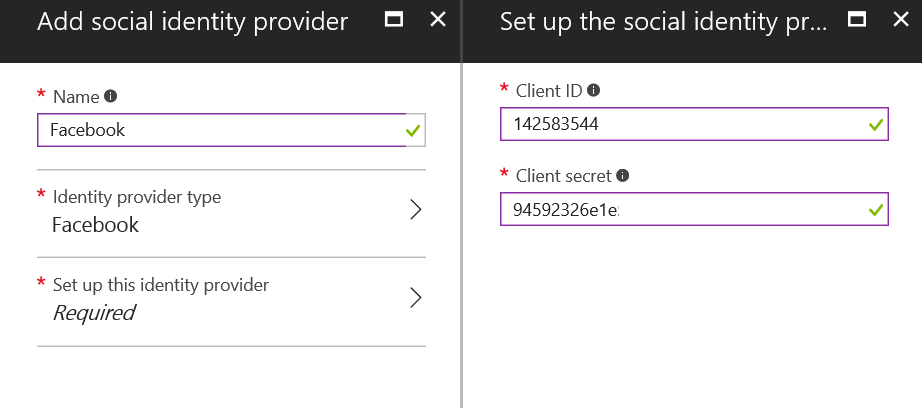
Note: the ever increasing list of Social Identity providers. So the next step (Facebook in this example) is to register the application with the Social Identity Provider. I have done this with Facebook and it has provided me a "AppID" and "App Secret" which I will use in the next step (see here for more information on Facebook app integration).

With this "AppID" and "App Secret" I can complete the addition of the Social Identity Provider in Azure AD B2C. (AppID = Client ID and App Secret = Client Secret)
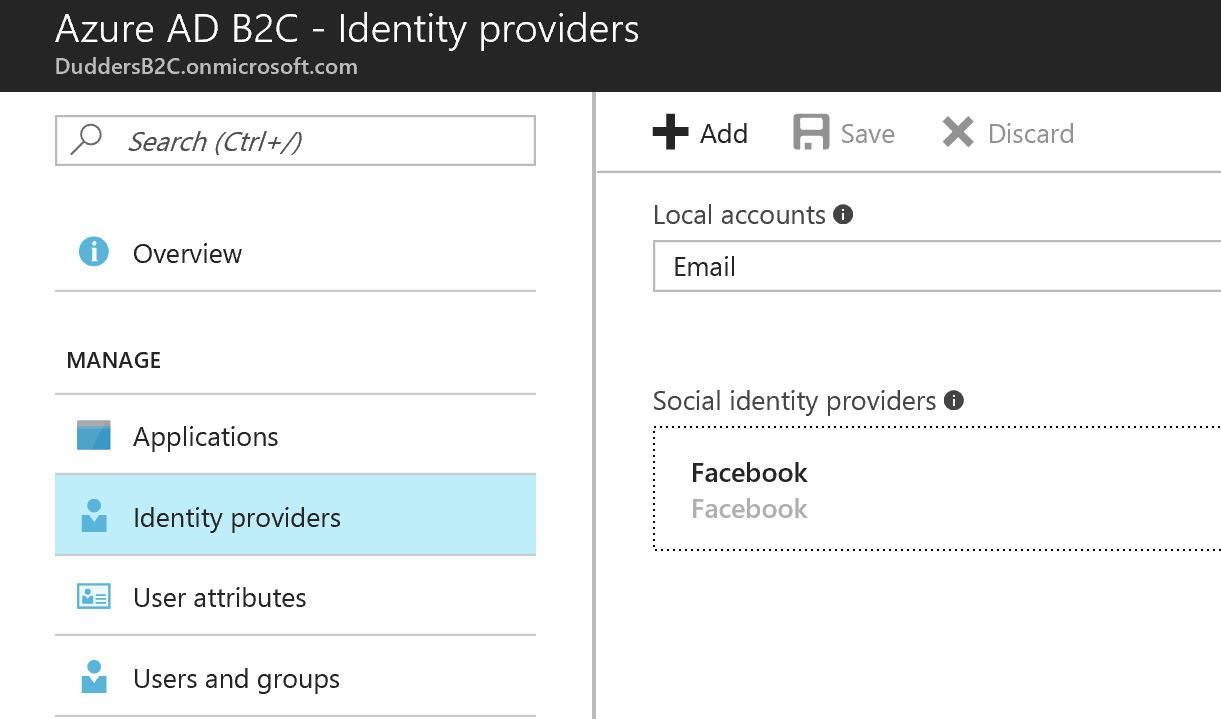
Now click "Create" and we now have "Local Accounts" and "Facebook" as Identity Providers that we can use for our applications.
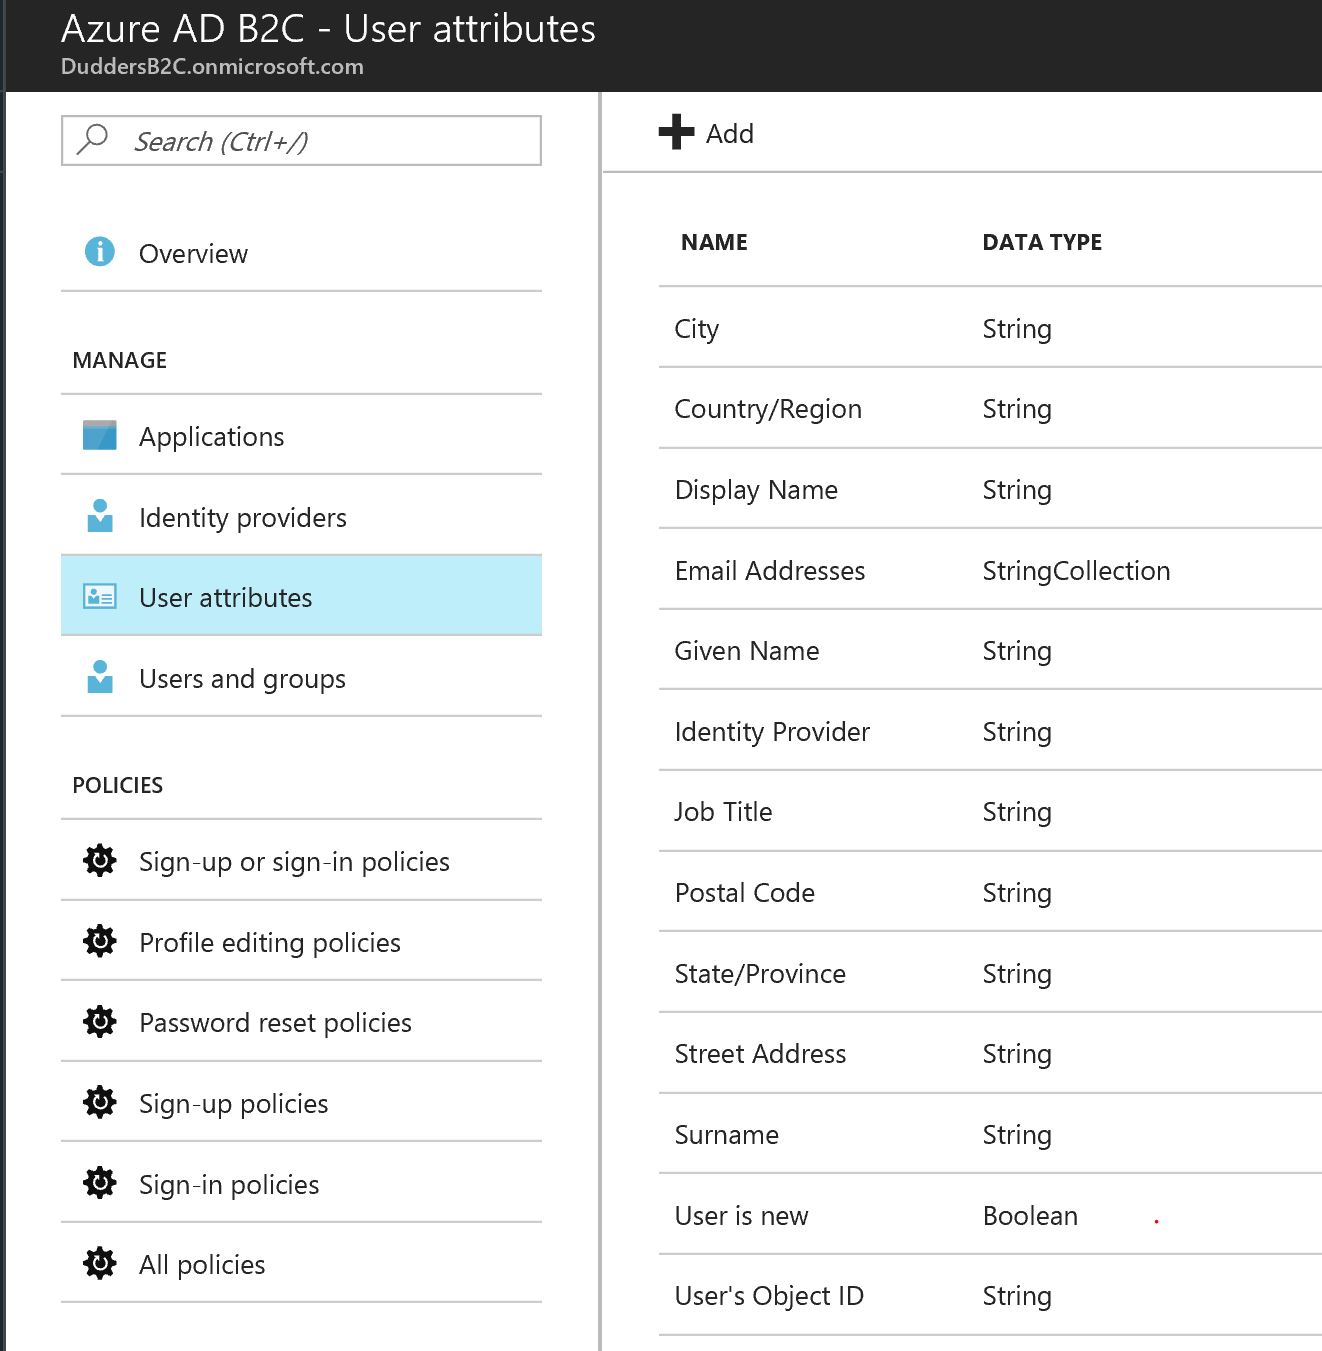
The next step is to review the "User Attributes". This is a list of user attributes that you will hold within the B2C directory. I will stick to default but feel free to add more if you need to collect more information about your users or you have specific information you will use in authentication claims.
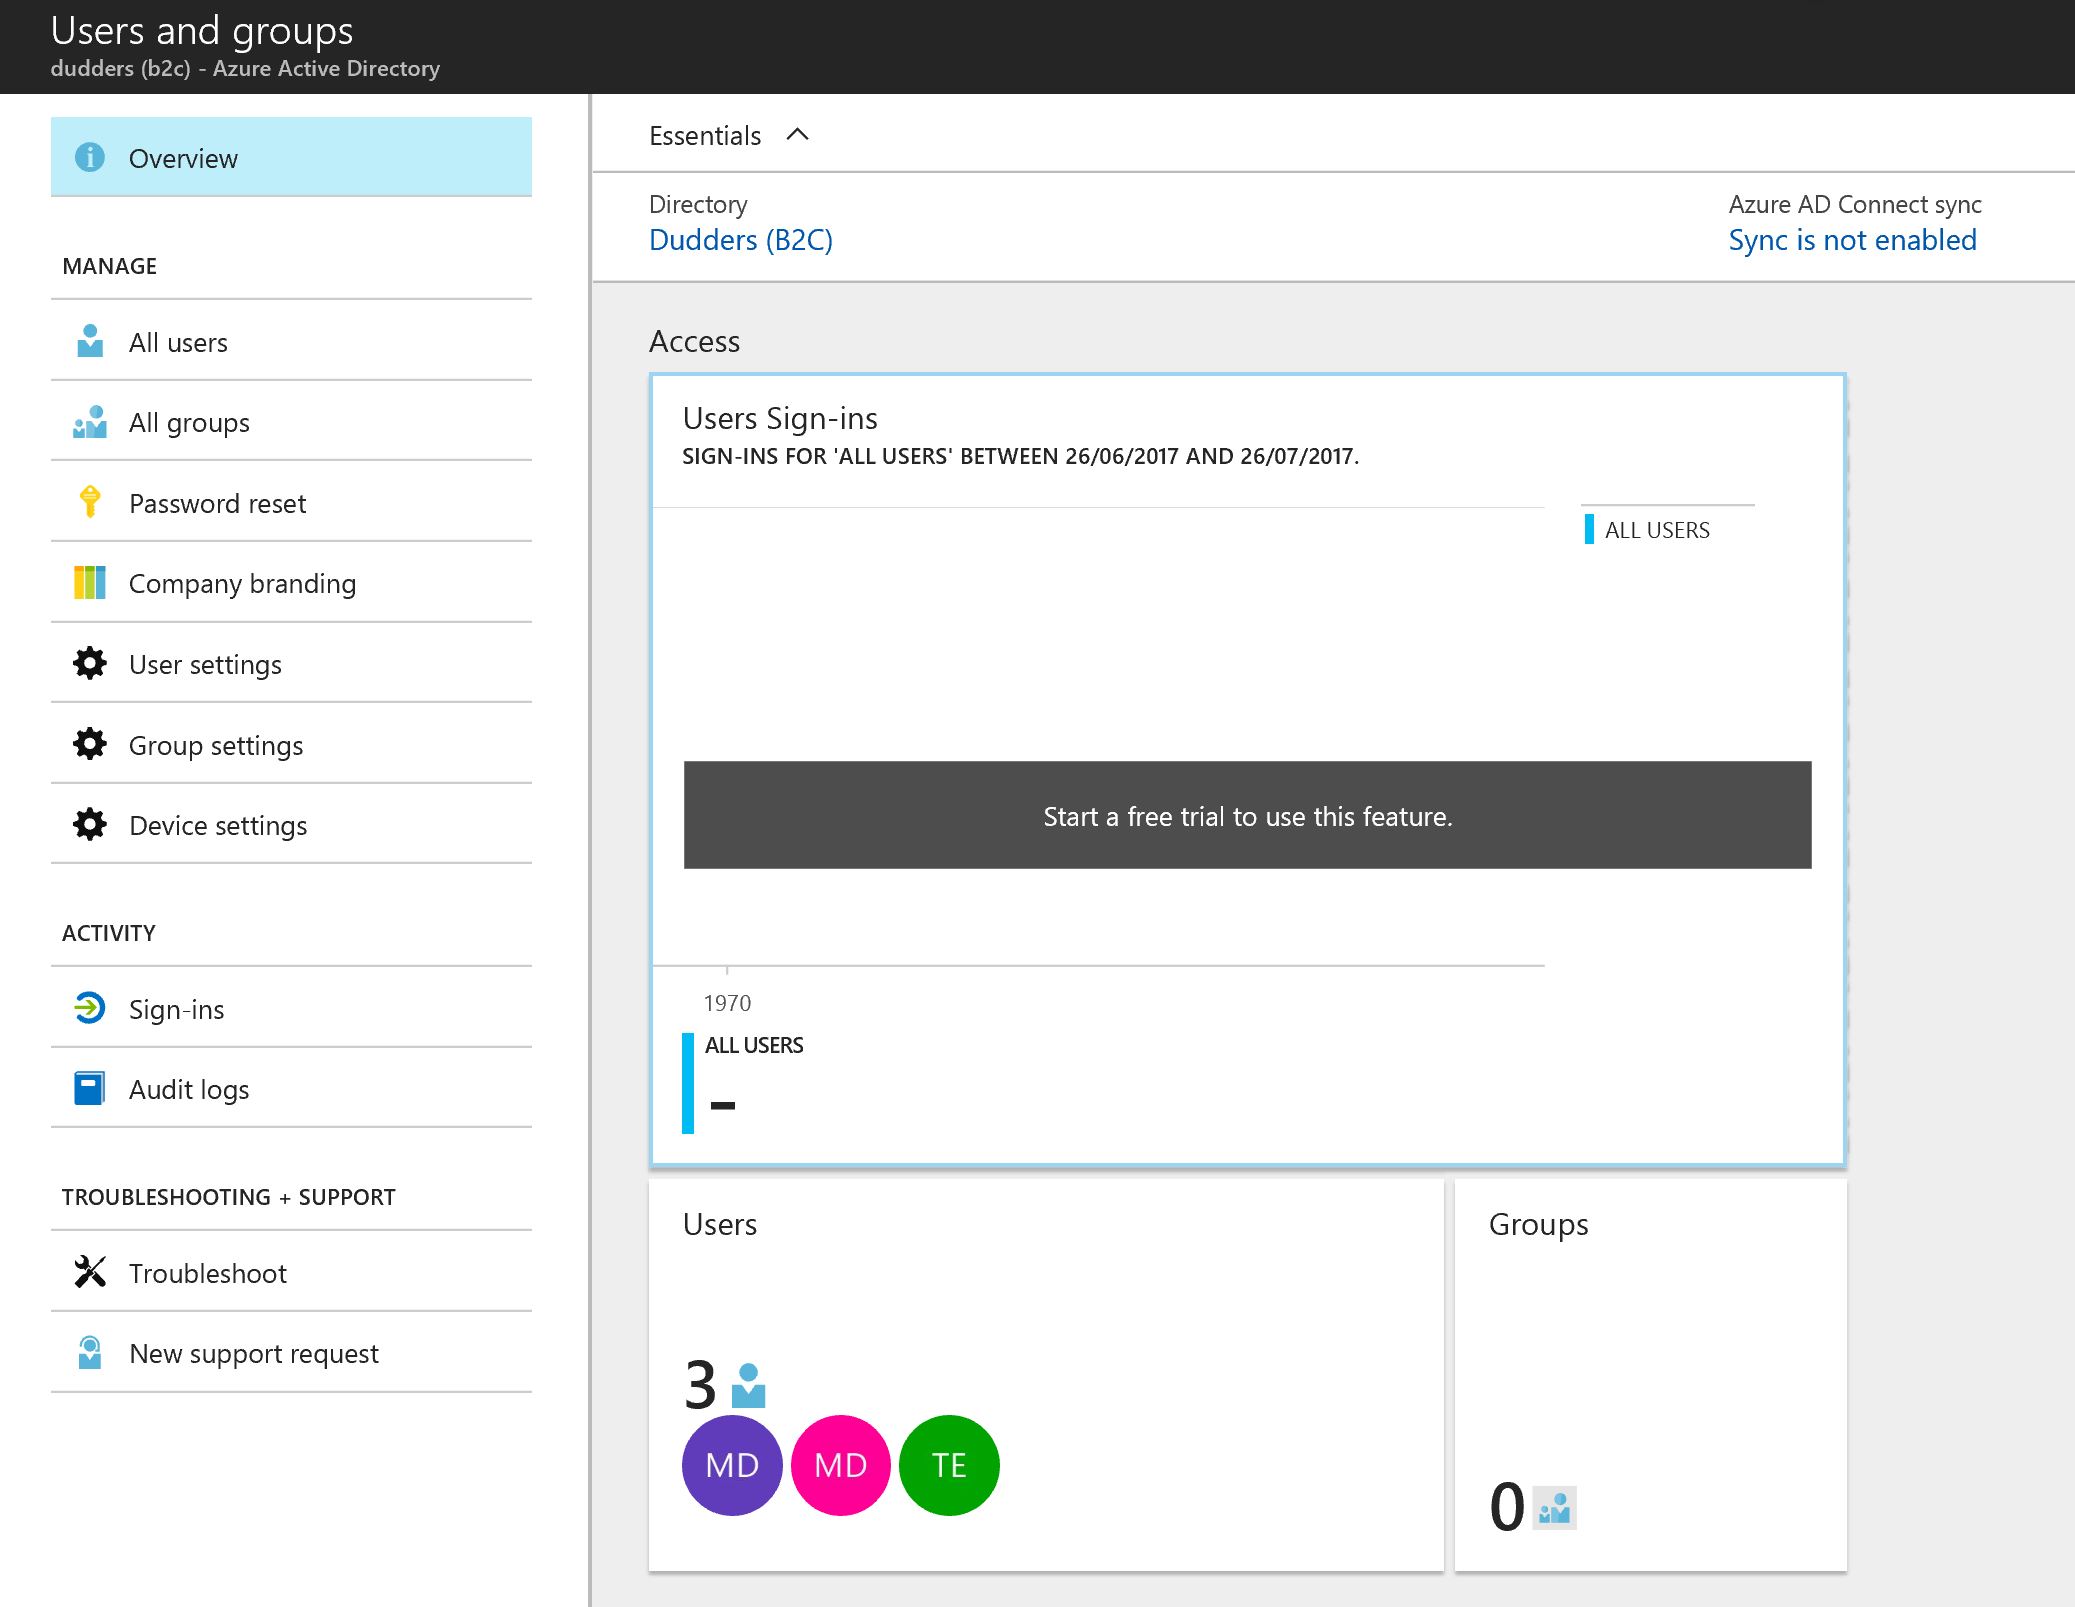
Next is the "User and Groups" Blade. Within this Blade you can add, remove, view, edit users that are present in the directory, create groups, configure authentication options and define what users are able to do.
So to summarise what we have done so far...We have added our applications into Azure AD B2C, added a social identity provider, defined the attributes we use within the directory and had a look at how you manage users and groups in Azure AD B2C. In the next post we will set up the B2C policies that we will use to provide the granular control we need for this scenario, located here.
MD