Update Compliance
What if I told you there was a tool that would allow you to see in one glance what version of Windows 10 you are running [1507, 1511, 1607, 1703]?
What if I told you the same tool will even show you if your Windows 10 machines had on the latest cumulative updates?
What if I told you the tool was currently being offered at no charge while it’s in Preview?
Allow me to introduce you to “Update Compliance”
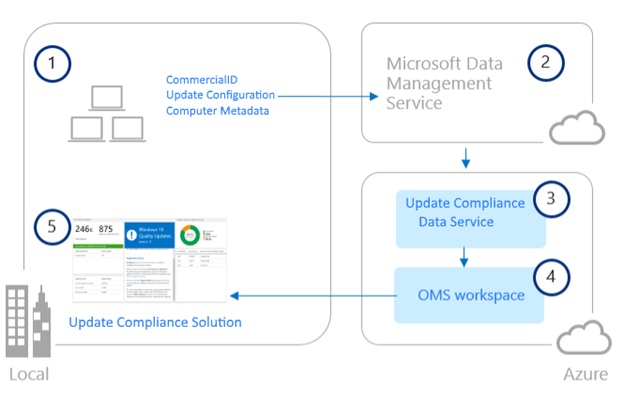
Update Compliance leverages data collected by the Windows telemetry service to give build a report on where you were with your Windows 10 machines regarding Windows updates. Sure, tools like System Center have this reporting ability built into them but Update Compliance does this without needing the same kind of infrastructure tools like System Center require.
Something to note is that it’s currently in preview and the service is offered for free. I have no idea if this will end after it becomes generally available or not.
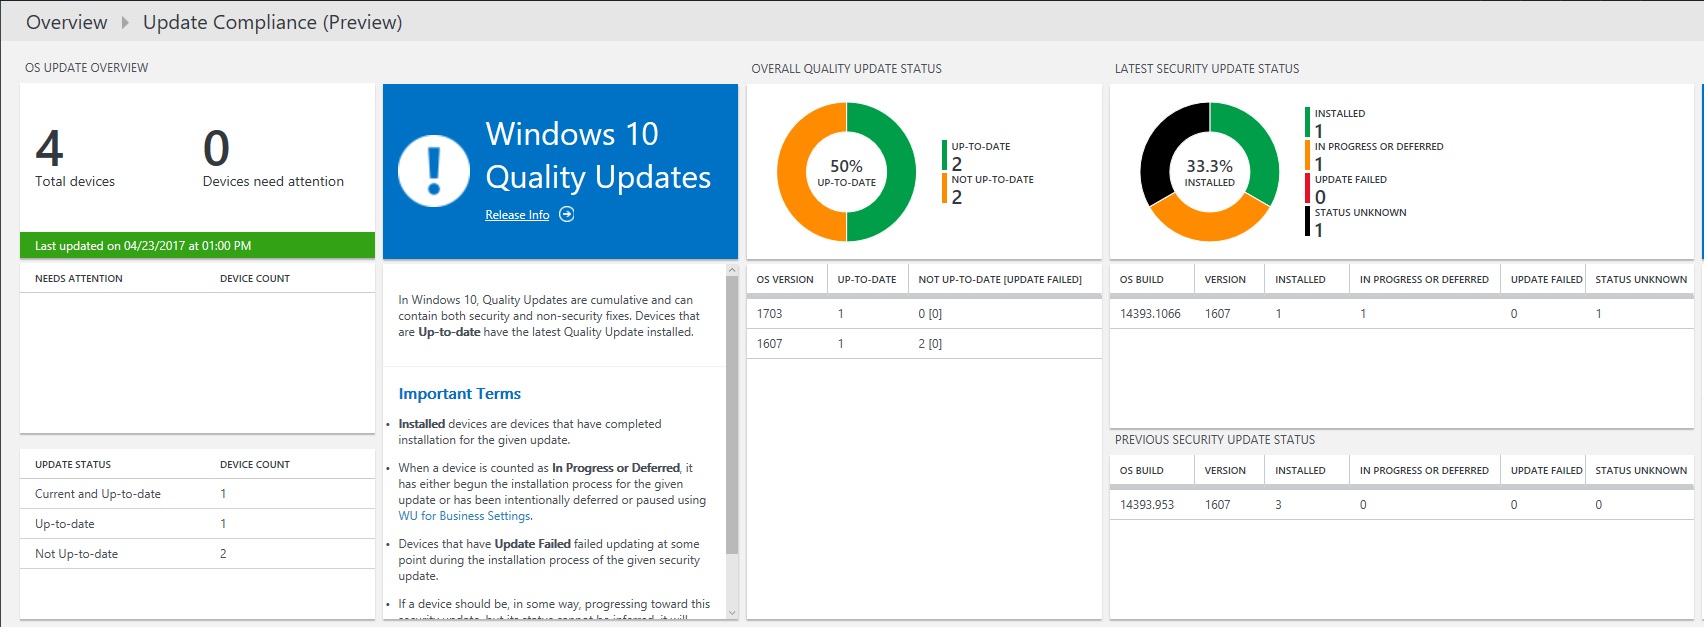
Let’s look at what you can expect to see when you have Windows Update Compliance Set up:
- An overview of how many Windows 10 machines you have enrolled into the service
- You also see how many machines are reported as “needing Attention”. Machines needing attention are machines that require some action from you and the action on your part. An example of a machine needing attention would be a machine running a build of Windows 10 that is out of support. 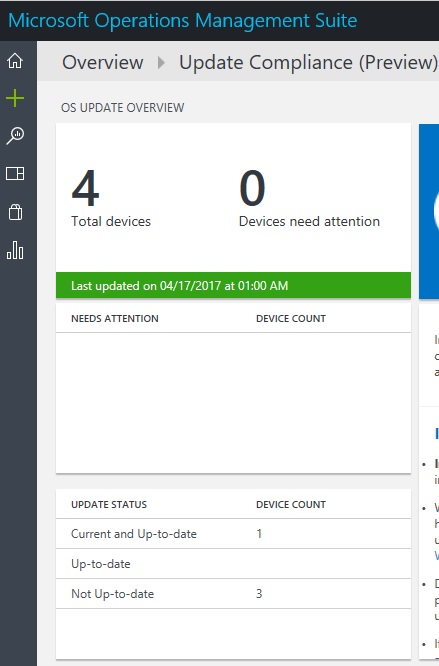
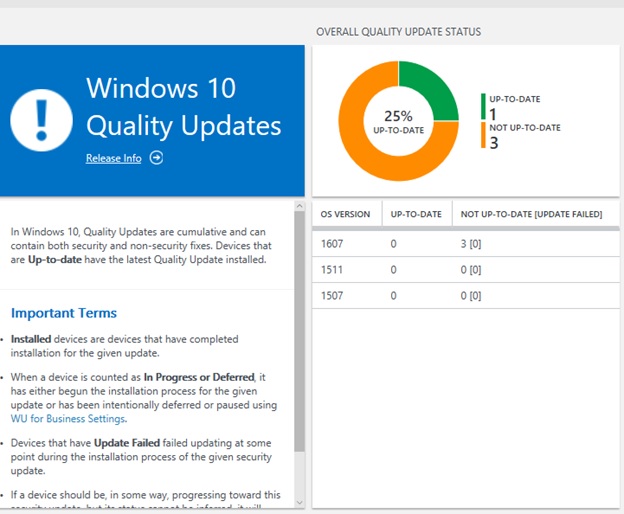
- It lets you know if you have the latest quality update for the Windows 10 version you are on.
- It lets you know if you have the latest Security Updates on your Windows 10 Machine
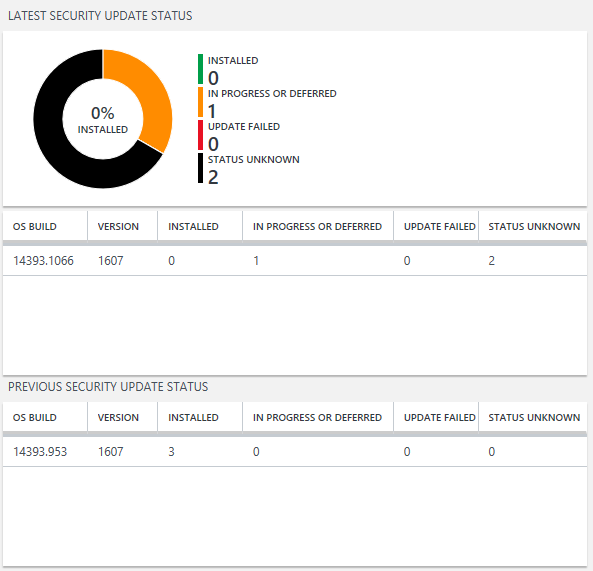
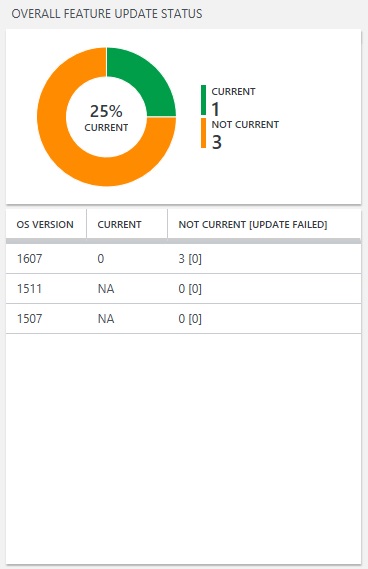
- It lets you see if you have the latest feature updates
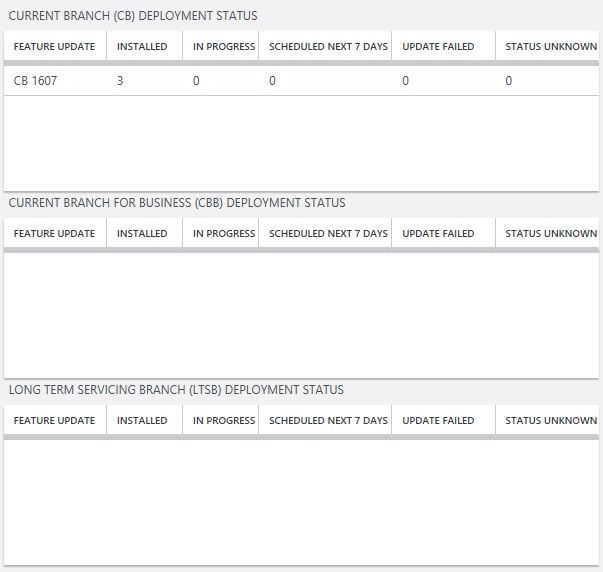
- It also shows you what branch of Windows 10 you are on which could be Current Branch [CB], Current Branch for Business [CBB], Long-term Servicing Branch[LTSB]
Update Compliance uses Windows Telemetry to understand what version of Windows 10 you are running and it also checks to see if you have the latest updates installed.
2 very important things to understand:
This is a preview feature which is currently being offered as a free service. Since it’s in preview that means that major changes can be made before it is made available for the general public.
This is a Windows 10 only feature. If you enroll a Windows 7 machine it will automatically get moved into the Upgrade Readiness portal. Only Windows 10 machines show up in the Update Compliance portal.
How do you get started? Well the enrollment process is the exact same as Upgrade Readiness which I’ve written about in a different blog post. I’ll give you a general overview but the steps are the exact same as they are in this post https://blogs.msdn.microsoft.com/okemokoloebube/2016/09/28/windows-upgrade-analytics/
- You need an Azure Account. There is currently no working around this requirement, but you can set up an Azure Trial tenant which means you don’t get charged. The trial lasts for 30 days and then after that you have to put in a credit card to keep using it. If Update Compliance is the only service on your Azure Account you will not get charged as it is currently offered as a free service. I know people get antsy about putting in credit card information but in my testing and in working with other customers, no one has been charged for using this particular service.Trial Azure Account + Update Compliance Service = No charge
You can set up a free Azure Account Here https://azure.microsoft.com/en-us/free/ - After you get your Azure Account running you need to add OMS to Azure as Update Compliance runs on Azure. Note that it is called “Log Analytics” in the Azure Portal. Let’s walk through setting that up.
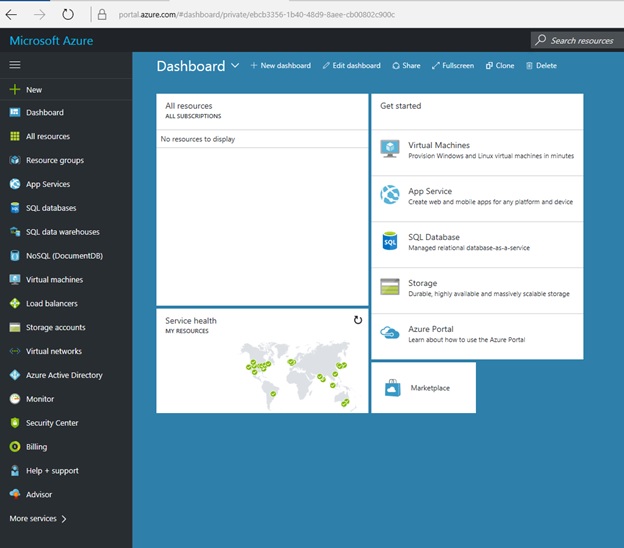
Log in to Azure and you should see your dashboard.
On the will be your selection/navigation pane and you want to click on “More Services” and then click on “Log Analytics”.
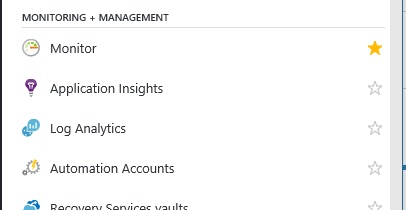
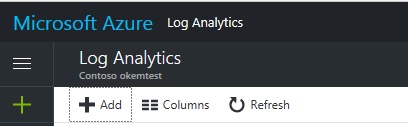
You click on Log Analytics
You then click on Add to add it to your Azure Workspace
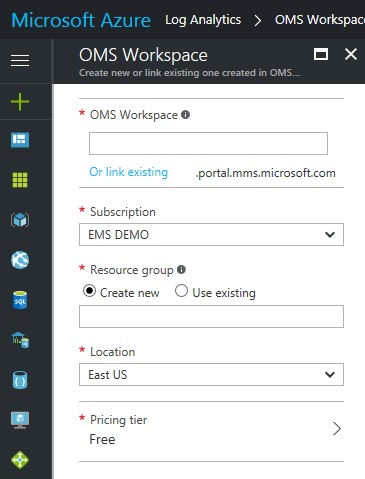
You have different options when creating the workspace depending on what you’ve set up in Azure before.
To set up your workspace you need to
Choose your name [This is the name of your workspace]
Choose an Azure Subscription you want the workspace linked to
Choose a Resource Group you want the workspace to be hosted in
Choose your Location
Choose Pricing [Free Tier is enough]
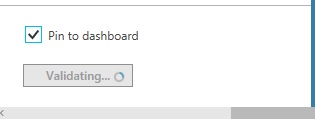
Something I normally do is “Pin to dashboard” for something I’m creating so I can find It on the dashboard once it gets deployed
Once you fill out the information click “OK”
You’ll get a prompt saying “Validating”
You can also check in your notifications in Azure to see if it was successful

If you pinned it to your dashboard you can go to your Azure dashboard and click on the name of the item you created.
You can also just click on “more services” and navigate to the Log Analytics screen and you should see your workspace.
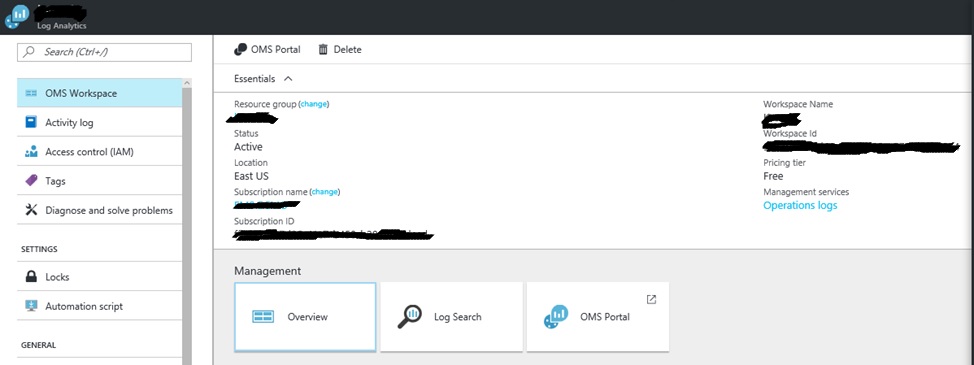
Click on the name of your workspace and it will take you to the OMS workspace page in Azure from where you can click on “OMS Portal” which will redirect you to the actual OMS service.
You should see something like this
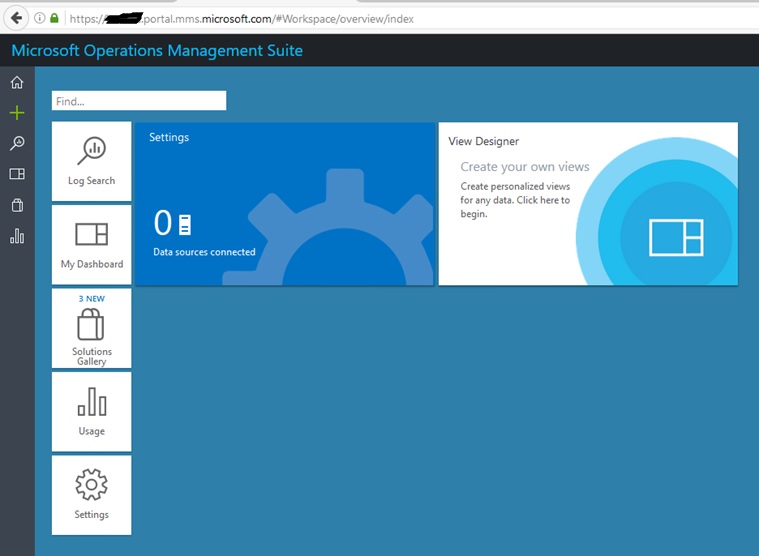
At this point we have no data and as we haven’t done anything. We need to do a couple of things
We need to add the “Update Compliance offering to our workspace
We need to get the subscription ID
We need to download the Upgrade Compliance deployment script
We need to configure Windows 10 machines to upload telemetry to our workspace
ADD UPDATE COMPLIACE TO OUR WORKSPACE
First thing we want to do is add the “Update Compliance” offering to our OMS Service. We can add this from the “Solutions Gallery which is on the left.
1. Click on the Solutions Gallery Icon

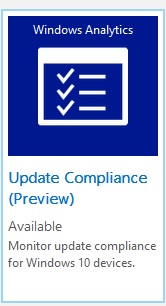
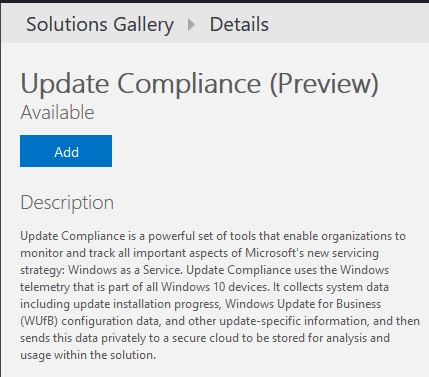
2. You’ll see a lot of OMS Offerings, the one where looking for is on the right and is called “Update Compliance”. When you find it click on it
3. It’ll take you to the Update Compliance details page. Click on Add [It took a while to complete]
4. You’ll be taken back to the home page, and you’ll see the “Update Compliance” pane show up on the dashboard
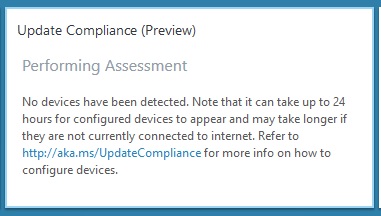
You’ve now successfully added the Update Compliance solution to your workspace.
To enroll devices you need a subscription ID which is a unique number that data from the machines you enroll need to upload data to your tenant.
We’ll do that next.
Generating Subscription ID
1. From the Dashboard click on settings
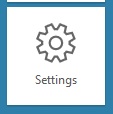
It will take you to the Setting Page
2. Click on “Connected Sources” and in the next pane click on “Windows Telemetry”
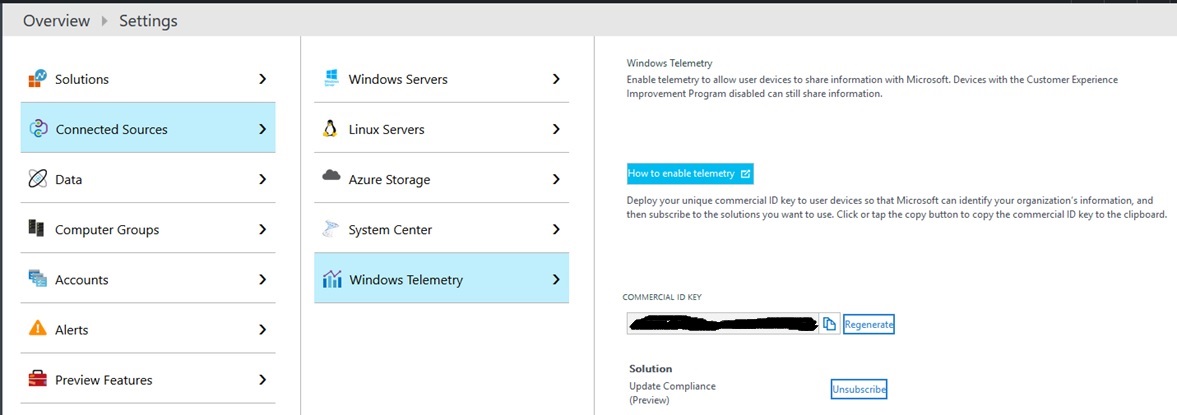
You should see a “Commercial ID Key” and you want to take note of where it is. This is the commercial ID we will point the data we upload to.
We now have our workspace setup but still no data.
We need to download the Upgrade Compliance deployment script
We need to configure Windows 10 machines to upload telemetry to our workspace
There are two ways to get data into the Workspace:
- Use Group Policy to input the commercial ID’s on Windows 10 machines
- Use Windows upgrade Deployment Script located here to input the commercial ID. I’ve written a blog about “Upgrade Readiness” which uses the same script and does something similar. The section on “DOWNLOAD AND CUSTOMIZE UPGRADE COMPLIANCE DEPLOYMENT SCRIPT” explains how to use the script if that’s something you want to do.
You can find the blog here https://blogs.msdn.microsoft.com/okemokoloebube/2016/09/28/windows-upgrade-analytics/
USE GROUP POLICY
This is the “easier” option as it requires inserting your commercial ID in a group policy and then pushing it out.
The Group Policy is located here
Computer Configuration\Administrative Templates\Windows Components\Data Collection and Preview Builds
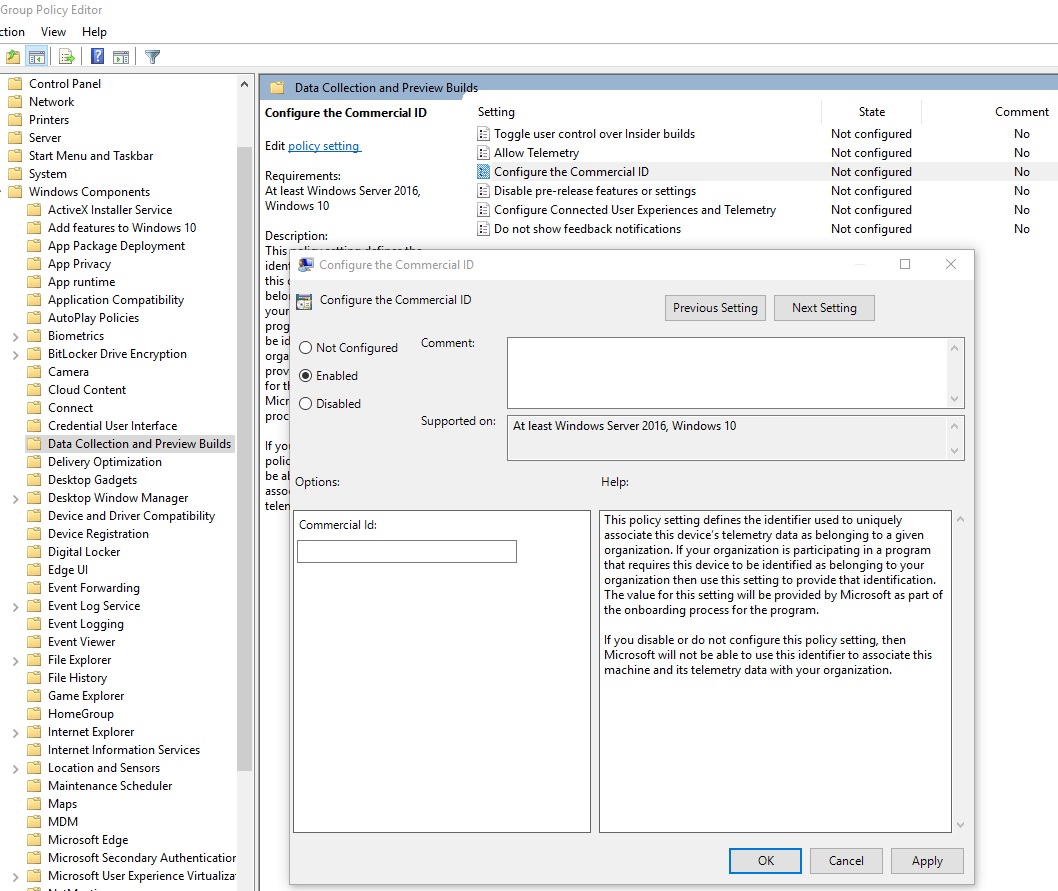
You type in the Commercial ID and you hit OK and then hit apply and you have enrolled that machine to upload data into your workspace.
It takes approximately 48 hours but if your script runs successfully your data should eventually show up in the OMS portal
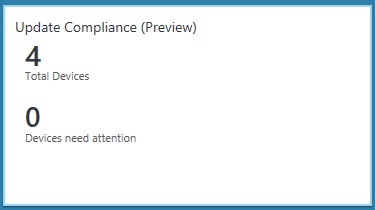
At some point you should see something similar to this [depending on how many machines you enrolled] show up on the Update Compliance tile in OMS. Click on it and get access to all the information brought to you by Update Compliance.
Further Reading:
Get Started with Update Compliance
/en-us/windows/deployment/update/update-compliance-get-started
Use Update Compliance to monitor Windows Updates
/en-us/windows/deployment/update/update-compliance-using