How to manage LINQ to SharePoint entities with LINQ to SharePoint DSL Extension (part 1)
Hi,
In this post, I will show you how to manage in Visual Studio 2010 the LINQ to SharePoint entities with the LINQ to SharePoint DSL Extension. This tool provides an end to end scenario to integrate the manipulation of SharePoint entities directly in VS.
First, download and install the extension from here:
![]() https://archive.msdn.microsoft.com/linq2spdsl
https://archive.msdn.microsoft.com/linq2spdsl
Step 1: Create a new Visual Studio Item template
The LINQ to SharePoint DSL extension provides a new Visual Studio Item template.
1. Create a new project in C# or VB.Net or open an existing one
2. Right click on a project name
3. Click on Add > Add new item
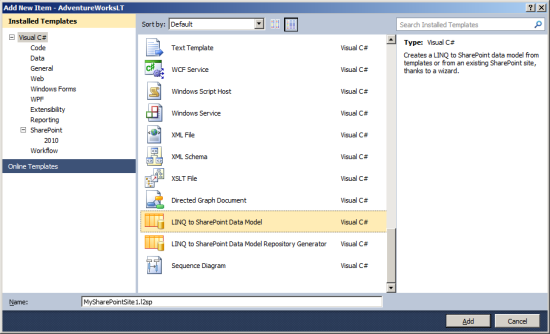
4. Choose the “LINQ to SharePoint Data Model” item template in SharePoint > 2010 templates folder
5. In the “Name” textbox, write the name of your new L2SP schema file (for example TeamSite.l2sp)
6. Click on the Add button
Step 2: Select a template model
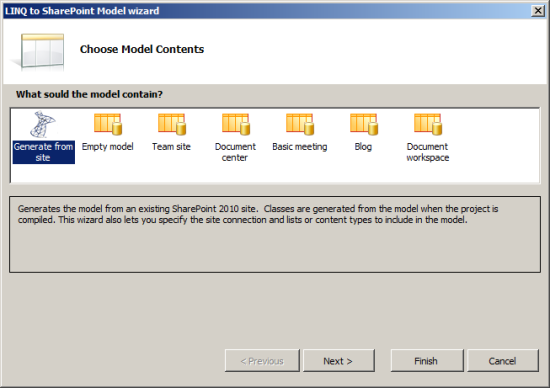
You can choose the model type from templates or choose to generate a new model from an existing site.
If you choose a model, the wizard finishes and creates the schema file.
If you choose the “Generate from site” option, the wizard will go in the second step.
If you want to use an existing SharePoint site:
1. Click on “Generate from site” item
2. Click on Next button
Step 3: Authentication
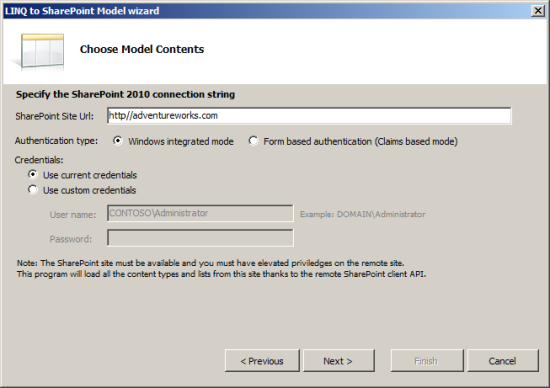
You can use a remote SharePoint web site as the template of your new schema. The LINQ to SharePoint DSL Extension will use the SharePoint Client OM API to browse the site and get entities to map. To do that, you must specify the SharePoint connection credentials, thanks to the site URL, the user name and the user password.
To connect to the remote web site, follow these steps:
1. In the first textbox, write you SharePoint web site url (for example: http//sharepoint2010/)
2. Choose default credentials if you want to use the current user id, and go the step 5. In you want to specify custom credentials, click on the radio button.
3. In the credentials block, write the full login (for example: contoso\UserLogin)
4. In the last textbox, write the password
5. Click on “Next >” button
Step 4: Content types and lists entities selection
LINQ to SharePoint DSL Extension provides the way to select entities to map thanks to a properties viewer. The content type hierarchy appears in a treeview on the left.
You can decide to keep or to remove an entity from the schema by select or unselect a checkbox of the treeview nodes. Some mandatory content types can’t be removed : Item, Document and Folder.
If you click on a tree node, the fields to map are displayed in the right list, with this pattern: [Name] ((SharePoint Internal Name]). This list shows all the fields contained in the selected entity. By default, the hidden fields are unselected.
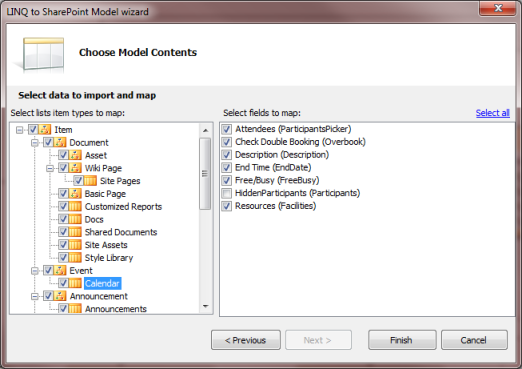
Click on the Finish button.
Step 5: Design your entities
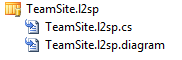
Now, a new item appears in Visual Studio. In the solution explorer, 3 files are available:
- The *.l2sp file is the schema data: if you open it (double click on the name), this file will be displayed in the design area
- The *.l2sp.cs file: contains all the generated source code (in a C# project)
- The *.l2sp.diagram: contains the UI data (internal, do not edit).
If you're opening the new l2sp file (model), a graphic entities designer is available in Visual Studio 2010, like it:
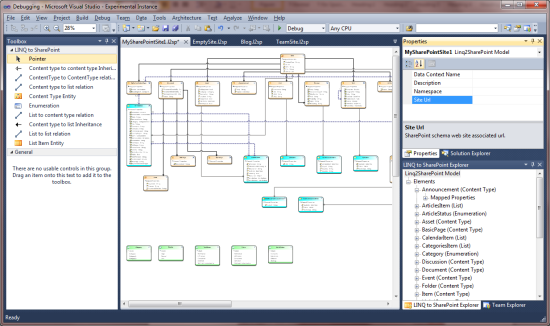
With this designer, you can manage your entity classes directly in Visual Studio. If you modify and save the model, the source code will be directly regenerated without the need to call SPMETAL.EXE tool.
If you're code was generated with success, you can now use LINQ to SharePoint on your entites.
Read the next chapter to view advanced settings about LINQ to SharePoint DSL Extension.