Access Your Business Applications on any Device using Azure RemoteApp
One of the big challenges that organisations face in this new Mobile First, Cloud First world is that not all of the line of business applications that the organisation uses have been built in this modern way, i.e. they have not been built to use cloud technologies or to target the types of mobile devices employees now use. In a lot of cases these legacy applications cannot be redeveloped or replaced as they are too critical to the business. More often than not these applications have been built as Windows Desktop apps but more and more employees are more mobile and expect to use tablets or other mobile devices to access their business applications.

This is where Azure RemoteApp comes in. As long as these desktop applications will run on Windows Server 2012 R2 the apps can be run from the Cloud and can then be accessed over the web on any device running MacOS, iOS, Android or Windows. It is even possible to connect the RemoteApp service on Azure to your corporate network so that you can access internal services like database back ends, for example. You can also use Azure Active Directory to manage authentication and even add multi-factor authentication.
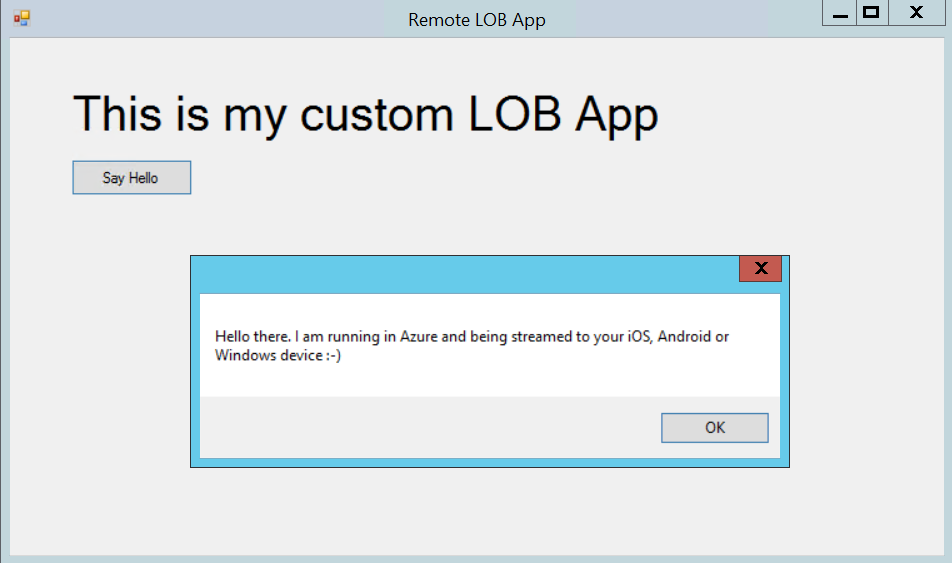
The following is a simple guide to help you get started. I have created a custom Windows desktop application using Visual Studio to represent my business application but you could use any application you have as long as it has been tested to run on Windows Server 2012 R2 and you have the appropriate licenses. For more information on how licensing works in RemoteApp please click this link.
Step 1 - Create a VM Image with your Business App
In order to use RemoteApp you must have a template. A template is essentially a Windows Server 2012 R2 Virtual Machine Image that is used to create the RemoteApp service. Any application installed on this image/template can then be accessed via the RemoteApp service. There are a number of templates that come with the service, but to create a service based on our custom business app I must create my own template as follows:
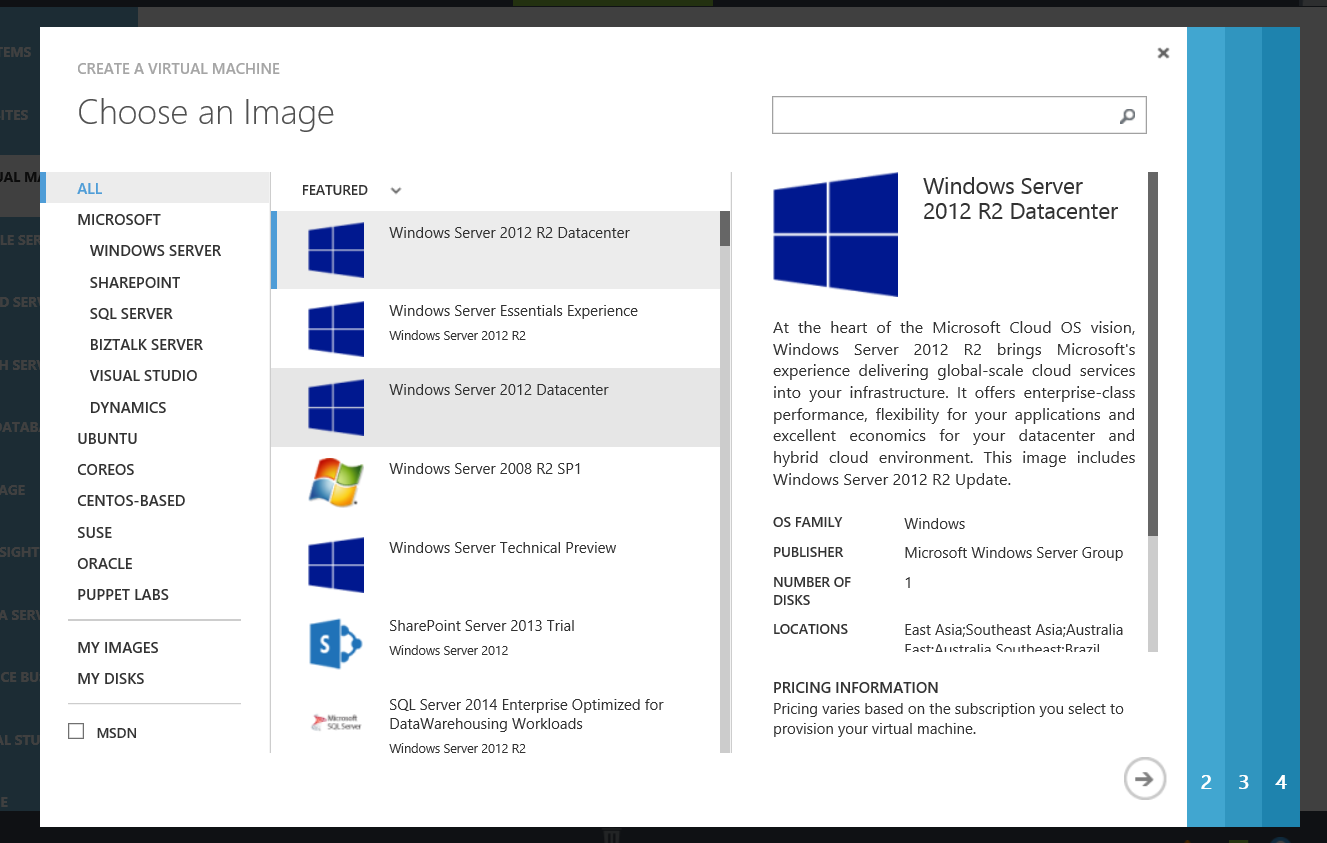
- Start by creating a Windows Server 2012 R2 virtual machine on Azure. You can do this using a local server, desktop or laptop as long as you have the Hyper-V role running. For this example I simply created a VM on Azure using the appropriate gallery image.
Once you have the VM created remote desktop to the VM and enable Remote App services. Go to Server Manager -> Add Roles and Features and add the "Remote Desktop Services" role as well as the "Desktop Experience" feature under "User Interfaces and Infrastructure.
Disable encryption by running the following command in an elevated privileges command prompt.
Fsutil behavior set disableencryption 1If you are building your image inside an Azure virtual machine, rename the \%windir%\Panther\Unattend.xml file, as this will block the upload script used later from working. Change the name of this file to Unattend.old so that you will still have the file in case you need to revert your deployment.
Install KB 2977219 on your image. This KB is required for all Azure RemoteApp template images. Uploading your image will fail if you do not install this KB is not installed.
Install your business application and create a tile on the Start Screen for the application. You can do this by simply finding the application, right clicking it and clicking pin to start. In my case I created a simple desktop app in Visual Studio but you can use any app as long as you have appropriate licenses. At this point take note of the full path to the executable for the app, you will need it later.
Now you can sysprep the image using the following command:
C:\Windows\System32\sysprep\sysprep.exe /generalize /oobe /shutdown
Note: Do not use the /mode:vm switch of the SYSPREP command even though this is a virtual machine.
In the next step we will upload this VM disk into the RemoteApp service, which means you will need to download the VHD now. This is a step that is a bit painful but it will go away at some stage as you will be able to link a RemoteApp template to an existing VM disk. For now, find out where the VHD file is in Azure and download it to disk. Obviously if you are using Hyper-V locally you will not need to do this.
For more information on this step click here.
Step 2 - Upload the RemoteApp Template
This step involves uploading the VHD file created in the previous step to RemoteApp as a template.
- Within the Azure portal click on the Remote App section and then click the "Template Images" tab.
- Then click the "Upload" button.
- Enter a name for your template, e.g. "CustomLOBApp", select a location and click next.
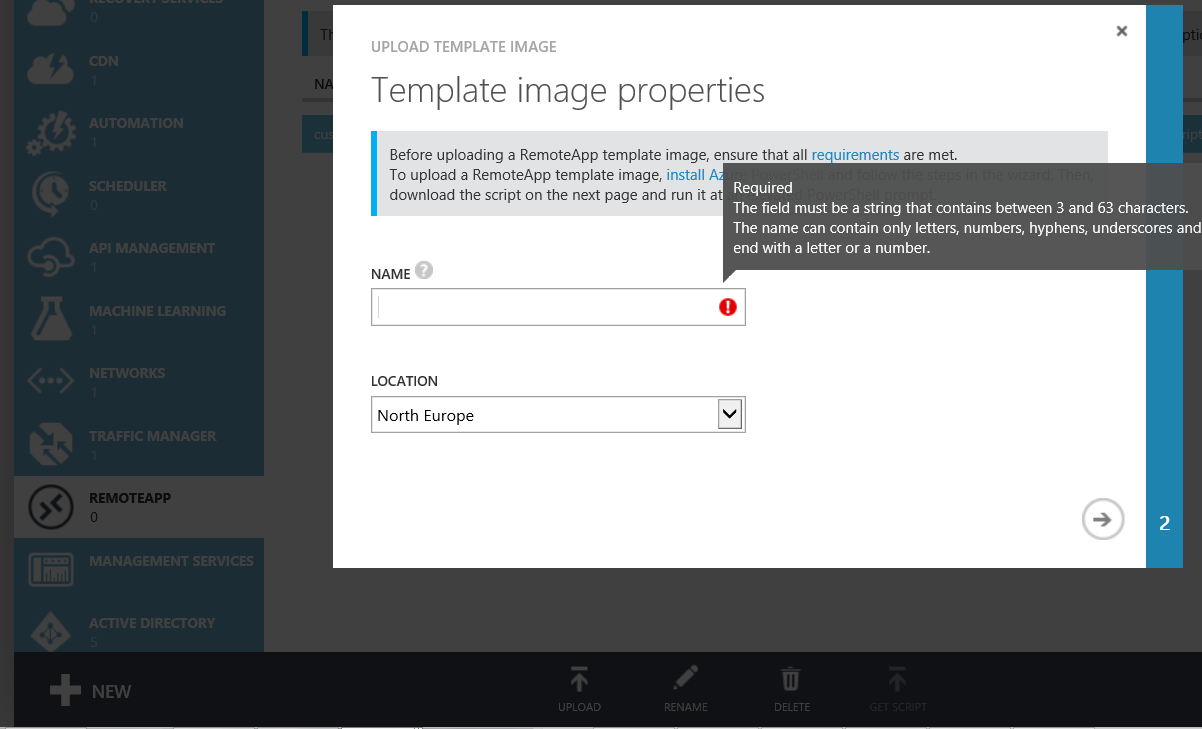
- In the next screen you will be prompted to download a powershell script. Simply download it and run it. When the script runs it will ask for the location of the VHD file and will begin the process of uploading it to the RenmoteApp templates.
- Note: You will need to install Azure Powershell
- Let this process continue, it may take some time, but it is a once off process.
Step 3 - Create a RemoteApp Collection
There are two types of RemoteApp collection that can be created, one with a VPN (hybrid collection) or one without (cloud collection). For the purposes of this guide I am creating a collection without a VPN. For more information on the hybrid collection please click here.
- In the portal create a new service using the "Quick Create" option. Here you will select the data centre as well as the plan, basic or standard, and then template you created in the previous step.
The term collection is used as the service represents a collection of programs/applications that can be made available.
Step 4 - Publish Apps
Now that the service has been provisioned we need to publish some apps.
- Click on the Publish tab within the RemoteApp collection and choose to publish an app from the start menu or one you know the path too.
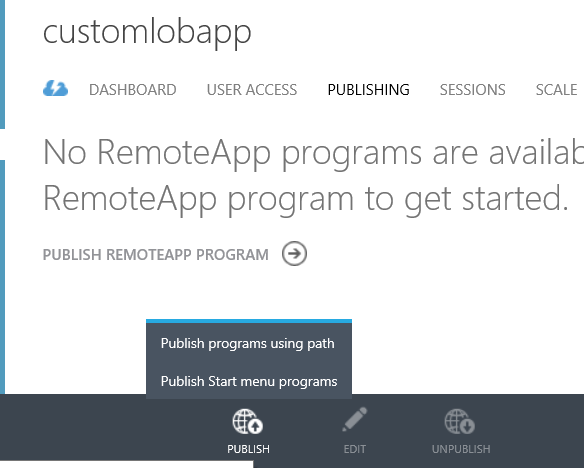
- Assuming you took note of the path to the app simply publish it using the path, or if it is listed as a start menu program you can do it that way.
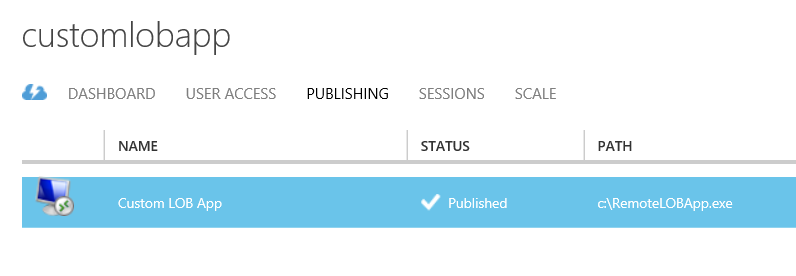
- Finally you can click the User Access tab to make this app available to specific users. This can be done using Microsoft Accounts or Azure AD accounts allowing you to integrate with your corporate identity solution.
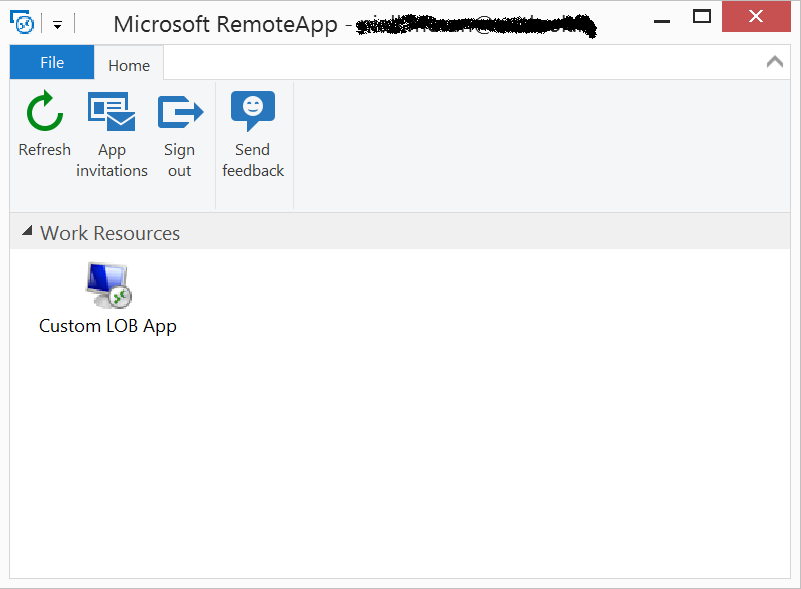
Step 5 - Access the App
So now that your app has been published simply direct people to download the RemoteApp client for their device. The url for the download is https://www.remoteapp.windowsazure.com/ and once your users download and install the client on their iOS, MacOS, Android or Windows device they will have access to your apps. For Windows phone the above URL won't work, instead look for the Microsoft Remote Desktop app in store.
That's it! Really Simple to set up, takes a bit of time but now your users can access your apps on any device without the headache of deploying the app to those devices.
Pricing
Azure RemoteApp is priced per user based on how much they use the applications delivered via the collection. Each user has 40 hours per month included in the starting price and will pay for additional hours at a defined rate up to a certain maximum. This means there is a minimum investment and after that you pay for what you use up to a maximum amount per user per month.
There are two pricing tiers based on whether or not you are delivering light weight applications or more productivity based applications.
| Basic | Standard | |
|---|---|---|
| Target user | Task worker | Information worker |
| Example applications | Lightweight LOB applications (e.g. data entry, expense reporting) | Productivity applications (e.g. Office) |
| Storage (user) | 50 GB | 50 GB |
| Starting price (user/month) | €7.447 | €11.18 |
| Hours included in starting price (month) | 40 | 40 |
| Hourly overage rate (Hour) | €0.1304/hr | €0.149/hr |
| Capped price (user/month)* | €13 | €18 |
Notes:
- There is a minimum charge of 20 users for this service. If you only have one or two users you would still need to pay for 20 users.
- In any one subscription you can only create 2 collections. The service is designed such that you deliver multiple apps within a single collection rather than create collections for each app. If you want to create more collections you can contact support and ask to have this limit increased.
- Currently, there is a user limit up to 400 users per App Collection for Azure RemoteApp Basic and up to 250 users for Azure RemoteApp Standard. Please contact Azure support if you need to exceed these limits.