Microsoft Dynamics NAV 2013 R2 available in the Windows Azure Portal under MSDN subscription
Ever wondered what it is like to work with Microsoft Dynamics NAV on Windows Azure – but found it too cumbersome even with our nice Windows Azure provisioning tools? Then this might be something for you.
Today we have made Microsoft Dynamics NAV 2013 R2 easily available on Windows Azure with just a few clicks. The Microsoft Dynamics NAV 2013 R2 image is an exclusive offer for MSDN subscribers and includes a fully functional, ready to use Microsoft Dynamics NAV 2013 R2 installation including Microsoft SQL Server. The MSDN subscription gives you the well-known discounted prices and allows you to use it for development, test, and demo purposes, but not for production purposes.
How to get it? Make sure you have an MSDN subscription and the subscription has Windows Azure benefits activated. Then follow these steps:
- Sign in to the Windows Azure Portal using your MSDN subscription.
- Choose the + sign at the bottom of the Portal page.
- Choose Compute, point to Virtual Machine, and then choose From Gallery.
- Select the MSDN filtering checkbox as shown in the following screenshot. This will filter the list to only show the available MSDN images.
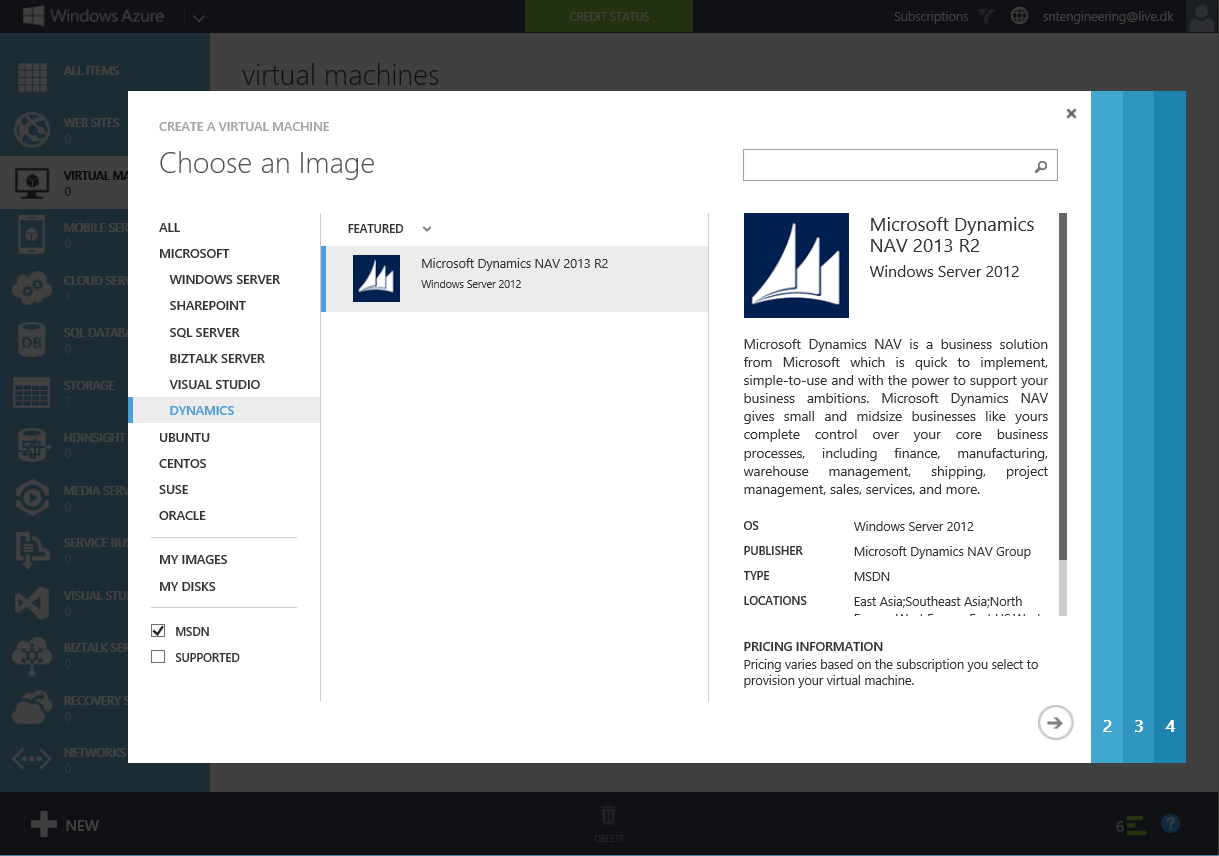
- Choose the Microsoft Dynamics NAV 2013 R2 image.
- Choose the arrow in the lower-right corner.
- Fill in the relevant fields about the virtual machine as described in the following list:
- Specify the name of the virtual machine.
- Specify the size of the virtual machine, such as Medium.
- Specify the user name and password for connecting to the virtual machine.
- Specify the region where you want to host your virtual machine, such as West Europe.
- Verify the remaining parameters. In most cases, the default values are sufficient.
- Choose the Finish icon to start the provisioning process.
- Once the image is provisioned after a few minutes, you can use Remote Desktop to connect to it. In the Azure Portal Virtual Machine page, choose the newly created image, and then choose Connect. Use the credentials that you specified step 7.
When you are connected to the VM, you are welcomed to the Microsoft Dynamics NAV 2013 R2 virtual machine on Windows Azure:
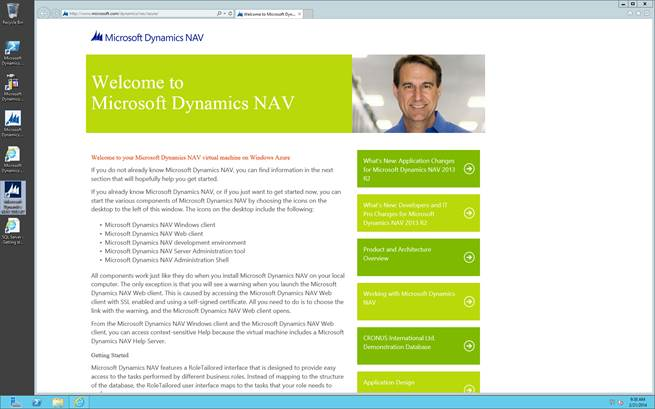
No further configuration is required and you can immediately start using the clients and the development environment.
Best regards
Kamil Koclega & Morten Jensen from the Dynamics NAV team