
Basic SQL – Creating users in NAV on SQL
This post is part of “Overview of NAV-specific SQL features for application consultants”.
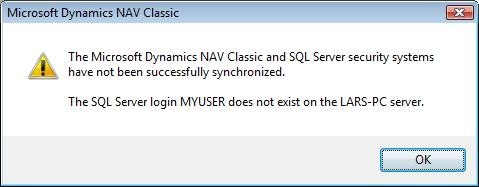
Before you can set up a user in Microsoft Dynamics NAV on SQL Server, you must create the user on SQL Server first. If you try to create a user which does not exist on SQL Server, you will get this error message:
The Microsoft Dynamics NAV Classic and SQL Server security systems have not been successfully synchronized. The SQL Server login MYUSER does not exist on the LARS-PC server.
To create this user on SQL Server follow these steps:
1) Open SQL Server Management Studio and expand the group Security -> Logins.
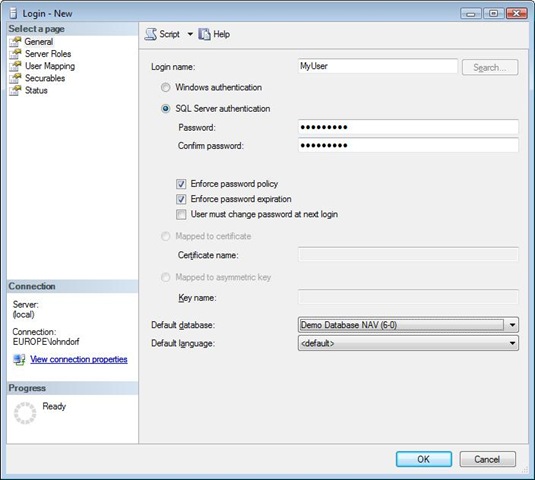
2) Right click on “Logins” and select “New Login”. Type in the name of the user.
3) Change from “Windows Authentication” to “SQL Server authentication”, and then type in (and remember) a password.
4) If you leave the checkmark “Enforce Password Policy” enabled, then the password you select must be complex enough to live up to the policy. If you disable this checkmark you can choose any password you like, or even leave it blank.
5) Un-tick “User must change password at next login”. Otherwise the user will not be able to log into NAV at all.
6) Under “Default Database”, select the NAV database that you want the user to access.
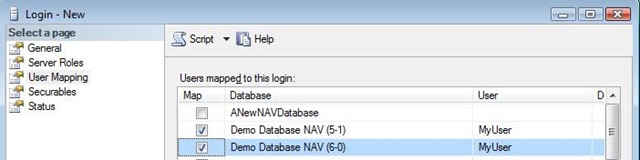
7) If you want this user to access more than one database, then click on “User Mapping”, and select the databases that you want to give the user access to. Otherwise just click on OK, and the user is ready to be used.
8) You don’t need to assign any permissions on the SQL Server. As long as the user exists on SQL, then you can use it, and assign permissions from a NAV client.
9) So open the database in NAV, and go to “Database Logins” (Tools -> Security -> Database Logins), and then enter the User ID for the user you created, and then assign the appropriate roles.
Synchronize permissions
One more step is needed if you run NAV on SQL Server compared to Native. Depending on the security model in the database, you may need to also synchronize permissions. You can see and change the security model from NAV under File -> Database -> Alter:
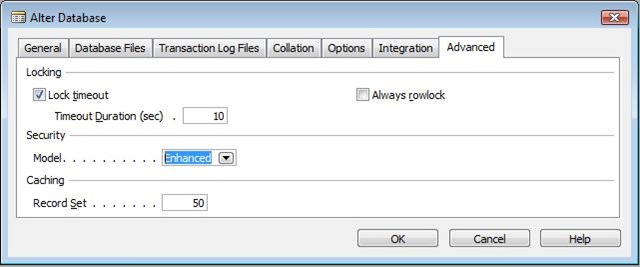
The security model defaults to Enhanced, but for a test system it is simpler to change it to Standard. To change it, you must also (temporarily) select “Single User” from the “Options”-tab. Changing the security model will automatically rebuild all the permissions. After this is done, don’t forget to go back and un-tick “Single User” again.
If your database is set to use Enhanced security model, then every time you change or create users, roles or permissions, then you must also synchronize this by going to Tools -> Security -> “Synchronize all logins” before the changes take effect.


