Setting up CI/CD targeting Red Hat OpenShift Kubernetes Using VSTS
Overview
In this blog, I will detail the steps to deploy a containerized ASP.NET Core Web api app into an OpenShift Kubernetes cluster. The reader of this blog is assumed to have basic knowledge on the following topics:
- Containerization with Docker
- Cluster management and container orchestration using Kubernetes
- Team Foundation Server (TFS) or Visual Studio Team Services (VSTS)
To reproduce the steps detailed in this blog, the following tools are needed:
- Visual Studio 2017 Enterprise Edition
- Visual Studio Team Services account. You can signup for a free VSTS account here
The first part of this blog will go over how to create a sample ASP.NET Core web application with Docker support that we will use as our demo app to deploy to the Kubernetes cluster. Then we will go over how VSTS can be used to create a CI build that will build the application, package the build output into a Docker image, then push the image to Docker Hub. After that we will point you to resources that will show how you can create a test OpenShift Kubernetes cluster. Finally we will go over how VSTS Release Management can be used to continuously deploy to the OpenShift Kubernetes cluster. As you might have guessed, this might not be easy to setup. Luckily the Continuous Integration (CI) and Continuous Deploy (CD) aspect of this is greatly simplified by VSTS as you will see later. So let’s get to work…
Setting up CI for an ASP.NET Core app using VSTS
In this section, I will show how you can create a sample ASP.NET application with Docker support. I will also walk through how to create a Continuous Integration (CI) build for this app using VSTS. First we will need to create a VSTS team project. To do so, browse to your VSTS instance and create a team project. You can signup for a free VSTS account here
Creating Sample app
Let’s create a sample application that we will use going forward. Go to your Visual Studio 2017 Enterprise Edition and press File => New => Project => Web 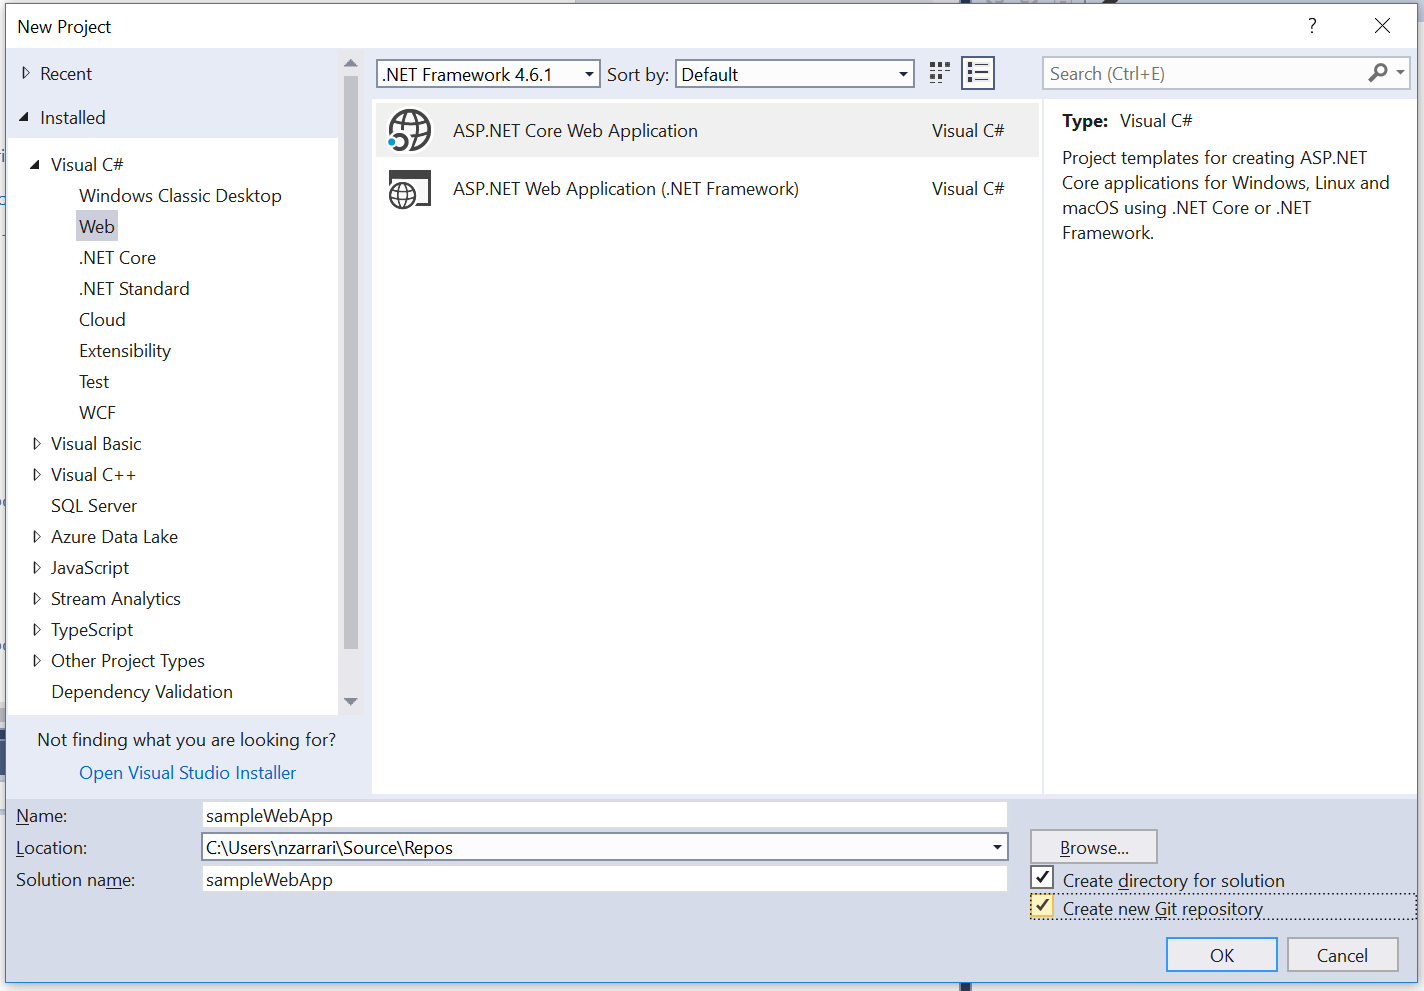
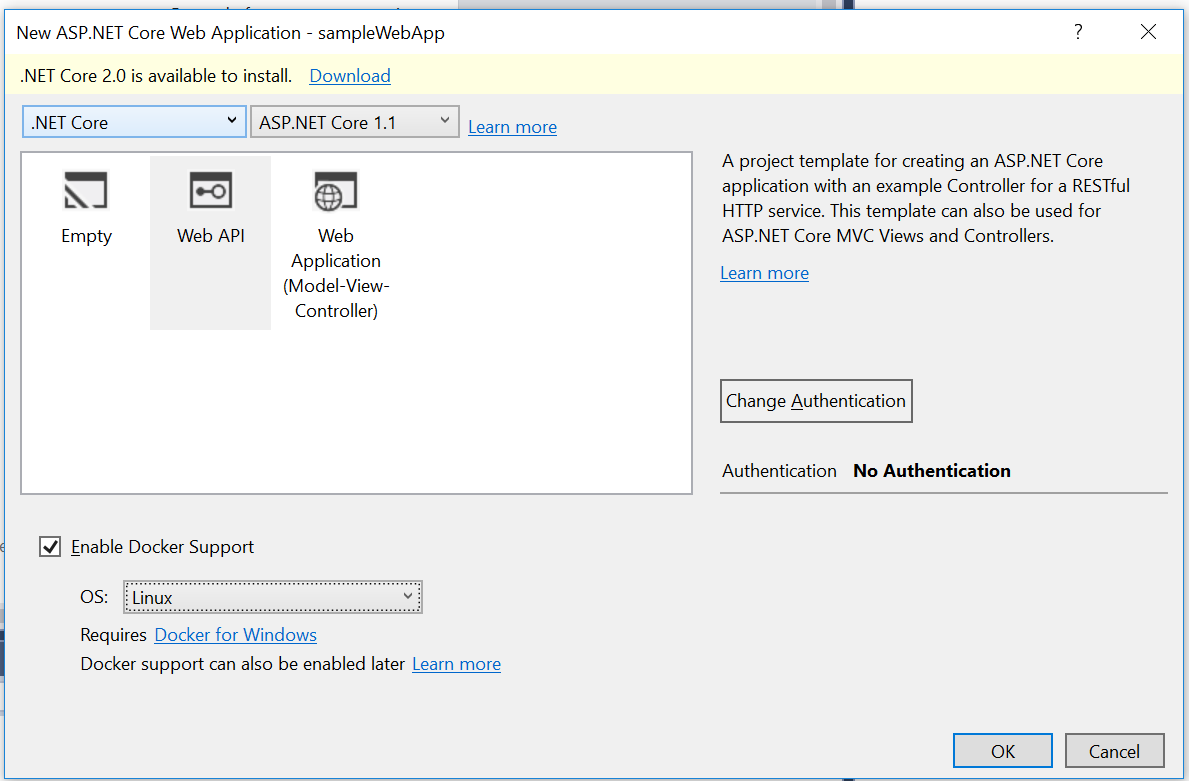
Make sure that Enable Docker Support is checked
Publish the newly created repository by going to Team Explorer => Sync
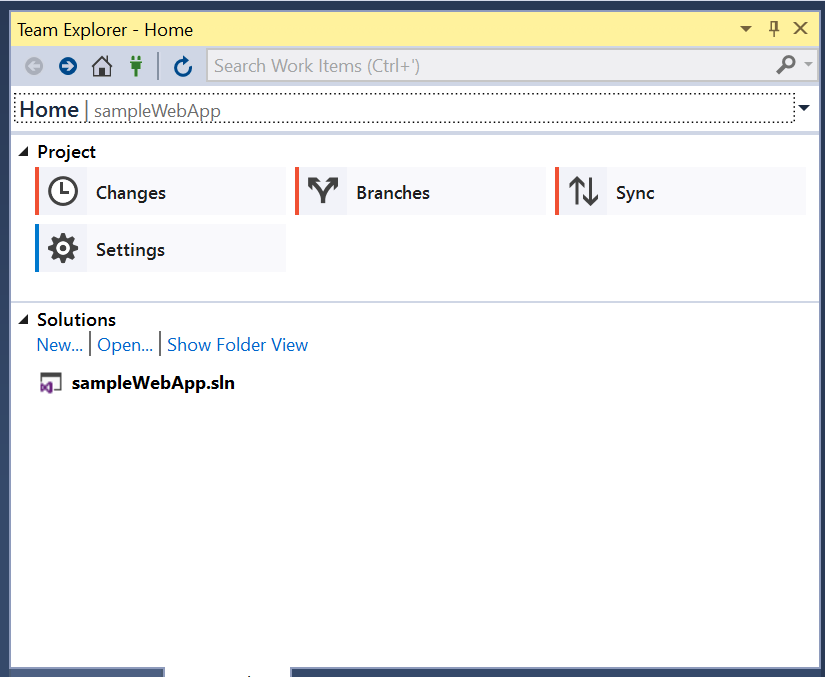
Under Push to Visual Studio Team Services, click Publish Git Repo.
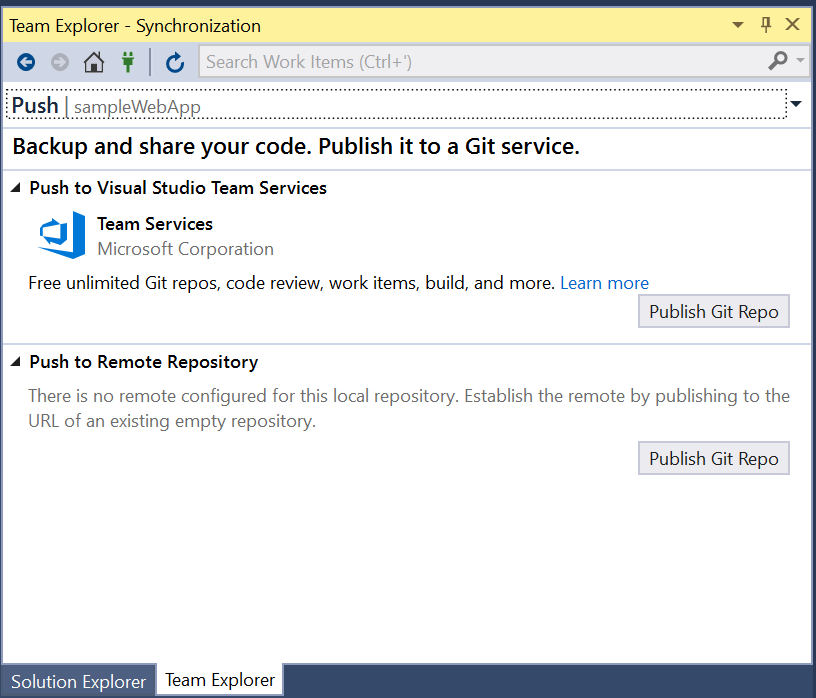
Select your VSTS account and click on Advanced then pick the team project you created earlier
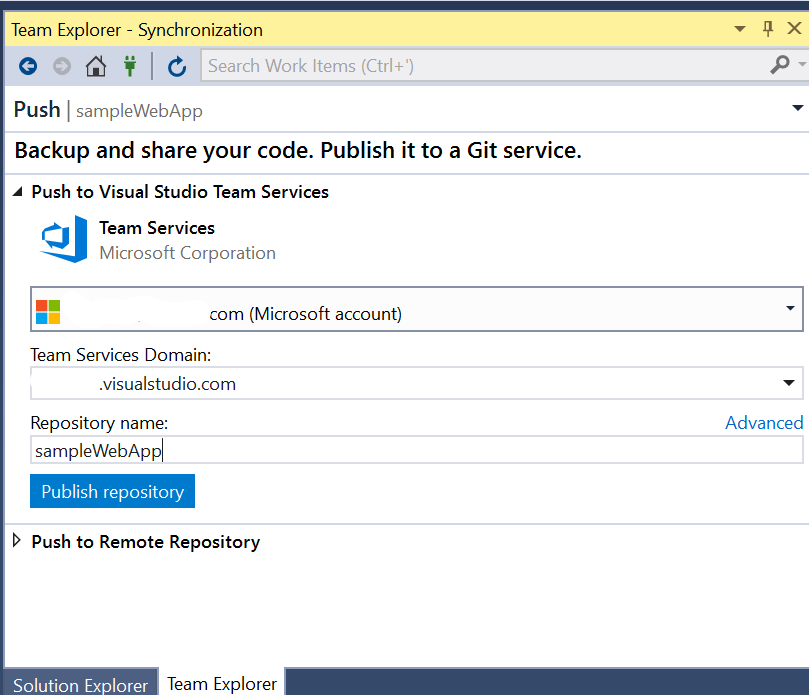
Click Publish repository 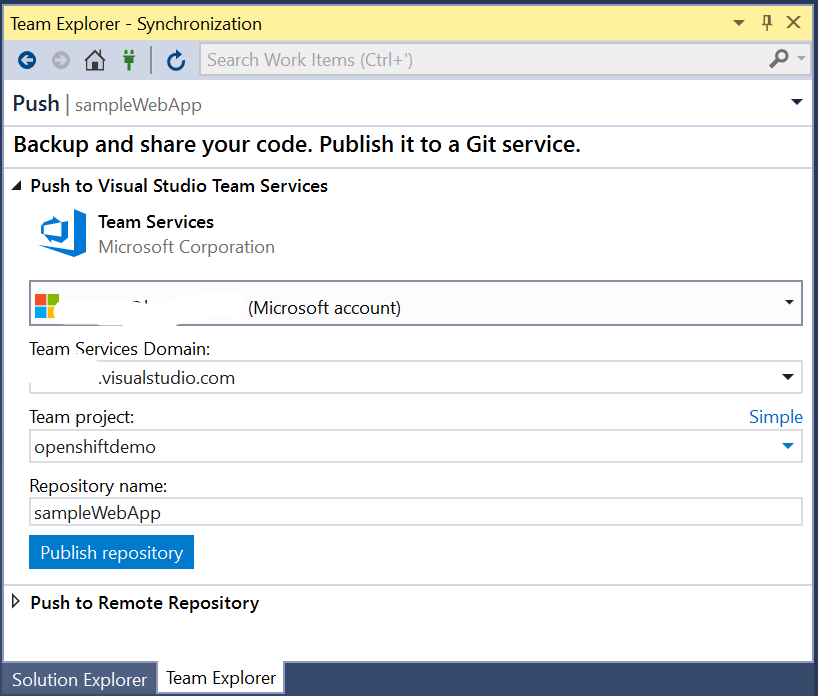
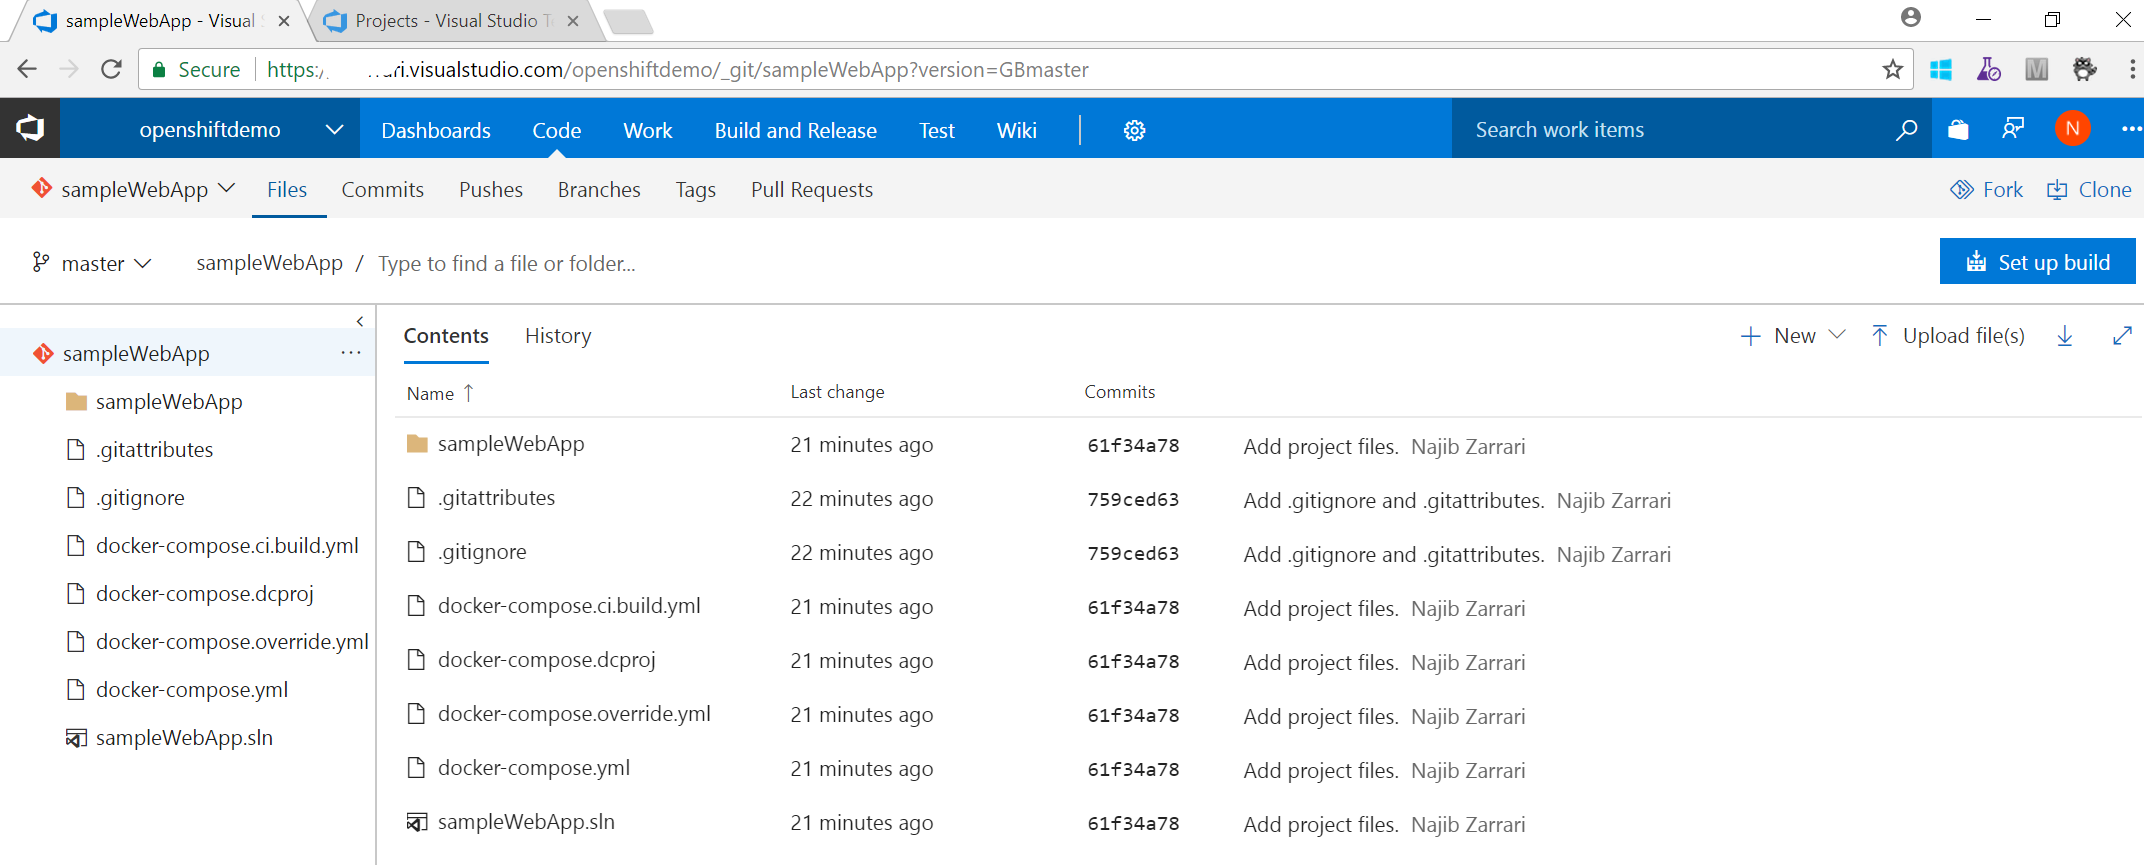
Now you should have the code published in your VSTS instance. You can verify that by logging in to your VSTS team project and browse to Code:
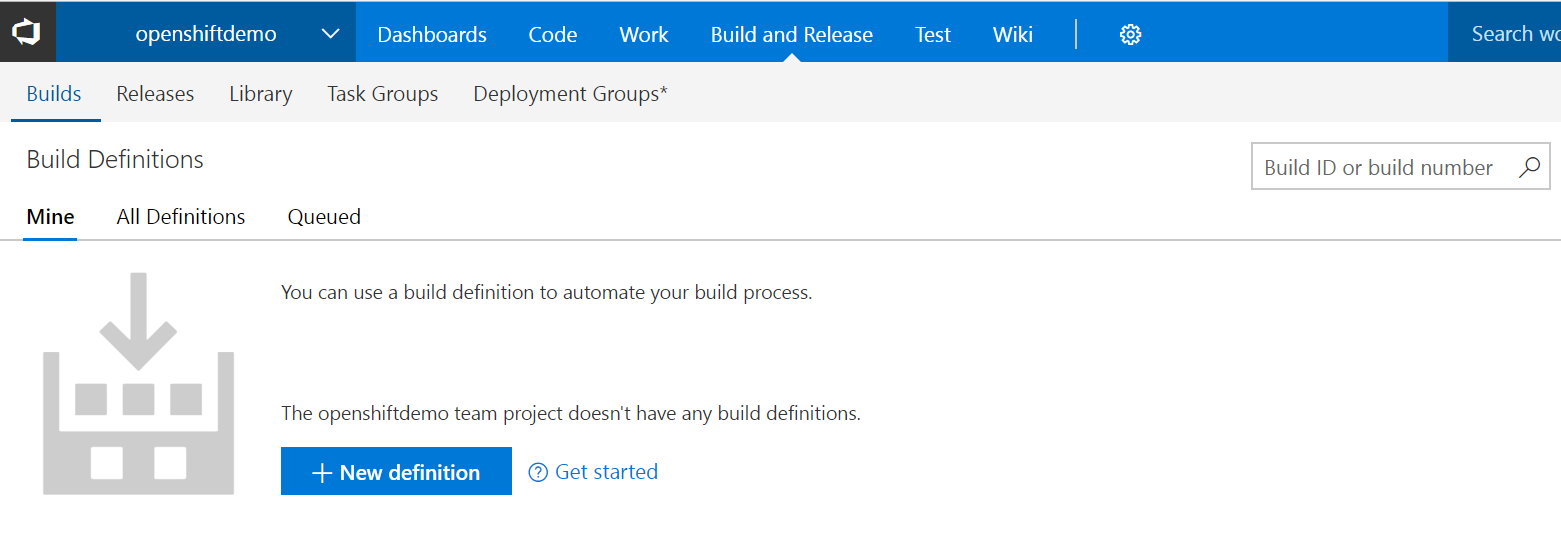
Creating Continuous Integration Build using VSTS
Go to Build and Release and select Builds then press New Definition button
You will be presented with a list of templates. Scroll down and select Container (PREVIEW) and click Apply
Configure the build step as follows:
For Agent queue select Hosted Linux Preview
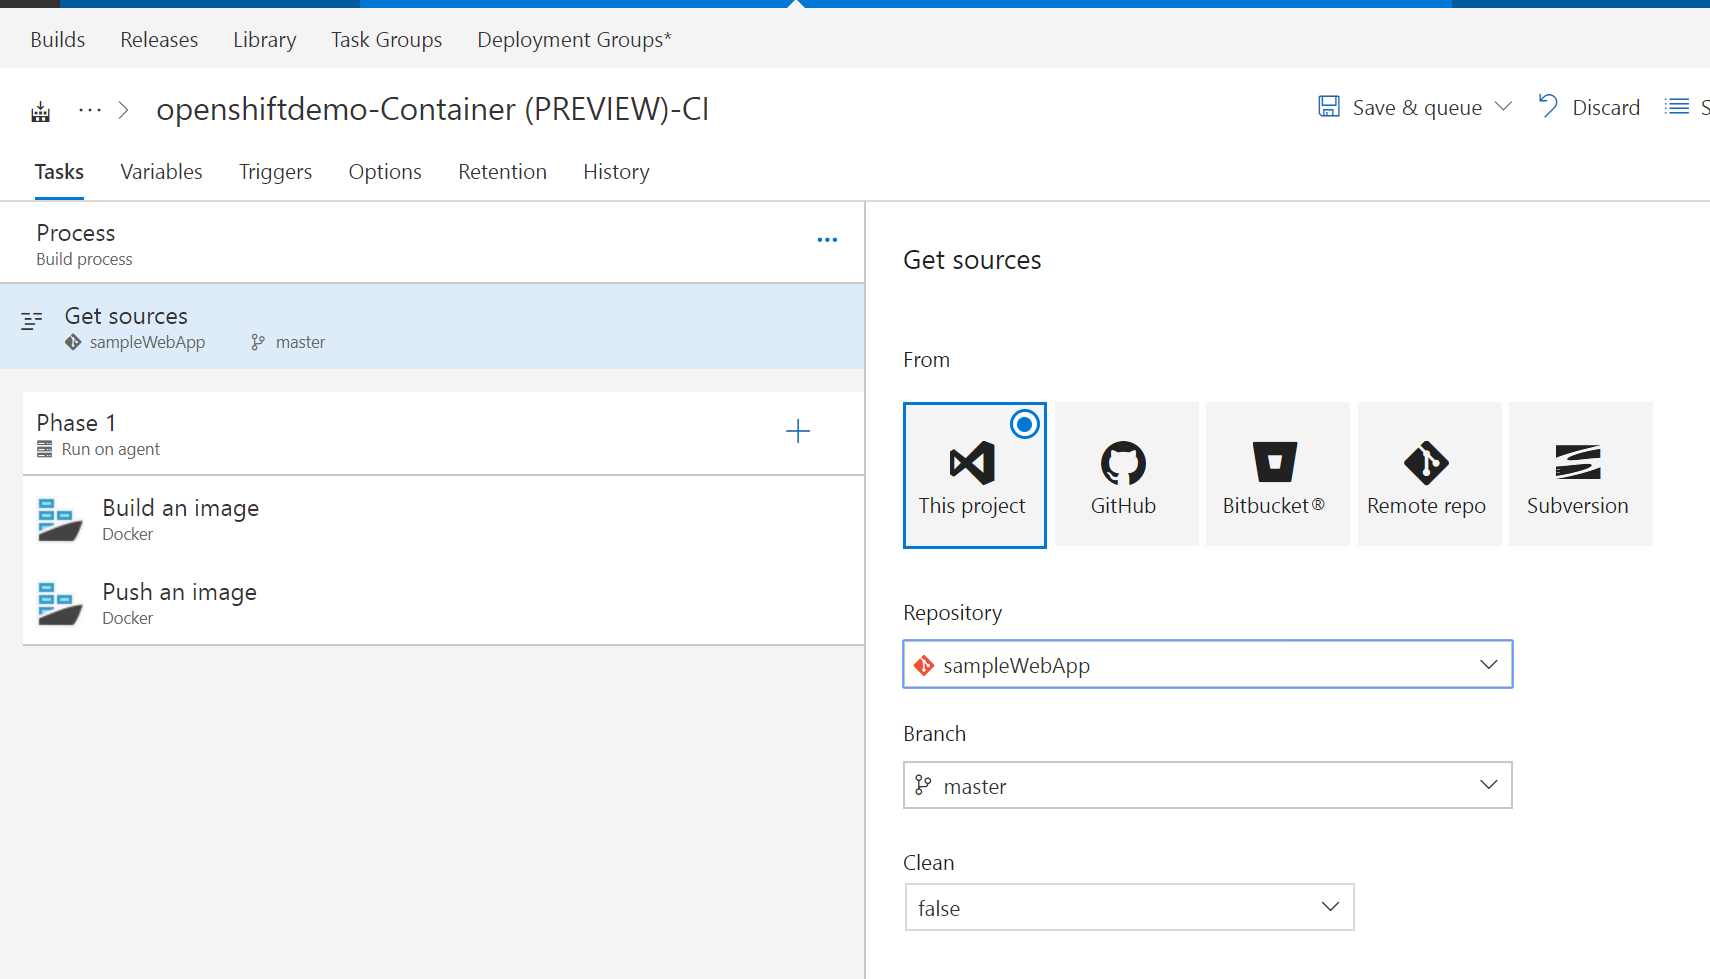
Click on Get Sources Step and make sure your repo is selected along with the targeted branch
Add .NET Core step three times and configure each task as follows.
The first task, set the Command field to restore and project(s) field to **/*.csproj 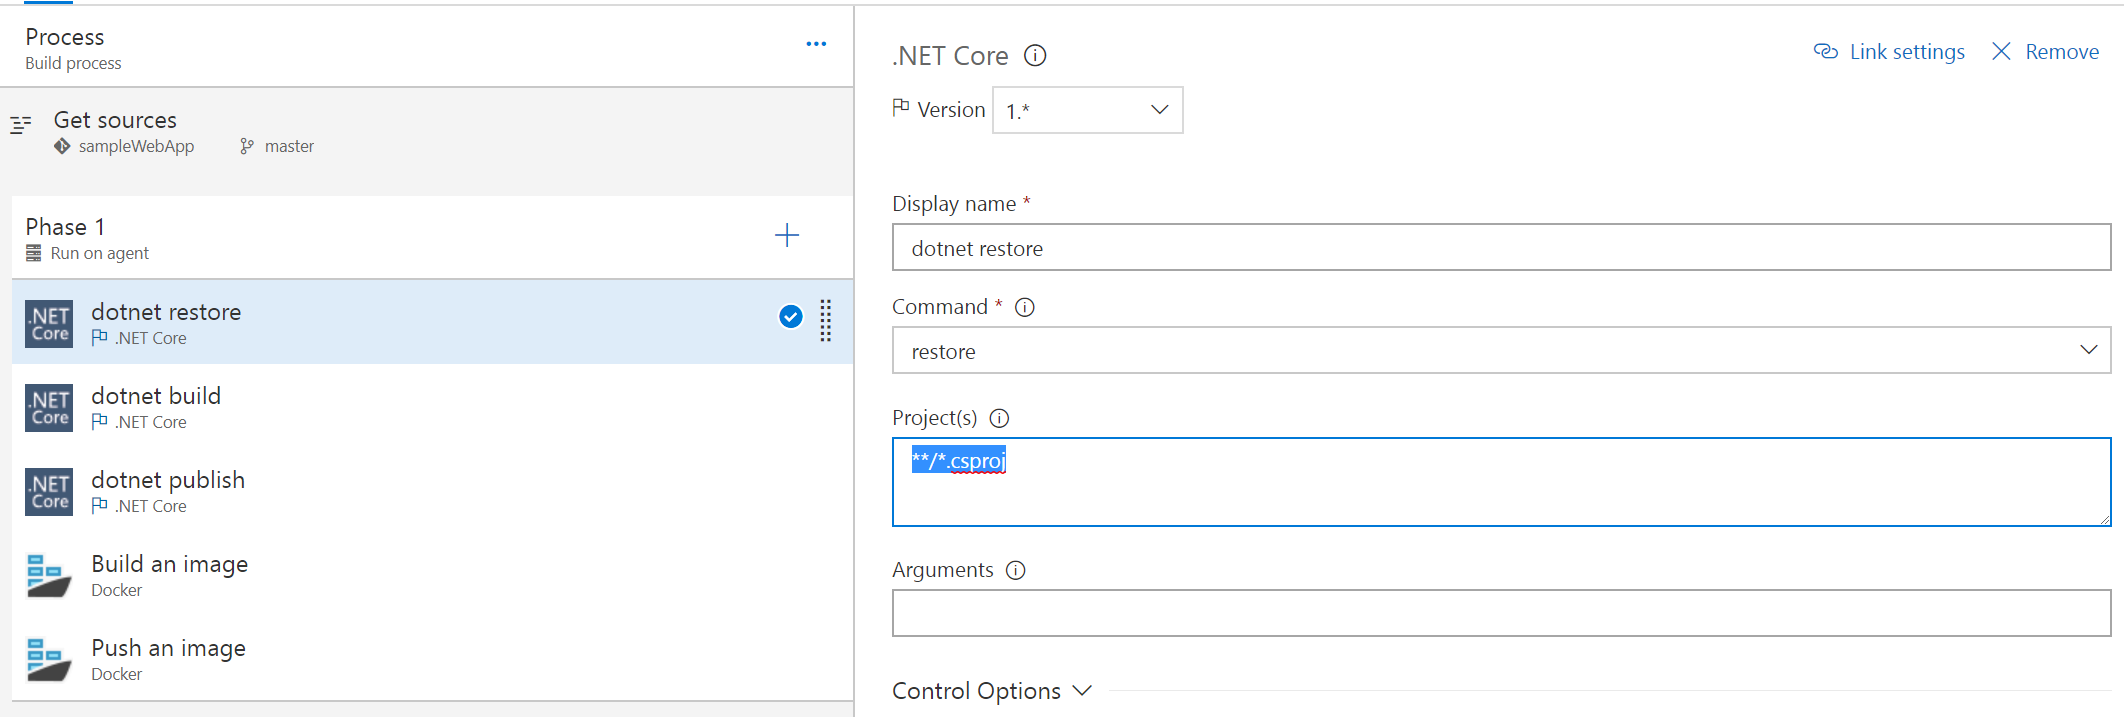
The second task, set the Command field to build and project(s) field to **/*.csproj and Arguments field to -c Release 
The third task, set Version to 2.* (preview) , the Command field to publish and project(s) field to **/*.csproj and Arguments field to -o ./obj/Docker/publish 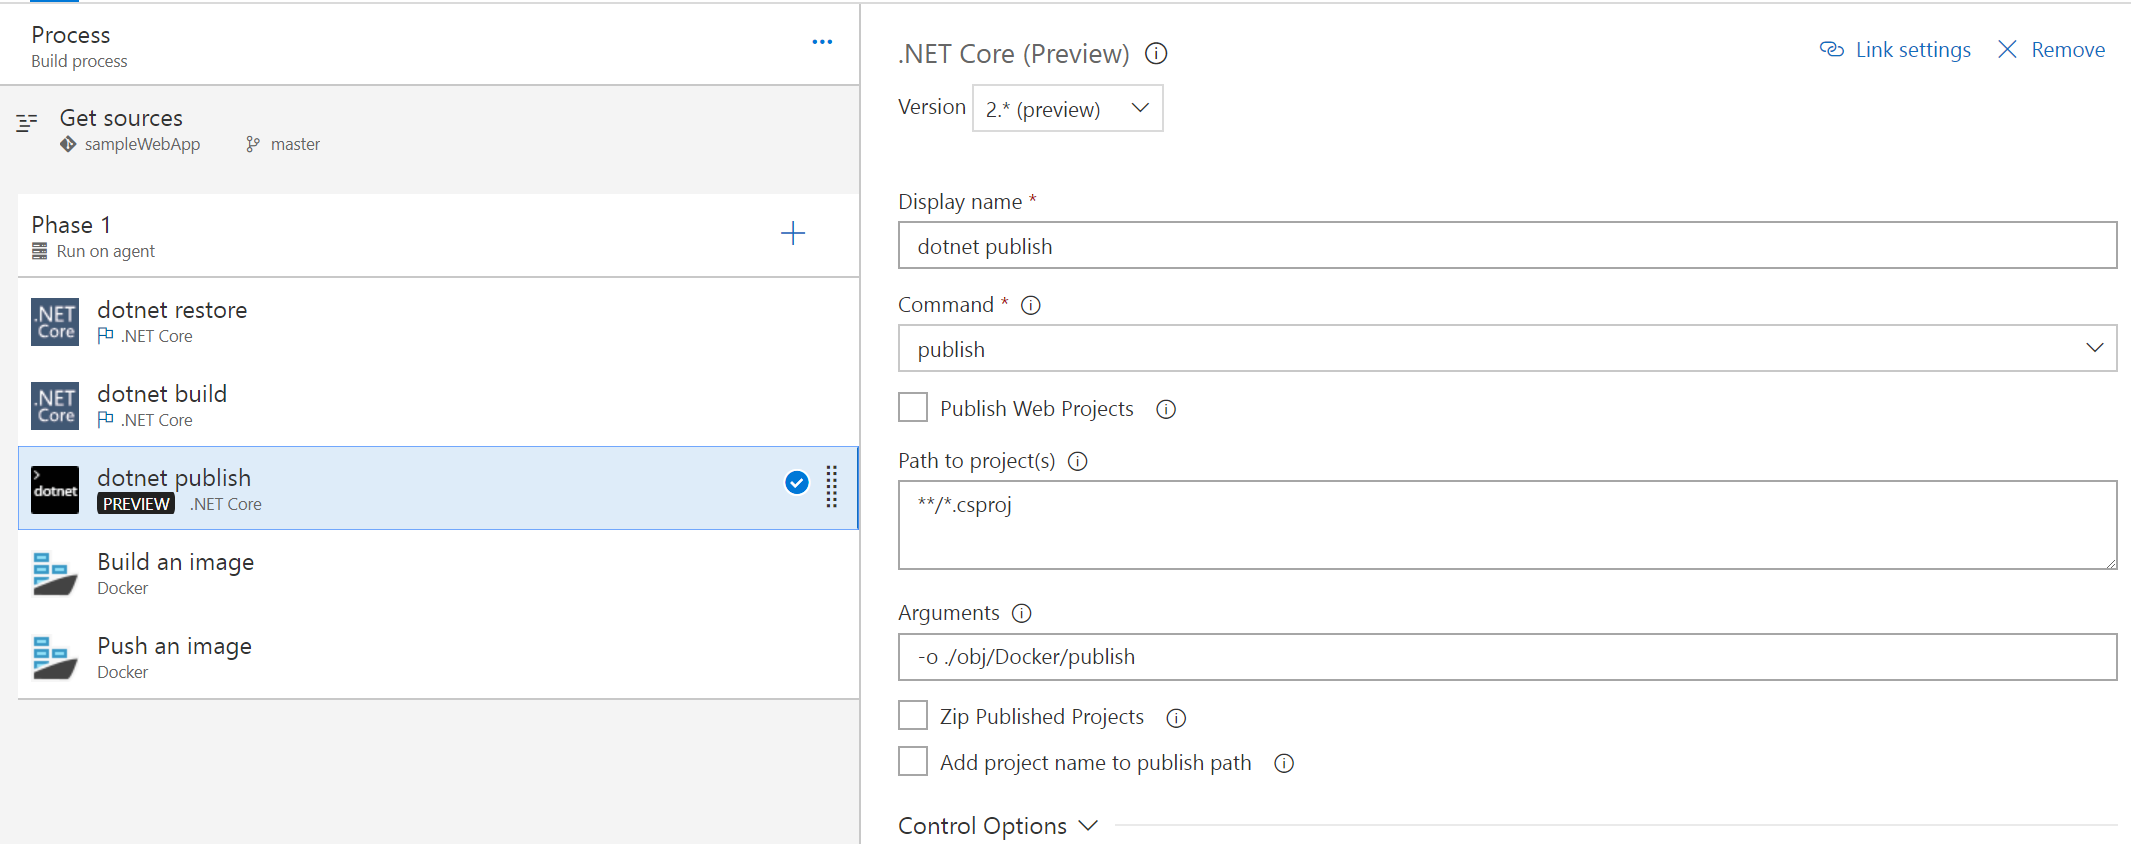
Click on Build an image step. You can accept the default values for that step. For Image Name, make sure you qualify the image name with your Docker repo i.e yourrepo/name:version. Otherwise the build will fail.
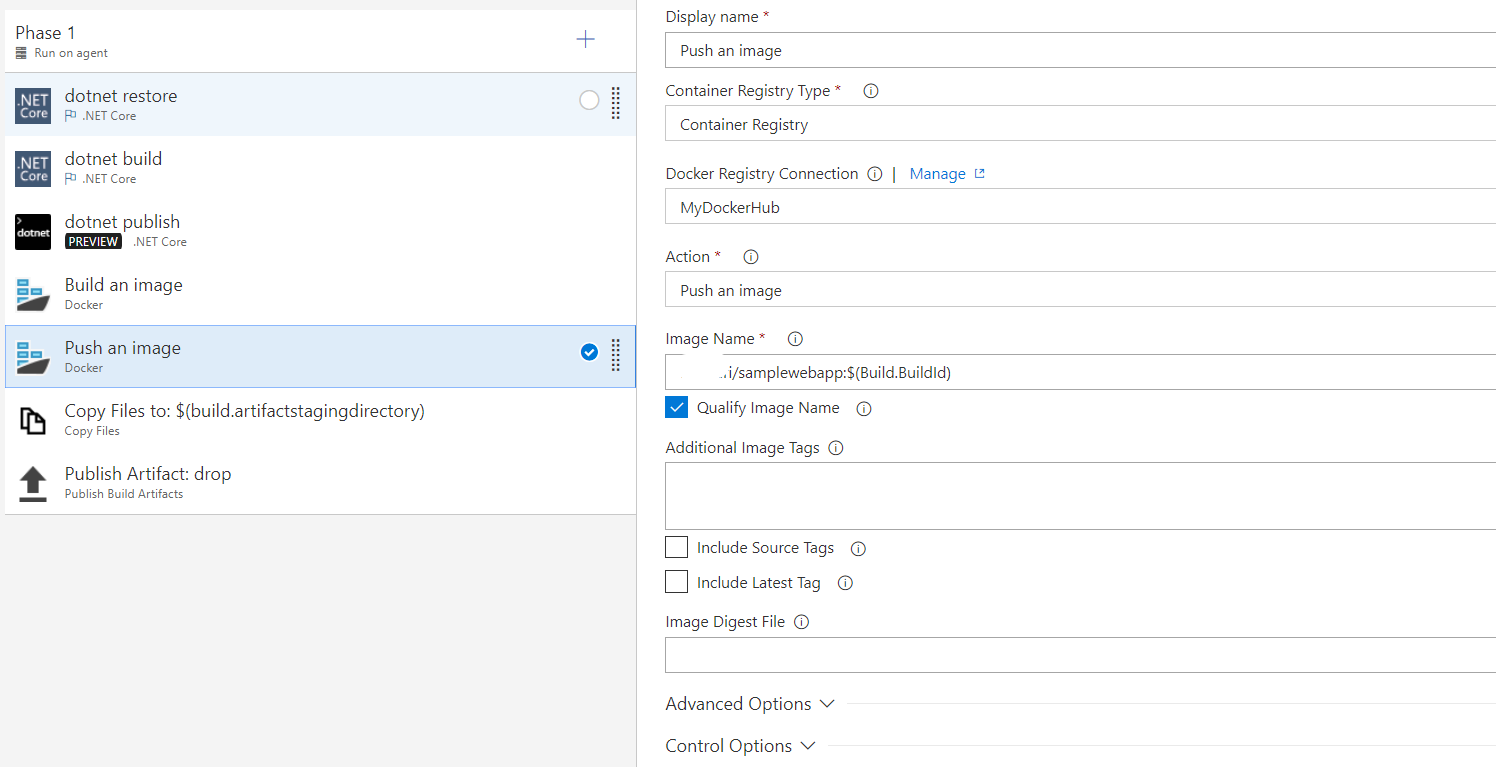
Click on Push an image step. For Container Register Type select Container Registry from the dropdown list.
In order, to push to your Docker Hub repository, you will need to configure a Docker Registry connection. To do so, click on Manage, this will take you to a page where you can add the connection to your Docker Hub
Click New Service Endpoint and the select Docker Registry 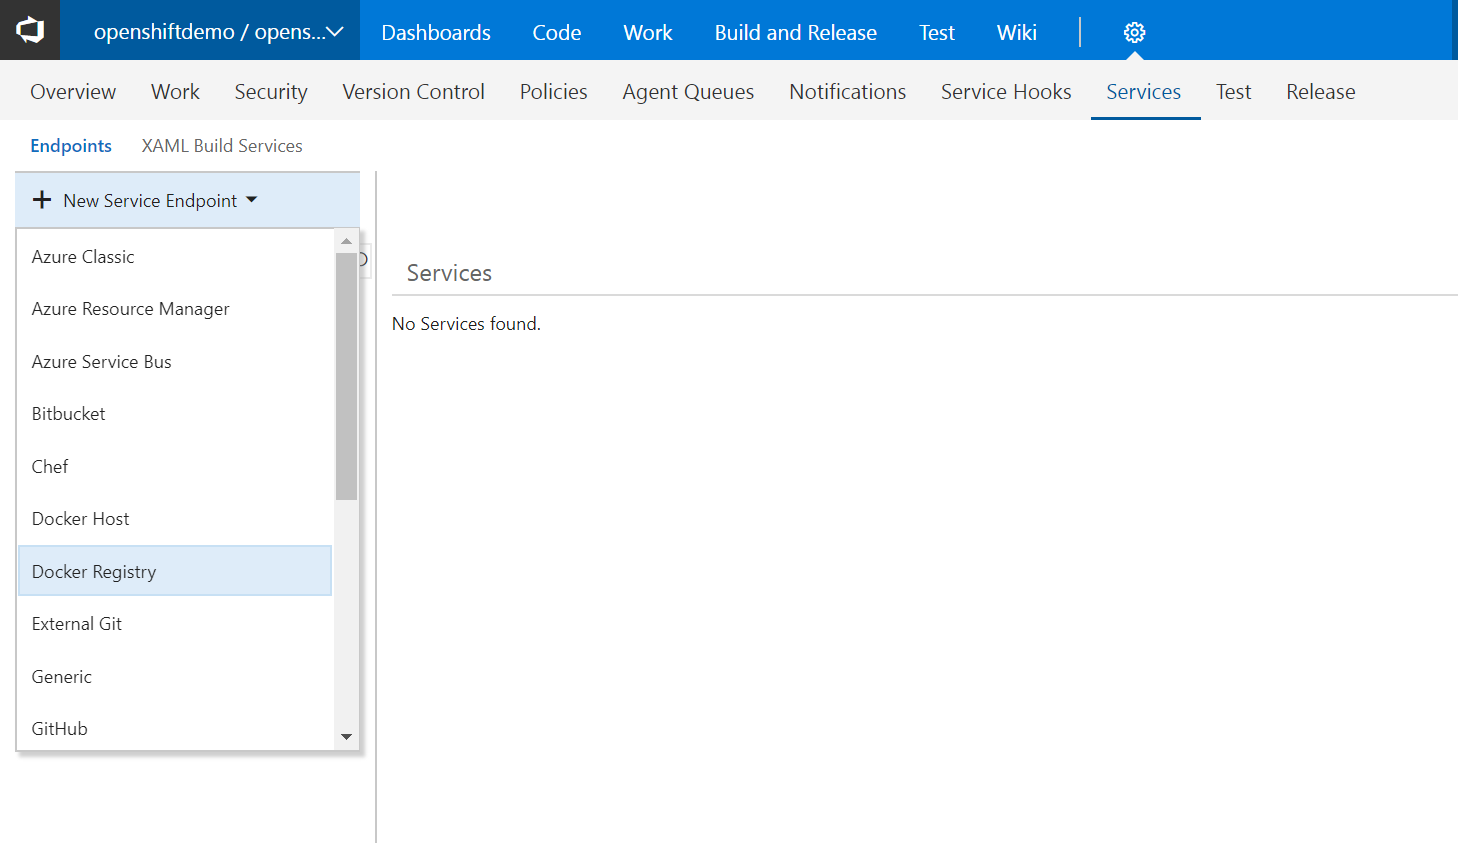
In the Docker Registry form select Docker Hub as registry type and enter a connection name and your Docker ID and password as shown below. If you don’t have a Docker Hub account, you can create one for free here. Once information is entered, click on Verify Connection to ensure the information entered is correct. If connection test is successful click OK to save the connection.

Go back to the Push an image refresh the Docker Registry Connection and select the connection you created in the previous step. You can leave the default values for all the other parameters
For Image Name field, make sure you qualify the image name with your Docker repo i.e yourrepo/name:version. Otherwise the build will fail.
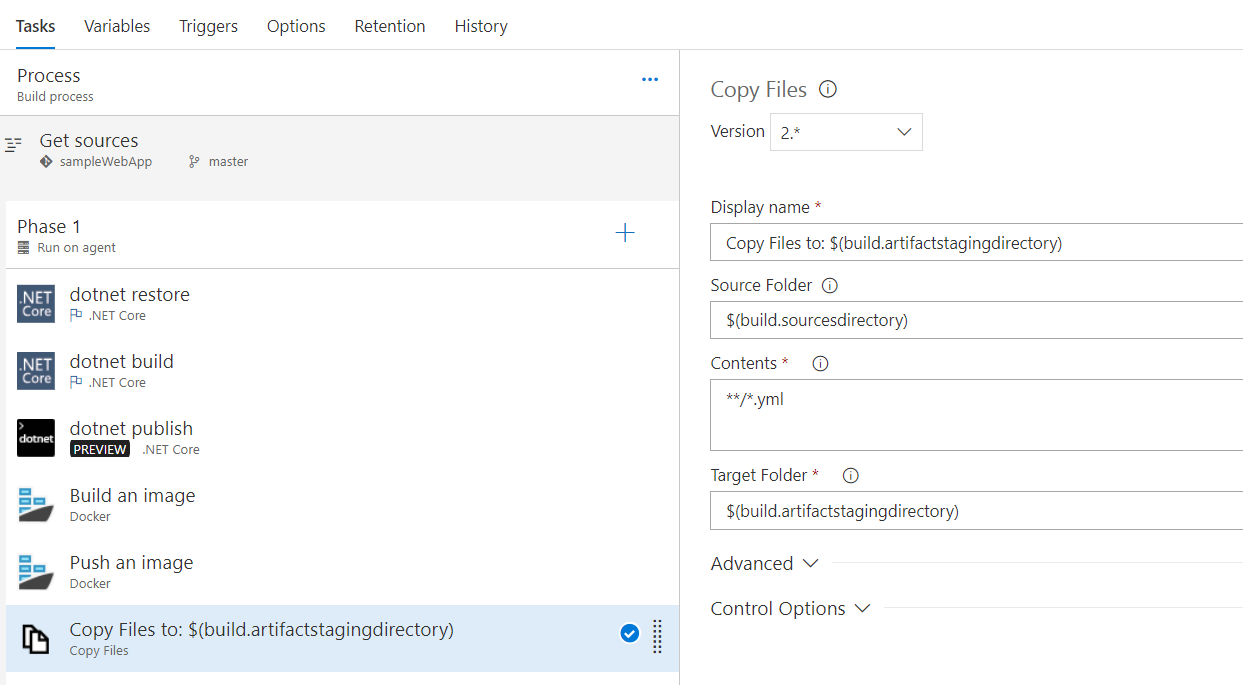
Go back to the process tasks and add a task called Copy Files and configure it as shown below
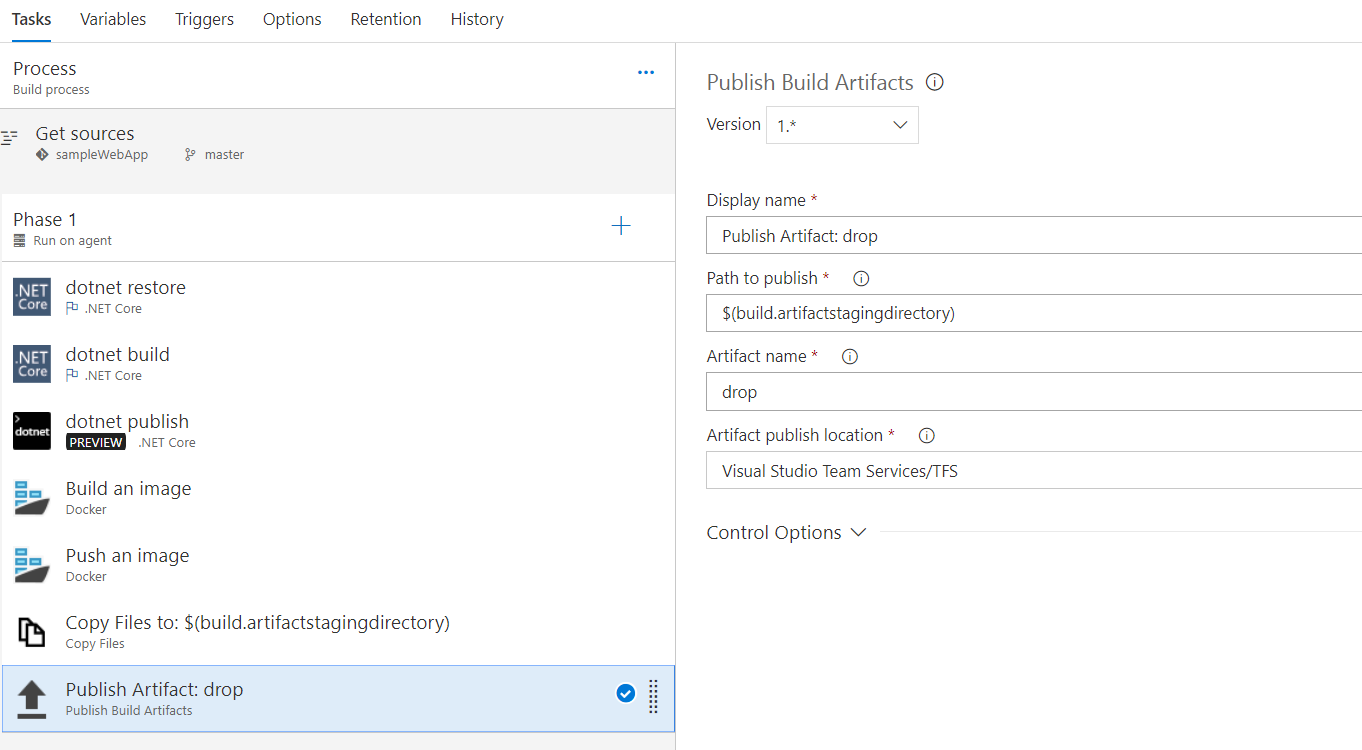
Next add a task called Publish Artifact and configure it shown below
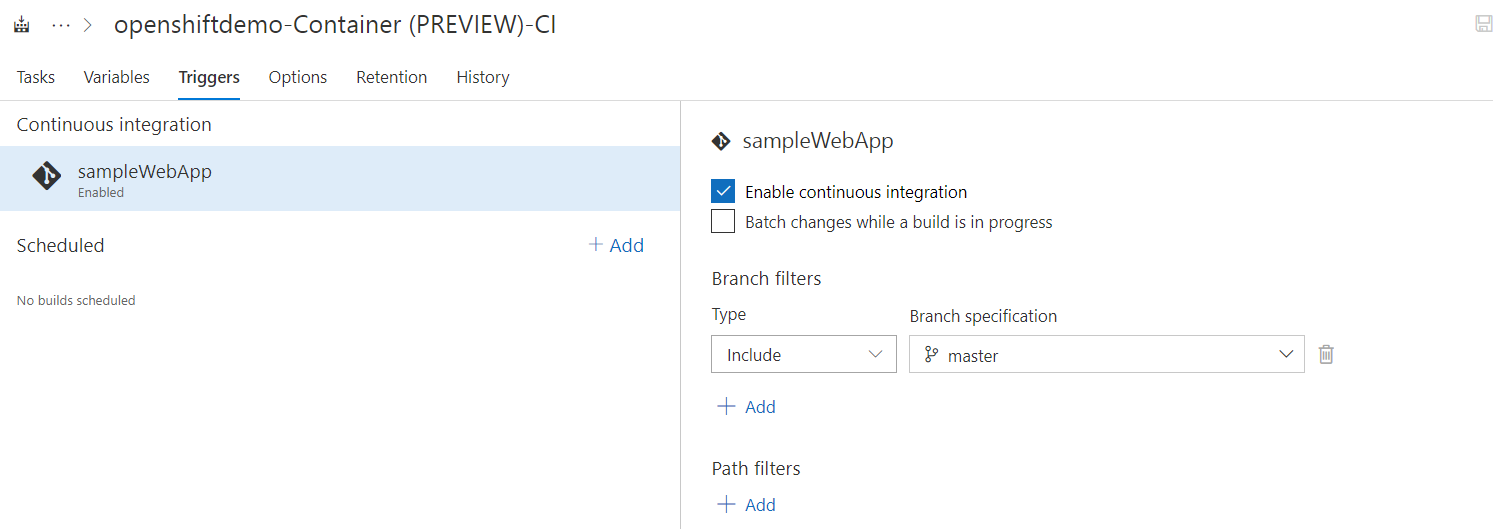
Click on Triggers tab and ensure that Enable continuous integration is checked
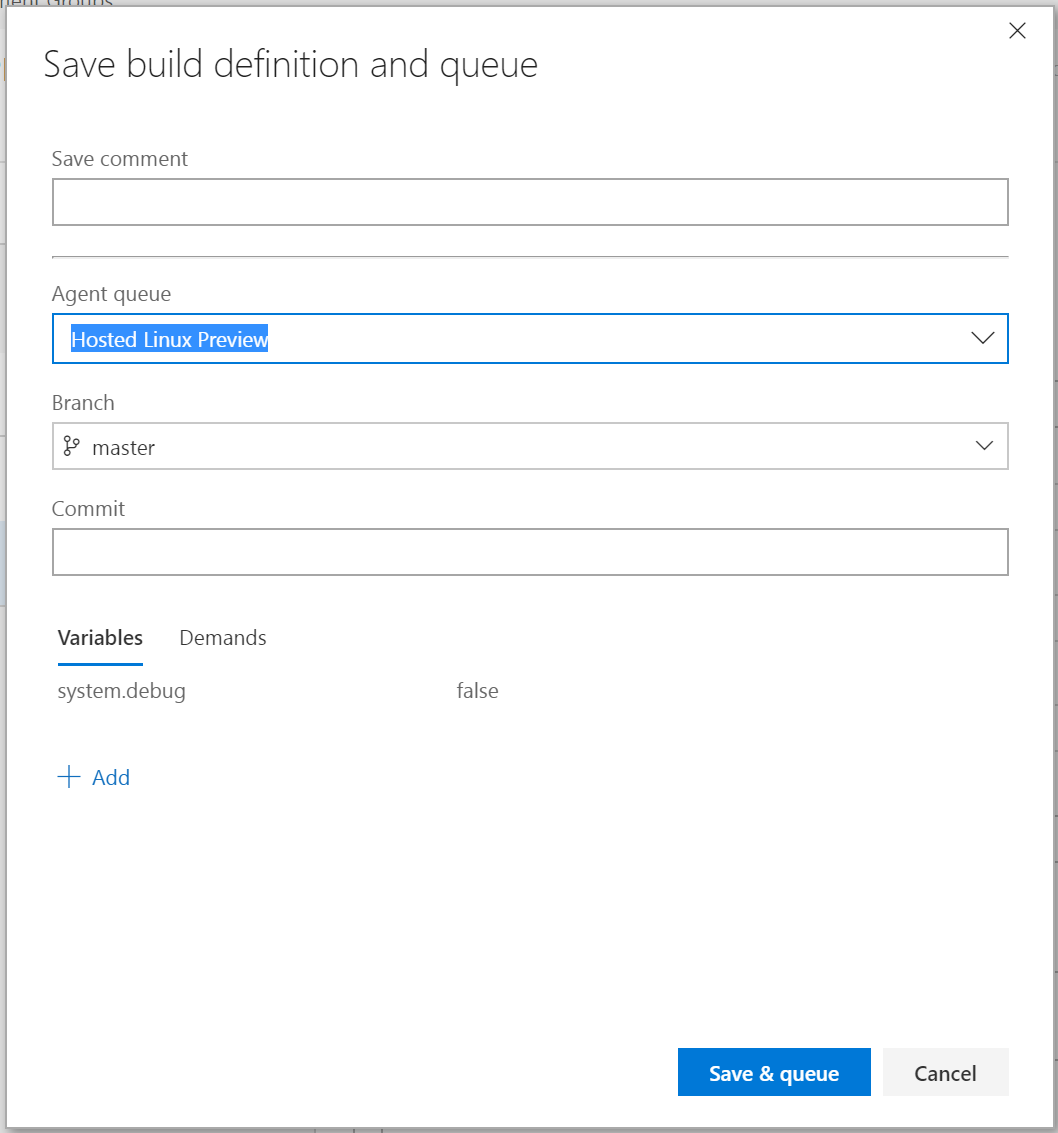
Click on Save & Queue.

Click Save & Queue in Save build definition and queue window. This will kick-off a build.
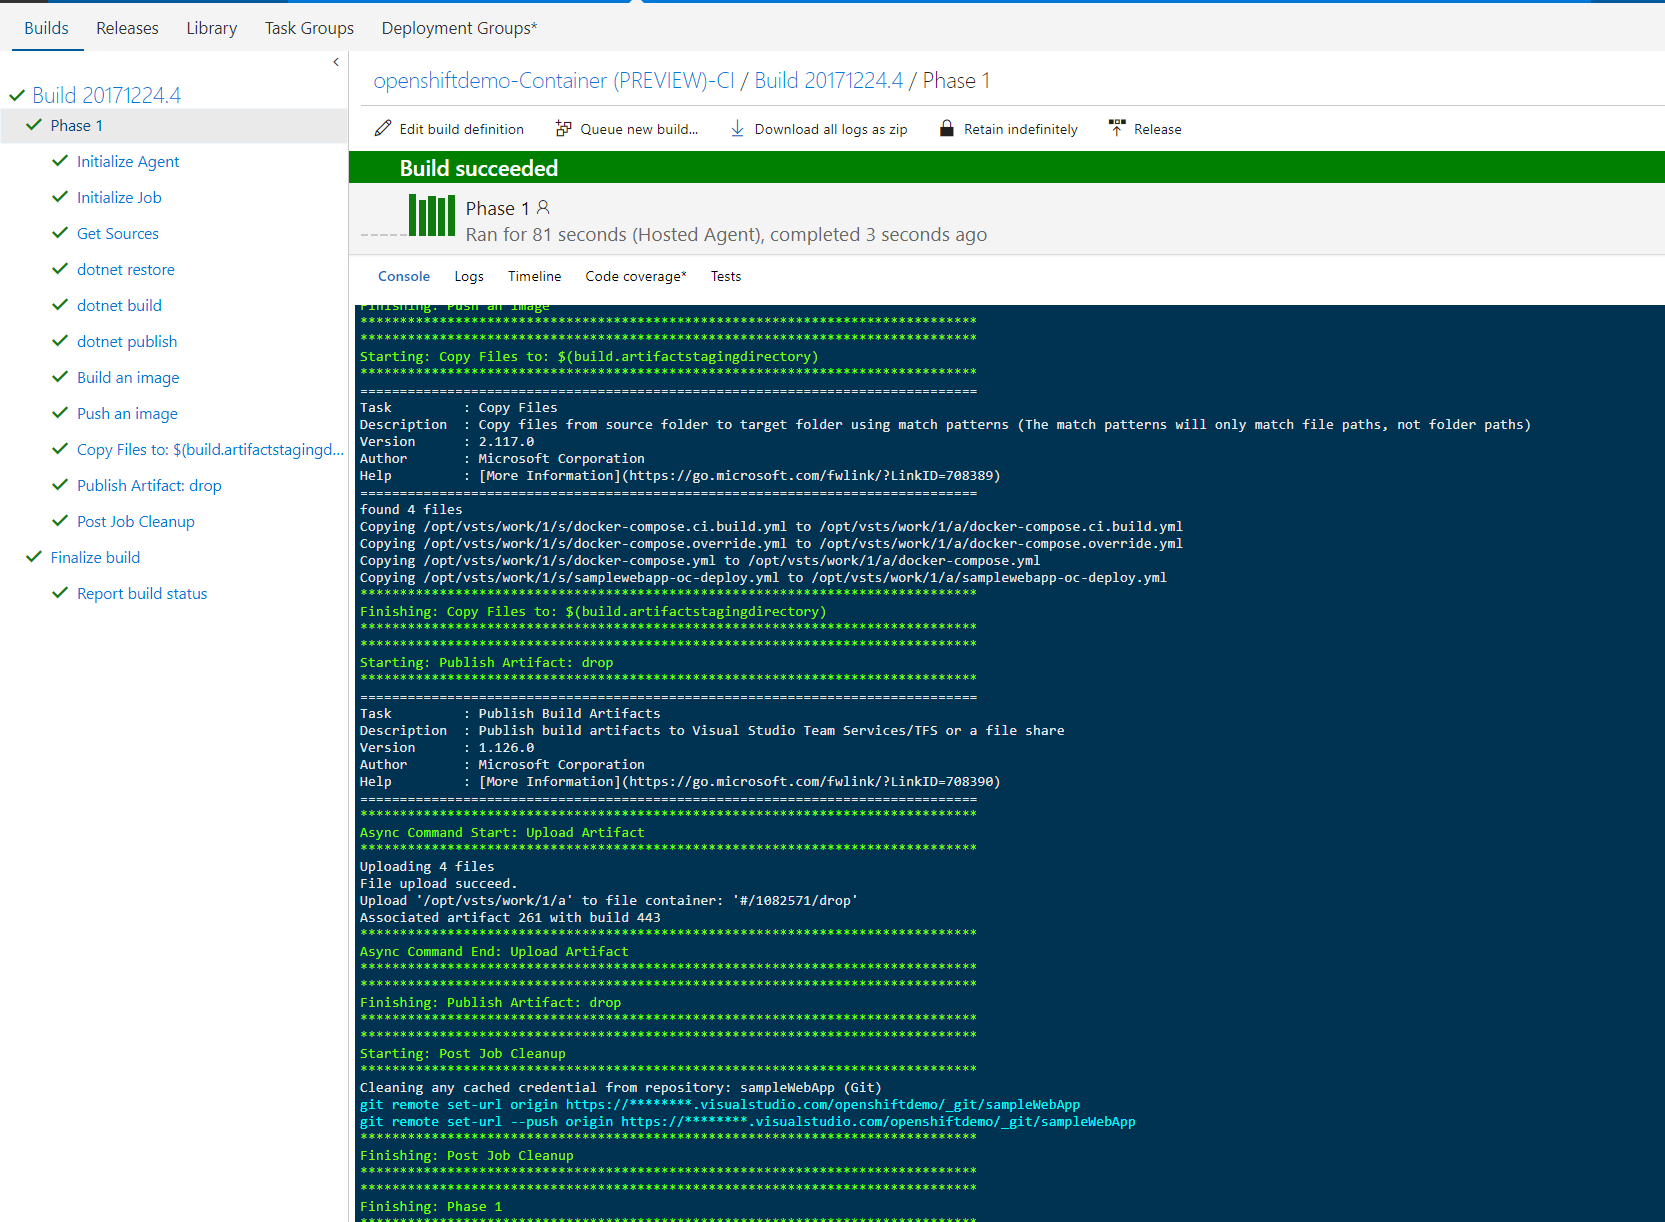
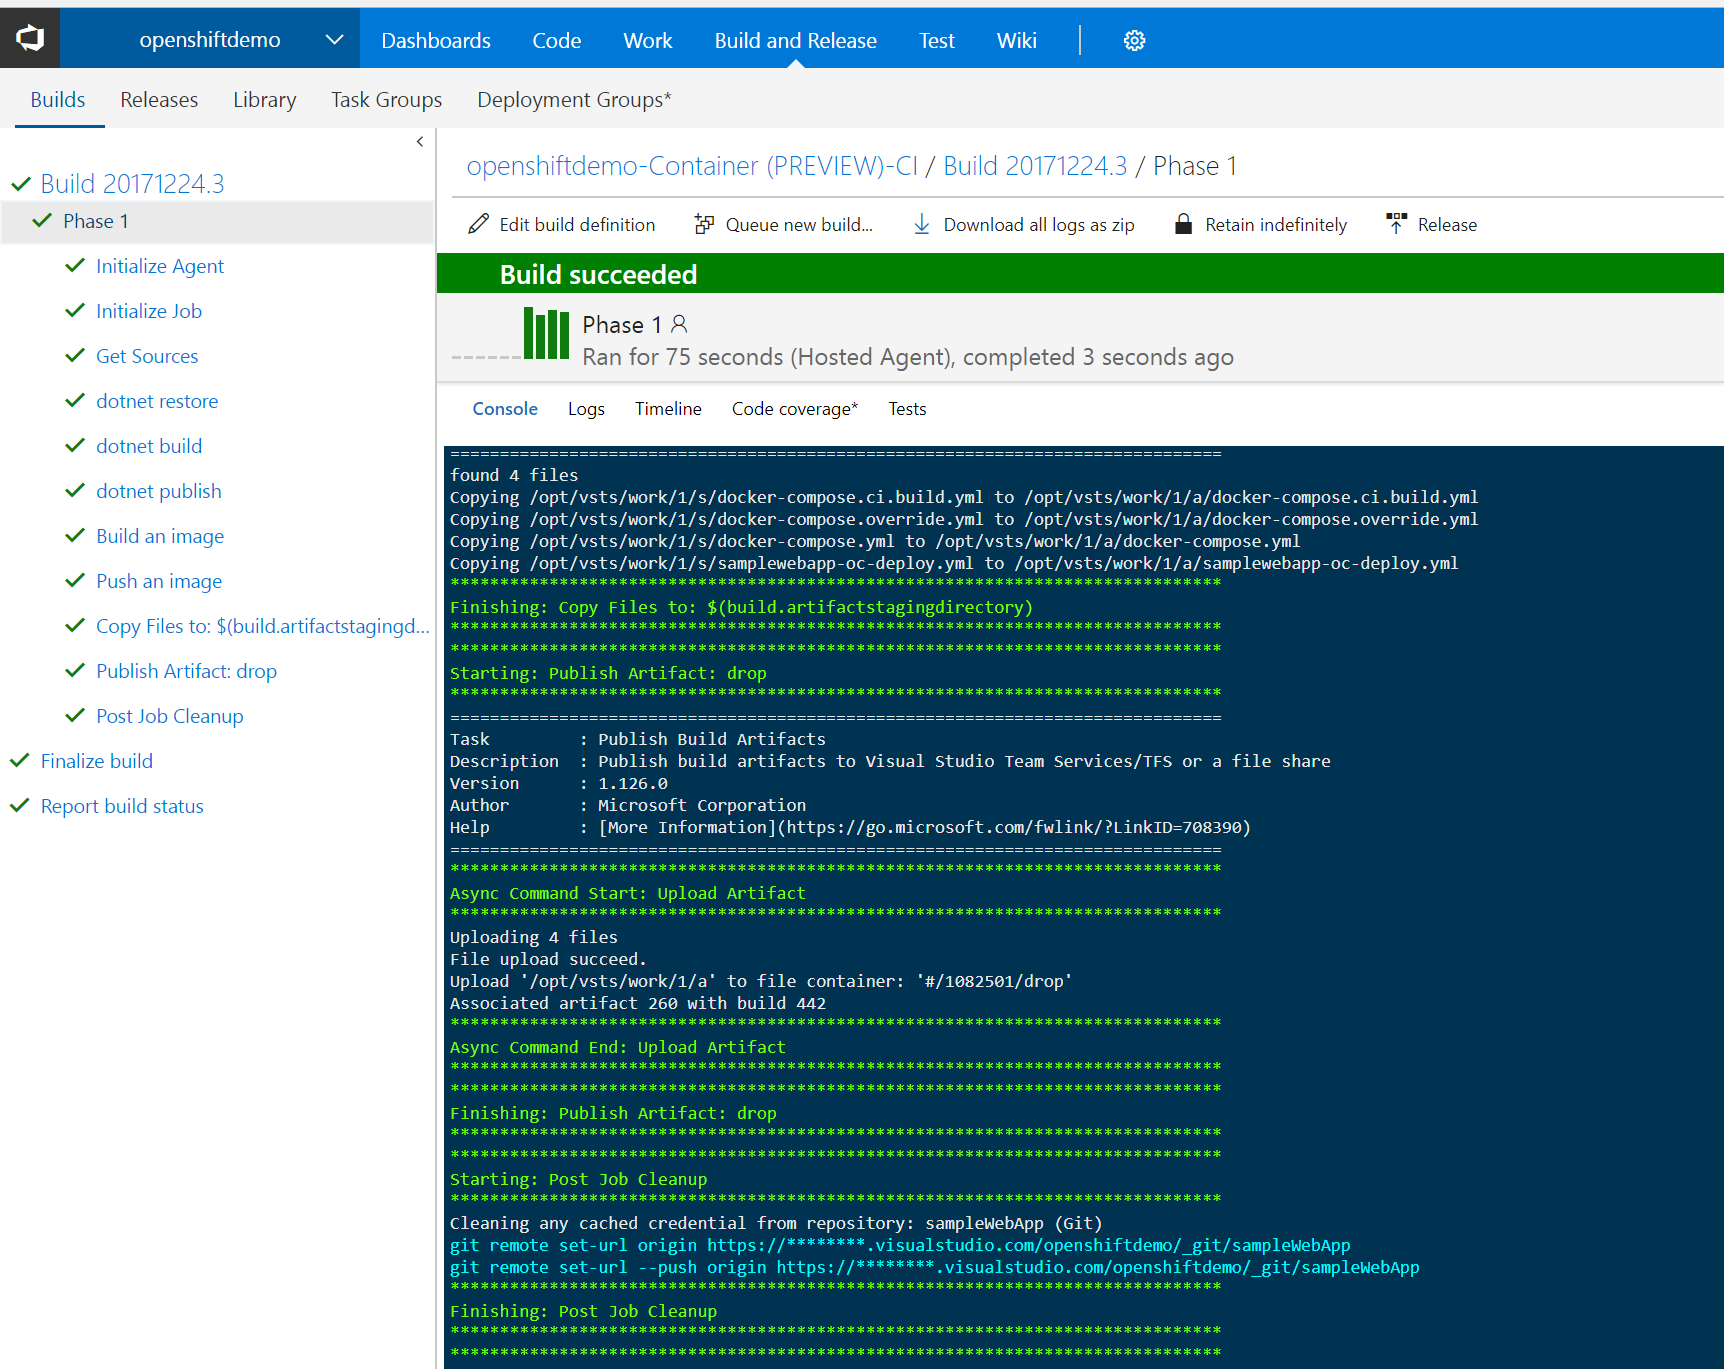
The build should finish successfully
Setting up OpenShift Environment
To get access to an Openshift that you can use to follow these steps in this demo, follow the steps in this resource.
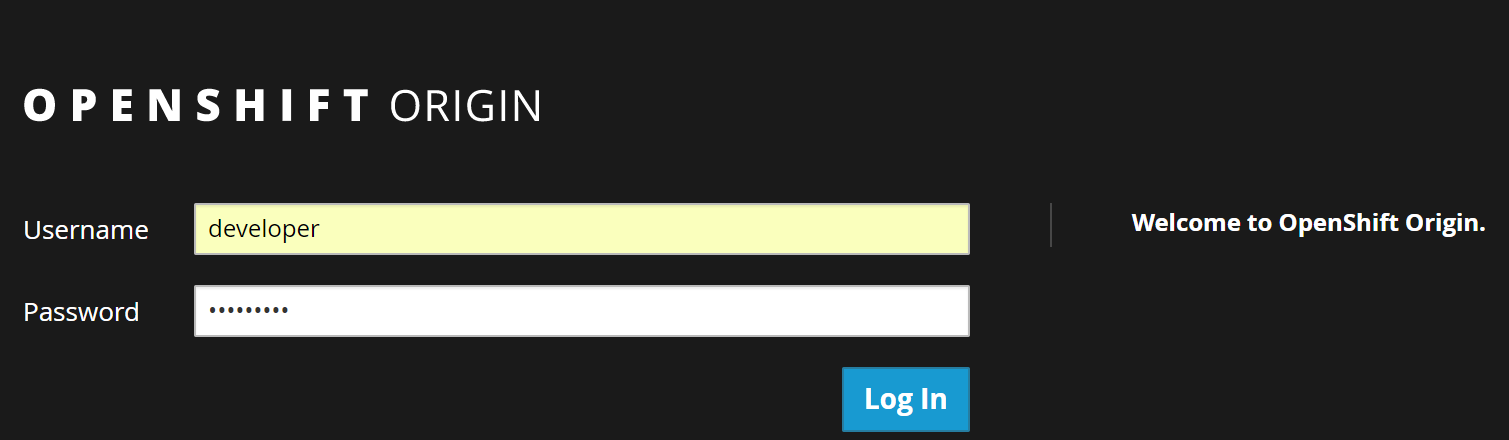
Once the Openshift is setup, Login using your web portal credentials
Create a new project by clicking on Create Project button
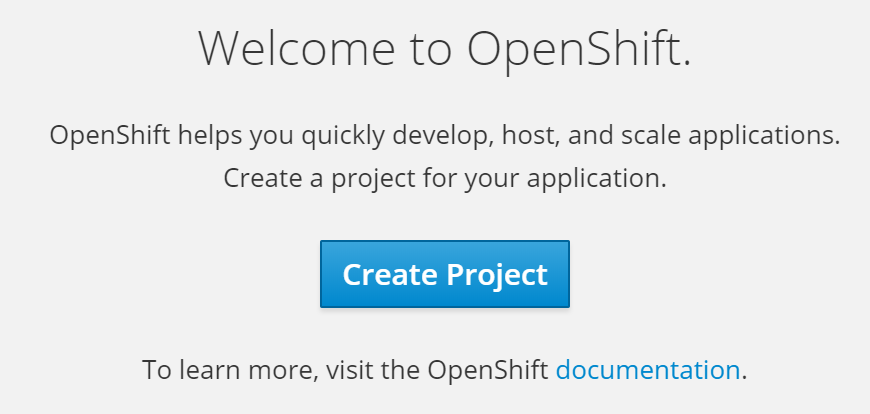
Name the project sample-project and click create button
To test your deployment, follow the steps below:
- Install the Openshift Origin CLI from here
- Start Poweshell or command prompt
oc login your_Openshift_url -u youruser -p yourpassword
- Ensure you are on the right project by running
oc projects
- If you are not pointing to sample-project
oc project sample-project
- Create a file called samplewebapp-oc-deploy.yml in your current directory and fill it with the following
 apiVersion: v1
kind: DeploymentConfig
metadata:
  name: sampleapp-deployment
spec:
  replicas: 1
  template:
    metadata:
      labels:
        name: sampleapp-deployment
    spec:
      containers:
      - image: "yourrepo/samplewebapp:versionnumber"
        name: samplewebapp
        ports:
        - containerPort: 80
Make sure image above points to a valid Docker image
- Deploy the app
oc apply -f samplewebapp-oc-deploy.yml
- Create a service for the deployment
oc expose deploymentconfig sampleapp-deployment --port 80 --type=LoadBalancer
- Create a route to be able to browse to your app
oc create route edge --service sampleapp-deployment --port 80
- Retrieve the route that was just created
oc get routes

- browse to "https://your_url/api/values". Make sure your_url is the url returned from previous step. In my case, the complete address is https://sampleapp-deployment-sample-project.192.168.99.100.nip.io/api/values

Setting up Continuous Deployment
To deploy the Docker container created by our CI build to the OpenShift Kubernetes cluster, we first need to check-in the deployment config file samplewebapp-oc-deploy.yml we created earlier. But before we check it in, replace the image tag with a placeholder as shown below that we will replace at deploy time. Once change is made, check-in the file into your repo.
 apiVersion: v1
kind: DeploymentConfig
metadata:
  name: sampleapp-deployment
spec:
  replicas: 1
  template:
    metadata:
      labels:
        name: sampleapp-deployment
    spec:
      containers:
      - image: #{IMAGETAG}#
        name: samplewebapp
        ports:
        - containerPort: 80
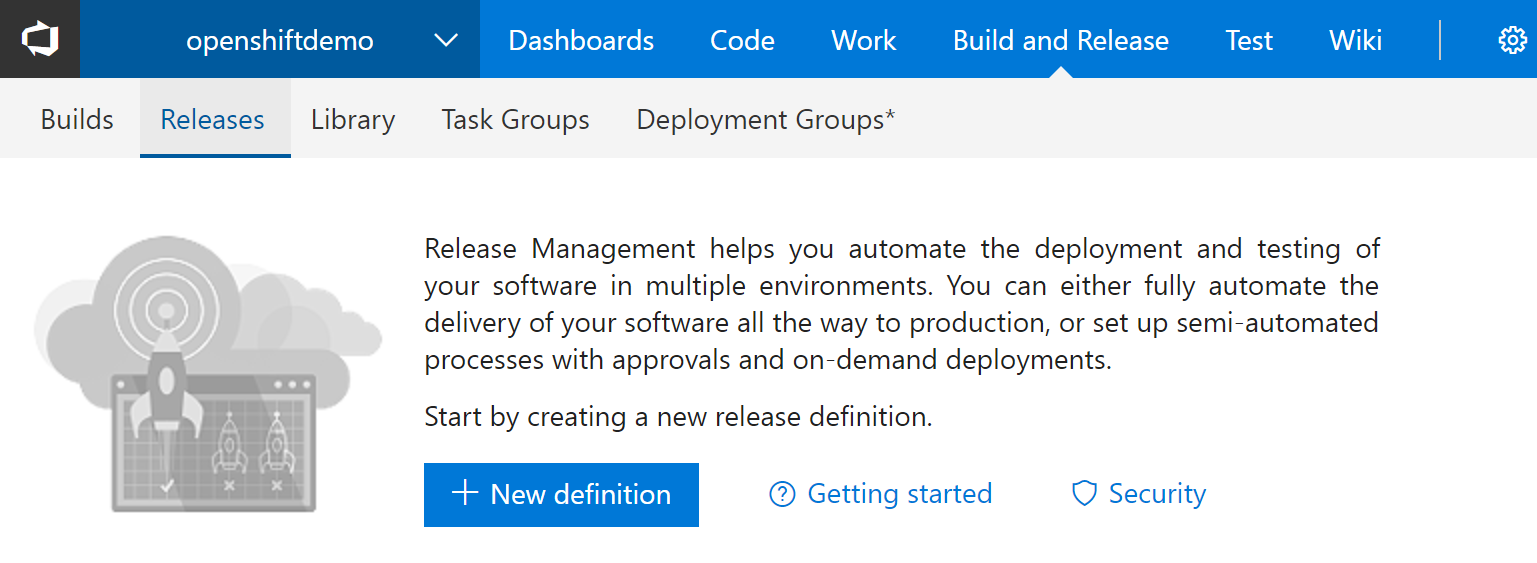
Create a release in VSTS. Go to Build and Release then Releases
Click New definition button
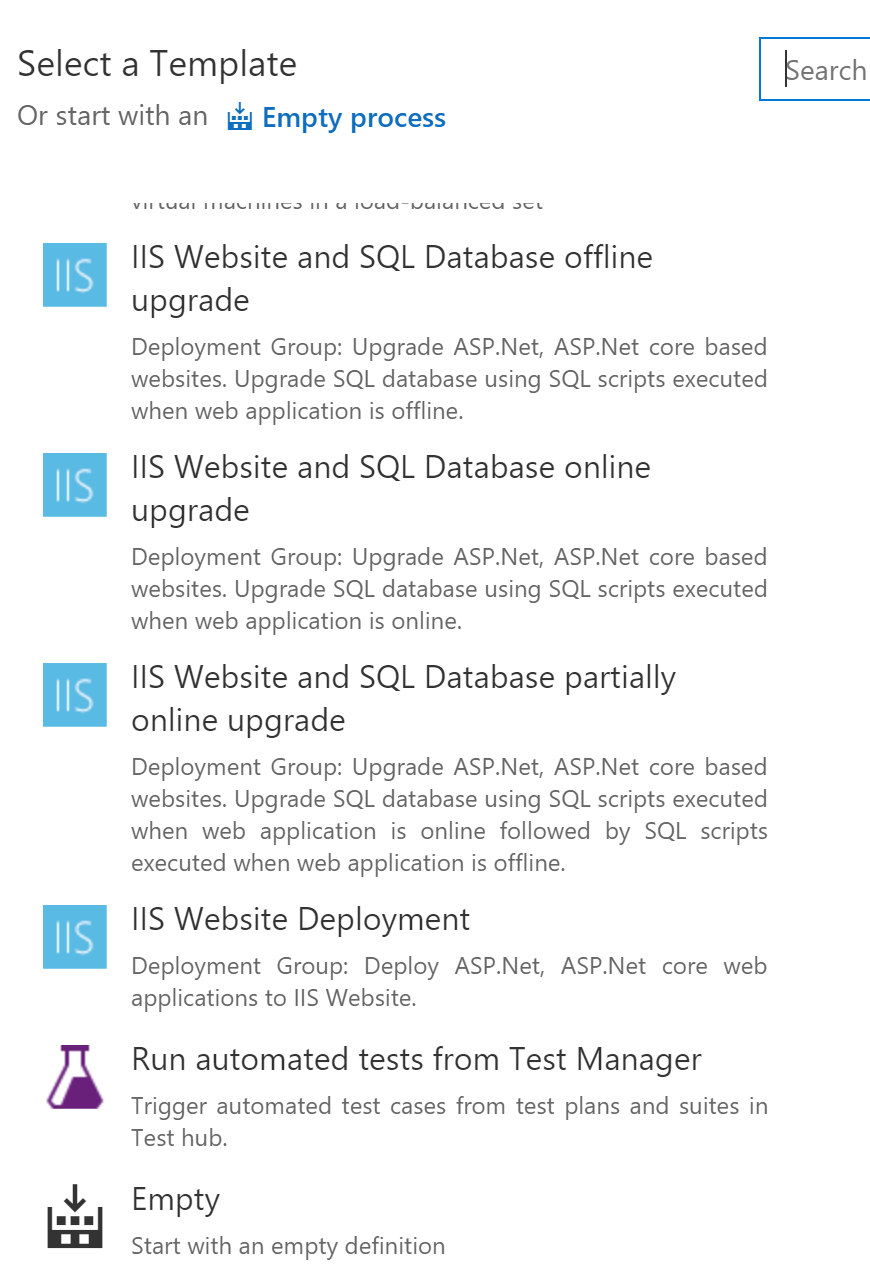
VSTS will prompt to select a template. Select Empty template
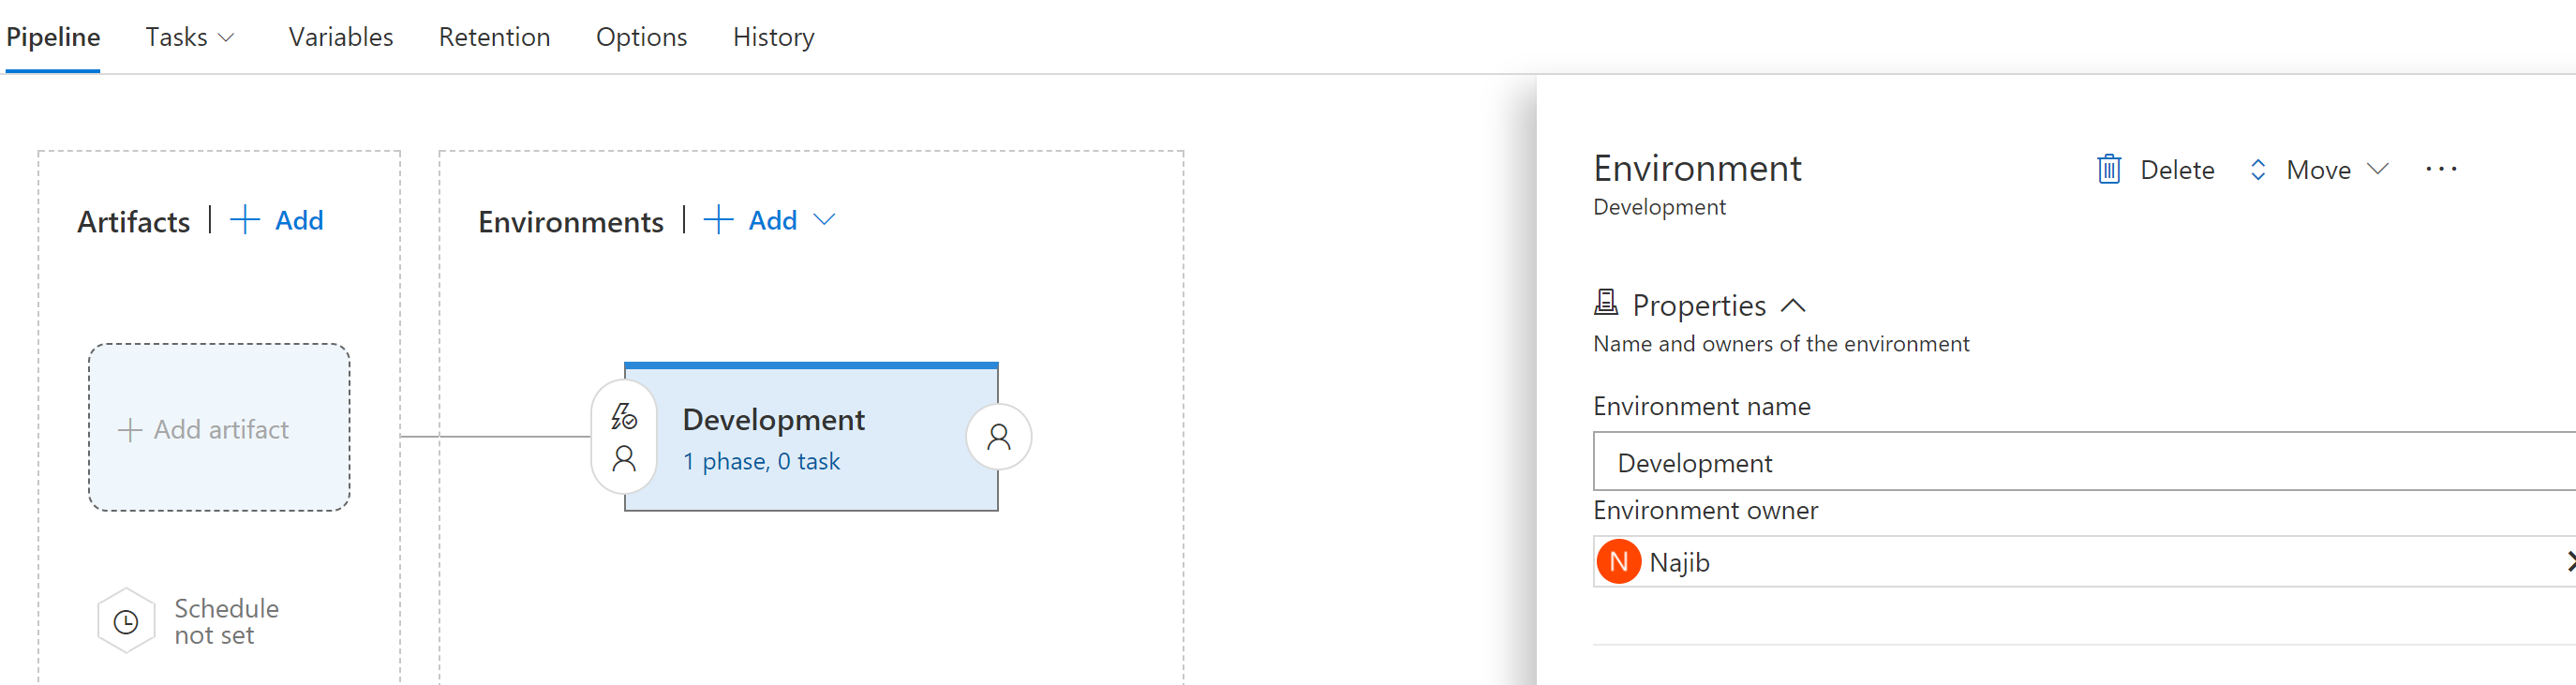
Name the environment Development and click + Add in Artifacts tile
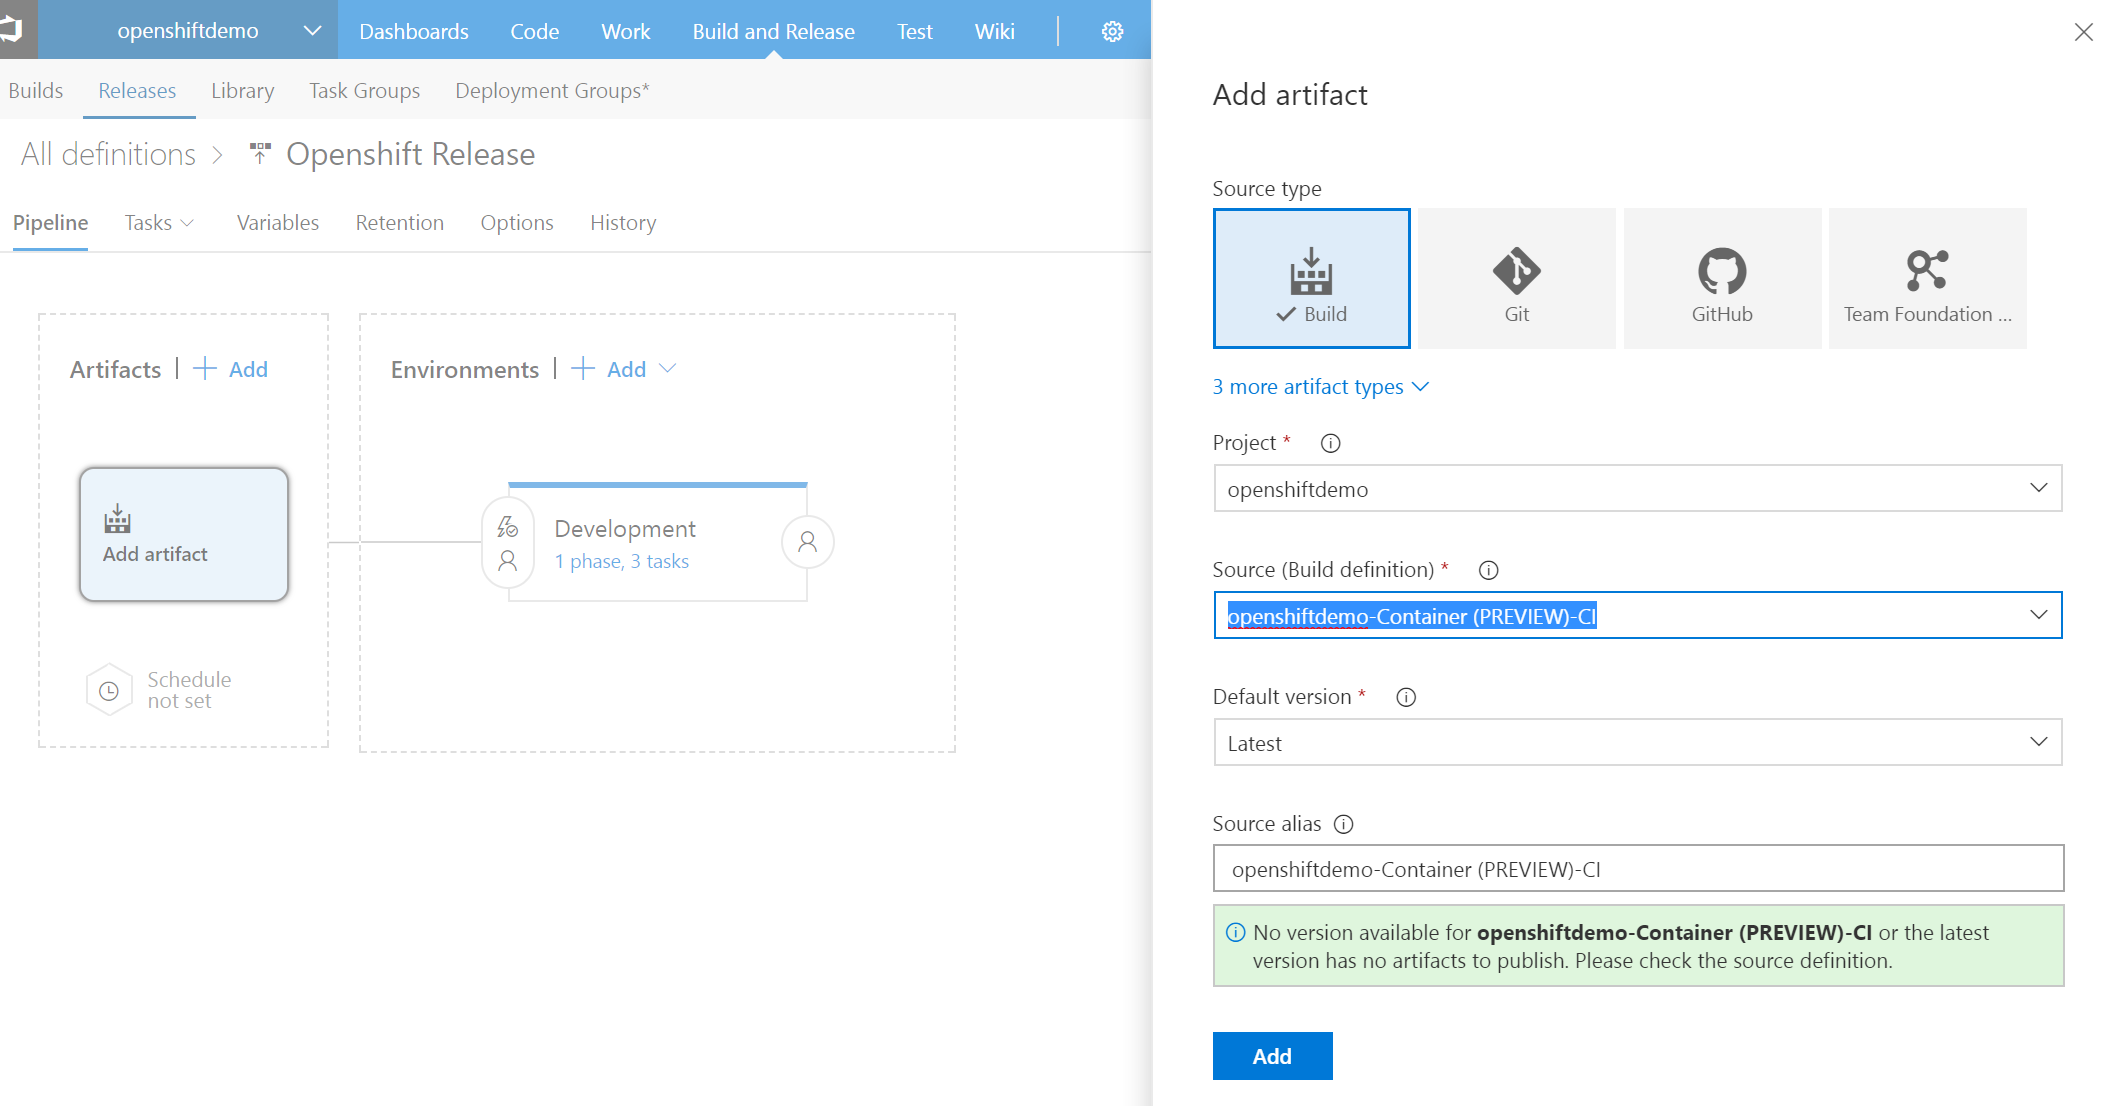
In Add artifact blade select Build as Source type then select your build as Source (Build definition) and click Add button
To enable Continuous Deploy, click on the trigger button and toggle the Continuous deployment trigger to enabled 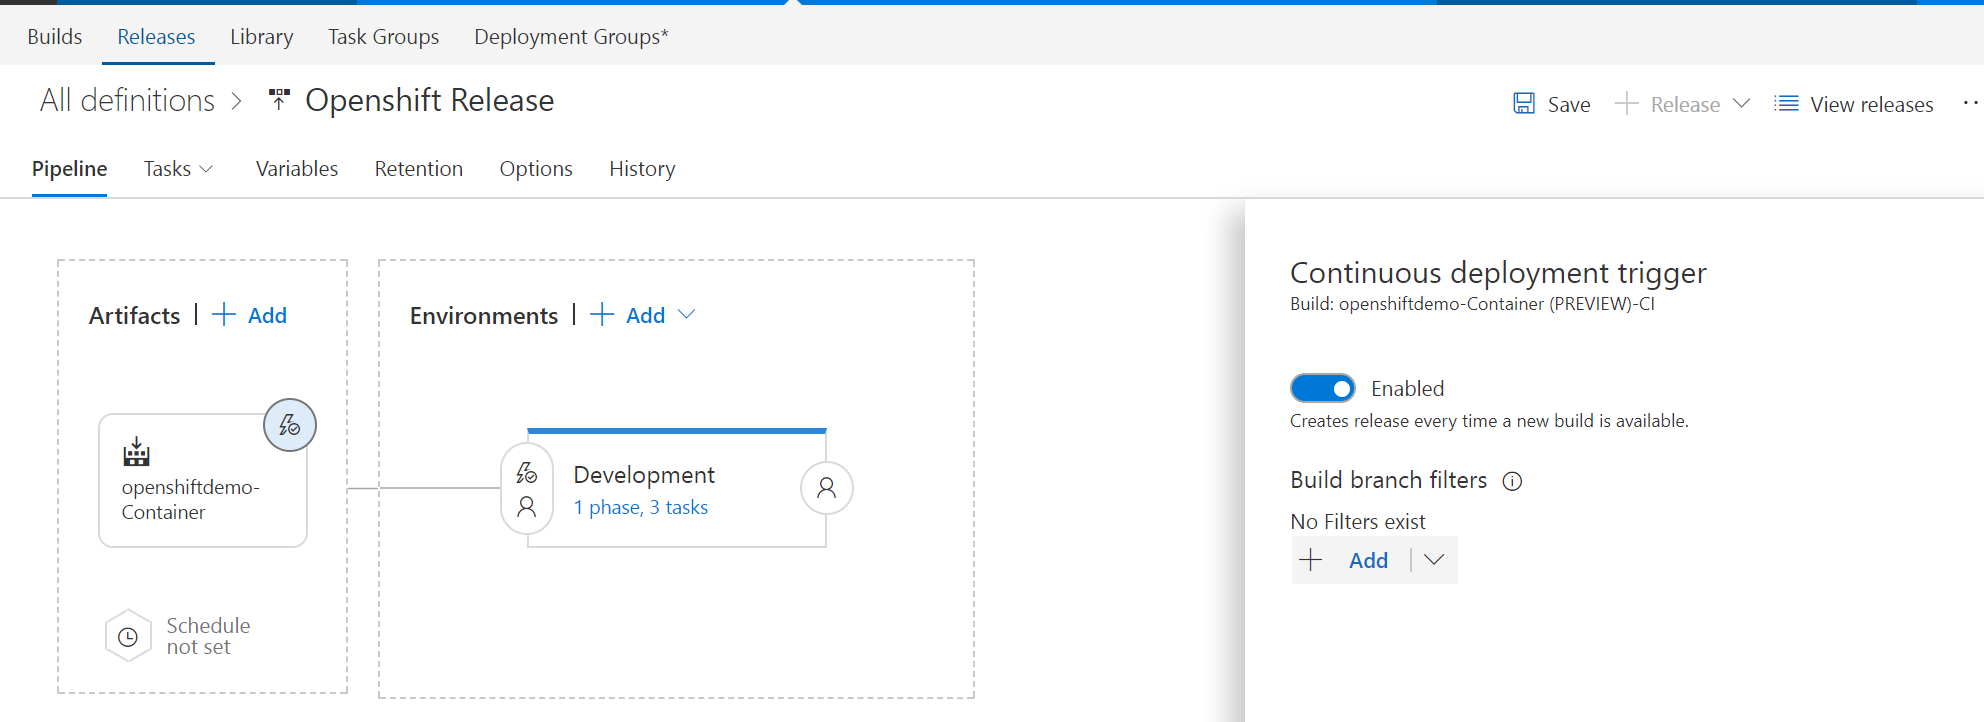
Click on Tasks and add the following tasks to go to the tasks for that release definition
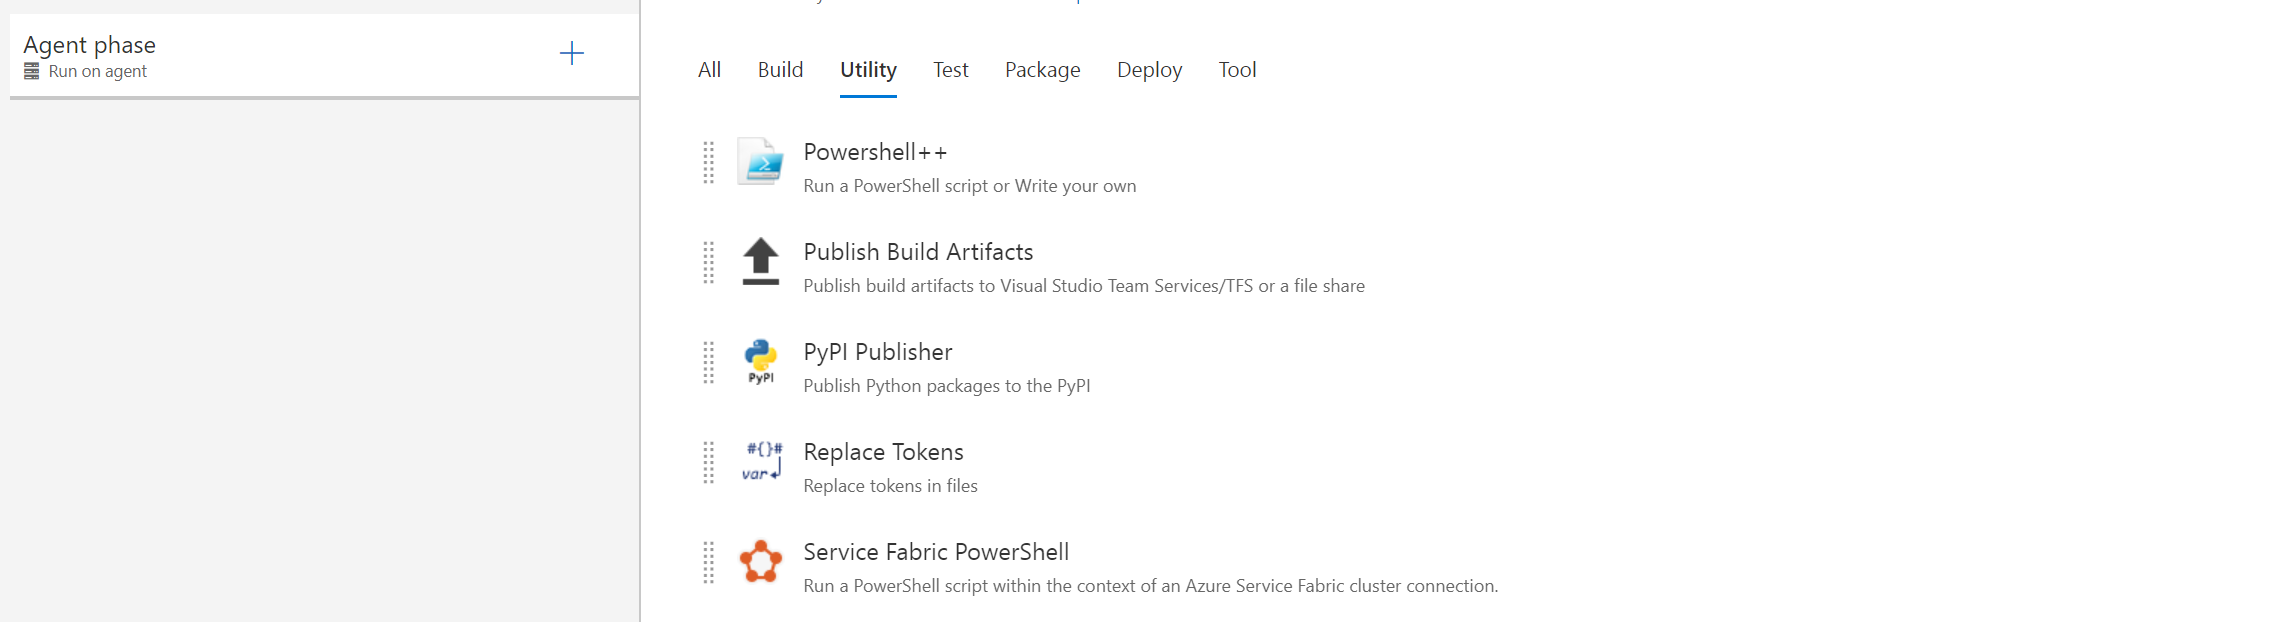
Click the + sign to add tasks to the Agent phase
For the first task, we want to replace the imagetag place holder with the real image tag. For that, click Utility then add Replace Tokens task. This task can be found in Marketplace in case you don't already have it
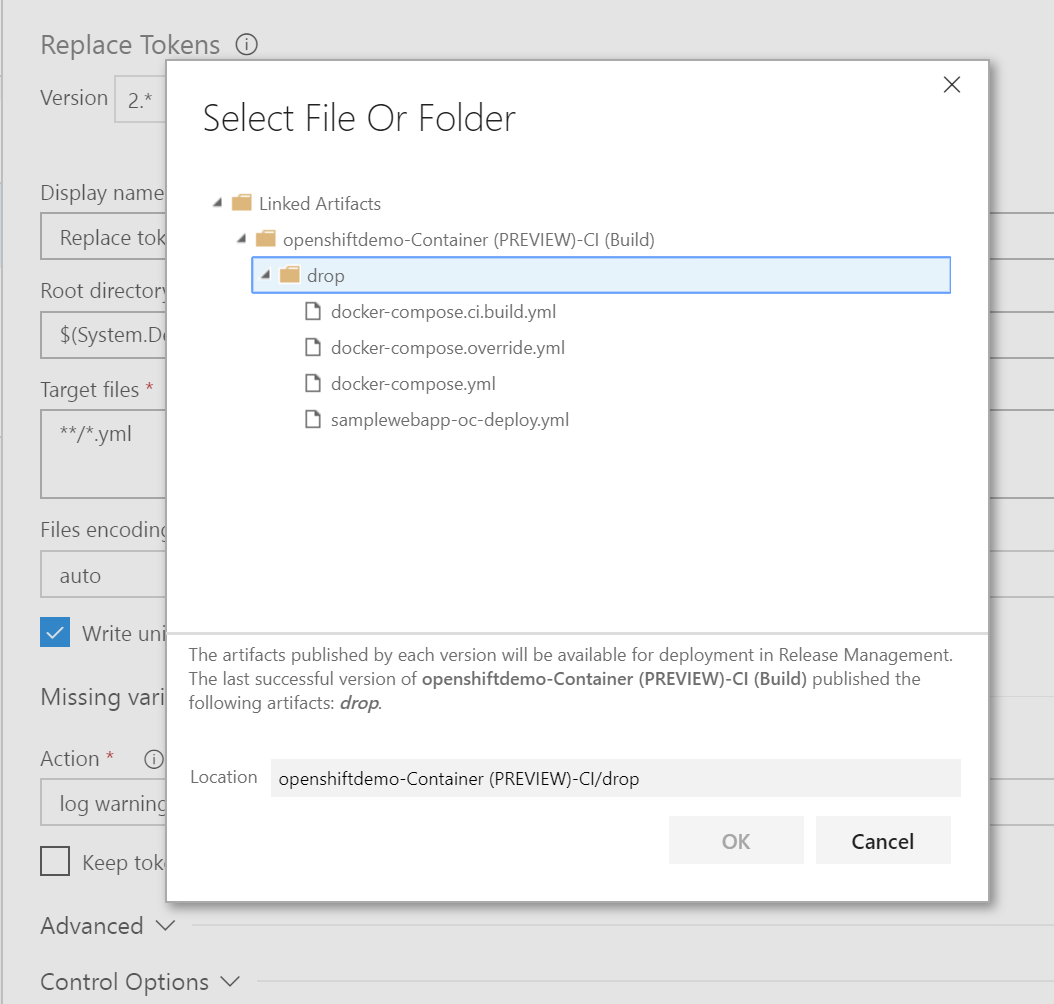
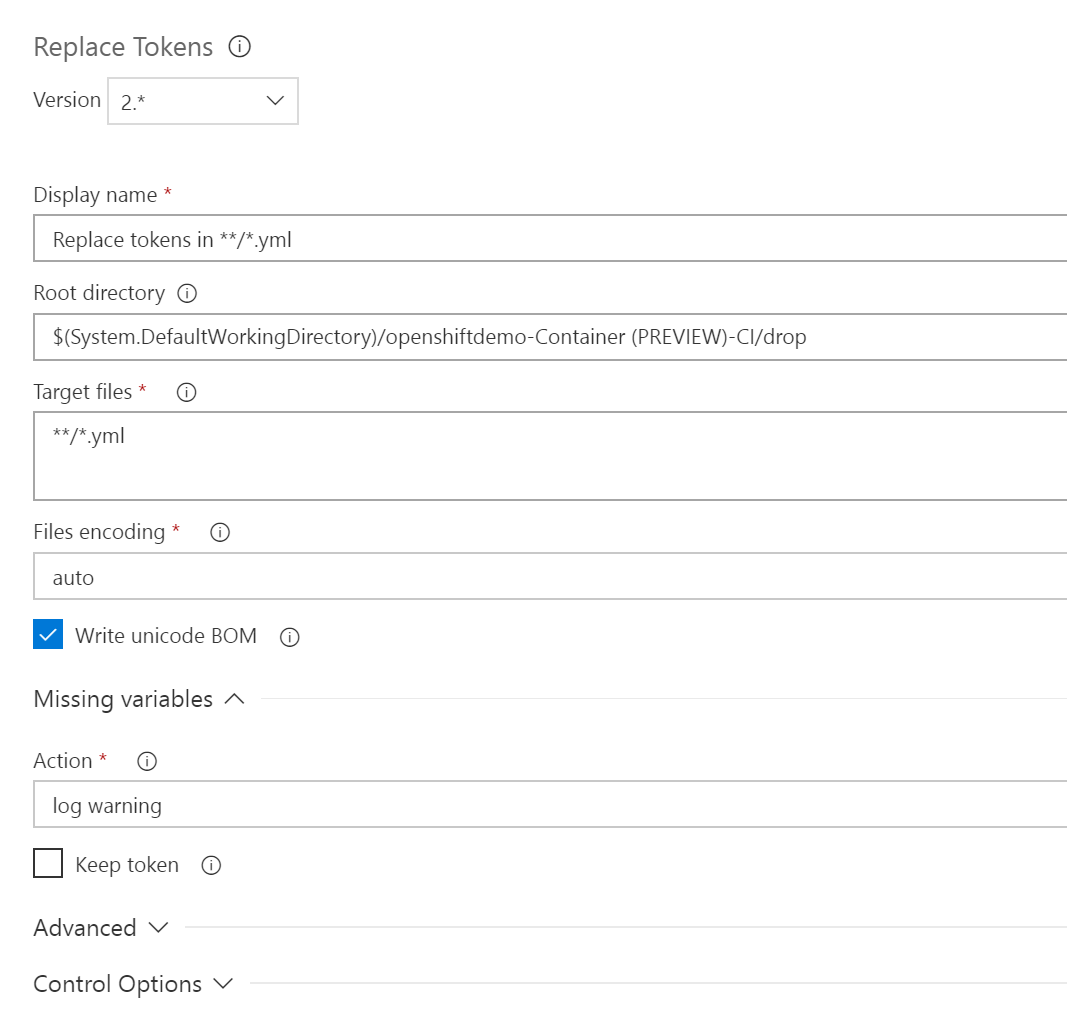
Configure the task as shown below. For Root directory, ensure you navigate to where the yml file is located:
Go to Variables tab and add IMAGETAG variable as shown below. Make sure you replace "Your_Repo_Name" with your Docker repository name

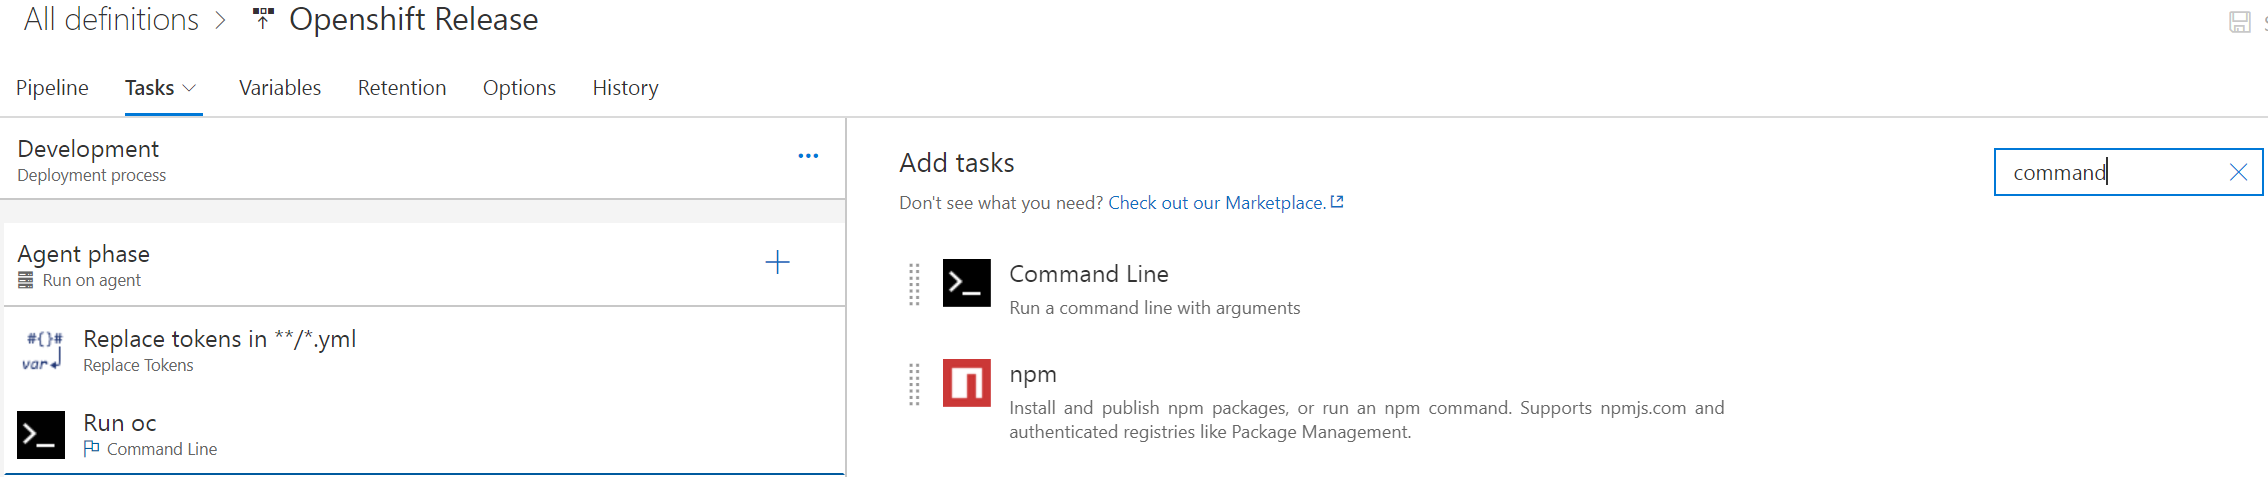
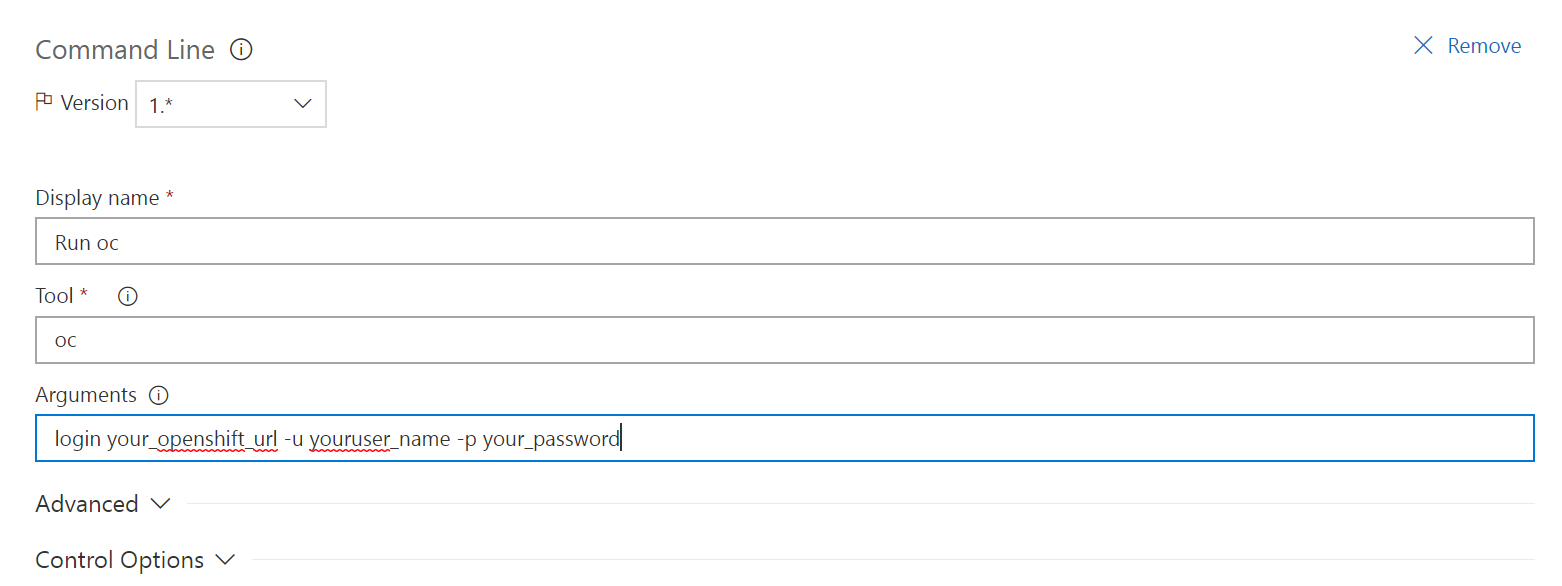
Go back to release tasks and add Command Line If you can't see the task you can install it from VSTS Marketplace.
Configure the task as shown below. Ensure that your_openshift_url, your_username, your_password are replaced with values from your environment
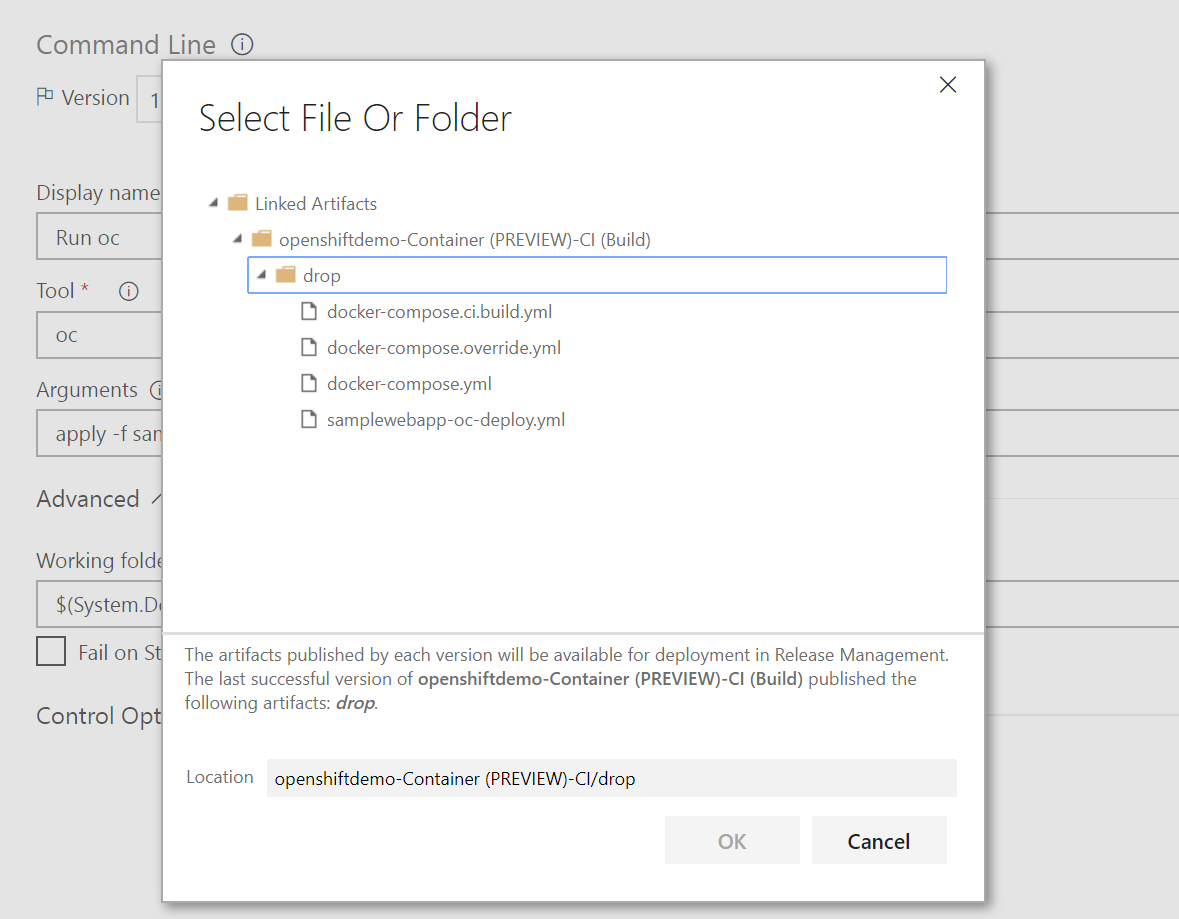
Add another Command Line task and enter the following code oc apply -f samplewebapp-oc-deploy.yml. Make sure that you set Working folder to where the yml file is located as shown below
Click on Agent phase and for Agent queue, select an agent that is running in a machine that has oc utility installed. For information on how to deploy a build and release agent, refer to this resource 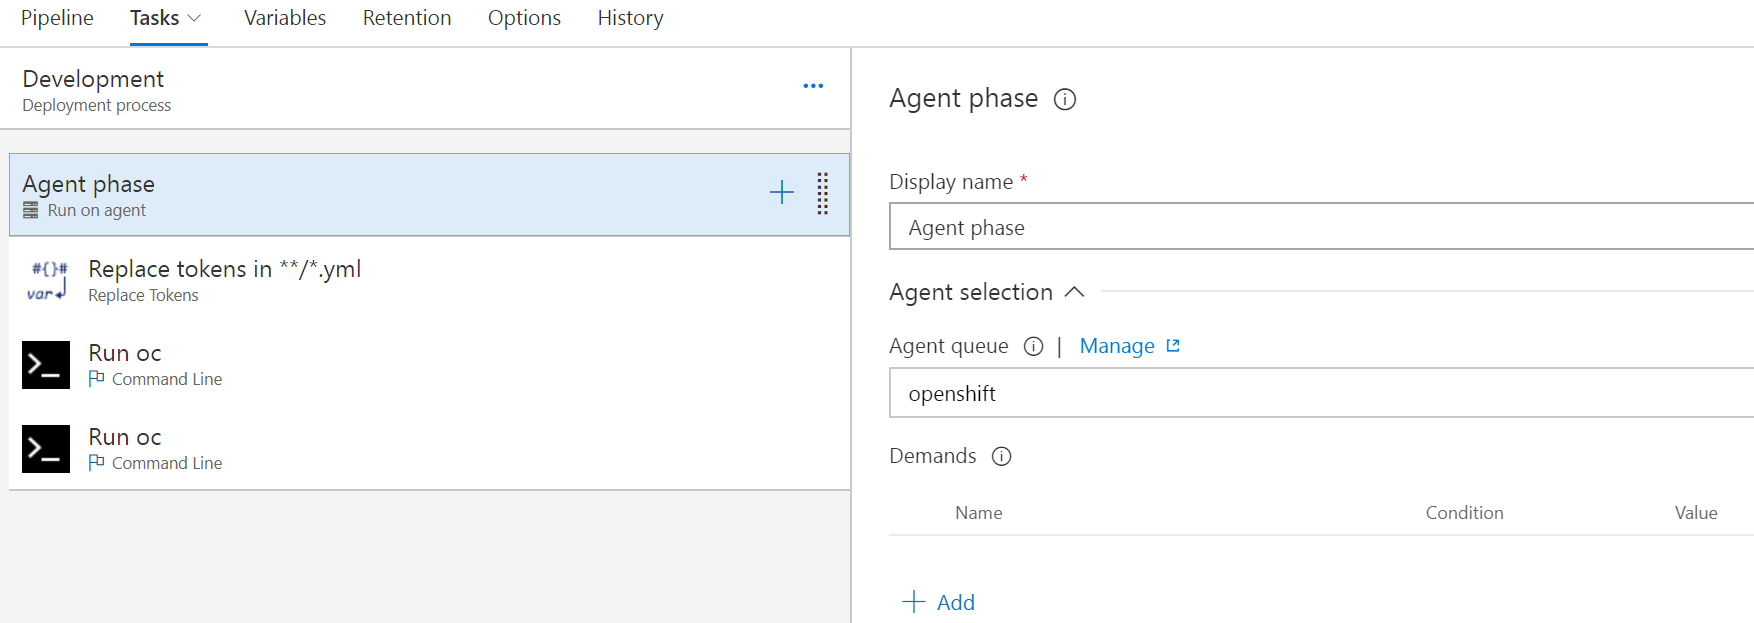
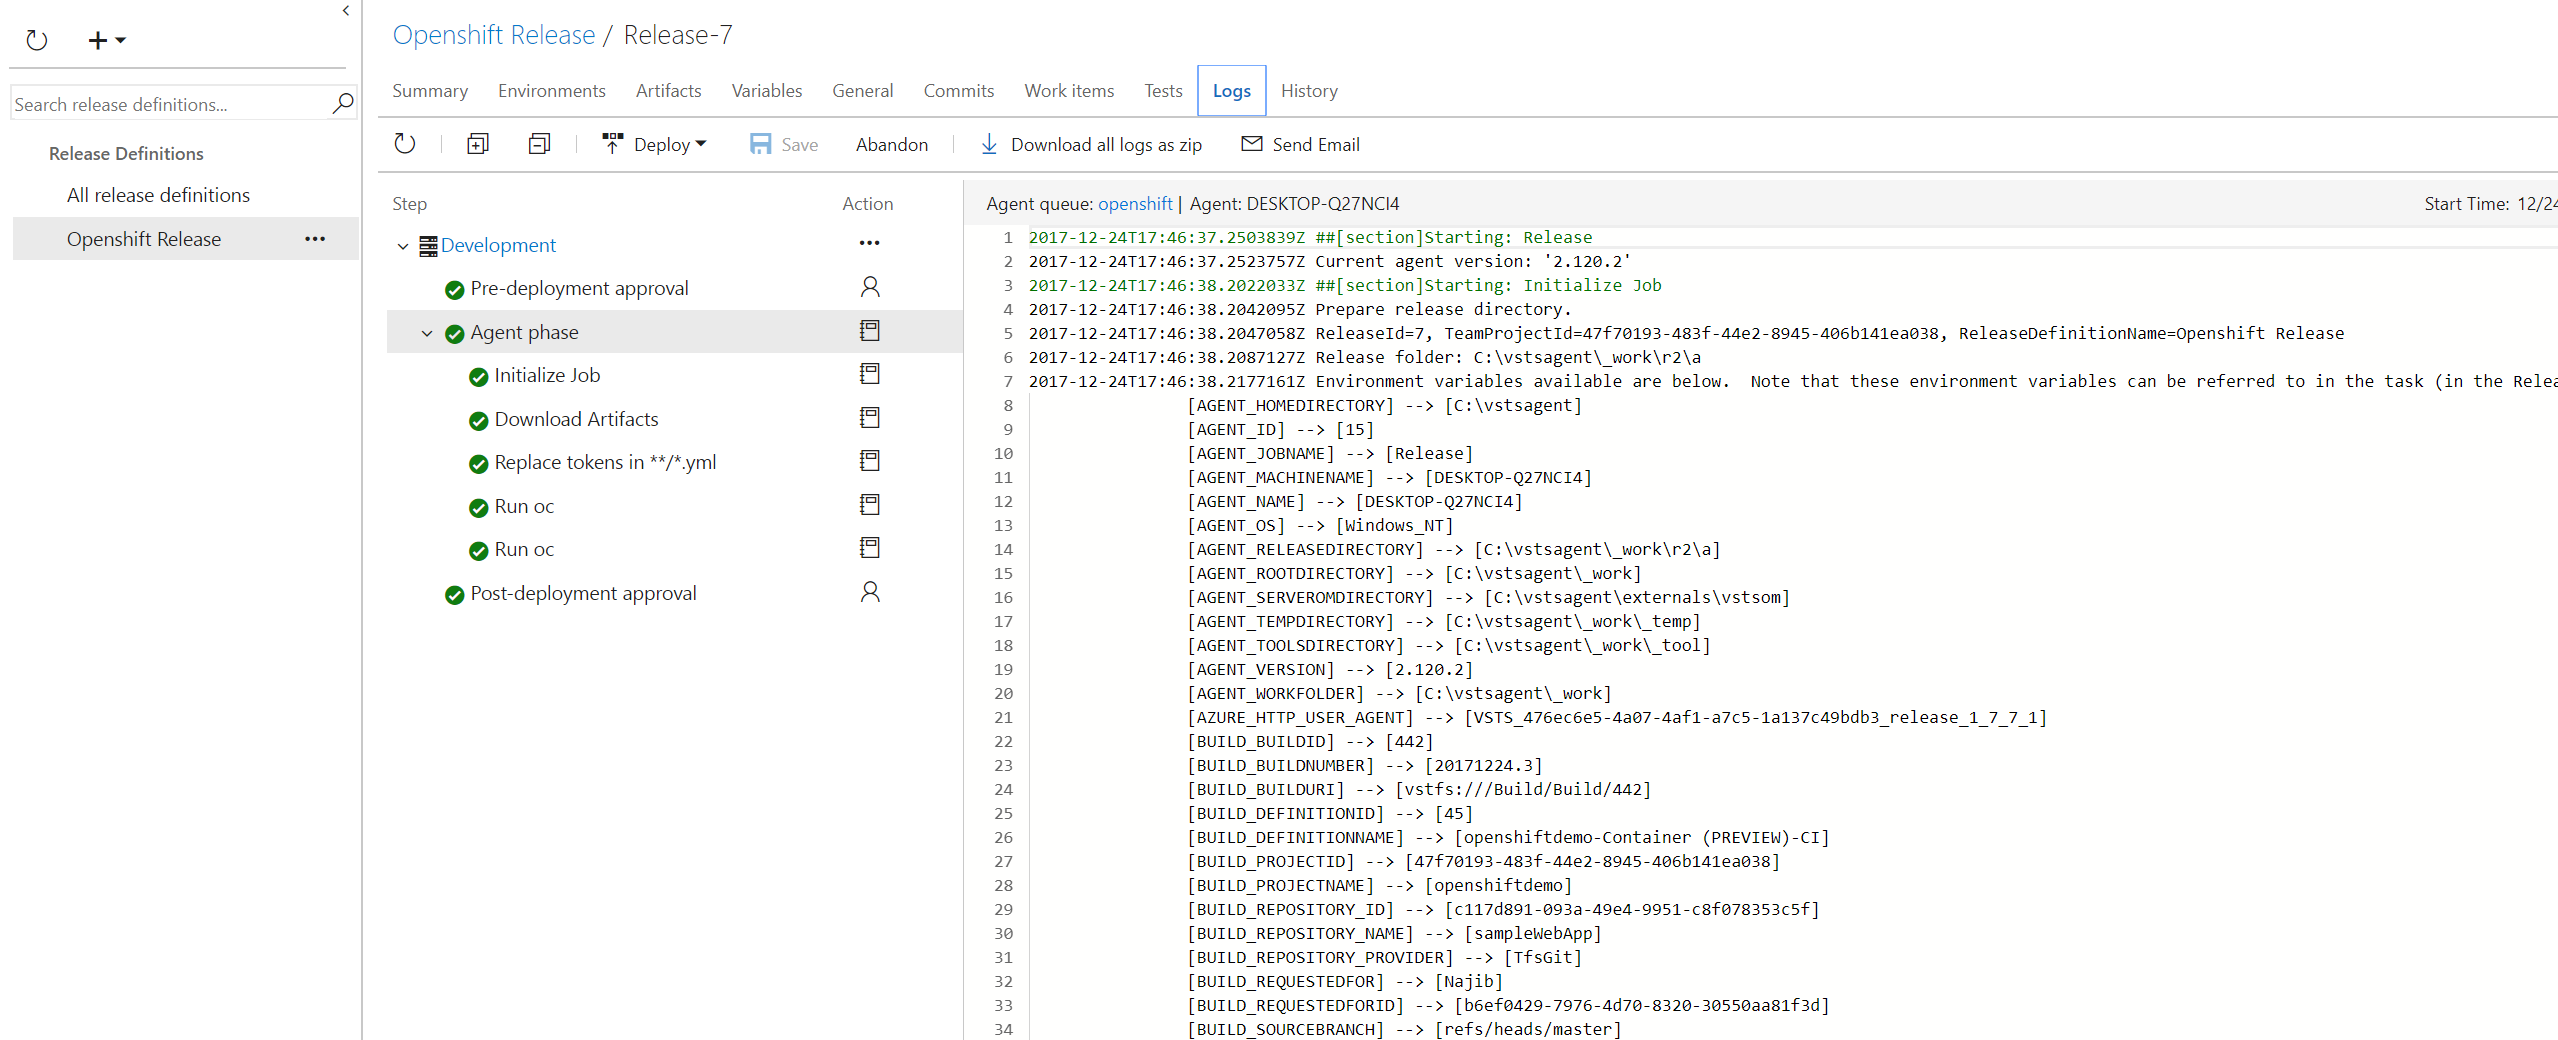
Name your release definition, save and then kick off a release

Make a change to your application. When you commit that change, a continuous integration build will be kicked off
Once the build is done, the build will be released. Once done, you should see your changes deployed to Openshift Kubernetes cluster
I hope this was informative. Please let me know if one of the steps is unclear or you know a better way of doing anything I described in this blog. Your feedback will be greatly appreciated. Happy deploying!!