Deploy Windows 10 In Your Organization With MDT
Editor’s note: The following post was written by Cloud and Datacenter Management and Windows and Devices for IT MVP Octavio Rodriguez de Santiago as part of our Technical Tuesday series. Fan Su of the MVP Award Blog Technical Committee served as the technical reviewer for this piece.
With Microsoft tools such as the Microsoft Deployment Toolkit (MDT) and the User State Migration Tool (USMT), IT professionals can automate desktop and server deployments and highly customize their migration experience. MDT supports different deployment processes, such as ZTI, LTI and UDI, and you can use it to either develop reference images or deploy solutions on a client computer.
In this article, we’ll go into more depth about reference images, and learn how to implement them using MDT or USMT.
Reference images
Reference images are important, as they are the foundation for devices in your organization. They may be used to save time while developing business software and/or company apps, software packages, drivers (provided the organization has a homogeneous environment in the hardware) and third-party software. Or if necessary you can create reference images according to the area or Total models of computer equipment in the organization. Creating a reference image consists of making a Custom Operating System image, and adding special features, programs, and applications, such as:
- Packages and drivers
- Applications such as Microsoft Office 2010, Google Chrome, Firefox, Chocolatey, VLC, Adobe Reader and Winrar
At the end of this article, you will have a new image .iso. If you need to be able to implement it through the network or removable disks, remember that there are thousands of ways to deploy. But in my case, I used the process described here on my blog: Reference Image Windows 10
The most important components in this process are the configurations customsettings.ini and bootstrap.ini. These are responsible for user interaction when creating the image, and the configuration of the connection with my deployment server.
The code below allows us to connect to our implementation server (Bootstrap.ini). Our Customsettings.ini will allow us to disregard the way in which we will carry out our implementation through the wizard. This process can be customized as much as needed, until we have the ZTI (Touch Touch Installation). We can do this configuration anytime while implementing our reference image.
Bootstrap.ini :
  [Settings]
Priority=Default

[Default]
DeployRoot=\\MDT_Server\DeplotmentShare$
UserDomain=Administrator
UserID=Administrator
UserPassword=Pa$$w0rd1
SkipBDDWelcome=YES
CustomSettings.ini :
  [Settings]
Priority=Default

[Default]
_SMSTSORGNAME=My_Organization
UserDataLocation=NONE
DoCapture=YES
OSInstall=Y
AdminPassword=Pa$$w0rd
TimeZoneName=Pacific Standard Time
JoinWorkgroup=WORKGROUP
HideShell=NO
FinishAction=SHUTDOWN
DoNotCreateExtraPartition=YES
ApplyGPOPack=NO

BackupShare=\\MDT_Server\DeploymentShare$
BackupDir=Captures
BackupFile=%TaskSequenceID%_#month(date) & "-" & day(date) & "-" & year(date)#.wim

SkipAppsOnUpgrade=NO
SkipAdminPassword=YES
SkipProductKey=YES
SkipComputerName=YES
SkipDomainMembership=YES
SkipUserData=YES
SkipLocaleSelection=YES
SkipTaskSequence=YES
TaskSequenceID=REF
SkipTimeZone=YES
SkipApplications=YES
SkipBitLocker=YES
SkipSummary=YES
SkipRoles=YES
SkipCapture=NO
SkipFinalSummary=YES
EventService=https://DC1:9800
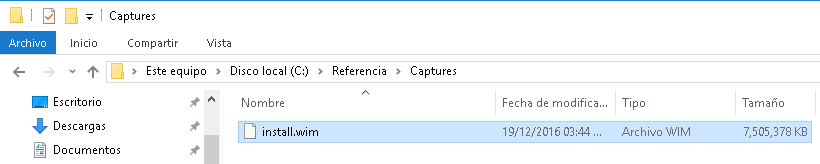
Important: One can create a reference image through virtual machines, such as hyper-v or vmware, etc. When we launch our DeploymentShare, the configuration will launch the sysprep utility to generalize our operating system. At the end, our .WIM image will be saved in the Captures folder as shown below:
 BackupShare=\\MDT_Server\Reference$

BackupDir=Captures

BackupFile=%TaskSequenceID%_#month(date) & "-" & day(date) & "-" & year(date)#.wim
Let's take a look at the image creation here:
Creating the image is simple. We copy the contents of our Base Disk and substitute install.wim inside the sources folder.
Once the reference image is created in .WIM format, we have to replace it with our base image. This is why we must copy our complete Windows. 10 DVD .iso to a folder. At the end, we will replace our custom install.wim image. This can do this with the xcopy command.
Here the help command is copied to the image .wim:
xcopy D:\*.* /e /f /s C:\Windows10_Reference
oscdimg -bC:\Windows10_Reference\boot\Etfsboot.com -u2 -h C:\Windows10_Reference C:\Win10Ref2.iso
D: DVD drive : 
Here are some features included in our reference image:
- Visual C ++ 2008-2015
- .NET Framework
- Office Package
- File Compressors
- PDF Readers
- Drivers and updates (KB`s)
- Company Software
- Audio / Video Players
- Among other configuration
Implement the reference image using MDT and USMT
In our first point, we learned how to create a custom system. Now let's see how it is implemented. To do this, we have several options:
- Manual form from DVD
- USB
- Network
- Implementation Server
- WDS
MDT can create and implement Windows-based operating systems. Through its configuration we can have multiple scenarios, but in our case we will use the Refresh scenario. This works well for an organization, as it maintains the majority of our current configurations.
To implement the reference image using MDT and USMT, use the ZTI process without user interaction (admin). This step consists of three steps:
- Use User State Capture with USMT integrated to MDT and capture configurations in a domain-based business environment
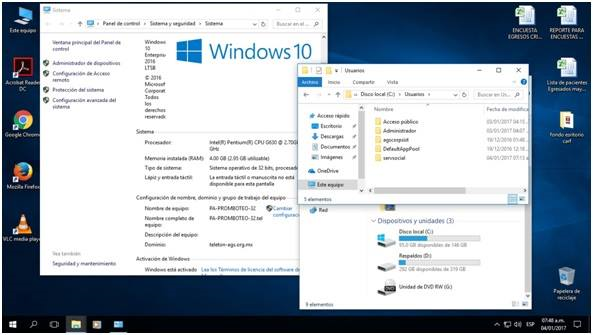
- Implement the Operating System Windows 10 Custom
- Restore configurations and load user states
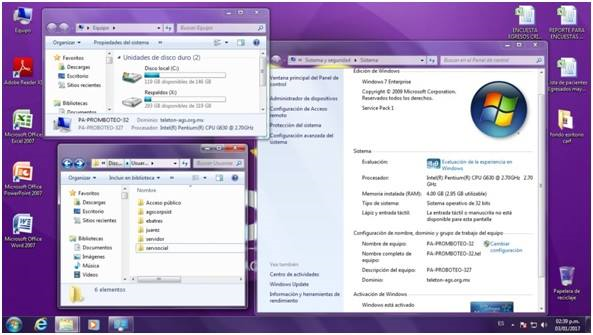
As an important point, our work environment has computer equipment where there are 2 partitions: C:\ and D:\. In the C:\ drive you have Windows 7 SP1 in the domain with multiple users per computer, while the D:\ has been redirected to users’ folders with their respective information.
Within the world of implementation, we call this REFRESH SCENARIO, which replaces one operating system with another within the same equipment. 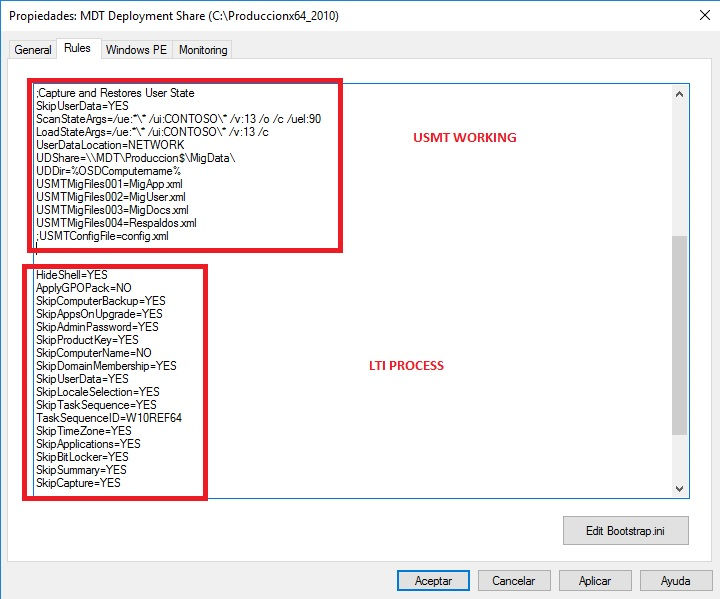
Once we have this configuration set up, we can add more features, such as activating Windows 10 during deployment, or changing the lock screen.
We can also implement our license key in our deployment. This is optional, since we can also use VAMT Volume Activation Management in business environments, among other options. To see more options, check out this link: Activating Windows 10 from MDT.
The Lock Screen helps us to change our screen lock image, according to our organization. This tip was shared by my partner and friend MVP Eduardo Sena from his blog in this link: Lock Screen
All in all, you can always use more applications. But in our case, we only needed to activate and change the lock screen. 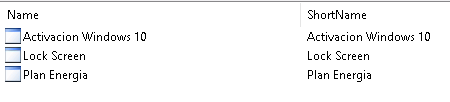
Within Windows 7 SP1 of our organization in Domain we execute the following:
\\MDT_Server\DeploymentShare$\Scripts\LiteTouch.vbs
This will allow us to ONLY run our MDT wizard by changing the name of our PC (optional). Now, the magic begins with the migration process without further interactions. 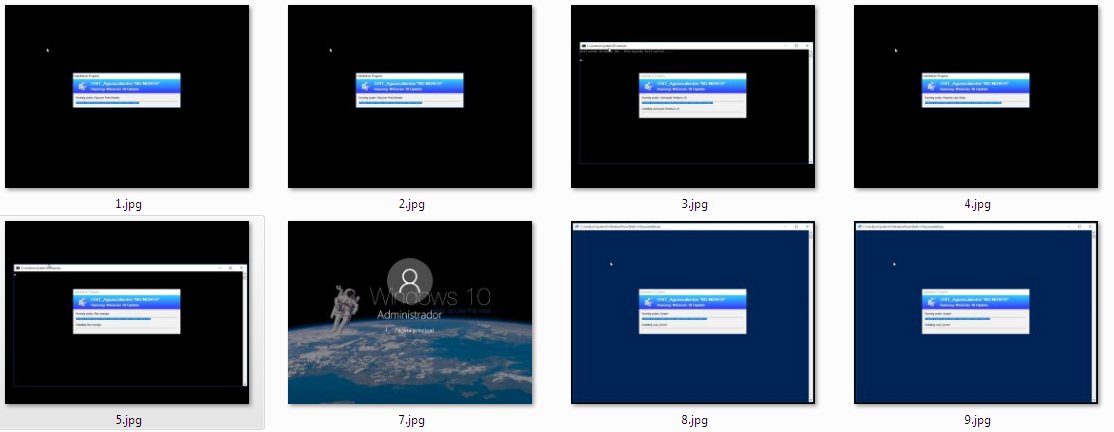
MDT is the perfect choice for IT professionals, and has played a huge part in helping our company (Foundation Teleton Mexico A.C.) to migrate our computer equipment successfully and keep the same configurations. I highly recommended the tool to carry out deployment processes.
 Octavio Rodriguez de Santiago is a person who perseveres when it comes to overcoming new challenges. Professionally, he is a consultant focused on the Implementation of Microsoft Windows client solutions. He is passionate about technology related to Microsoft Operating Systems, especially in terms of implementation, configuration and service. He actively participates in Microsoft TechNet forums, and contributes community techniques through his blog. He’s been an MVP since 2014, has the HP ATA certification in Connected Devices, is the leader of the Geeks Aguascalientes community and the administrator of the Windows 10 in Spanish Facebook group. He’s also the author of 6 books on deployment and implementation of Operating Systems - you can find out more about them here. Follow him on Twitter @deploymentMX.