Accessing and deleting large e-mails in Gmail with C#
Editor’s note: The following post was written by Windows Development MVP Bruno Sonnino as part of our Technical Tuesday series.
Introduction
I am a long time user of Gmail, and I usually don’t delete any email, I just archive the emails after reading and processing them, to keep my inbox clean.
Last week, I got a notice from Gmail that I was reaching the 15GB free limit and, in order to continue receiving emails, I should I should either buy some extra storage or clean my mail archive.
I know that I store a lot of garbage there, so I decided to clean the archive: the first step was to delete some old newsletters, and some junk email, but this didn’t even scratch the size of my mailbox (maybe it removed about 200Mb of data).
Then I started to use Gmail’s size filters: if you enter “larger:10M” in the query box, Gmail will show only messages with 10Mb or more. This is a great improvement, but there are two gotchas here: the messages aren’t sorted by size and you don’t know the size of every message.
That way, you won’t be able to effectively clean your mailbox – it will be a very difficult task to search among your 1500 messages which ones are good candidates to delete. So I decided to bite the bullet and create a C# program to scan my mailbox, list the largest ones and delete some of them. I decided to create a Universal Windows Platform app, so I could use on both my desktop and Windows Phone with no changes in the app code.
Please note: All the source code for this article is available on GitHub, at https://github.com/bsonnino/LargeEmailsGmail.
Registering the app with Google
The first step to create the app is to register it with Google, so you can get an app id to use in your app. Go to https://console.developers.google.com/flows/enableapi?apiid=gmail and create a new project. Once you have registered, you must get the credentials, to use in the app.
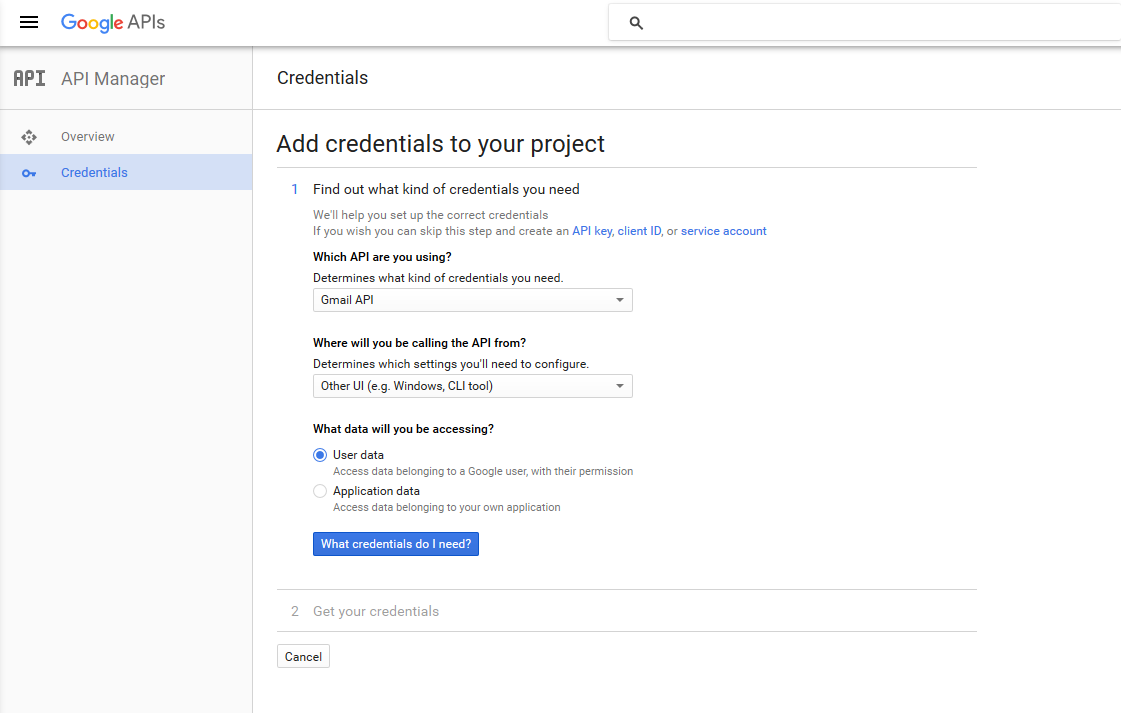
Figure 1 – Adding credentials
This will create new credentials for your app, which you must download and add to your project. When you download the credentials, you get a file named client_id.json, which you will include in your project. The next step is to create the project.
Creating the project
You must go to Visual Studio and create a new UWP app (blank app).

Figure 2 – Creating a new UWP app
A dialog appears asking you the target version for the app, and you can click OK. Then, you must add the NuGet package Google.Apis.Gmail.v1. This can be done in two ways: in the Solution Explorer, right click in the “References” node and select “Manage NuGet Packages” and search for Gmail, adding the Gmail package.
The second way is to open the Package Manager Console Window and adding the command:
Install-Package Google.Apis.Gmail.v1
Once you have installed the package, you must add the json file with the credentials to your project. Right click the project and select Add/Existing item and add the client_id.json file. Go to the properties window and select Build Action to Content and Copy to Output Directory as Copy always.
Getting User authorization
The first thing you must do in the program is to get the user authorization to access the email. This is done using OAuth2, with this code:
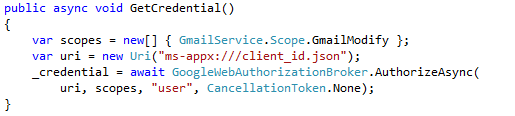
We call the AuthorizeAsync method of GoogleWebAuthorizationBroker, passing the uri for client_id.json, and the scope we want (modify emails). You can call this method in the constructor of MainPage:
When you run the program, it will open a web page to get the user’s authorization. This procedure doesn’t store any password in the application, thus making it safe for the users: they can give their credentials to the Google broker and the broker will send just an authorization token to access the email.
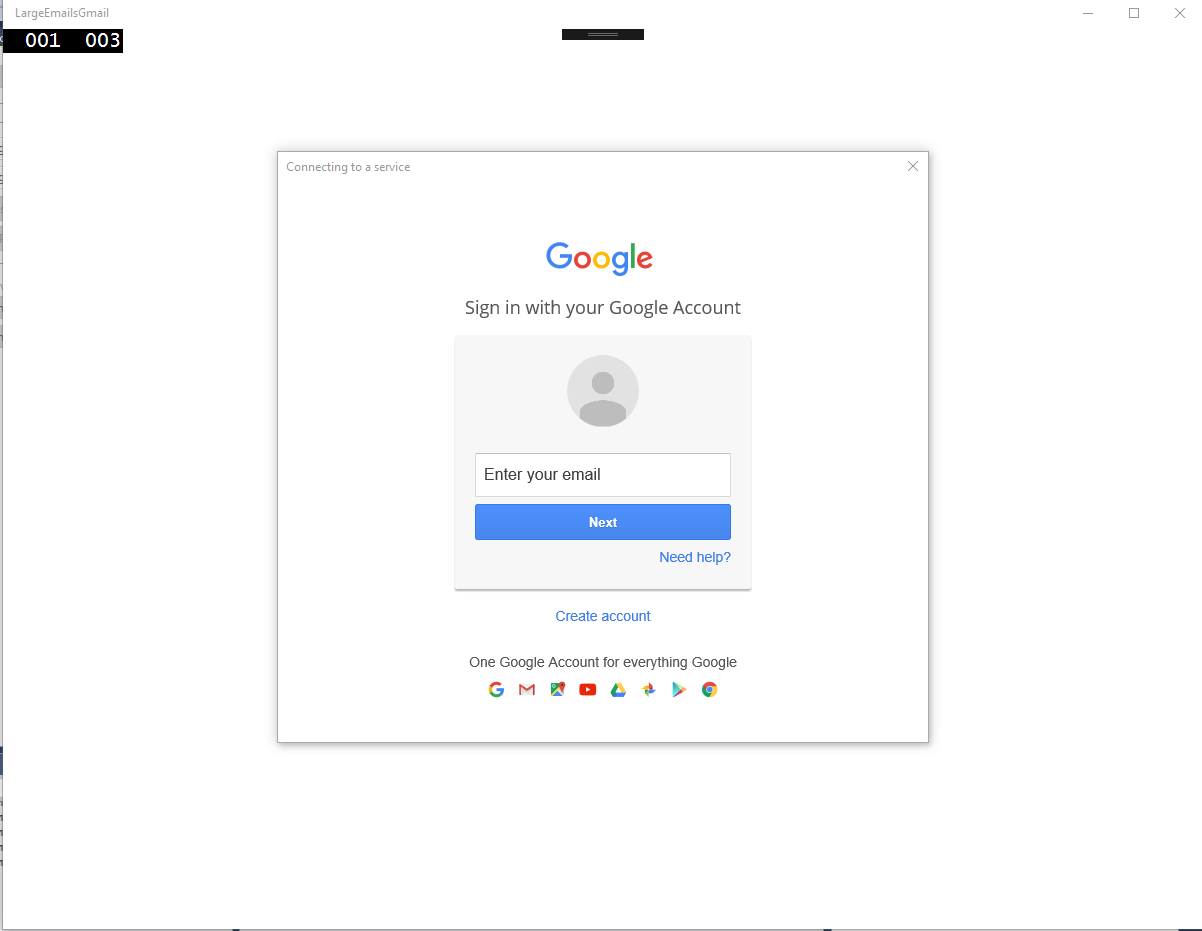
Figure 3 – Web page for authorization
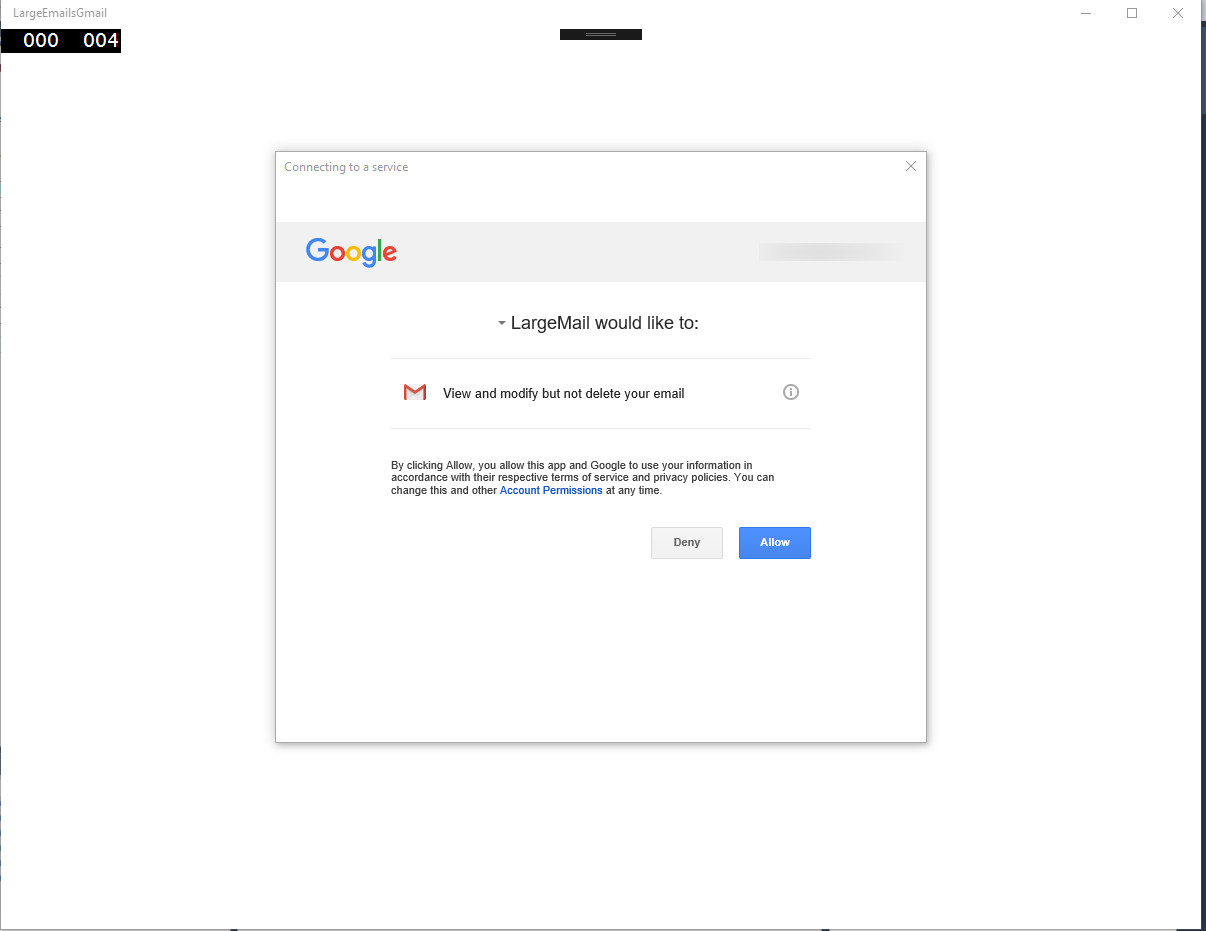
Figure 4 – Authorization consent
If you take a look at Figure 4, you will see that we are not asking for permission to delete the mail. We won’t need this permission, because we are going to just move the messages to trash. Then, the user will be able to review the messages and delete them permanently.
Getting emails
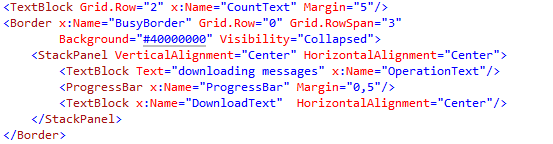
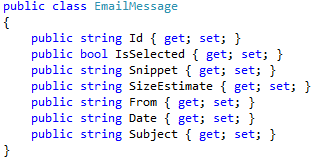
Once you have the authorization, you can get the emails from the server. In MainPage.xaml, add the UI for the application:
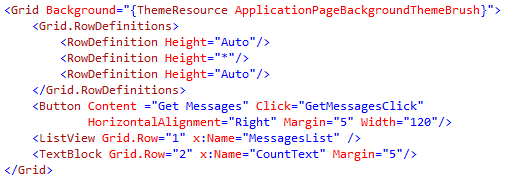
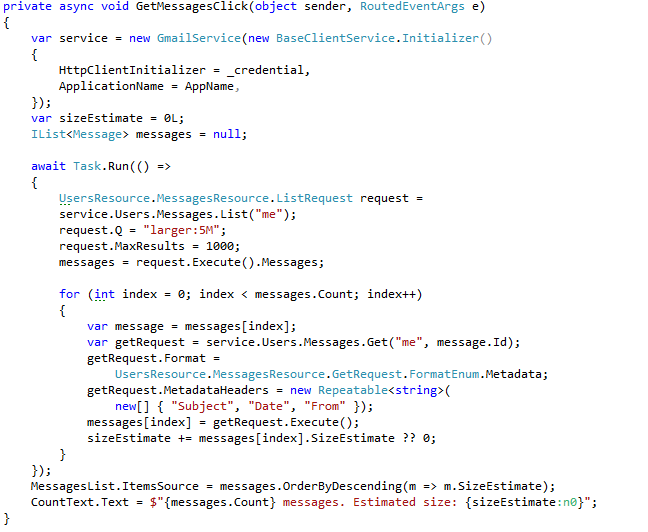
We will have a button to get the messages and add them to the list view. At the bottom, a text block will display the message count. The code for retrieving the messages is:

We create a request for getting the messages larger than 5Mb and returning a maximum of 1000 results. If you have more than 1000 emails larger than 5Mb, there’s no guarantee you will get the largest emails, but you can change the query settings to satisfy your needs. Then, we query the server and fill the list view. If you run the app and click the button, you will see something like in Figure 5:
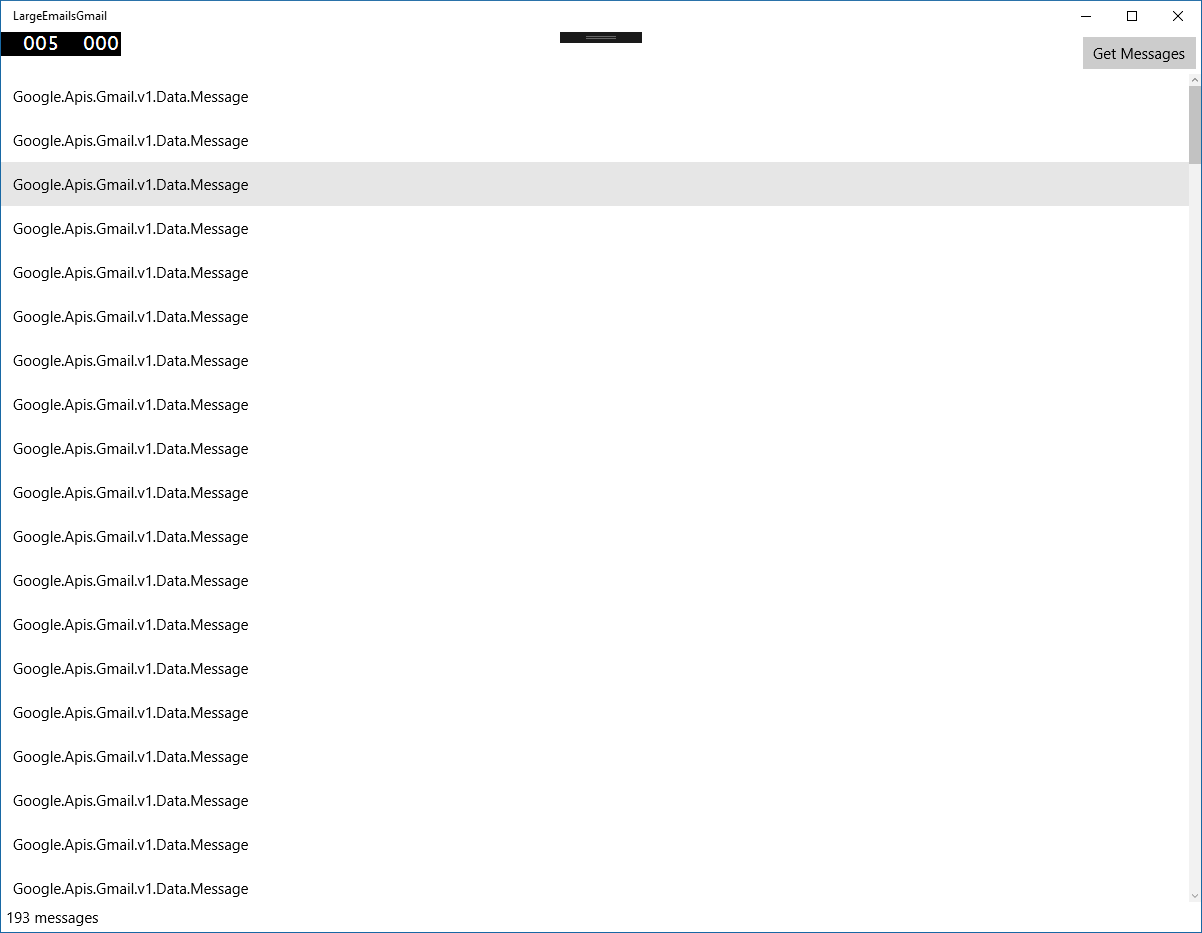
Figure 5 – Mail results displayed in the app window
We see only the item type because we didn’t set up an item template. That can be done in MainPage.xaml:
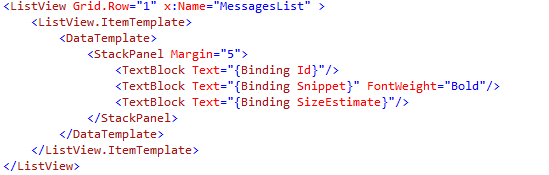
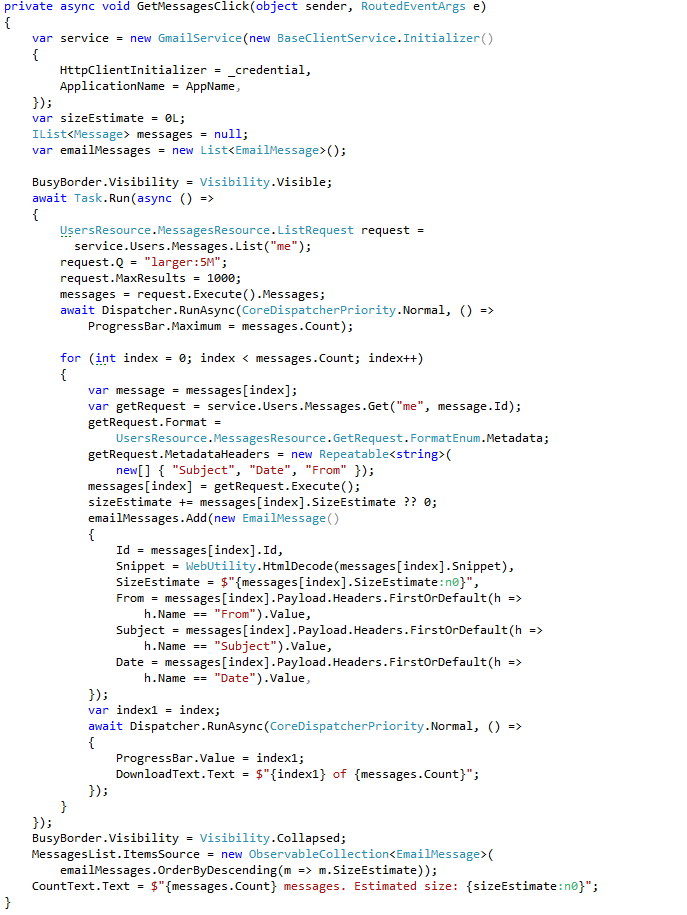
Running the app, you will see that the list only shows the Ids for the messages. This first call doesn’t return the full message. To get the message contents, we must do a second call, to retrieve the message contents:

When we are getting the messages, we limit the data recovered. The default behavior for the Get request is to retrieve the full message, but this would be an overkill. We only get the Subject, Date and From headers for the message. If you run the app, you will get the snippet and the size, but you will see that the app hangs while retrieving the messages. This is not a good thing to do. We must get the messages in the background:
Now the code doesn’t block the UI, but there’s no indication of what’s happening. Let’s add a progress bar to the UI:
To update the progress bar while downloading, we use this code:

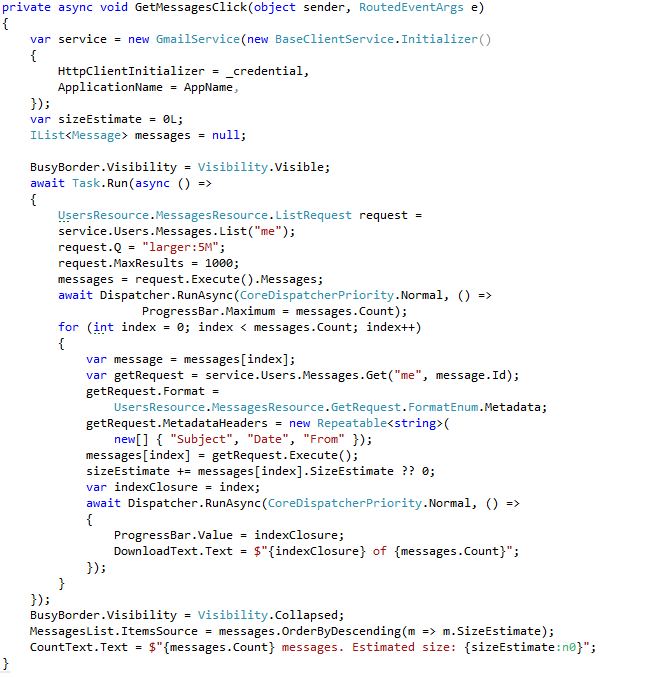
We set the visibility of the Busy border to visible before downloading the messages. As we download the messages, we update the progress bar. We are running the code in a background thread, so we can’t update the progress bar and the text directly, we must use the Dispatcher to update the controls in the main thread. Now, when we run the code, the busy border is shown and the progress bar is updated with the download count. At the end, we get the messages, with the snippets and size.
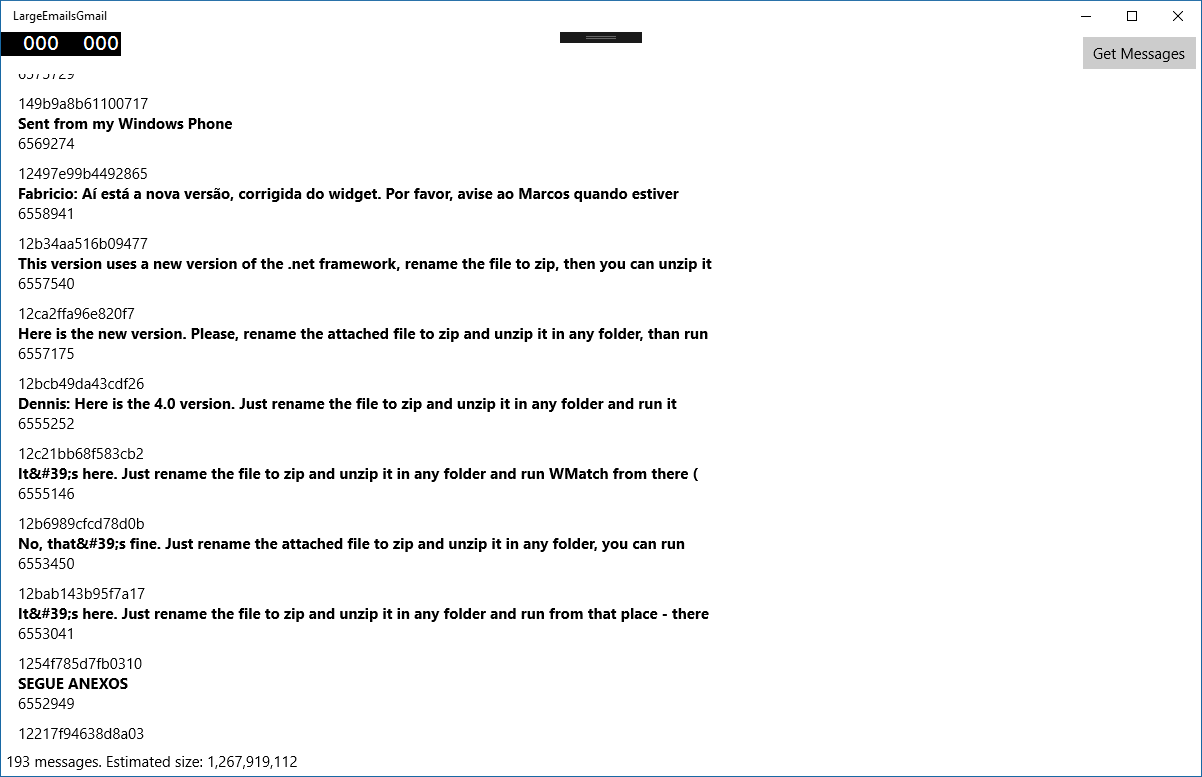
Figure 6 – Message results
You can see some problems in this display:
- It’s far from good, and should be improved
- It doesn’t show the subject, date and who sent the message
- The snippet format is encoded and should be decoded
- The size could be formatted
We can fix these issues by creating a new class:
And use it, instead of the Message class:
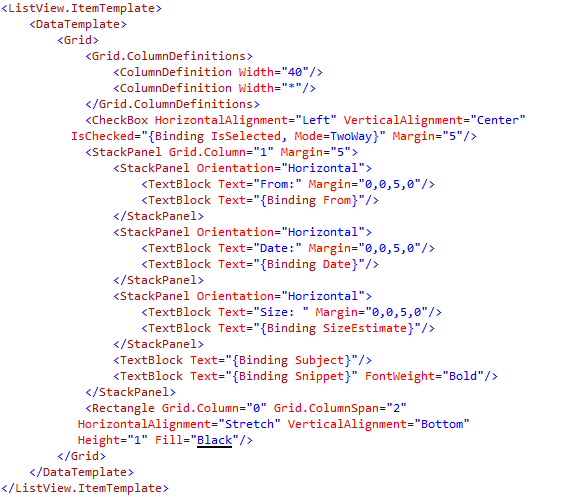
With this new code, we can change the item template, to show the new data:
With this code, we get a result like this:
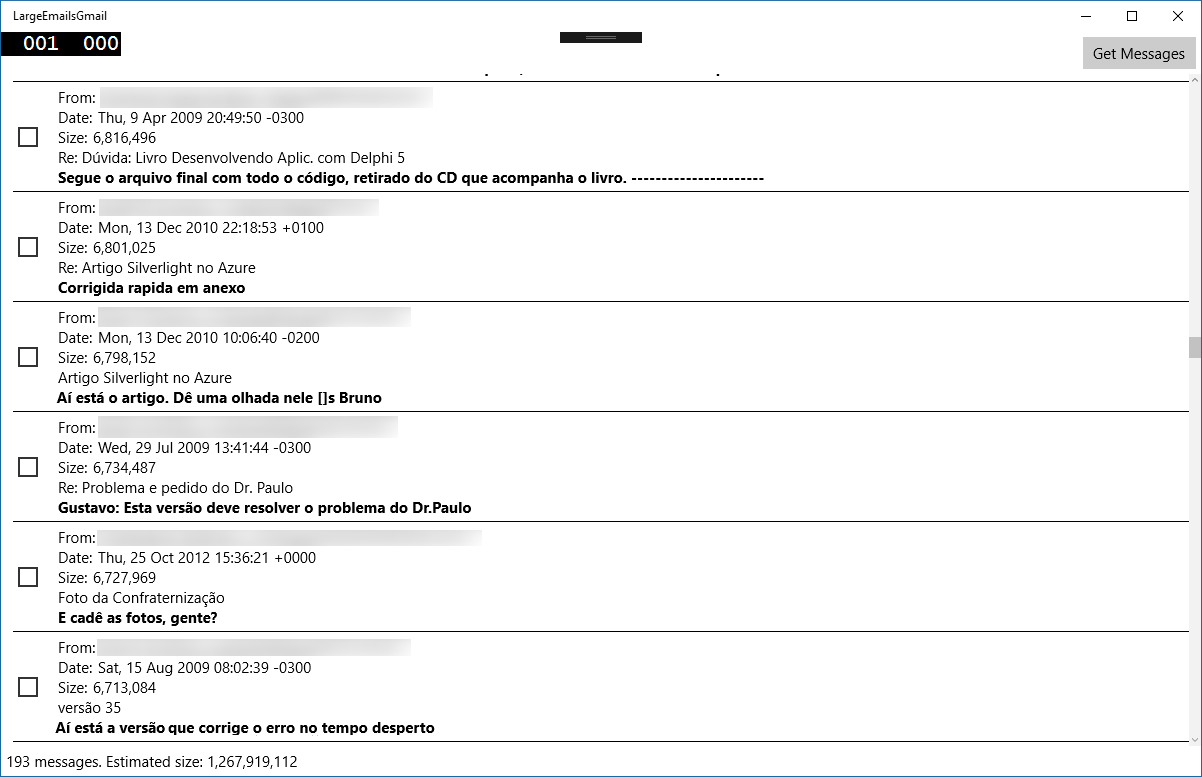
Figure 7 – Message results with more data
We could still improve the performance of the app by making multiple requests for messages at the same time, but I leave this for you.
Deleting emails from the server
Now, the only task that remains is to delete the emails from the server. For that, we must add another button:

The code for deleting messages is this:

If you run the app, you can select the messages you want and delete them. They will be moved to the trash folder, so you can double check the messages before deleting them.
Conclusion
This article has shown how to access the Gmail messages using the Gmail API and delete the largest messages, all in your Windows 10 app. Oh, and did I mention that the same app works also in Windows Phone, or in other Windows 10 devices?
Again, you can find the source code for this article is available on GitHub, at https://github.com/bsonnino/LargeEmailsGmail.
About the author 
Bruno has been an MVP for the last 10 years. He is an independent developer and consultant and works with Windows Development for more than 20 years. He has written seven books, published in Portuguese, and was author of more than 50 utilities for PCMag.com.