Microsoft Dynamics CRM, SharePoint & One Note Step-by-Step Integration
Editor’s note: The following post was written by Dynamics CRM MVP Donna Edwards
Microsoft Dynamics CRM 2015 Update 1 offers a significant number of new and exciting features. There are several enhancements related to collaboration. In this article I will share how to get started with OneNote collaboration in Microsoft Dynamics CRM. Since OneNote requires SharePoint for document management, you must first enable SharePoint integration.
For those of you that have been working with CRM for several years, you might recall an article I wrote on SharePoint integration back in 2011. At that time, the list component and several steps were required to integrate SharePoint with Dynamics CRM. The good news is that the list component is no longer required and you can get the entire document management experience of SharePoint combined with OneNote integration setup in less than 30 minutes and all completed through a simple wizard experience.
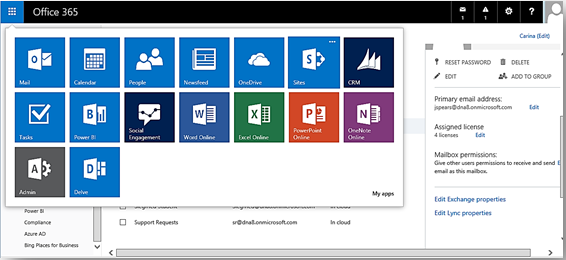
In this example, I will connect SharePoint online and OneNote to a CRM Online tenant. It is important to note that SharePoint, OneNote and CRM Online must be in the same Office 365 tenant for the connections to work. We’ll need to begin with the SharePoint connection. We need our SharePoint URL so let’s grab that now. You can copy the URL by logging into Office 365, select the options area in the upper left corner of the browser window and select Sites.
Select the Team Site, not Public Site since you want the information you store in SharePoint to be available for internal use only.
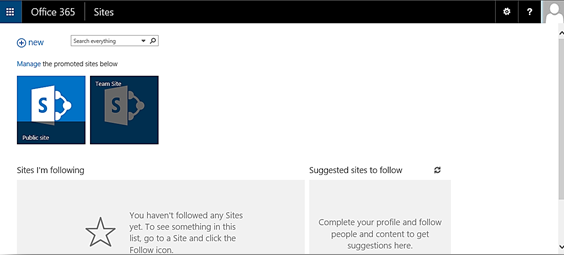
Copy the URL for the internal site. It should be something like this https://<name>.sharepoint.com If you prefer, you can also select the Admin area of Office 365, select SharePoint from the left navigation menu and copy the URL from the available list. Ensure you get the internal URL (Team Site) and not the My Site, Public Site or something different. It is fairly easy to identify the Team Site URL based on the naming convention used for each.

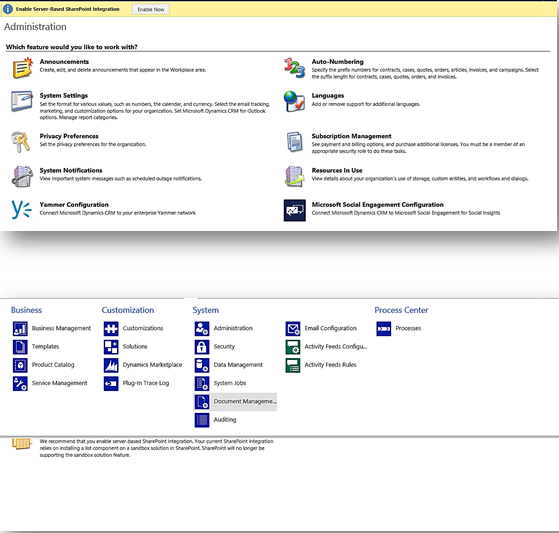
Copy the URL and save it. We’ll use it in just a few minutes. Next, select the “Enable Now” button for Server-Based SharePoint Integration or go to Settings, System, Document Management and select the Enable SharePoint Integration link.
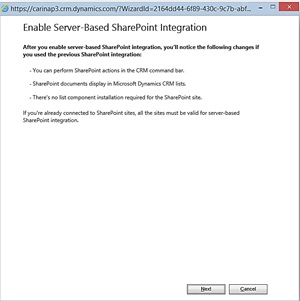
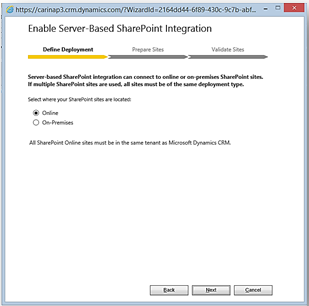
A new dialog window will open; select Next
Select Online and select Next.
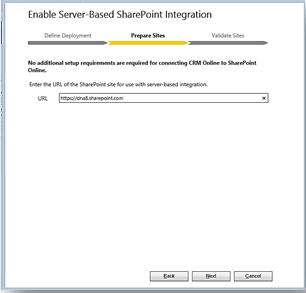
In this step, we will copy the URL we saved and paste it into the URL text box and select Next.
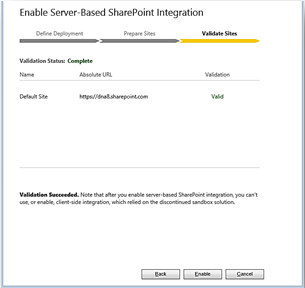
Now that the wizard has all the information needed to complete the configuration, it will validate the URL you provided and complete the connection. Select the Enable button.
At this point you can select the option to Open the Document Management Settings wizard by selecting the checkbox and completing the steps required for folder integration or you can choose to do that later by leaving the checkbox unselected.
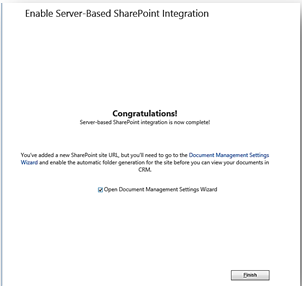
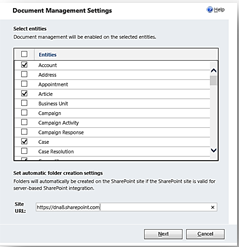
In this example I am going to select the checkbox and complete the integration steps. Once I select Finish, a new dialog window opens which allows me to select the entities I want to enable for SharePoint integration. A few default entities are selected. In this example, I am going to add Case and Competitor to the list, copy my SharePoint URL into the appropriate box and select Next.
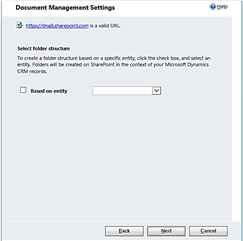
The wizard will validate my SharePoint URL and allow me to either select to create my folder structure on a specific entity (Account or Contact) or accept the default setup. In this example, I am selecting the default setup by leaving the checkbox unselected and selecting Next.
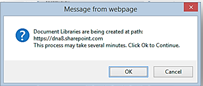
I receive a notification that the SharePoint library is being setup and that the process might take several minutes.
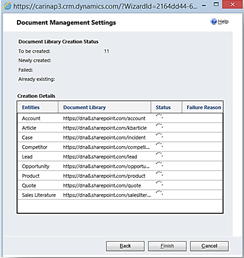
Select Ok to accept the message and we’re taken to a page that displays the status of the library creation. At this point you can select Finish and the library creation will complete.
To check the setup, let’s go to Sales, Accounts and open an Account record.
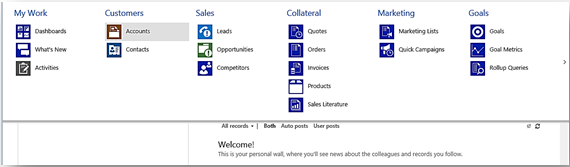
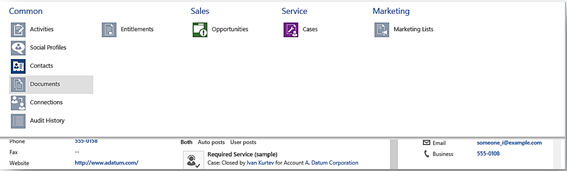
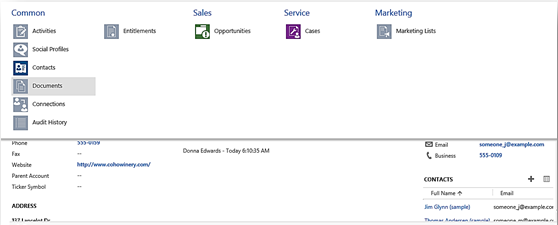
Select any available account record from a view and select Documents
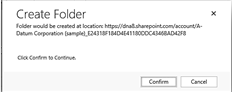
Since this is the first time we are adding a document to the Account record, you should receive a prompt requesting folder setup. Select Confirm to proceed.
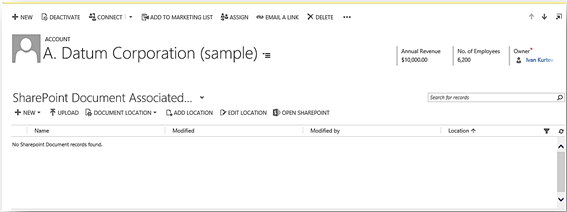
The library is enabled for the Account.
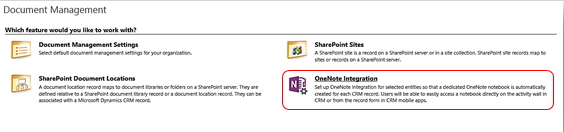
Now we are ready for OneNote. Let’s go back to Settings, Document Management and select OneNote Integration
A dialog window opens that allows you to select the entities you would like to enable for integration.
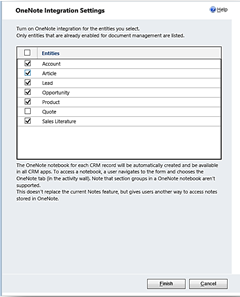
Before selecting Finish, take a couple of minutes to read and understand how OneNote is accessed. As noted, OneNote is available from all CRM apps and users can access it from the CRM record (form). OneNote does not replace the Notes entity but is added in addition to it. That means that you will not lose notes you’ve already added to the account or the ability to continue to use the ‘standard’ notes entity. Having said that, I wouldn’t be surprised if OneNote one day replaces Notes in the application. After selecting Finish the setup is complete. You can confirm that by opening one of the entity records you enabled. You should see the OneNote option available from the Activity Wall.
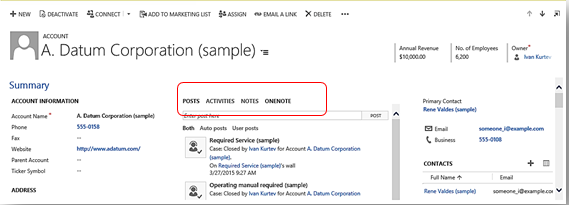
Selecting the OneNote option will create a OneNote notebook that you can open and begin adding notes.
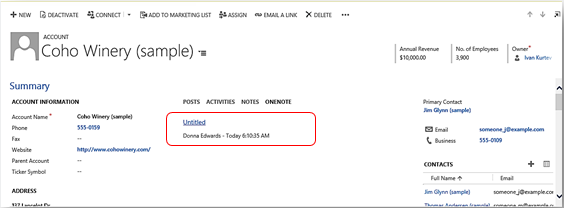
As you can see, by default the notebook is named “Untitled”. You can change that by selecting Documents from the account, select the OneNote notebook that you want to rename and select Properties.
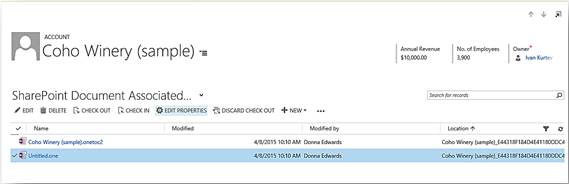
Select Documents from the Account record where you created the OneNote notebook
Select the document named “Untitled” from the list and select Edit Properties from the command ribbon
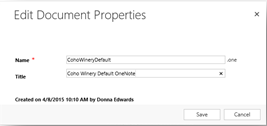
Give the document a more descriptive file name and title; save your changes.
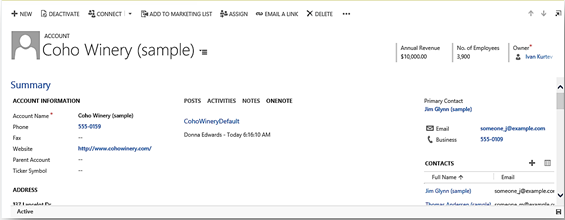
You can refresh the Account page to see the updated name.
You now have full document management with SharePoint and OneNote integration setup and ready to roll-out to your Dynamics CRM end users. Now it’s time to start thinking about how your organization can leverage these capabilities combined with Microsoft Office 365 Groups and Delve.
Cheers
About the author

Donna has been working with Dynamics CRM application beginning with the 1.2 version. She partner with all levels of an organization to develop and deliver flexible, scalable solutions that simultaneously address short-term business requirements and long-term strategic growth objectives. Her skill-set includes: Pre-sales support, solution design/architecture, functional consulting, requirements definition & analysis, business process engineering, process improvement & automation, end user adooption, system administrator and end user training, support and ISV solutions.
About MVP Monday

The MVP Monday Series is created by Melissa Travers. In this series we work to provide readers with a guest post from an MVP every Monday. Melissa is a Community Program Manager, formerly known as MVP Lead, for Messaging and Collaboration (Exchange, Lync, Office 365 and SharePoint) and Microsoft Dynamics in the US. She began her career at Microsoft as an Exchange Support Engineer and has been working with the technical community in some capacity for almost a decade. In her spare time she enjoys going to the gym, shopping for handbags, watching period and fantasy dramas, and spending time with her children and miniature Dachshund. Melissa lives in North Carolina and works out of the Microsoft Charlotte office.