Using ObjectDataSource with ASP.NET ListView for Entity Framework 6
Editor’s note: The following post was written by Visual C# MVP Ming Man Chan
Using ObjectDataSource with ASP.NET ListView for Entity Framework 6
This article consists of three subsection:
- Create an ADO.NET Entity Data Model
- Add a model class for Object Data Source binding
- Add and configure Object Data Source and ListView
When you are try to create an EntityDataSource in VS 2013 you will have this error:
The provider did not return a ProviderManifest instance in VS 2013 and EntityFramework 6
In order to resolve this one of the choices is use ObjectDataSource.
Create an ADO.NET Entity Data Model
Following the steps below to an ObjectDataSource to utilize Entity Framework 6.
- Click on File menu in Visual Studio 2013.
- Click on Project...
- Click on New Project.
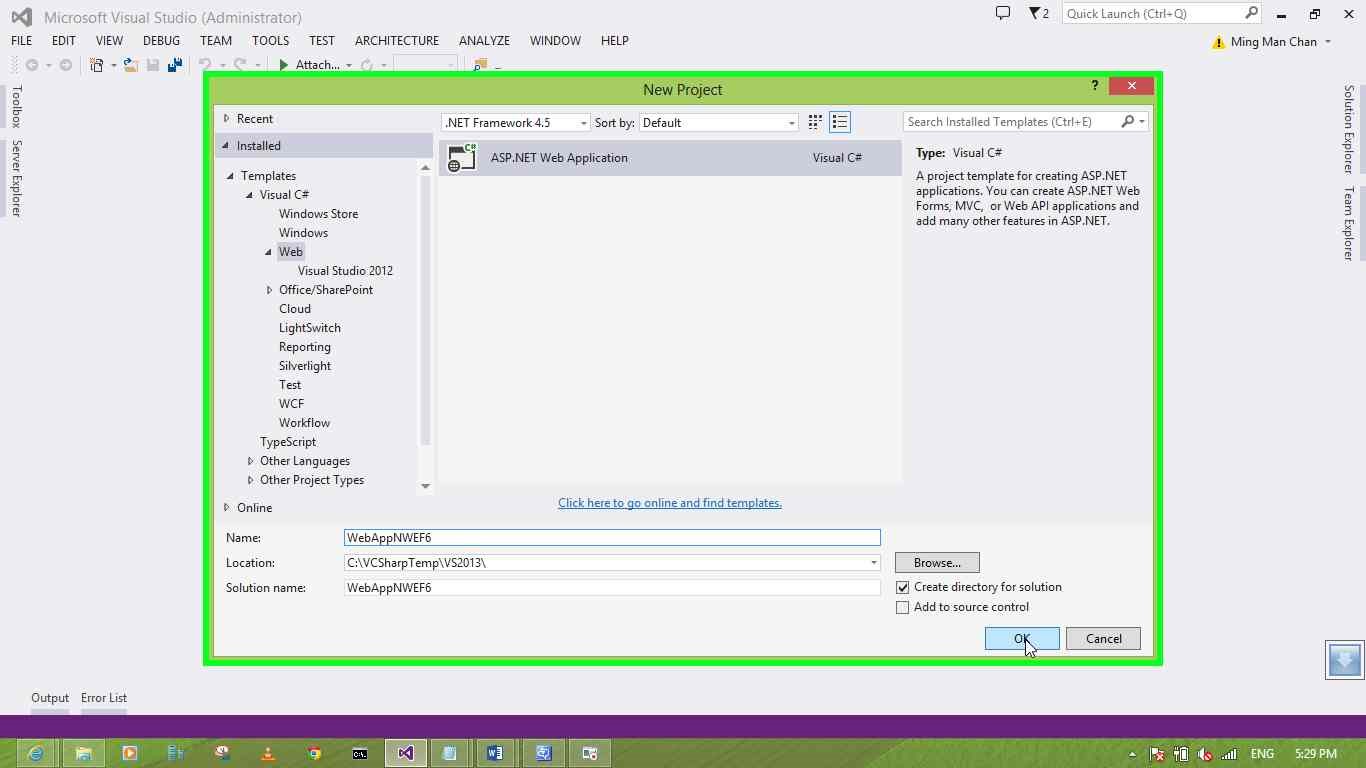
- Select the Web template.
- Select ASP.NET Web Application.
- Type the project name for example WebAppNWEF6.
- Click on OK in New Project.
8. Choose Web Forms. Click on OK in "New ASP.NET Project - WebAppNWEF6” dialog.
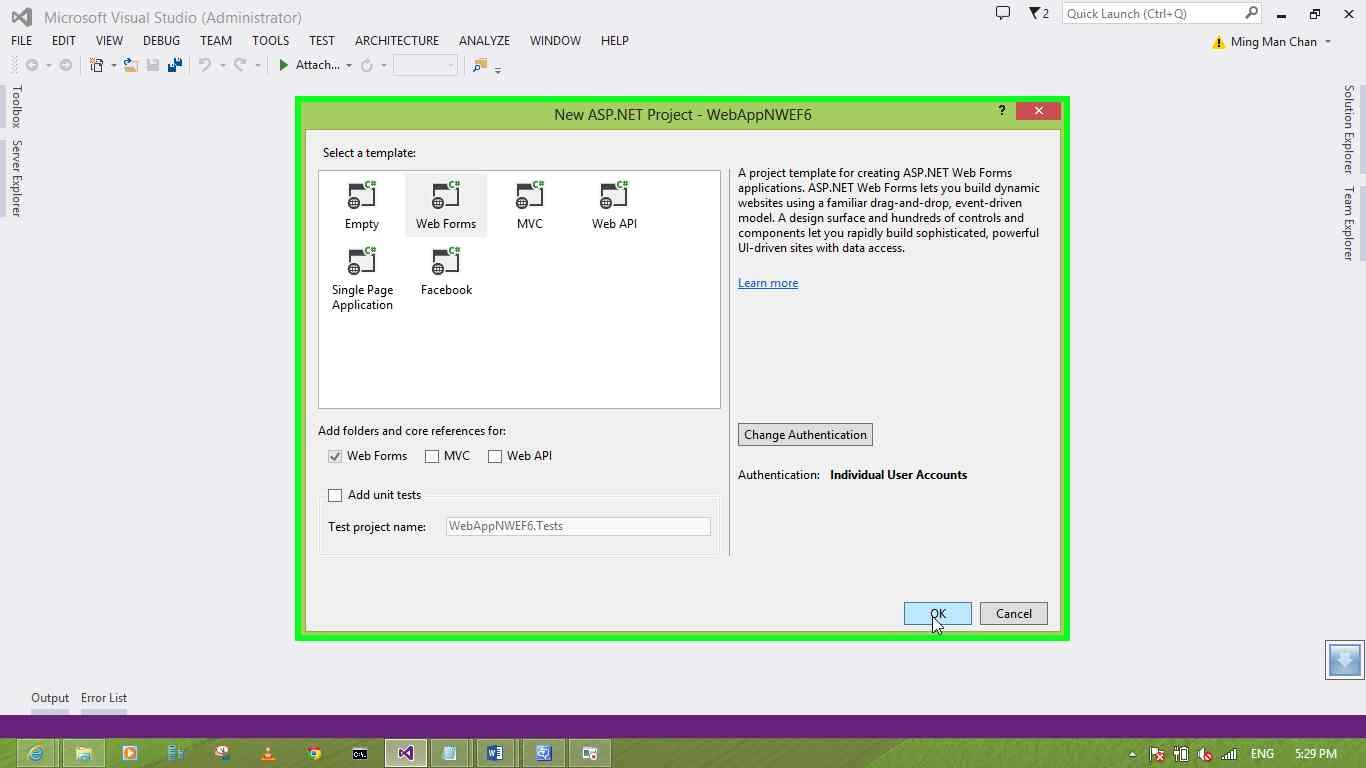
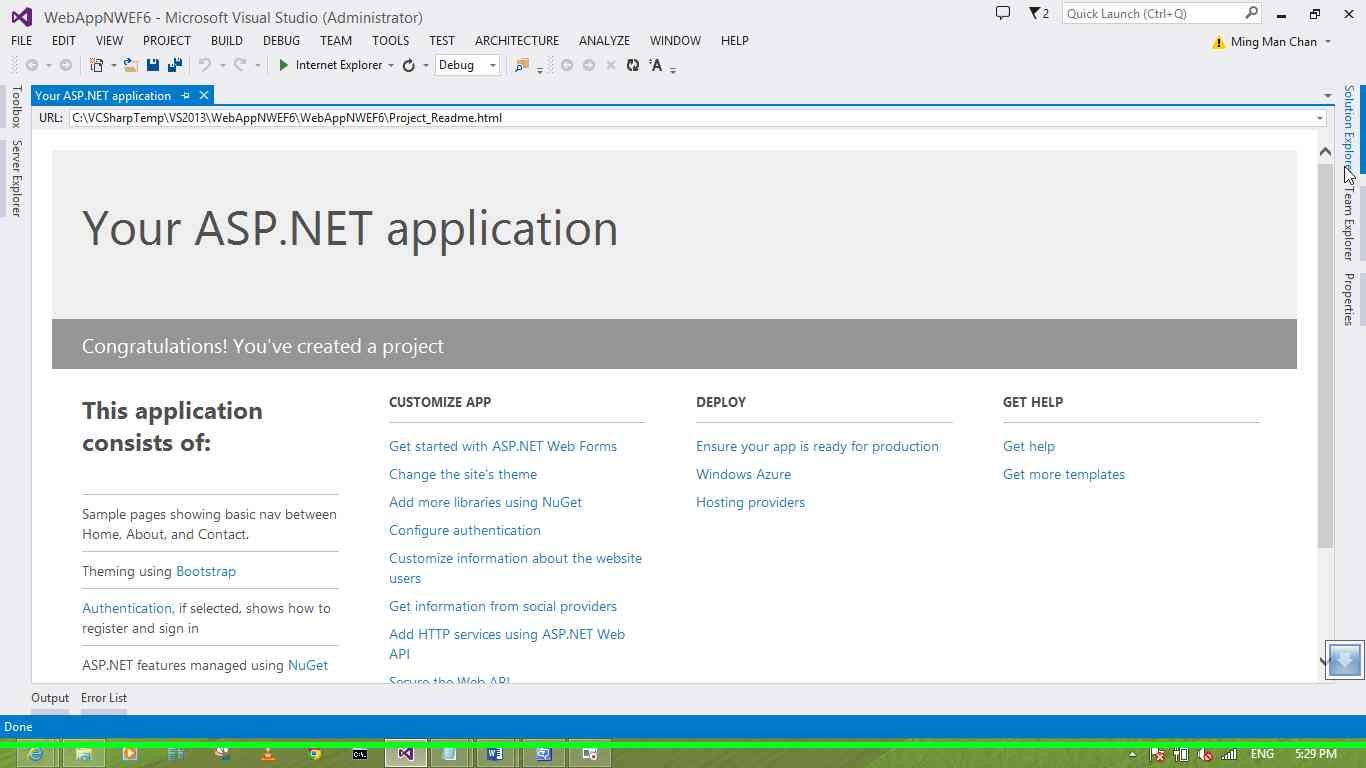
The project is now created.
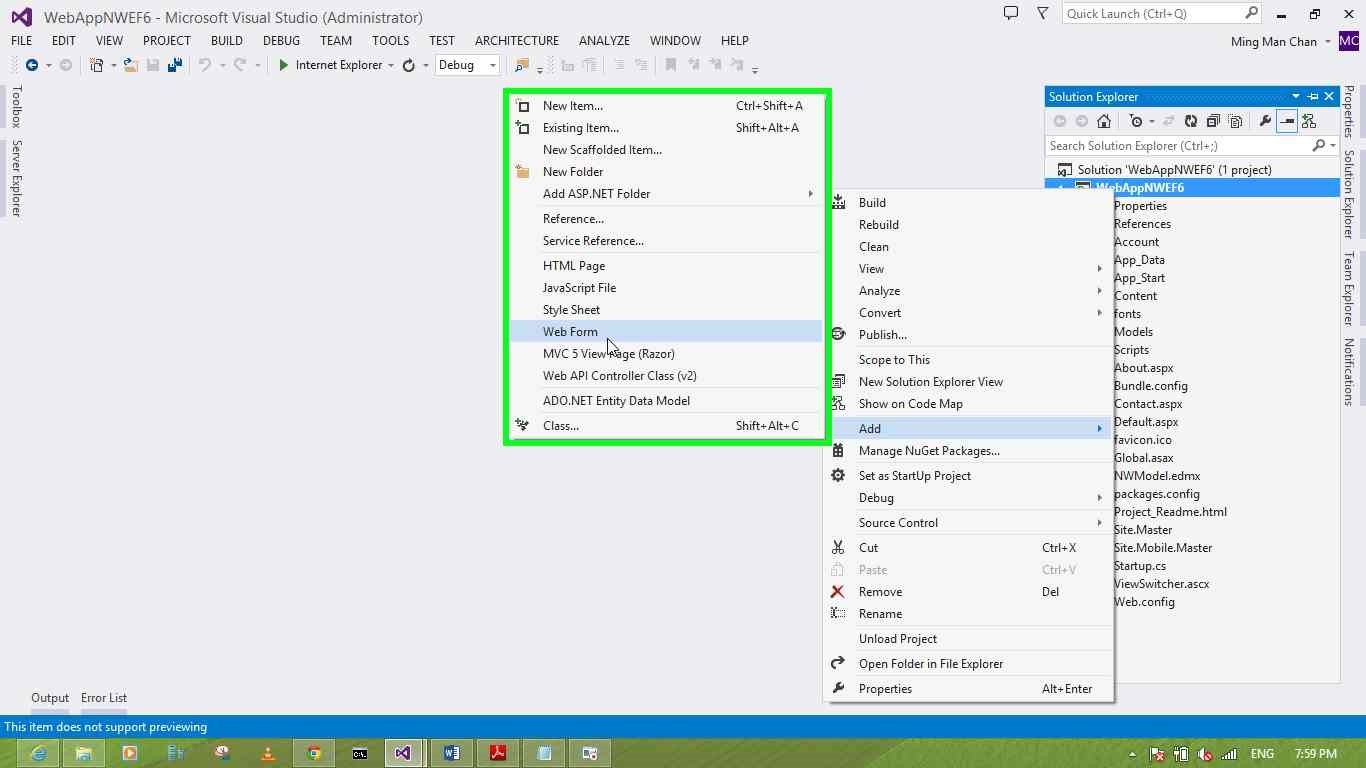
9. Right click on WebAppNWEF6 (tree view item).
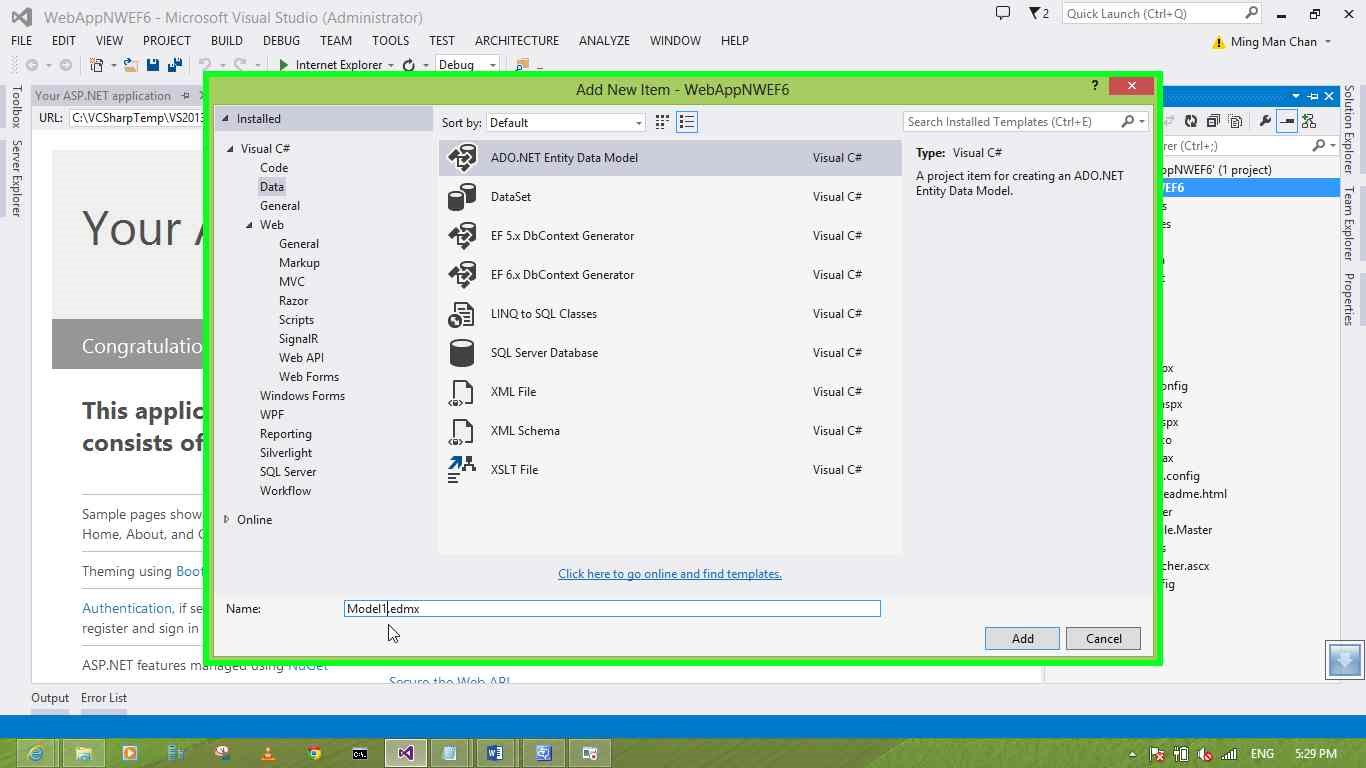
10. Select Add -> New Item…
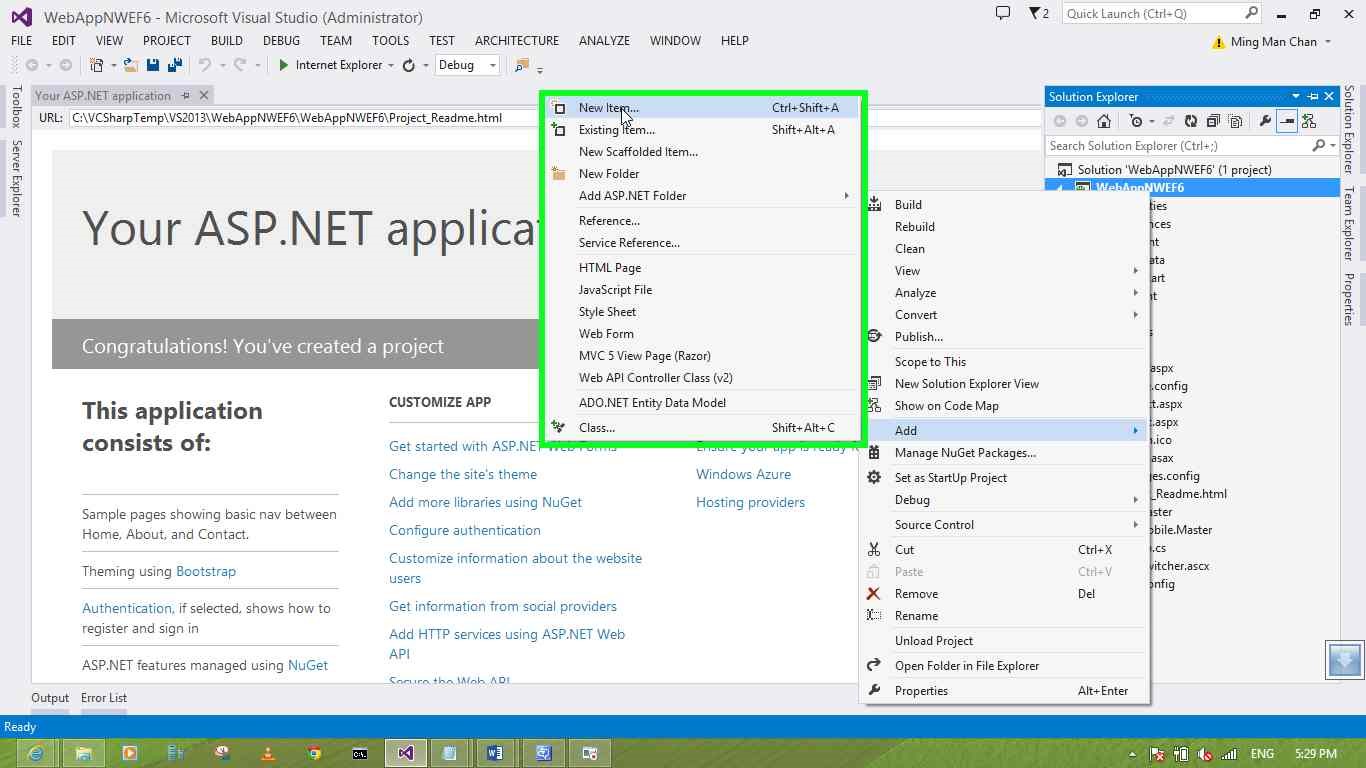
11. Select Data then ADO.NET Entity Data Model.
12. Type in the Name for example, NWModel.edmx.
13. Click on Add button.
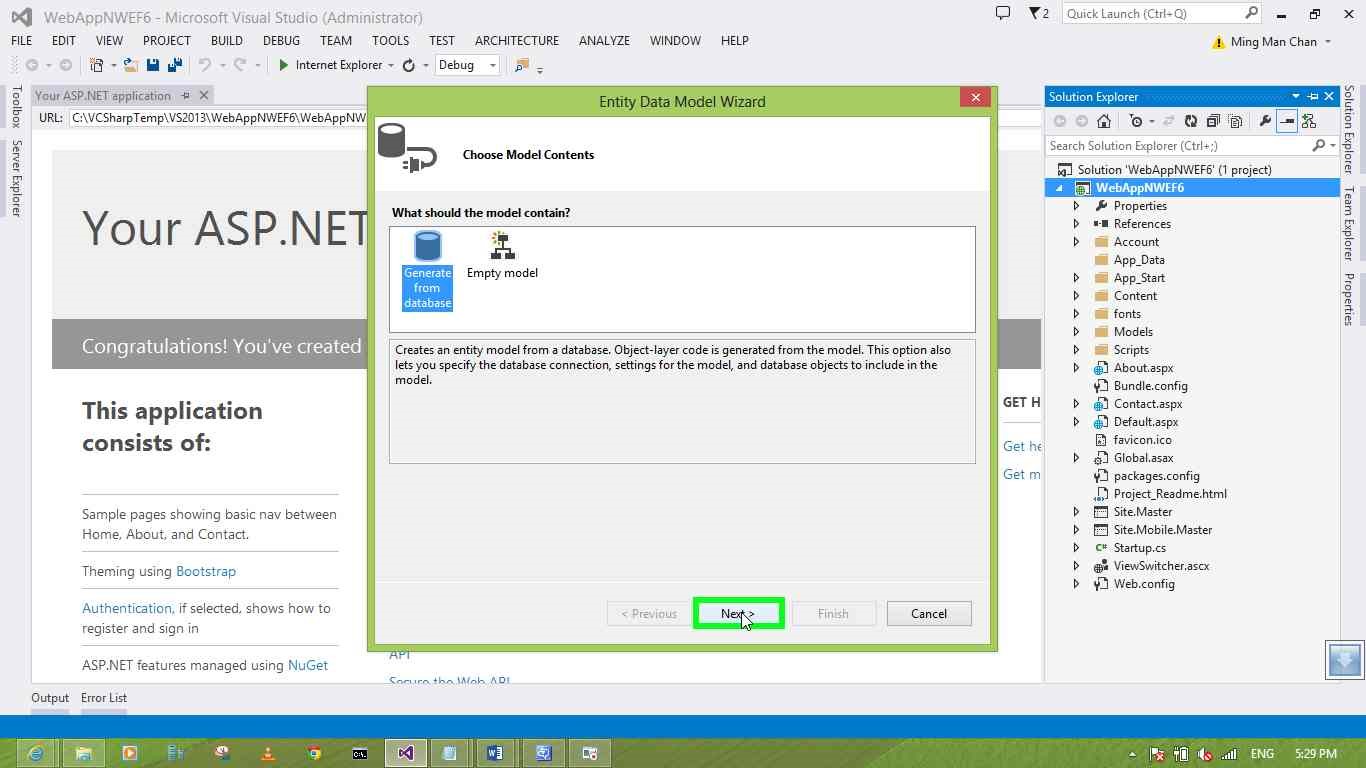
14. Click on Next > button.
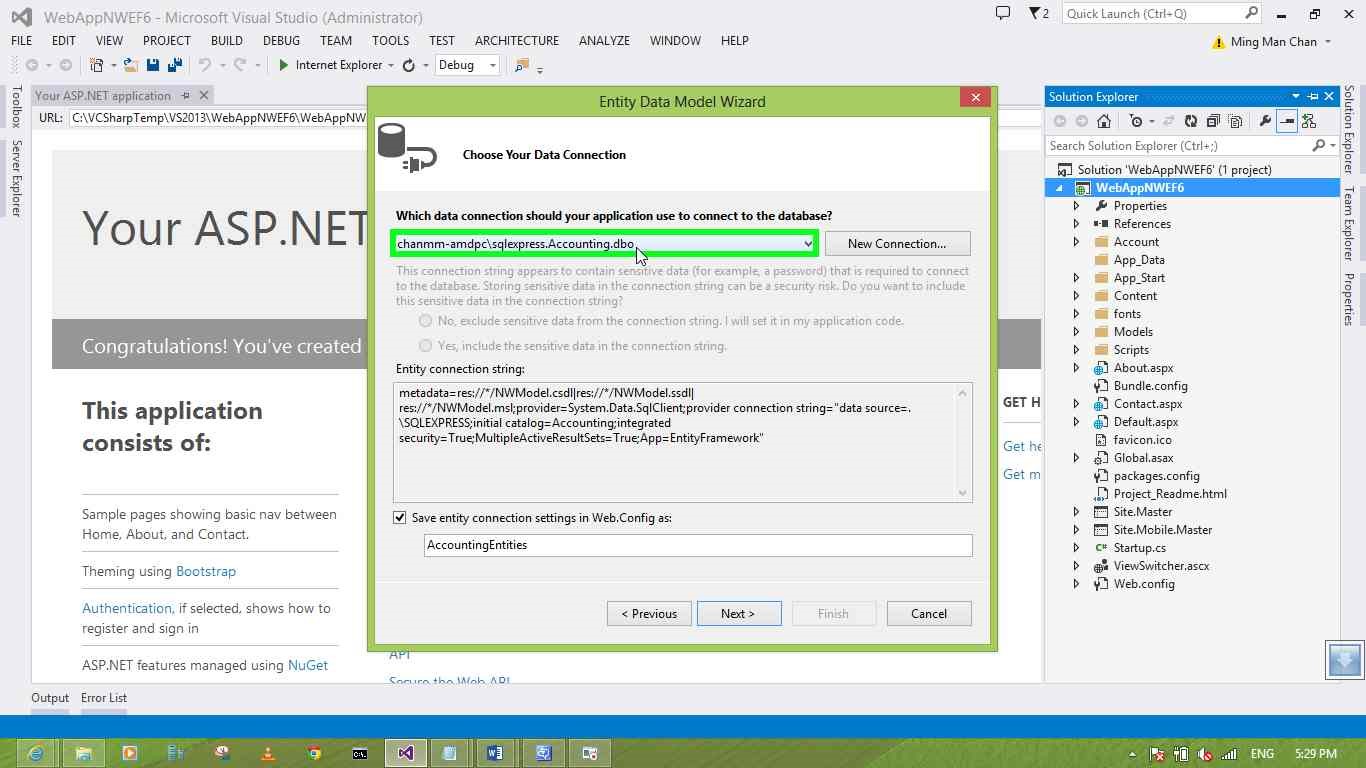
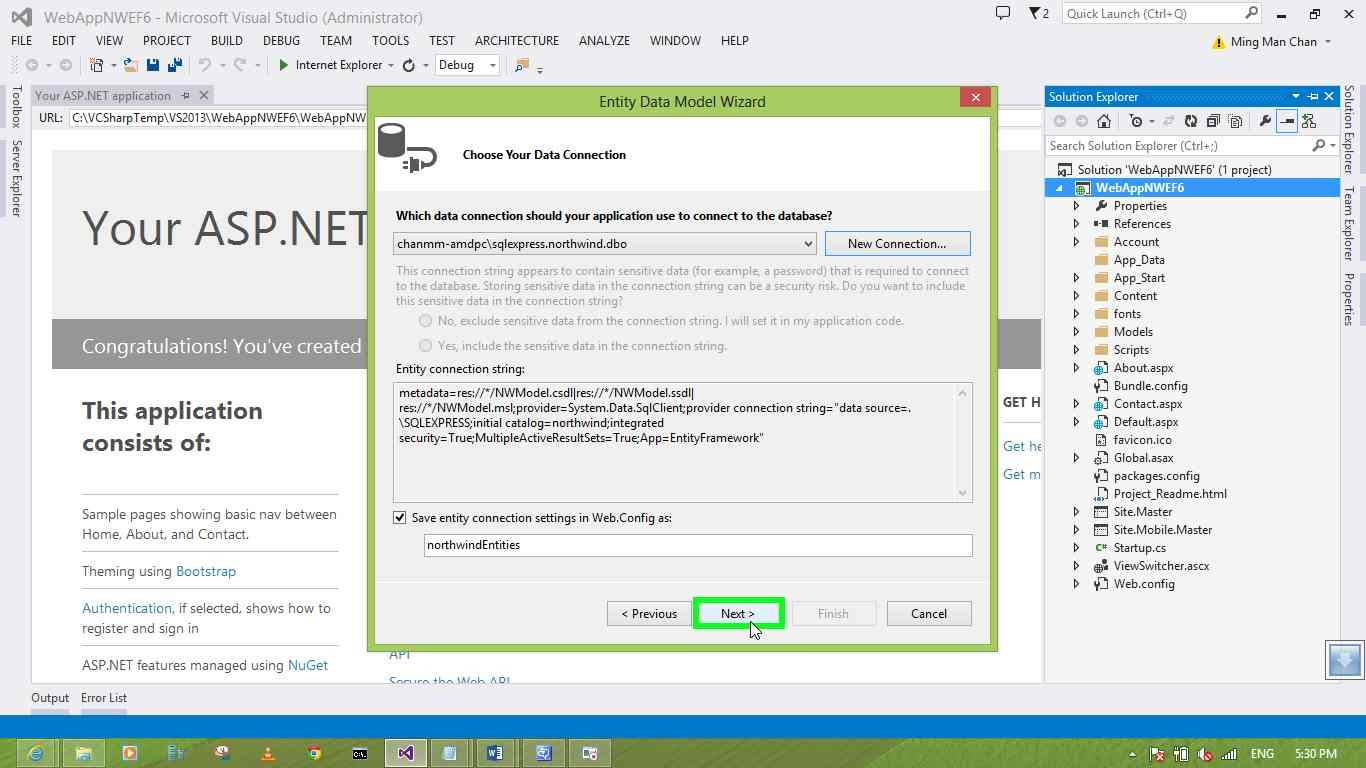
15. Click on Which data connection should your application use to connect to the database? (combo box) in Entity Data Model Wizard.
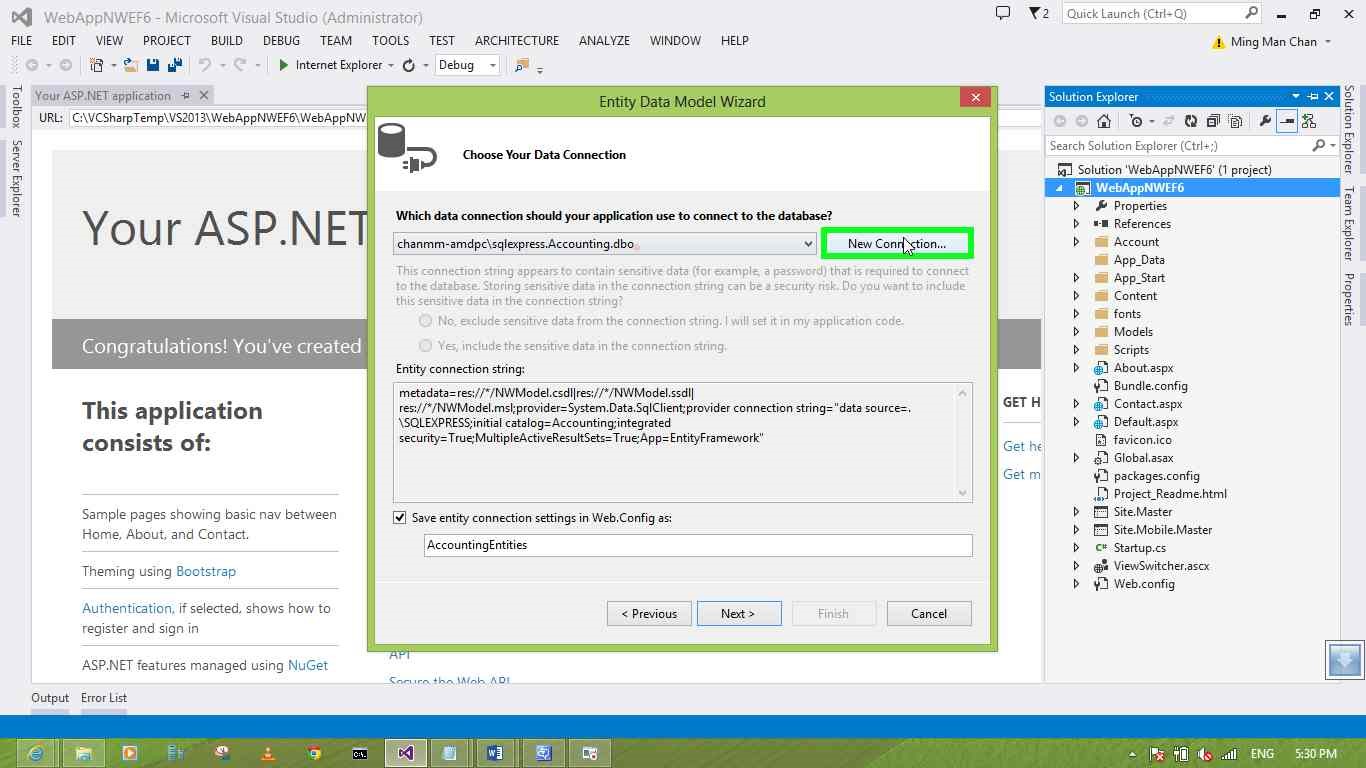
16. Click on New Connection... button in Entity Data Model Wizard.
17. Type on Server name: in "Connection Properties" for example, .\SQLEXPRESS
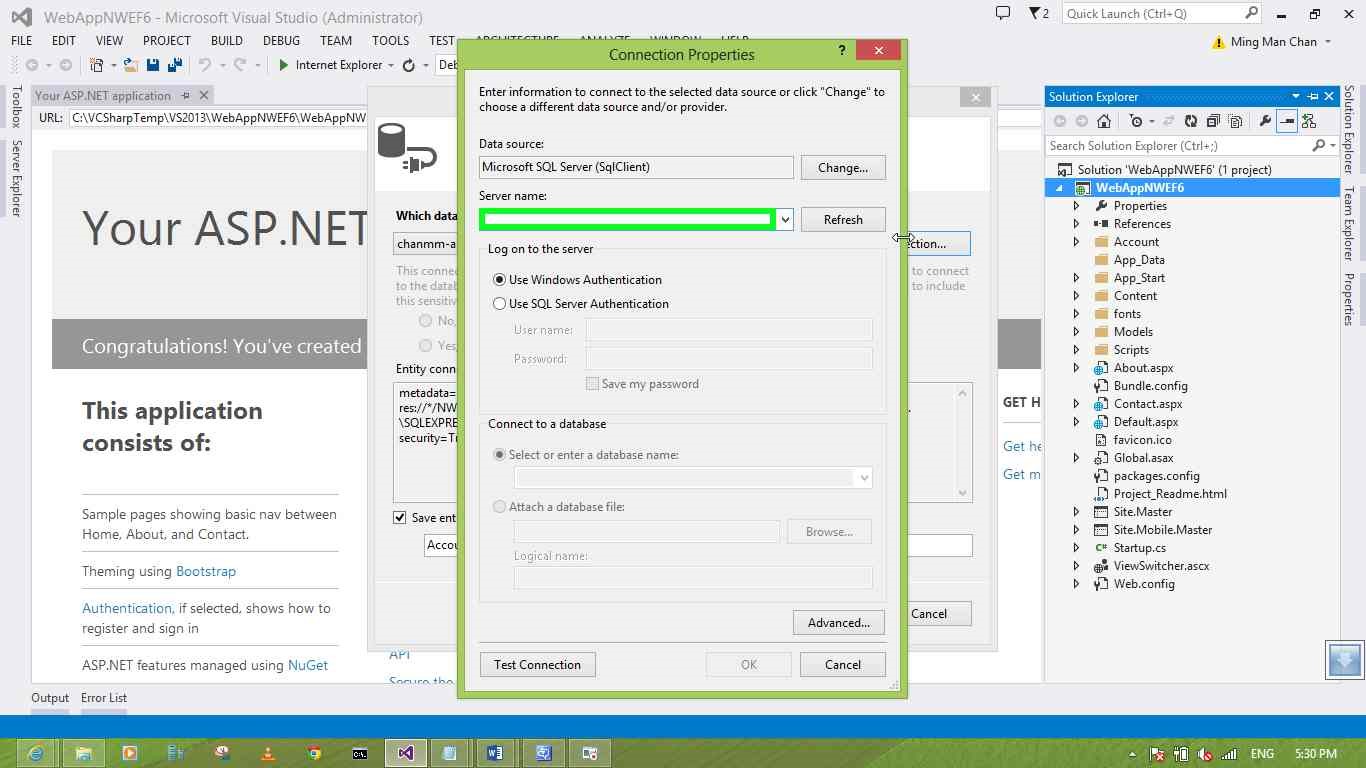
18. Click on Open button in "Connection Properties".
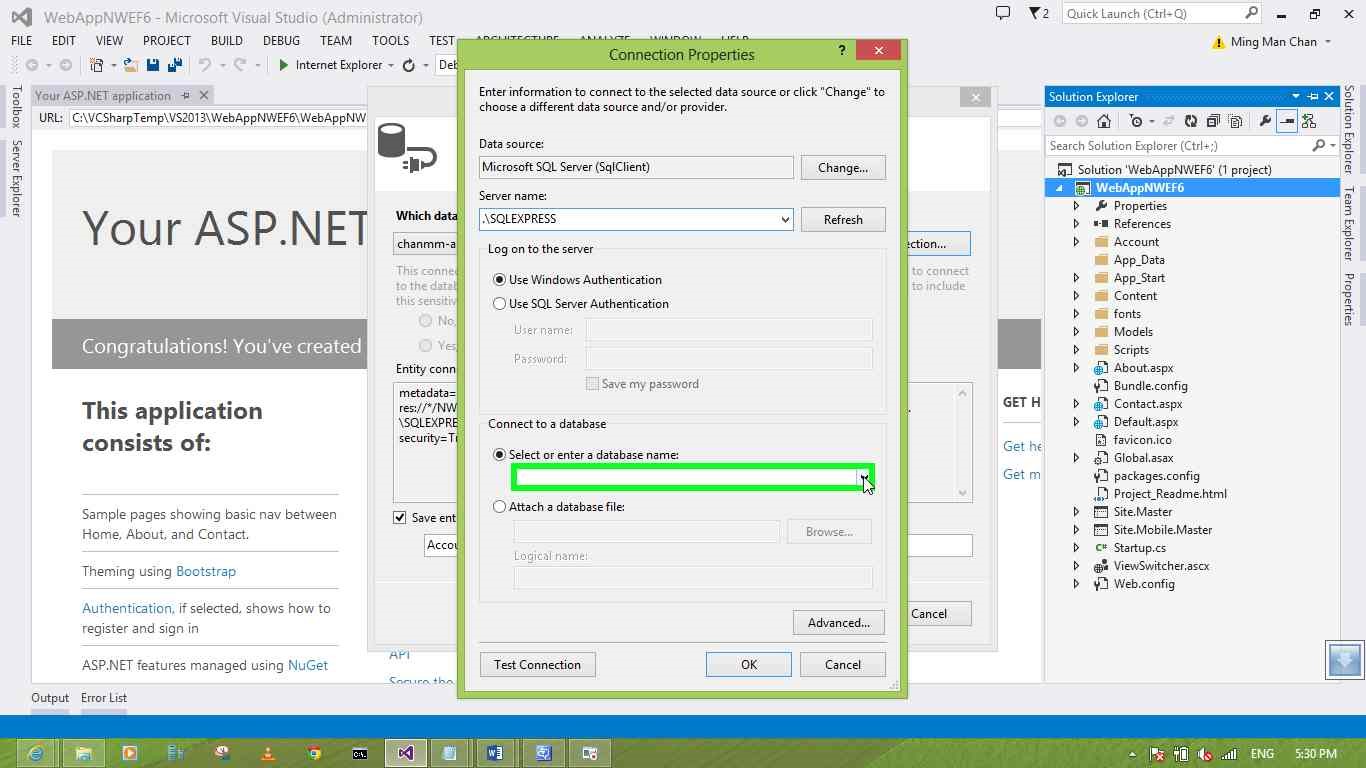
19. In this sample you can click on northwind in list item.
20. Click on OK button in "Connection Properties".
21. Click on Next > button in Entity Data Model Wizard.
22. Click on "Tables (tree item)" in Entity Data Model Wizard.
23. Click on dbo (tree item) in Entity Data Model Wizard.
24. Select the Products table.
25. Click on Finish button in Entity Data Model Wizard.
The ADO.NET Entity Model is now created.
26. Click on Build menu item to build your project.
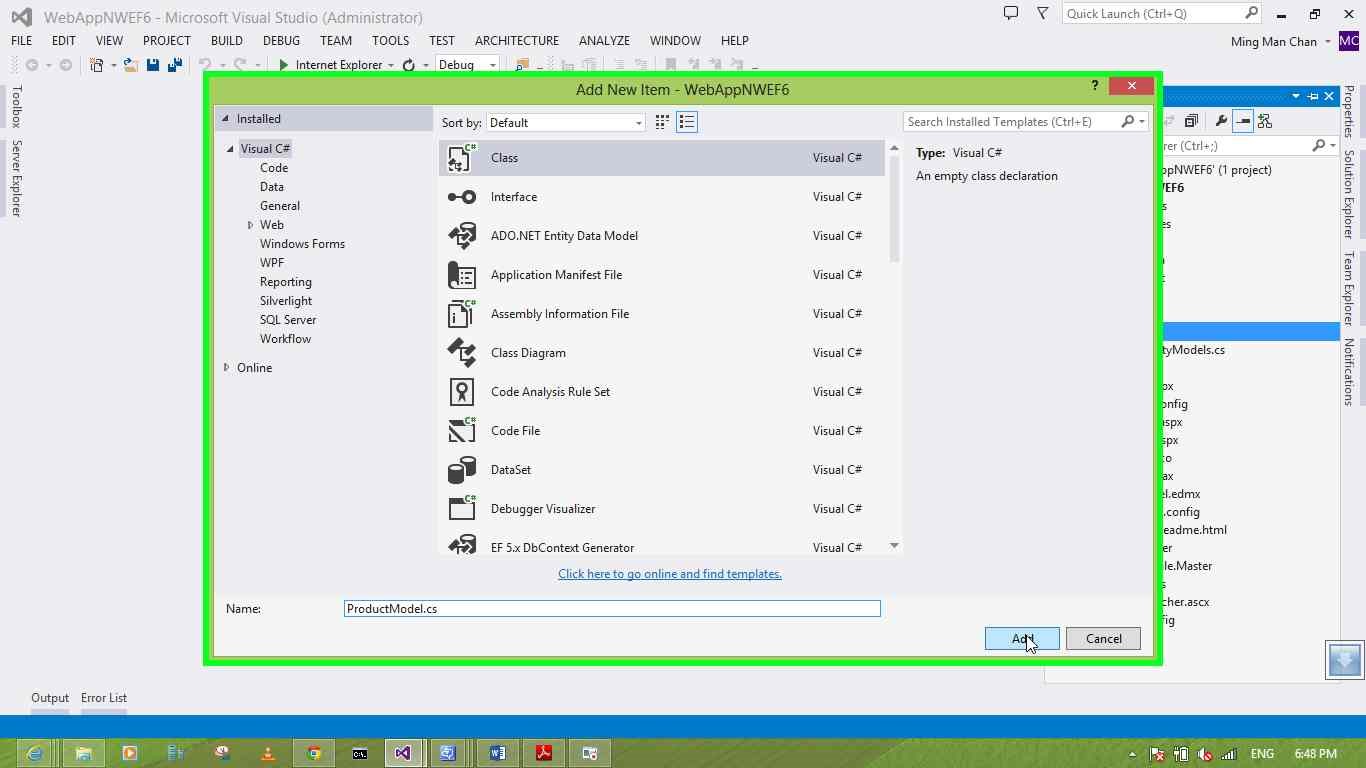
- Right click on Model.
- Select Add -> Class… menu item.
- Type in the class name for example, ProductModel.cs. Click Add.
Add a model class for Object Data Source binding
The class is created as follow.
using System;
using System.Collections.Generic;
using System.Linq;
using System.Web;
namespace WebAppNWEF6.Models
{
public class ProductModel
{
}
}
We will now add the Select, Update, Insert, and Delete method into the class.
using System;
using System.Collections.Generic;
using System.Linq;
using System.Web;
namespace WebAppNWEF6.Models
{
public class ProductModel
{
//Declare the context
static northwindEntities ctx = new northwindEntities();
//Method to retrieve all the records
public static IEnumerable<Product> GetAllProducts()
{
var result = from r in ctx.Products select r;
return result;
}
//Add record
public static void AddProduct(Product product)
{
ctx.Products.Add(product);
ctx.SaveChanges();
}
//Update record
public static void UpdateProduct(Product product)
{
var result = from r in ctx.Products where r.ProductID == product.ProductID select r;
result.FirstOrDefault().ProductName = product.ProductName;
result.FirstOrDefault().Discontinued = product.Discontinued;
ctx.SaveChanges();
}
//Delete record
public static void DeleteProduct(Product product)
{
var result = from r in ctx.Products where r.ProductID == product.ProductID select r;
ctx.Products.Remove(result.FirstOrDefault());
ctx.SaveChanges();
}
}
}
Add Webform and ListView
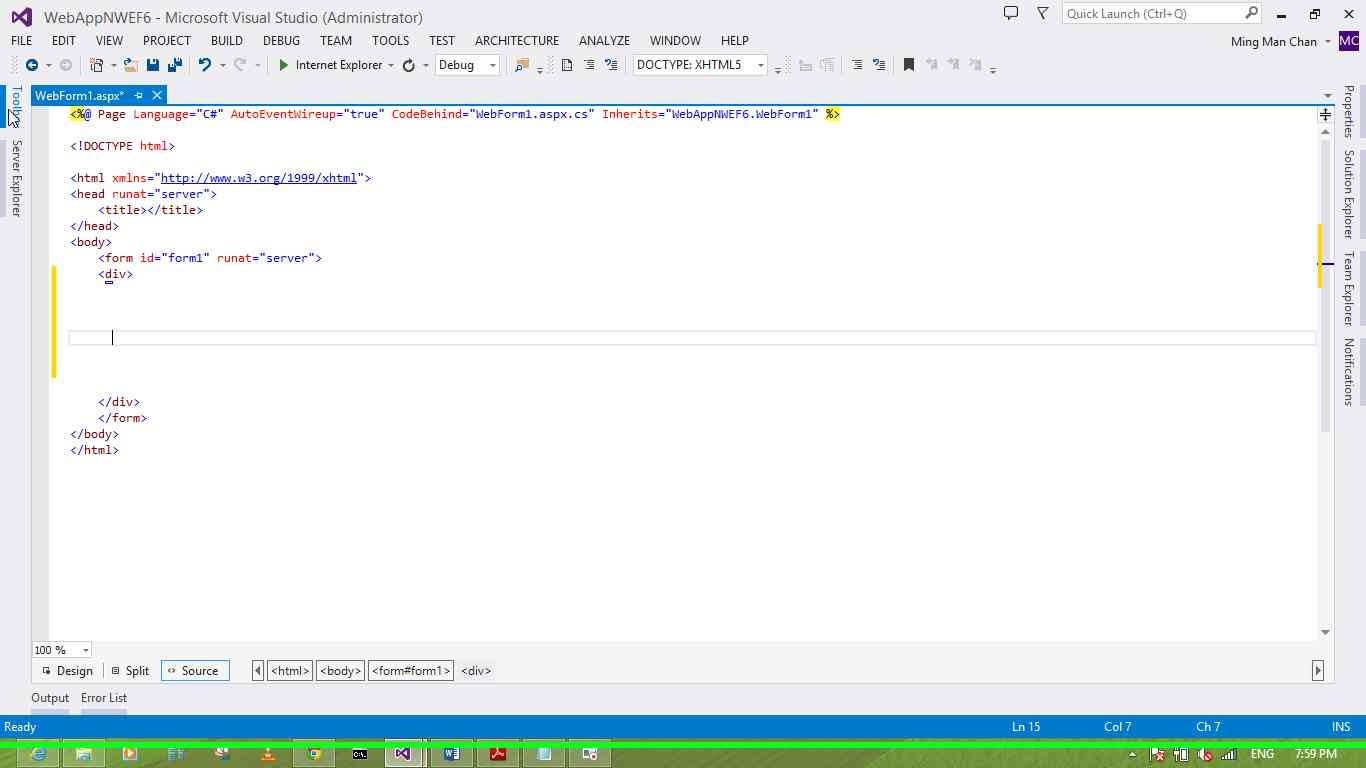
- Right click on WebAppNWEF6 (tree view item).
- Select Add -> Web Form.
- Leave the name as default Webform1.
4. Click OK.
5. Click on the Toolbox.
6. Go to the Data section. Select the ListView.
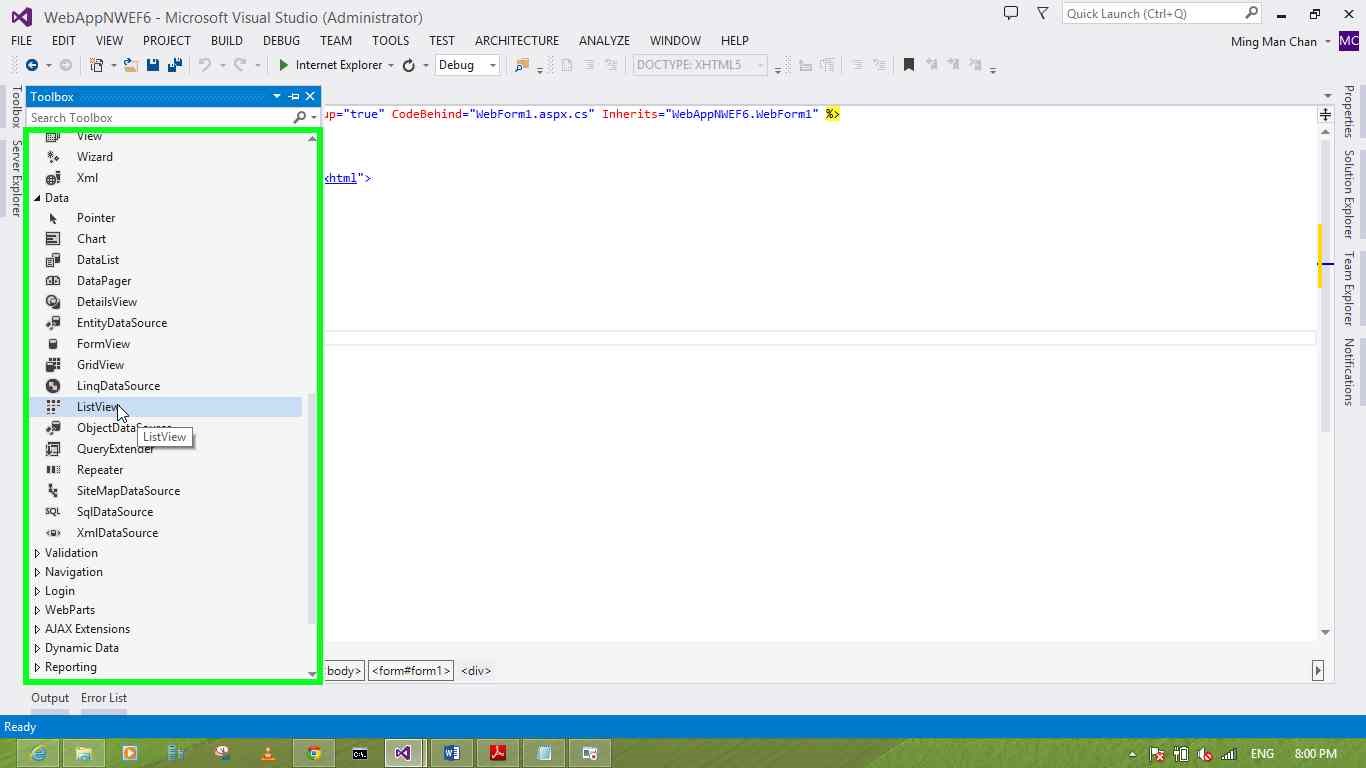
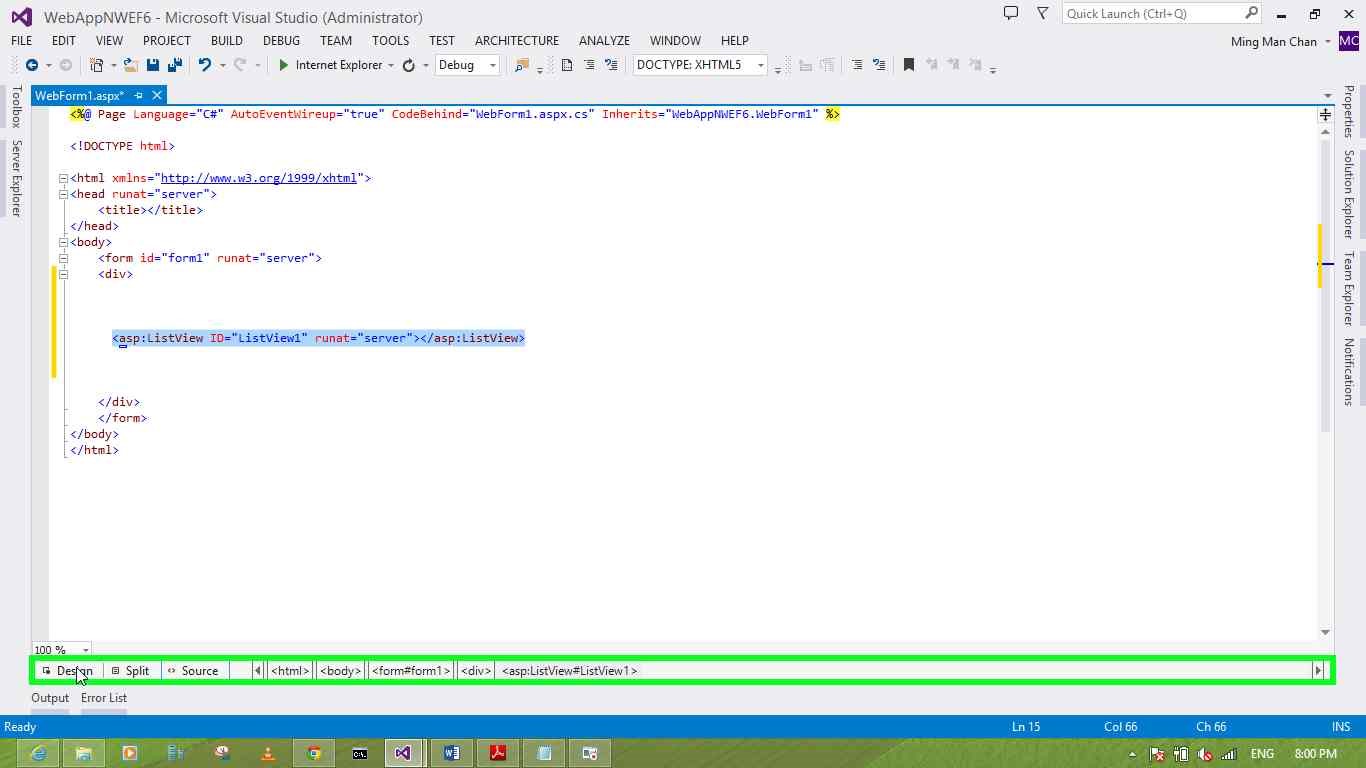
7. Drag the ListView to in between the <div> tag in Webform1 Web Form.
Add and configure Object Data Source and ListView
- Click on Choose Data Source: (split button) in ListView Tasks in the Design view.
- Click on <New data source...> list item.
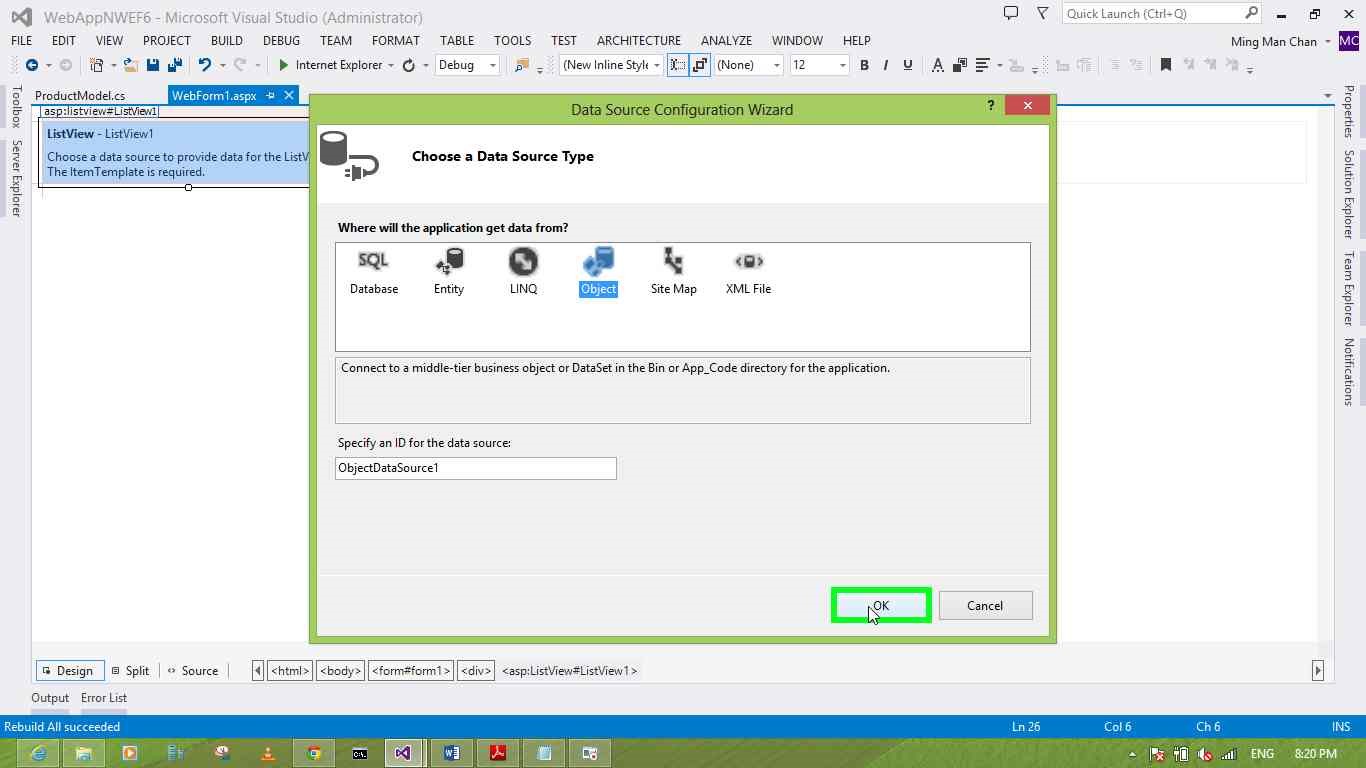
- Click on Object (list item) in Data Source Configuration Wizard.
- Leave the name as default ObjectDataSource1. Click on OK (button).
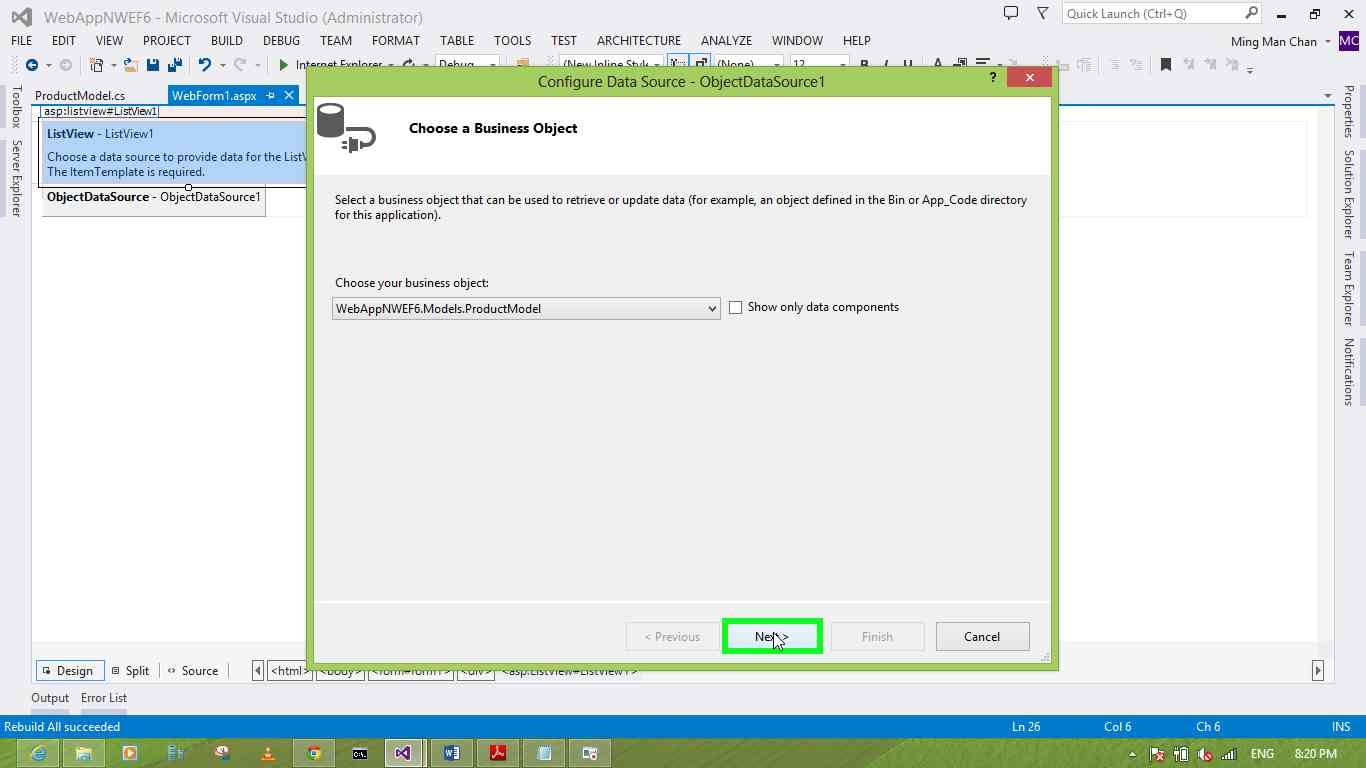
5. Click on Open (button) in Configure Data Source - ObjectDataSource1.
6. Select WebAppNWEF6.Models.ProductModel in list item.

7. Click on Next > button in Configure Data Source - ObjectDataSource1.
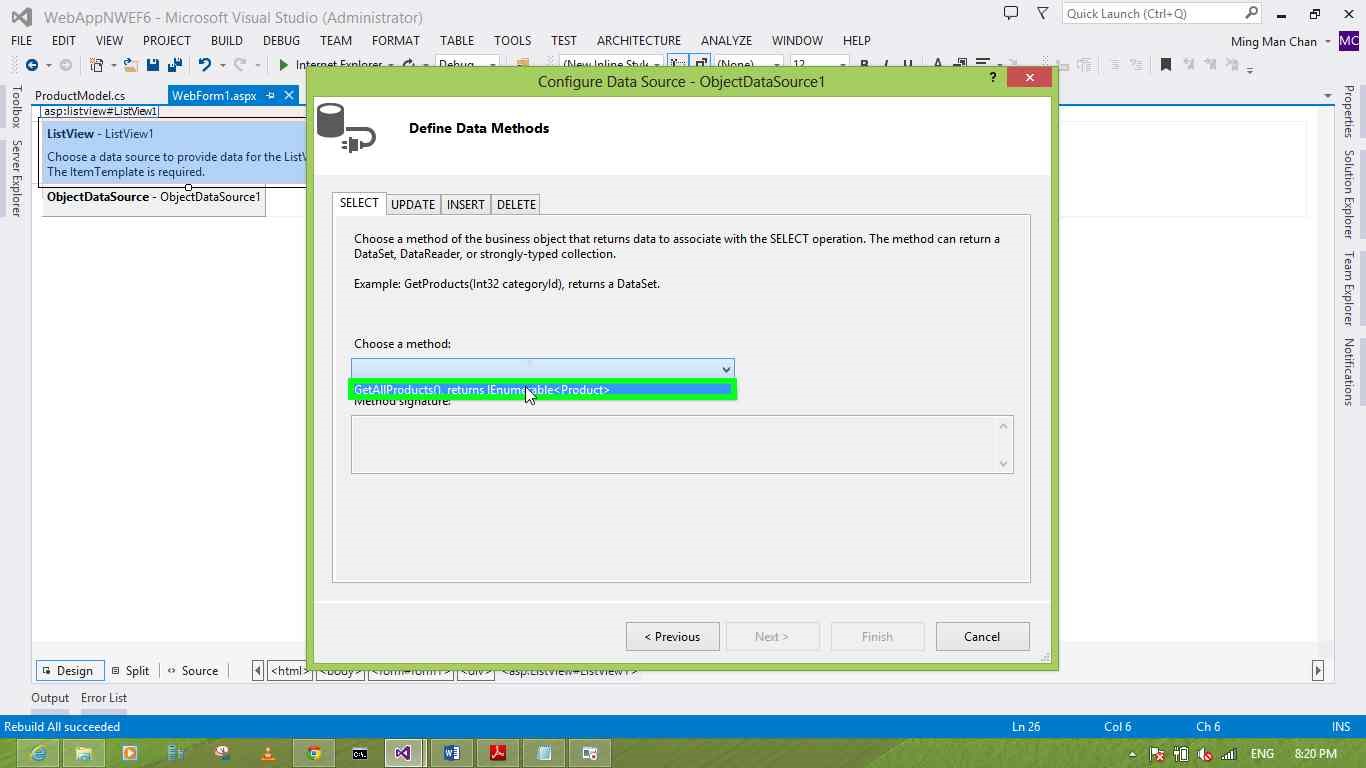
8. Click Choose a method list item in Configure Data Source - ObjectDataSource1.
9. Select GetAllProducts() returns IEnumerable<Product>.
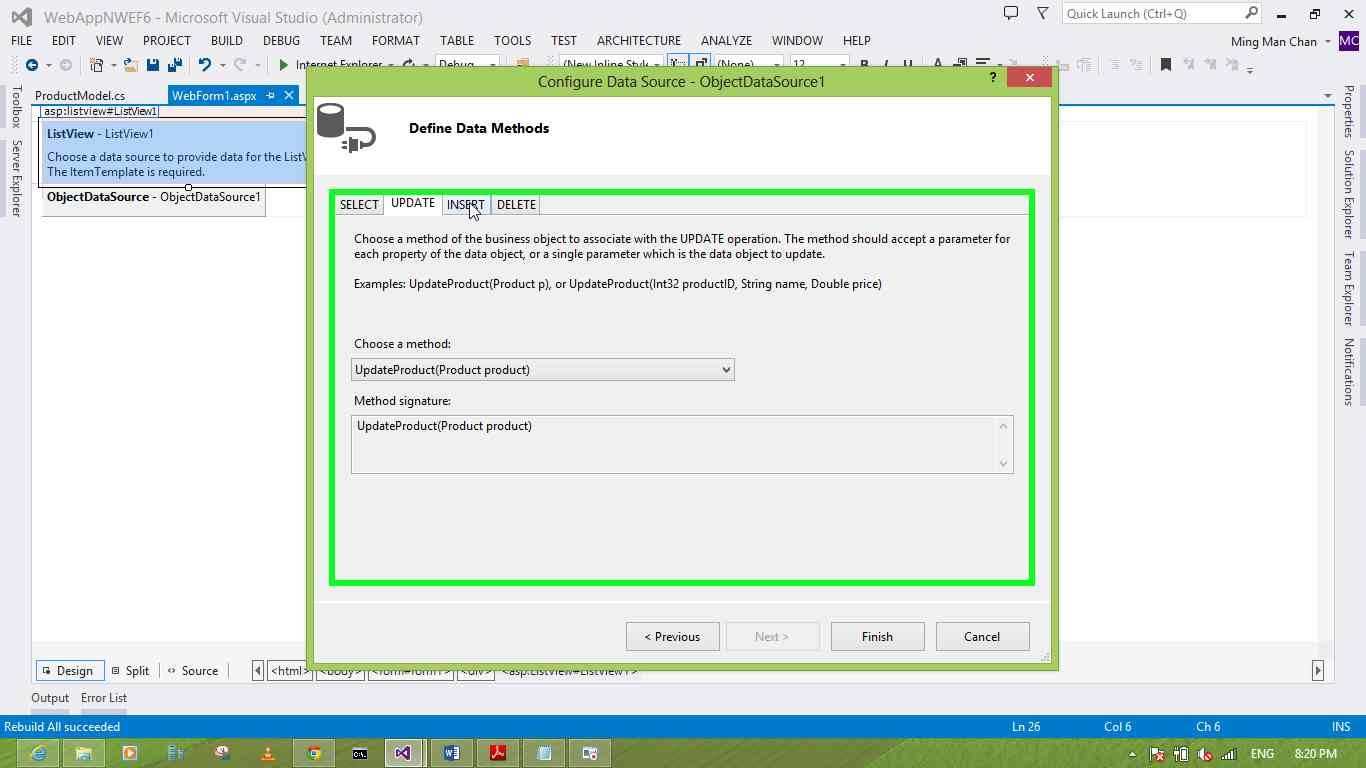
10. Click on UPDATE tab item in Configure Data Source - ObjectDataSource1.
11. Select UpdateProduct(Product product) in Choose a method list item.
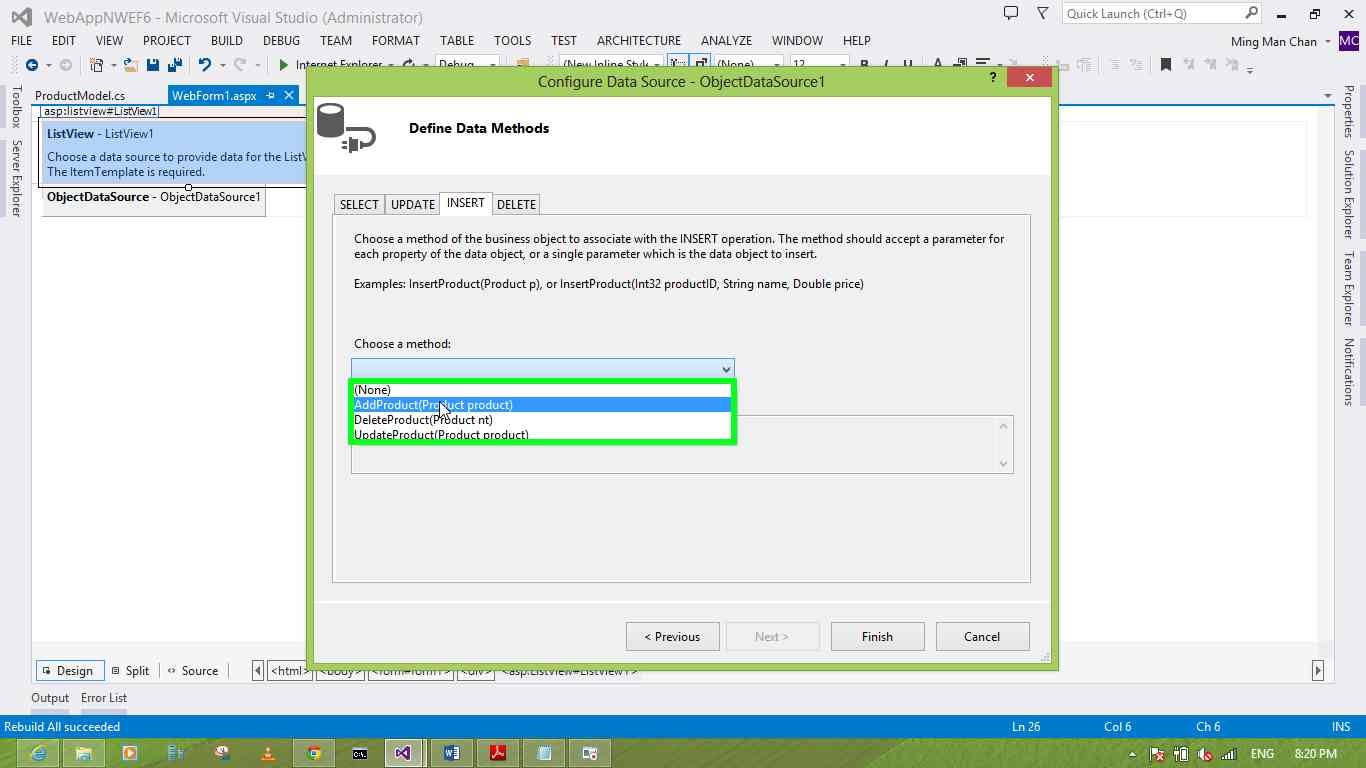
12. Click on INSERT tab item in Configure Data Source - ObjectDataSource1.
13. Select AddProduct(Product product) in Choose a method list item.
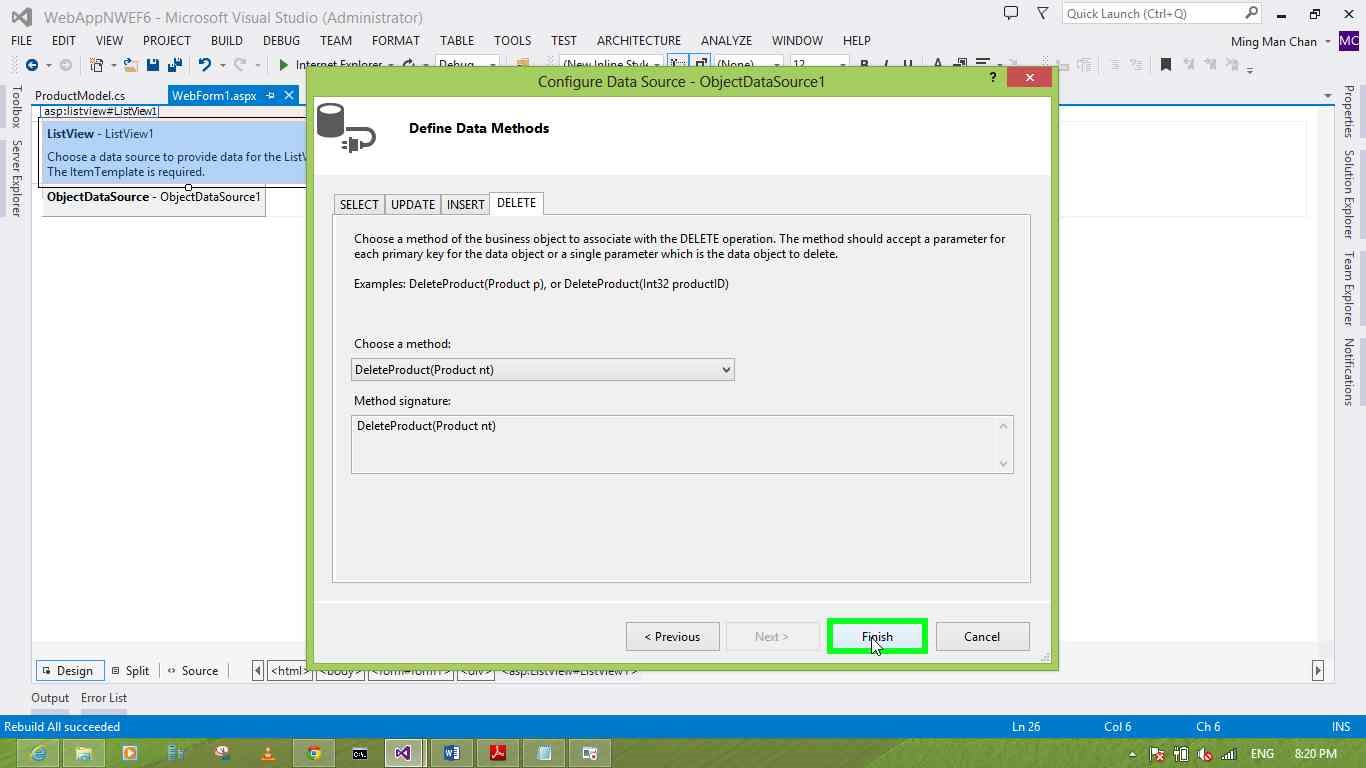
14. Click on DELETE tab item in Configure Data Source - ObjectDataSource1.
15. Select DeleteProduct(Product product) in Choose a method list item.
16. Click on Finish button in Configure Data Source - ObjectDataSource1.
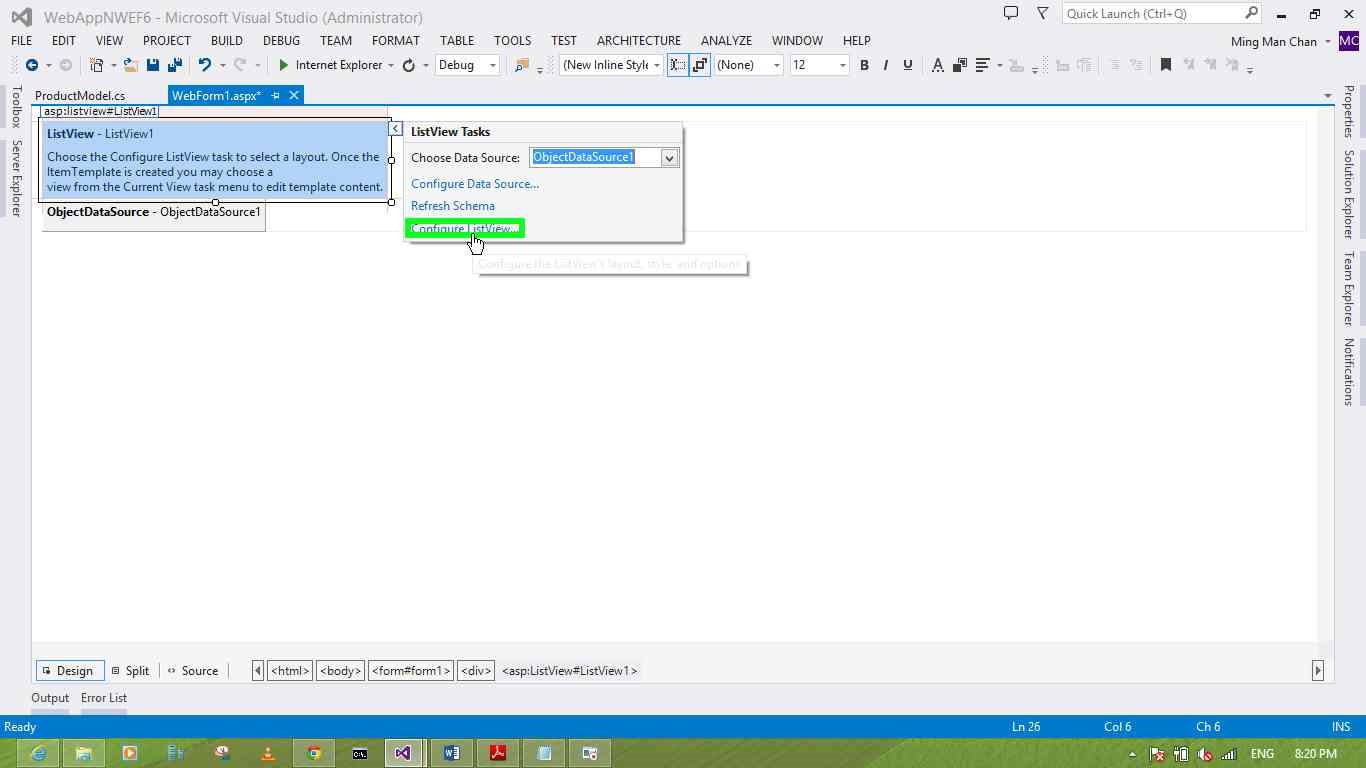
17. Click on Configure ListView... (link) in ListView Tasks.
18. Click on Enable Editing, Enable Inserting, and Enable Deleting (check box) in Configure ListView.
19. Click on Colorful (list item) in Configure ListView.
20. Click on OK (button) in Configure ListView.

Basically all set but do not forget to add the DataKeyNames in the ListView. The DataKetNames that we use for the sample is ProductID, the primary key of the table. The html tag for ListView will look as follow.
<asp:ListView ID="ListView1" runat="server" DataSourceID="ObjectDataSource1" InsertItemPosition="LastItem" DataKeyNames="ProductID">
You can now run the project to try the Wenform1 that you have just created
About the author

Ming Man is Microsoft MVP since year 2006. He is a software development manager for a multinational company. With 25 years of experience in the IT field, he has developed system using Clipper, COBOL, VB5, VB6, VB.NET, Java and C #. He has been using Visual Studio (.NET) since the Beta back in year 2000. He and the team have developed many projects using .NET platform such as SCM, and HR based applications. He is familiar with the N-Tier design of business application and is also an expert with database experience in MS SQL, Oracle and AS 400. Additionally you can read Ming’s Channingham’s blog.
About MVP Monday
The MVP Monday Series is created by Melissa Travers. In this series we work to provide readers with a guest post from an MVP every Monday. Melissa is a Community Program Manager, formerly known as MVP Lead, for Messaging and Collaboration (Exchange, Lync, Office 365 and SharePoint) and Microsoft Dynamics in the US. She began her career at Microsoft as an Exchange Support Engineer and has been working with the technical community in some capacity for almost a decade. In her spare time she enjoys going to the gym, shopping for handbags, watching period and fantasy dramas, and spending time with her children and miniature Dachshund. Melissa lives in North Carolina and works out of the Microsoft Charlotte office.