Facebook Prerequisites for Windows Store Apps
Welcome to a new episode of the Windows Store App Development blog!
I’m Christophe Nasarre and with my Italian collegue, GianLuca Bertelli, we are starting a short series about how to access Facebook services in Windows Store Apps. Today, I’m introducing the prerequisites of a Facebook connected App development. Gianluca will present the arcana of login and OAuth mechanism and the next episodes will cover different services such as photo access. But let’s start now with the prerequisites.
Usual App association
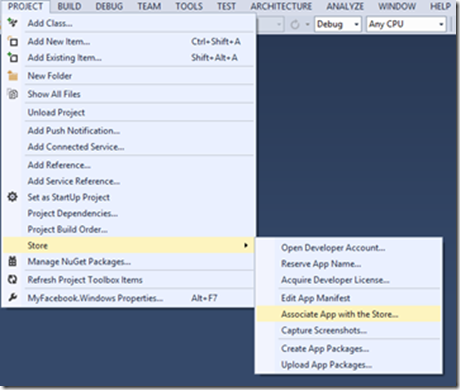
First, you need to register your application name in the Windows Developer portal, go to the Submit an app link and give it a name. It is now time to create your Windows Store App in Visual Studio. Once it is done, bind it with the Store through the Project | Store related menu entry
It will associate you as the publisher and update package information of the manifest with the Store information. Select your app in the Store and click Next and validate with the Associate button in the final step.
Get your Windows Store App Package SID from the Microsoft Account Developer Center | Services section
and go to the Live Services Site.
Next, select the “API Settings” section to get access to the “Package SID”
You will need to associate it to a Facebook application
The Facebook side of the story
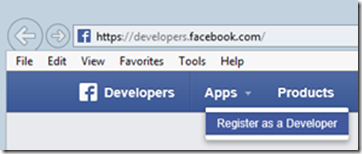
Now that your App is known in the Windows Store, you need to do the same for Facebook. Go to https://developers.facebook.com/ and register if you don’t have an account yet.
You will need to provide a phone number to get the confirmation code.
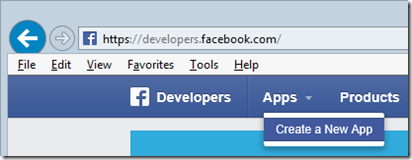
Next, go to https://developers.facebook.com/ and create an App
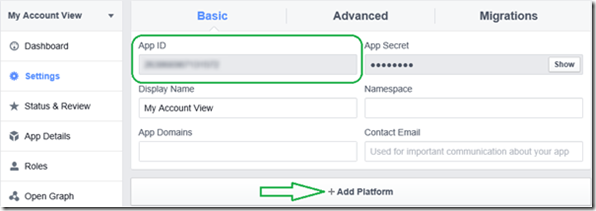
And get its “App ID” from the Settings section
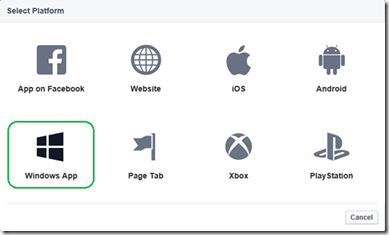
You will need this “App ID” in your Windows Store App code later. But first, add a platform
and enter your “Package ID” in the Windows Store ID field
but without the “ms-app://” prefix
Don’t forget to use the “Save Changes” but to validate your updates
You are now ready to start coding and GianLuca will show you the first step in the next episode: how to authenticate.
