HOWTO: How to loop through proxyAddresses and update the primary SMTP
The purpose of this document is to provide an illustration of how to setup a Management Agent Rules Extension to loop through the list of proxyAddresses and based on the mail suffix set/change the Primary SMTP address.
| Disclaimer |
| This document is an illustration. It is highly recommended to test this in a test environment prior to implementing into production. You want to test in a test environment to be able to understand how this illustration will fit into your environment and ensure that all your business rules are met. |
In this illustration I will utilize the following:
- Two Active Directory Management Agents with a minimal set of attributes
- Attributes will be minimal along with proxyAddresses
- No provisioning only projection and join
- One way flow
- Management Agent Rules Extension (C#)
In this illustration I will be using two Active Directory Management Agents. If you do not have your Active Directory Management Agents already created, you will need to create them prior to proceeding with the document.
We will follow the following outline of steps:
- Create the Management Agent Rules Extension
- Update Source Active Directory Management Agent
- Update Target Active Directory Management Agent
- Visual Studio Solution – Add the code
- Visual Studio Solution – Build the Solution
- Visual Studio Solution – Copy the DLL
- Additional Information
Create Management Agent Rules Extension
Here we will walk through the steps to create a Management Agent Rules Extension. The Management Agent Rules Extension will be where we read and update the proxyAddresses attribute as it flows through the Synchronization Service Engine.
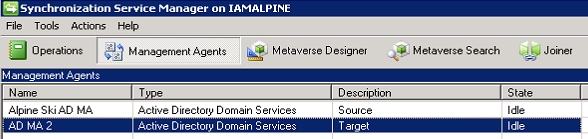
- Open the Synchronization Service Manager Console and select Management Agents
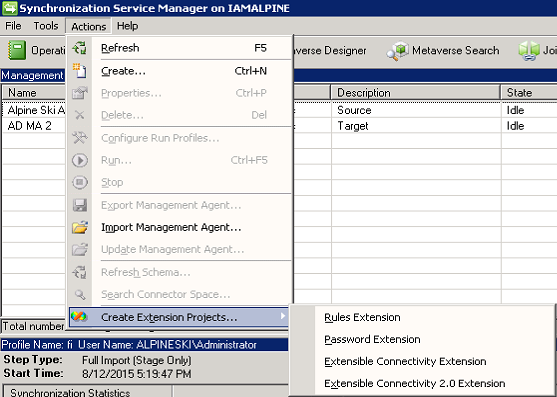
- From the Actions menu select Create Extension Projects > Rules Extension
- Create Extension Project Window
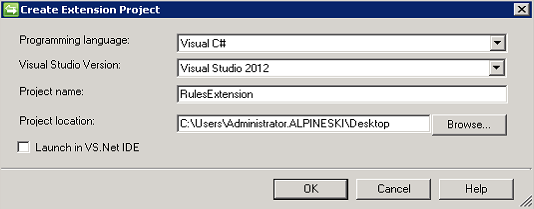
- Programming Language: Visual Basic or Visual C#
- Visual Studio Version: Choose your version of Visual Studio
- Project Name: Name of your Management Agent Extension
(For this illustration I am going to use the default RulesExtension) - Project Location: where do you want to store the source code for this Rules Extension
- Launch in VS.NET IDE: Default is checked. Recommend to uncheck and open manually in Visual Studio
- Once complete, click ok
Update Source Active Directory Management Agent
The source Active Directory Management Agent is where the object will start in the object flow.
- Open the Synchronization Service Manager Console and select Management Agents
- Select the Source Active Directory Management Agent
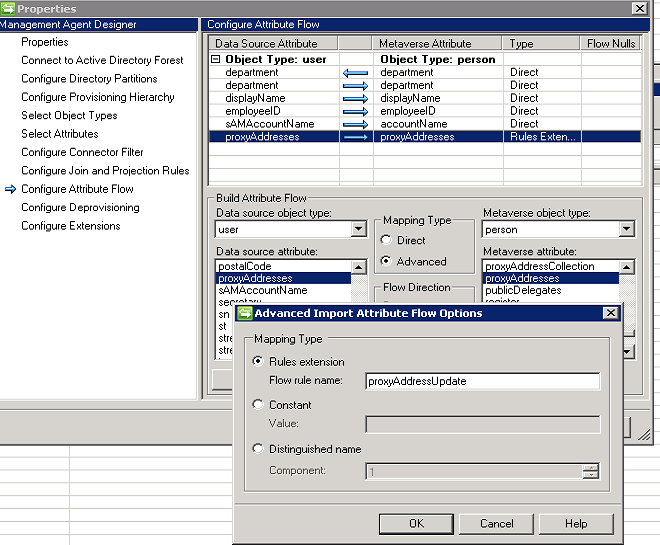
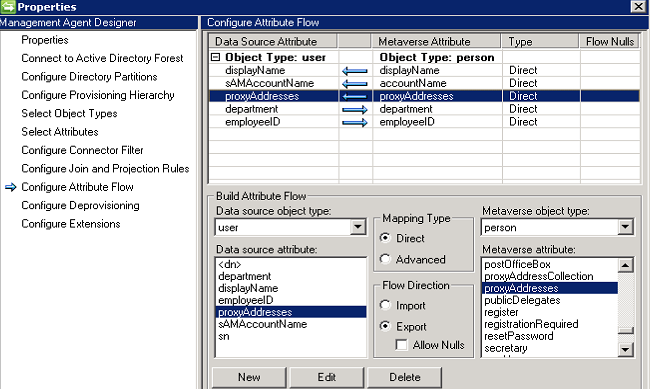
- From the Actions menu, select Properties and go to Configure Attribute Flow
- proxyAddresses attribute flow
- Mapping Type: Rules Extension
| Note : Recommend using a unique, easy to find Flow Rule Name. In this illustration I am using “proxyAddressUpdate” |
b. Flow Direction: Import Attribute Flow
5. Click Ok to go back to the Management Agent Properties Window
6. Select Configure Extensions and update the Rules Extension Name with the name of your DLL (The name of your project “.DLL”)
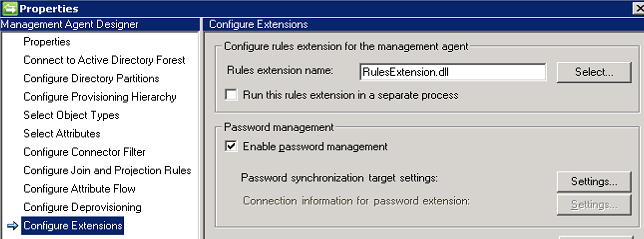
7. Once updated, click Ok until you are back at the Synchronization Service Manager Console
Update Target Active Directory Management Agent
- Open the Synchronization Service Manager Console and select Management Agents
- Select the Target Active Directory Management Agent
- From the Actions menu, select Properties and go to Configure Attribute Flow
- proxyAddresses attribute flow
- Mapping Type: Direct
- Flow Direction: Export Attribute Flow
- Once updated, click Ok until you are
back at the Synchronization Service Manager Console
Rules Extension – Visual Studio Solution
It is recommended that you have Visual Studio on the Synchronization Service Manager Console, as it makes debugging easier if needed.
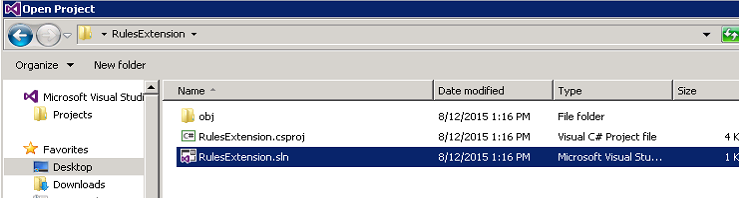
- Open the Microsoft Visual Studio Solution by navigating where you saved the solution and double click on the SLN file. (SLN file = Visual Studio Solution File)
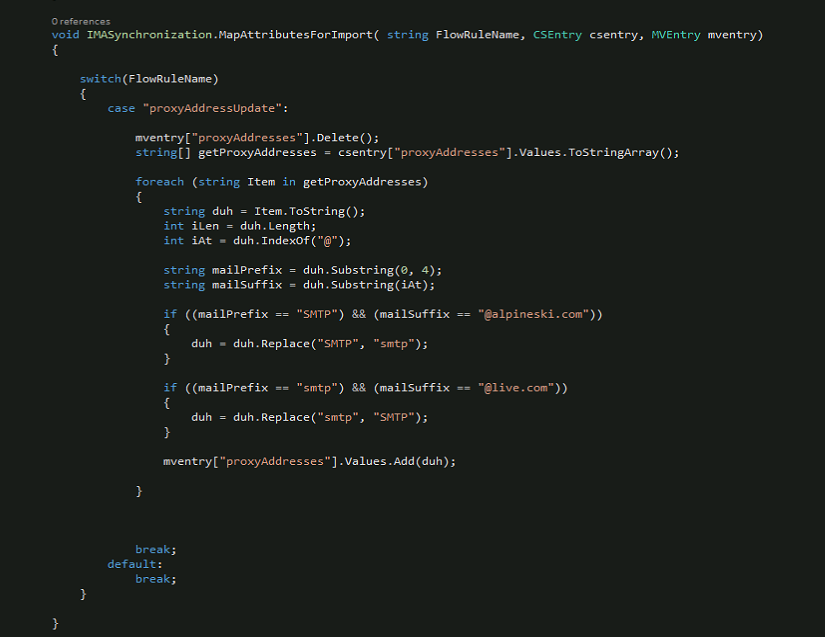
- Locate the function void IMASynchronization.MapAttributesForImport.
- We are using MapAttributesForImport so that the new values for the proxyAddresses attribute will be in the Metaverse Object. Below you will find an example of the code utilized to review the proxyAddresses and change the primary SMTP based on mail suffix.
- We are using MapAttributesForImport so that the new values for the proxyAddresses attribute will be in the Metaverse Object. Below you will find an example of the code utilized to review the proxyAddresses and change the primary SMTP based on mail suffix.
Rules Extension – Build Visual Studio Solution
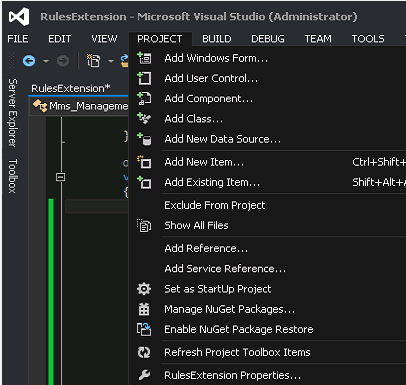
- From the Project Menu select RulesExtension Properties ( this would be the name of your rules extension project )
2. Select Build and then click Browse beside Output Path
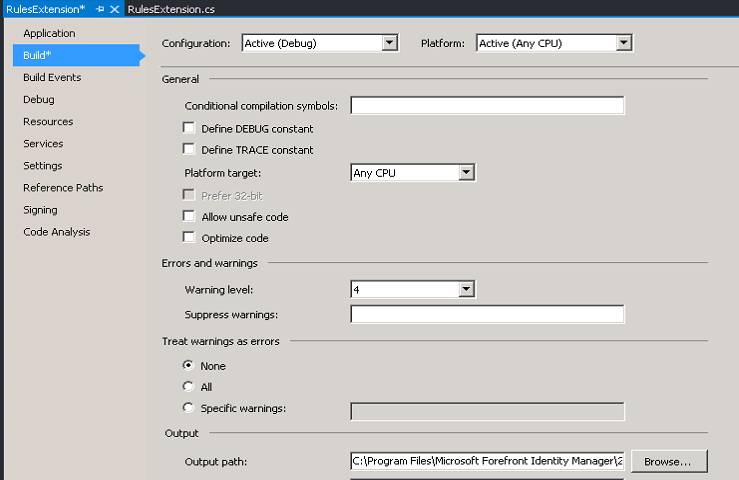
3. By default, this will take you to the Extensions folder. Here, create a new folder called New Rules Extension.
| Note: If you already have a build path, simply create a folder for your new compiled project |
4. Double click on the new folder and then click the Select Folder button in the lower right
5. From the Build menu select Build Solution

Rules Extension – Copy the DLL to the Extensions Folder
- Navigate to the %programfiles%\Microsoft Forefront Identity Manager\2010\Synchronization Service\Extensions folder
- Create a new folder called Rules Extension Backup
- It is always important to back up your existing rules extension. If you were to have a problem with a new DLL then you will be able to rollback fairly easily.
- Copy the Existing DLL, if you have one, to the Rules Extension Backup folder
- Copy the New DLL from the New Rules Extension Folder that you created in the previous section to the Extensions folder.
- Now you are ready to test
Additional Information / Resources
- How to create a Management Agent Rules Extension: https://msdn.microsoft.com/en-us/library/windows/desktop/ms695365%28v=vs.100%29.aspx