SharePoint 2010 User Profile Service: Part 1a Configuration
I wanted to write a series about how to get SharePoint 2010 user profiles service and synchronization scenario working. So this is the first post of this series and I will talk about the configuration alternatives of the user profiles service. The user profile service can be configured either on a single server installation or in a server farm. Although it can be installed on a single server installation this is not the supported production environment scenario.
If you are installing on a server hosting also the domain controller then you have to remember while you initially configure SharePoint to not use the FQDN for the SQL server name. if you do so already you can roll this back by disconnecting the server from the farm and reconnecting it again while giving just the machine name as the SQL server name.
If you are using a named SQL instance then you MUST configure an alias for SQL. To do this we should run the SQL Server Client Network Utility (which is installed on every SharePoint machine).
- Start… Run..
- Type cliconfg and click OK.
- Click TCP/IP and then the Enable >> button.
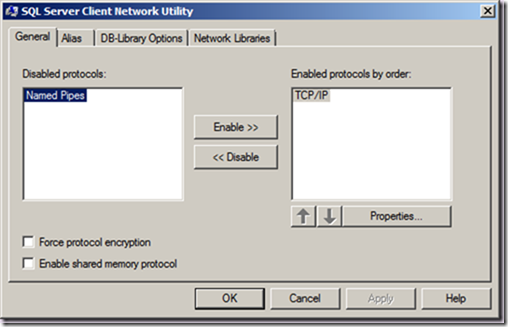
- Click the Alias tab.
- Click the Add button.
- Select the TCP/IP radio button.
- Enter the alias you wish to use (e.g. SHAREPOINT) in the Server alias text box.
- Enter the address of your instance (e.g. SQL1\SHAREPOINT) in the Server name text box.
- Deselect the Dynamically determine port check box.
- Enter the port of your instance (e.g. 1433) in the Port number text box.
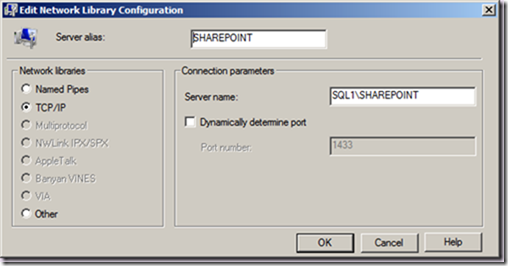
- Click OK to save the alias.
- Click OK to save the configuration and close SQL Server Client Network Utility.
Once we have an alias we can create our farm using it. However there is also another step necessary for reliable startup of the UPS service instance. Basically what happens is that we can provision UPS, but when we restart the machine (for example after patching the box) the UPS services will fail to start. We should configure this before starting the UPS service instance for the first time to avoid the issue completely.
We need to open up network access to the Local DTC on the machine hosting the UPS Service Instance, which is done using the Component Services MMC Snap In:
- Start… Administrative Tools… Component Services.
- Expand Component Services > Computers > My Computer > Distributed Transaction Coordinator.
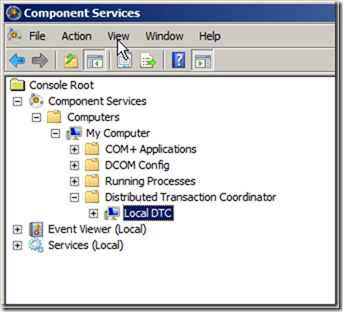
- Right click Local DTC and choose Properties.
- Click the Security tab.
- Check the Network DTC Access check box and the Allow Remote Clients check box.
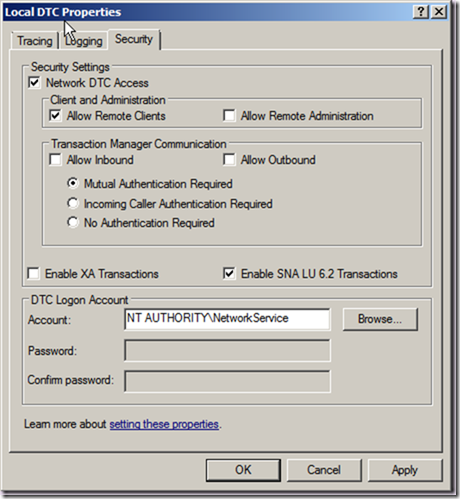
- Click OK.
- You will be prompted to restart MSDTC, click Yes.
Now we can provision UPS and it will start reliably following a machine restart.
First: Single Server Installation
- Logon to the server using the farm account the same account will be used later for the user profiles synchronization service. This account should be a local machine administrator and already have access to SQL server. If you are using the domain administrator as the farm administrator then you jump to step 4.
- Give the account the log on locally right on the server.
- Give the account the replicating directory changes on the domain controller.
- Open the central administration site.
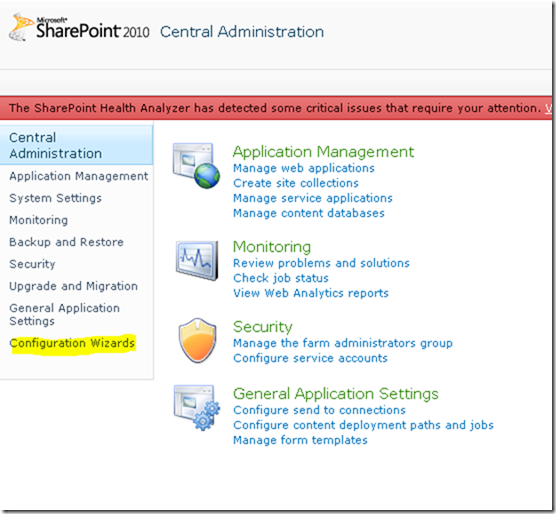
- Now for the farm it is not recommended to use the wizard but for a single server install it can be. Click on the link configuration wizards.
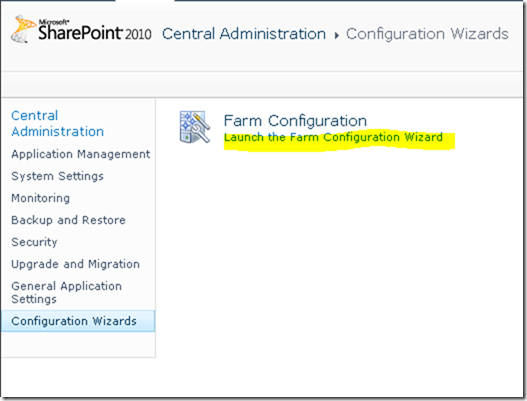
- Click on the link “Launch the farm configuration wizard”.
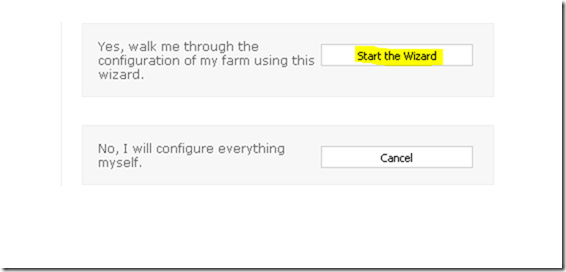
- Click on the button “Start the Wizard”.
- Make sure that the “User Profile Service Application” is selected and make sure you are selecting the managed account you will be using for profile synchronization service later. (The same account you already used to logon to the server in step 1)

- Click “Next”.
- Once this process finishes just click skip for creating the initial site collection. And click “Finish” to complete the Wizard.
- Now the user profile service application is configured but we still need to make sure it is running and then configure the synchronization service.
- Return back to the home screen of the central administration and make sure the UPS is running on the server by clicking the link “Manage services on server”


If it is not started start it by clicking start. - Now while you are on the same screen, start the user profiles synchronization service by clicking start.

- Now you will have to wait and I mean really wait. It might take from 5 minutes and up to 30 minutes to be provisioned and started. You can still monitor that it is running by looking in the running timer jobs for a job called “UserProfileSyncronizationSetup”.
In the next post I will discuss to configure this on a farm.