Deploying Your First Windows Azure App
Last week I talked about how to get started with Windows Azure. In this post I want to take the simple ASP.NET app I’d built and deploy that to the cloud. One of the great things about Windows Azure is all you have to deploy is the app and some configuration information. And in fact, Visual Studio and the Azure Tools do most of the work for you.
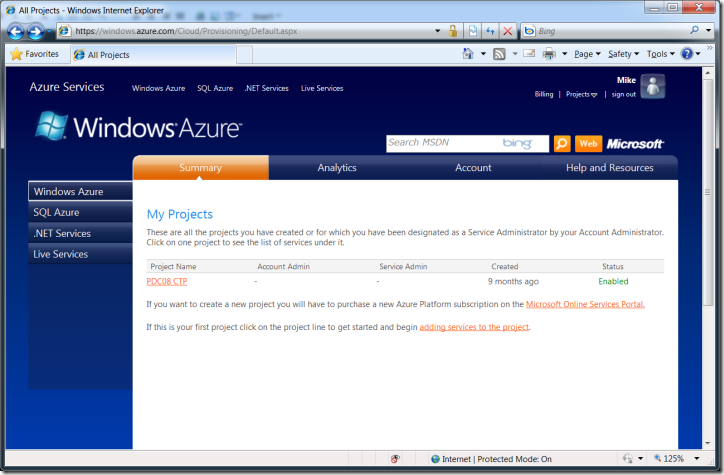
To deploy your application to Windows Azure, you’ll need a spare Hosted Services component (that’s the thing your Windows Azure token gets you – see my getting started post if you don’t have a token). When you’ve redeemed your token and you login to the Azure Portal you should see something like this:
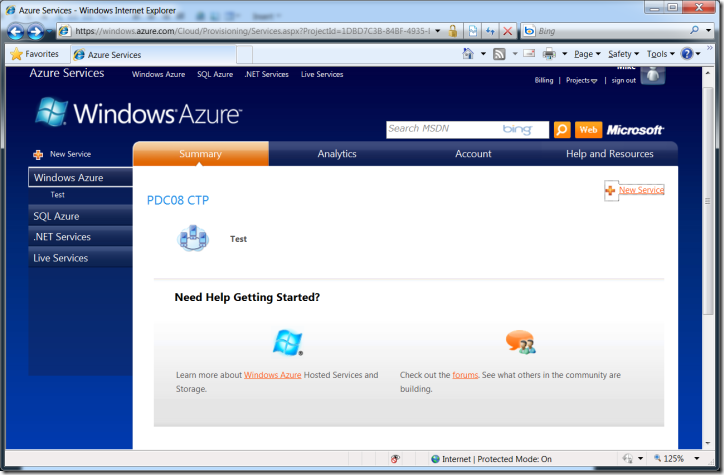
You’ll see I have a project called PDC08 CTP. If I drill through into this I can see the services associated with this project. I already have one set up, a Windows Azure hosted service called, inspirationally, “Test”
If this is the first time you’ve visited the portal, you’ll need to set up your Windows Azure hosted service by clicking on the “New Service” link. Once you’ve got your service set up, you can again drill through to see the service details
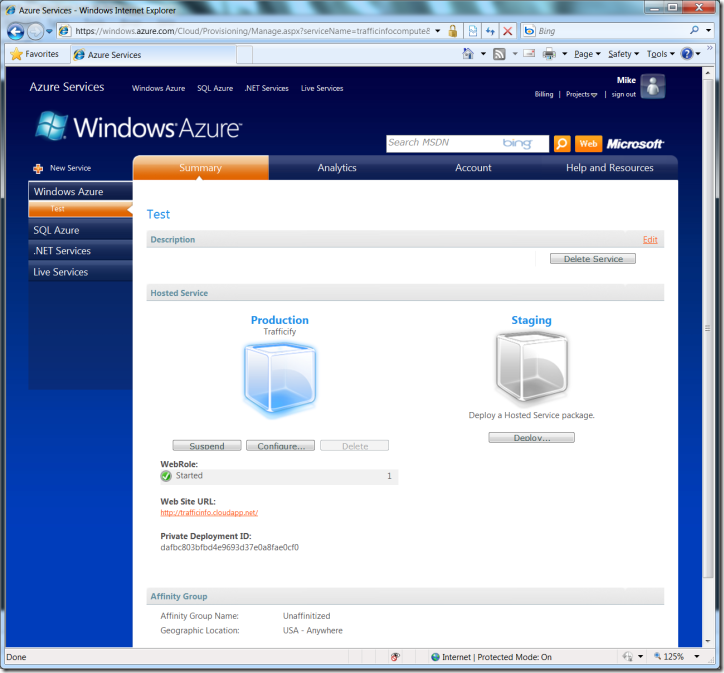
On the left is my production environment, on the right my staging environment (currently nothing deployed to staging – hence the greyness) along with details of the URLs for the app. There are also some details about affinity and location at the bottom but we wont worry about those at this stage.
To deploy to Azure we need both an app package and some configuration settings.
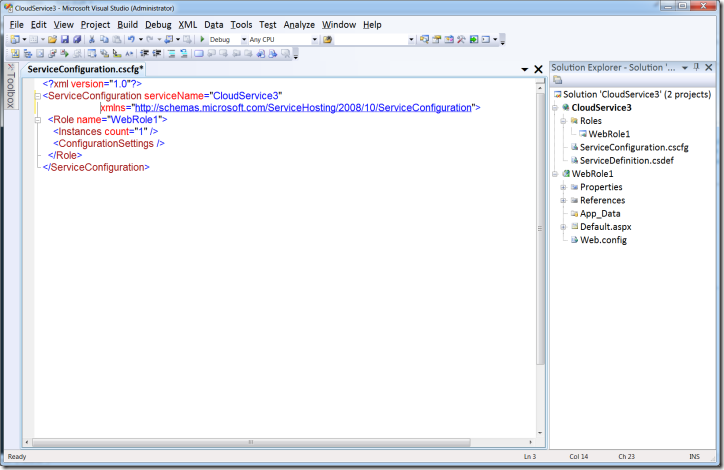
Fortunately Visual Studio can help us with this. A ServiceConfiguration file is created as part of the project. Visual Studio will package this and our application for deployment to Azure.
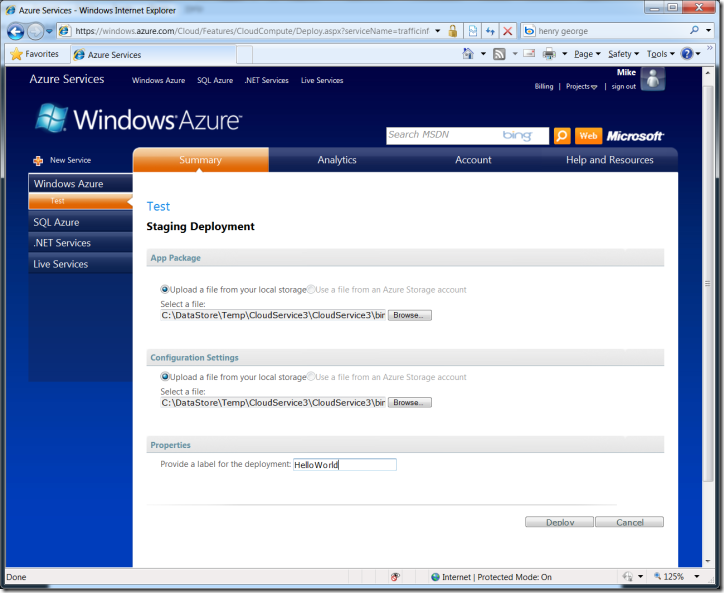
If you hit Publish (Build –> Publish) Visual Studio will open a browser window, navigating it to the Azure Portal and open an Explorer window, path set to the location of the packages app and configuration settings files. Those are the files we need to deploy to Windows Azure.
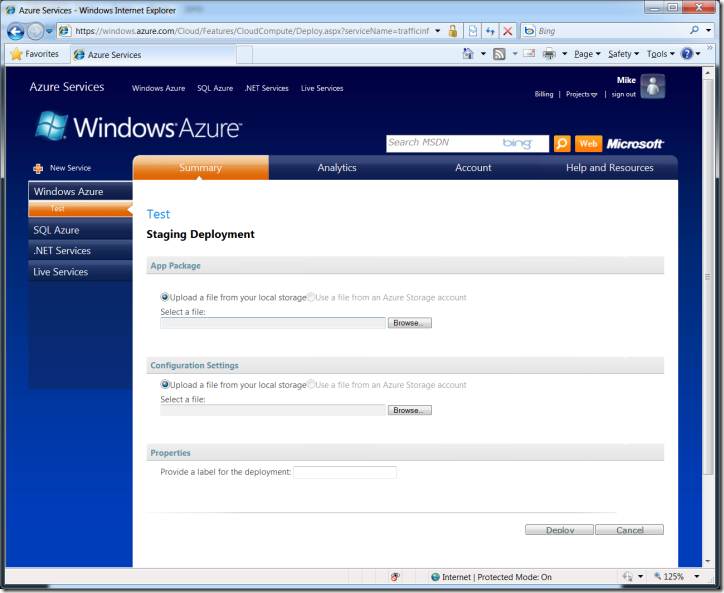
On the deployment page in the Azure Portal, hit the browse button for the app package file, copy and paste the path from the Explorer window Visual Studio opened for you and select the .cspkg file. Then do the same for the configuration settings (seleting the settings file this time), set a name for this deployment and hit the Deploy button.
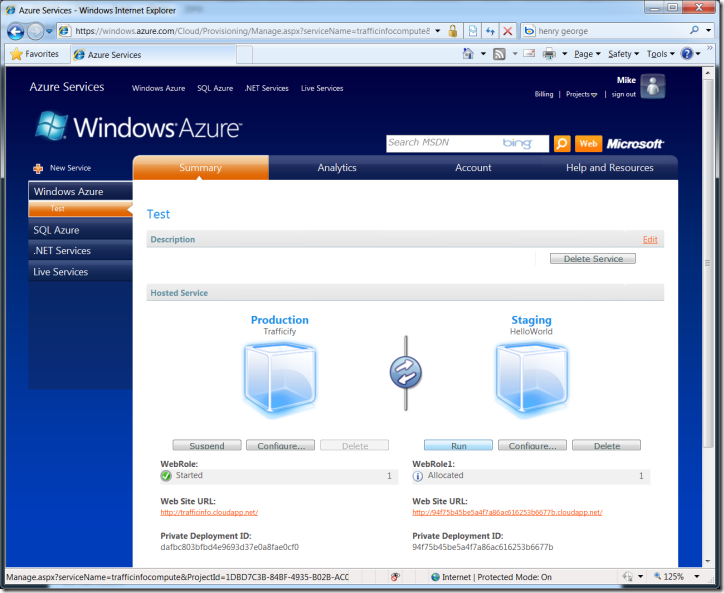
After a short while you’ll be back on the service page and see your staging service being updated with your application. When this process completes, you can start your application on the staging server by hitting the Run button.
Again, there’s a short delay while the app starts after which you’ll be able to click on the staging Web Site URL (the ugly one) and see your application in action (when you see WebRole: Started you’re good to go).
Once you have the app in staging, you can seamlessly deploy to production by clicking on the swirly arrow icon in the middle. This swaps staging and production. The production deployment has a friendly URL.
That’s it. You now have an app running on a virtualised environment in one of the Azure Data Centres.
