.NET Core Angular App with OpenID Connection Implicit Flow Authentication (angular-auth-oidc-client)
The purpose of this blog post is to discuss Azure Active Directory authentication for Angular Single Page Applications (SPAs) generated with the dotnet CLI. The .NET Core 2.1 distribution makes it easy to crate an Agular SPA with a .NET Core backend using a command like:
[shell]
dotnet new angular
[/shell]
However, the generated app does not have any authentication scheme defined and it is not presently possibly to generate a template with authentication enabled. Damien Bowden has created an OpenID Connect Certified angular-auth-oidc-client library that can be used to enable authentication and he has even created a very nice example of how to integrate with the Angular template for Azure Active Directory authentication. There is also a nice blog post about the example.
I have created an updated version of this example, which you can find at: https://github.com/hansenms/dotnet-angular-oidc. The updated example has changes/enhancements (you can browse the changes that were made to the original template).
UPDATE 2018-07-13: Damien Bowden has merged the changes that I made into his example, so at this point, either repository uses a backed AAD proxy to get the OpenId Configuration.
Damien Bowden's original example uses static (downloaded versions of the openid-configuration and keys). This is needed because the Azure Active Directory endpoints do not allow Cross Origin Resourece Sharing (CORS). In this my updated example, a ConfigController has been implemented to allow the backend application to do the discovery. That way changes to those backend configurations (such as keys) will be automatically loaded. The updated example allows both v1.0 and v2.0 of the Azure Active Directory Endpoints.
To use the example, define the following application settings:
[js]
{
"oidc": {
"issuer": "Oauth2-Issuer-Url",
"client_id":"CLIENT-APP-ID",
"scope": "openid profile email https://graph.microsoft.com/User.Read",
"resource": ""
}
}
[/js]
If you use a v1.0 AAD endpoint, you will need to create your application registration in the Azure Portal (e.g., https://portal.azure.com) in the Active Directory Application registration section. Remember to edit the manifest to enable implicit flow. Subsequently, the configuration would look something like:
[js]
{
"oidc": {
"issuer": "https://login.microsoftonline.com/TENANT-ID/",
"client_id":"CLIENT-APP-ID",
"scope": "openid",
"resource": "https://graph.microsoft.com/"
}
}
[/js]
For a v2.0 AAD endpoint configuration, you will need to use the new Microsoft App Registration Portal (https://apps.dev.microsoft.com/). The configuration would then look like:
[js]
{
"oidc": {
"issuer": "https://login.microsoftonline.com/TENANT-ID/v2.0/",
"client_id":"CLIENT-APP-ID",
"scope": "openid profile email https://graph.microsoft.com/User.Read",
"resource": ""
}
}
[/js]
The application settings can be defined in the appsettings.json file, using environment variables (app settings in a Web App), or using the user-secrets feature of the dotnet CLI:
[shell]
dotnet user-secrets set oidc:issuer "https://login.microsoftonline.com/TENANT/v2.0/"
dotnet user-secrets set oidc:client_id "CLIENT-ID"
dotnet user-secrets set oidc:scope "openid profile email https://graph.microsoft.com/User.Read"
[/shell]
The example can be run locally with dotnet run. Once you access the page, you will see a login menu item:
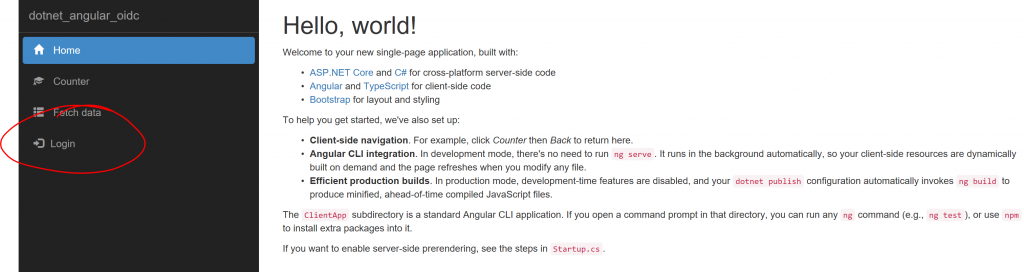
If you click the login link, you should be taken through the Azure Active Directory authentication and you will see that you now have access to some protected content:
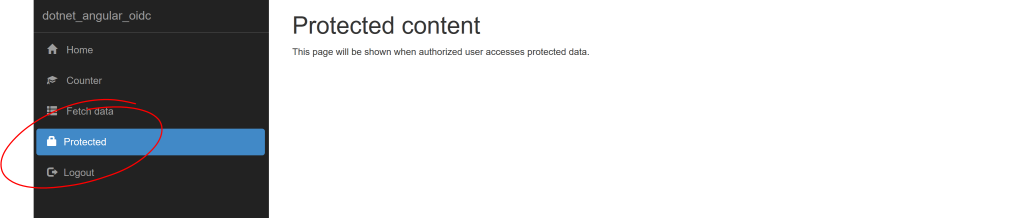
And that is it. I would encourage you to look at the source code for details, and follow the specific changes if you would like to add authentication to your project. Let me know if you have questions/comments/suggestions.