New book: Windows 8 Step by Step
NOTE: This book has been updated for Windows 8.1. You can buy it here from The Microsoft Press Store.
We’re excited to announce that Ciprian Adrian Rusen’s and Joli Ballew’s Windows 8 Step by Step (ISBN 9780735664029) is now available for purchase! You can find the book’s introduction in this previous post.
In today’s post, please enjoy reading an excerpt from
Chapter 3, “Using Apps on the Start Screen”
Using the Photos app
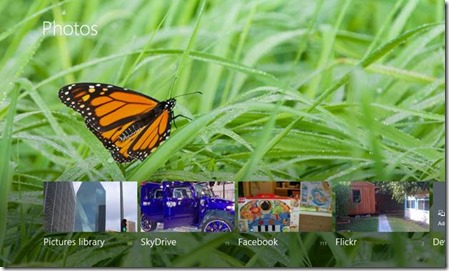
The Photos app, available from the Start screen, lets you browse the Pictures library on your computer, as well as pictures you’ve stored on the Internet in places such as SkyDrive, Facebook, and Flickr. You can also access pictures stored on connected devices.
When you open the Photos app, what you see depends on your presence on the internet, how you’ve previously set up Photos, and what online accounts you’ve already associated with your Windows 8 computer. For example, if you’ve used SkyDrive and have pictures stored there, you’ll see and have access to your SkyDrive folder. Also, if you’ve associated your Windows 8 computer with your Facebook account in any app, you’ll see your Facebook photos here too. However, you may only see pictures from your Pictures library and nowhere else, or you may be prompted to tell Windows where your pictures are stored.
Once in the Photos app, you can use your mouse’s wheel to scroll through the photo folders (or the photos in a folder you’ve opened). Scrolling with a mouse wheel moves the images and folders left and right. You can also use the scroll bar that appears at the bottom of the Photos app, or you can use your finger navigate photo folders by swiping and flicking if you have a compatible touch screen. You must click or tap a folder to manage your photos and to view them. When you enter a folder, you’re in Preview mode.
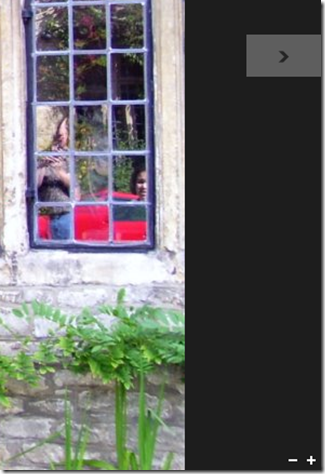
Once you’ve opened a folder, be it in the Pictures library, SkyDrive, Facebook, or others, you can view and manage the photos available in it. For now though, click or tap any photo in any folder to view it in full screen mode. Note the options that appear when you do: a back button to return to the previous screen, a back arrow to see the previous photo, a forward arrow to see the next, and + and - signs to zoom in or out. Tap or click if you don’t see these options on the screen.
Troubleshooting If you don’t see any icons on the screen, move the mouse or tap the screen one time. The icons disappear after a second or two when they aren’t needed.
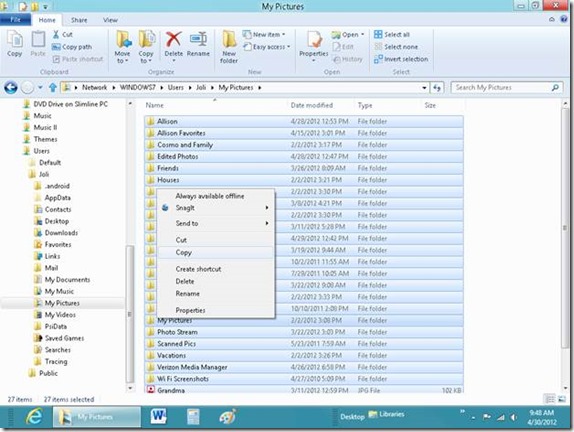
If you don’t yet have any photos on your computer, you can copy the files provided for you in the Practice Files folder for this book. If you’d like to add your own pictures though, you can do so by placing yours in the Pictures Library. Although there are several ways to do this, the easiest is to browse to the files to include (whether they are on a CD or DVD, on a network drive, or on a USB key or SD card), select the desired files, copy those files, and then paste them into the Pictures folder. If you’re unsure how to browse to, and copy and paste files, refer to Chapter 4.
Once you have photos in your Pictures library and can view them, you’ll find that Photos also offers charms, just like all other apps. The only place to access the charms is from inside a folder, though. If desired, open a folder in the Pictures app now.
On a touch screen you can swipe upward from the bottom to view the default charms, otherwise you’ll need to right-click on a picture. The charms you see depend on whether you swiped upward with a touch gesture or used a right-click on a photo, and, what folder you’re in. For example, right-clicking a photo in the Facebook folder only opens Clear Select, Feedback, Select all, and Import, but right-clicking on a photo in the Pictures library offers those and Delete and Browse by date.
In this exercise, you will use the Photos app to browse to a folder that contains pictures scroll through them. You will also review the available options in both Preview and Full Screen mode.
SET UP. You need to have saved the Windows8Pictures folder to the My Pictures folder on your computer to complete this exercise. This folder is located in the Chapter03 practice file folder.
1. From the Start screen, click (or touch) Photos.
2. If you’ve used the Photos app before, it may open with a photo or folder already selected. If so, click the Back arrow until you are at the main screen. (You may have to click to see the Back arrow.)
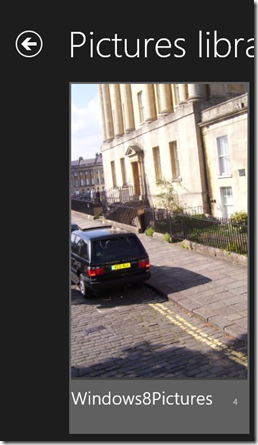
3. Click Pictures library, then click the Windows8Pictures folder .
4. Click or tap any picture in the folder to open it in full screen mode. Move the mouse around to see the icons that appear, and then click the screen to access the Back button.
6. Click the Back button to return to the Windows8Pictures folder.
7. Right-click the Sheep picture to select it and view the available charms.
CLEAN UP Leave the Photos app open to this screen.
Now that you’ve seen the available charms, at least those that specifically apply when you are viewing pictures stored on your computer, you can easily see how you could delete a single picture or view a slideshow of the images in a folder. You can also see that the picture you right-clicked was automatically selected (which means you can quickly delete it). You can select additional photos by right-clicking them too. (If you’re using touch, tap, hold, and drag downward to select additional photos.)
The options you can access by right-clicking while in the Pictures library include:
· Clear Selection Click this to clear the files you’ve previously selected. You can only select files from one folder at a time.
· ___ selected To see how many photos are currently selected.
· Delete To delete the selected photo(s).
· Feedback To give feedback about Photos to Microsoft.
· Slide show Click to watch a slide show of the pictures in the selected folder.
· Select all Click to select all of the pictures in a folder. It does not appear that you can do anything with the selected files yet, but you’ll likely be able to copy or cut those files in future.
Exploring the Other Apps
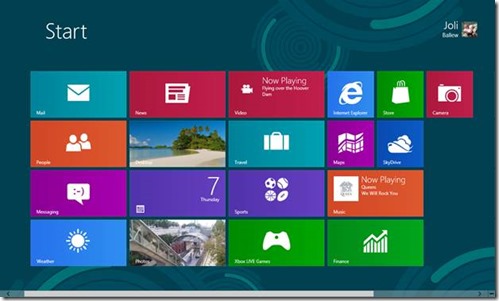
There are many other apps on the Start screen besides Photos, Music, Video, and Maps, but they all open similarly, most offer right-click options or upward swipe options, you can scroll and touch when there’s more data than will fit on the screen, and you can often click screen elements to cause something to happen or a new app page to open. In this section you’ll learn a little about those other apps and where to learn more about them in this book.
Additional apps available from the Home screen include:
· Mail to set up, obtain, and manage email. You’ll learn more about the Mail app in Chapter 7.
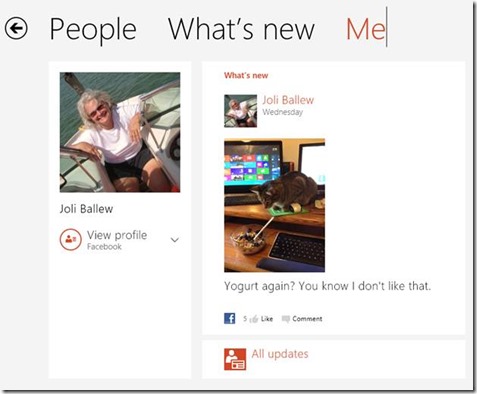
· People to access information about your contacts. Here you link the app to your Microsoft account, Facebook, Twitter, and others. This enables you to see what your contacts and up to from a single app. You can choose from People, What’s new, or Me. You’ll learn more about the People app in Chapter 7.
· Messaging to send messages to others using various social network sites and apps. You can chat with friends who use all kinds of messaging services. You’ll learn about the Messaging app in Chapter 7.
· Weather to obtain up-to-date weather information from your current location and others you configure. You learned about the Weather app in Chapter 1.
· News to get the latest news from msnbc.com. News is an easy app to use; just scroll through the headlines and click to read more.
· Desktop although not an app, this tile opens the Desktop where you run desktop apps like Paint and use system tools like Control Panel.
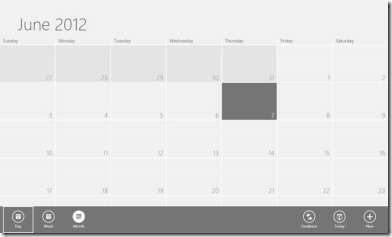
· Calendar to access your online calendar where you can input appointments, events, birthdays, and other data. As with other apps, you can write click to change the view, input information, and more. You’ll learn about Calendar in Chapter 7.
· Travel to open Bing Travel, where you can view featured destinations, panoramas, read articles, and more.
· Sports to open Bing Sports, where you can read top sports stories, sports news, schedules, and more.
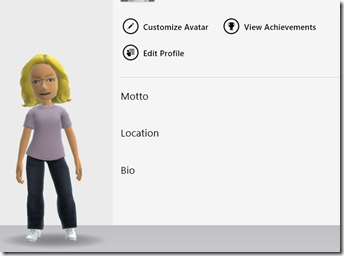
· Xbox LIVE Games to access, manage, and view your games and game activity. You can also access the game marketplace where you can purchase new games. If you have an Xbox and have configured an avatar, you’ll see it here. You’ll learn about games in Chapter 10.
· Internet Explorer to access the internet using Internet Explorer. You’ll learn about this app in Chapter 5.
· Finance to follow stock prices and access stock report information. You can personalize this app with your own information or simply browse the latest financial news.
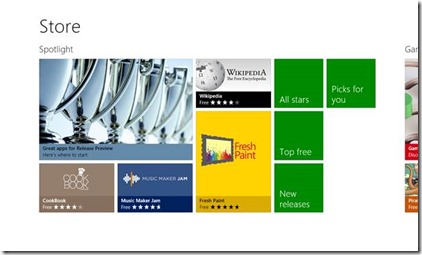
· Store to access the Windows store where you can get apps (classified in many categories including Travel, Productivity, Games, and the like), obtain music and video, access books and reference materials, and more. You’ll learn about the store in various chapters including Chapter 8, Using the Windows Store.
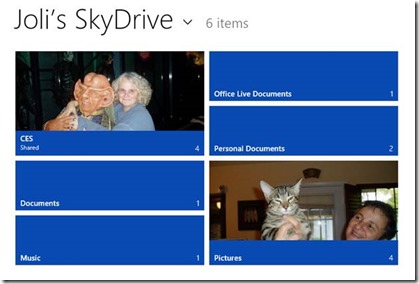
· SkyDrive to access your personal SkyDrive folders, where you can store pictures, documents, music, and other data on Internet servers. You can then access your SkyDrive data from anywhere. You’ll learn more about SkyDrive in Chapter 6.
· Camera to access the camera available on your PC as applicable, and to view camera options. You’ll use your camera, if you have one, to hold video chats.
