Adding Image Management to your Commerce Site Part (IV)
So far we have figured out our requirements and created a design out of that. In the last post we created our database structure to support the image management system. In this post we will create the wire frame projects to support our API's for Image Management and display them on the website.
So I hope that you did your homework and did a bit of reading of the Bridge Pattern, read up on UIP and browsed the Patterns & Practices web site.
Design Overview
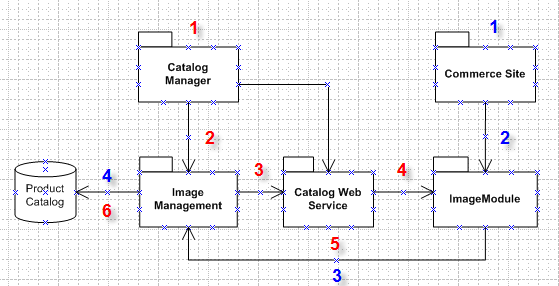
There are two paths the red numbers mark the Path of UI communication and the blue numbers mark the path of ASP.NET or Console\WinForms communications.
- Form the Catalog Manager our Image UI's will call an Image Management System.
- The Bridge Pattern will reside in Image Management and has two types of access Web Service or Direct Data access.
- Based on how the Image Management is constructed in this case we call the Catalog Web Service.
- The Catalog Web Service which holds our Image Web Service asmx will call the Image Module.
- From here we make a call back to our Image Management and construct a Direct Data access.
- The Image Management will call the Product Catalog Database to access our Image SQL objects.
- The Web Forms and Controls will call our Module.
- The Commerce Site has a reference in the web.config about our Image Module. This allows us to construct an Image Context.
- The Image Module makes a call to the Image Management and create a Direct Data access object.
- The Direct Data object calls our Image SQL Objects.
Development Design
So where do we begin? Lets create our Image management in separate project so all our code will be in a project all by it self and we will integrate with the Partner SDK where needed. We want to keep the code separate to predict future changes in Partner SDK. For example in the next version of the Commerce Server the Partner SDK may have changes and this design will be easier, simpler and clean to migrate. You can do the same thing with the WinForms and UserControls but it's a bit more work so in this sample I am taking the easy road :) but in your enterprise it would be better to create your own control library.
"Don't do as I do, do as I say:)"
Development Environment
Now is a good time to create your test environment for the Image Management System by unpacking the CSharpSite site and configure it based on the readme docs. Make sure to create the Image SQL objects from our previous post under the <SiteName>_ProductCatlaog database.
Image Management Project
So lets create an Image Management project. Before continuing forward please make sure to download the Enterprise Library for .NET Framework 2.0 and install it accepting all default values. The Image Management project will use a Service interface layer to access the Business logic and in turn will perform CRUD operation using the Data Access.
Open the Partner SDK solution and add a new Class Library project.
This project will implement the Bridge Pattern as you will see in the next post.
UI Design
In Part II of this post we designed some UI's for our Image Management System so lets add our new controls and forms into our Catalog Manager.
Let's create our control that will be added to the Product Edit Page. Make sure to call it something other than Images. Catalog Manager already has a class named Images.
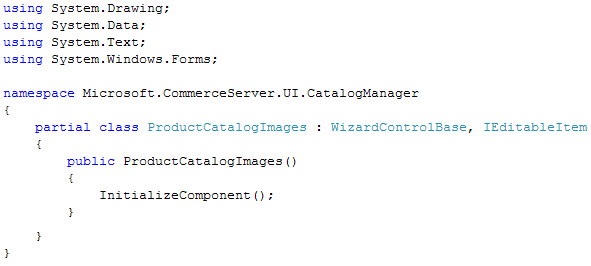
Create a new control under the Wizard folder inheriting WizardControlBase and IEditableItem. The IEditableItem is an interface for all the dialogs which support editing of catalog and inventory items. WizardControlBase is a base class used to support wizard functionality. When creating a product you navigate through a wizard process (Welcome Screen, Product Properties Screen, and Product Relationship Screen etc...). You may want to add the image control as part of the Wizard process but for this post we'll skip that.
Modify the namespace to Microsoft.CommerceServer.UI.CatalogManaer and remove the Access modifier public from the class.
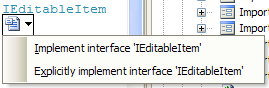
Next implement the IEditableItem interface.
Since Image Preview is used on multiple controls it needs to be it's own reusable control so add a new control for reviewing images under the Wizard folder of Catalog Manager. Do not modify it's inheritance and keep it as default.
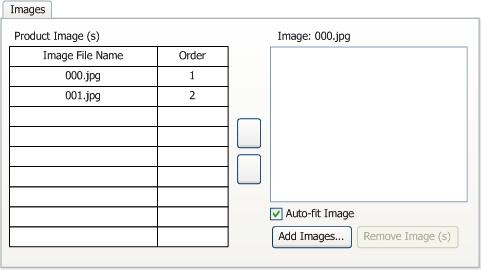
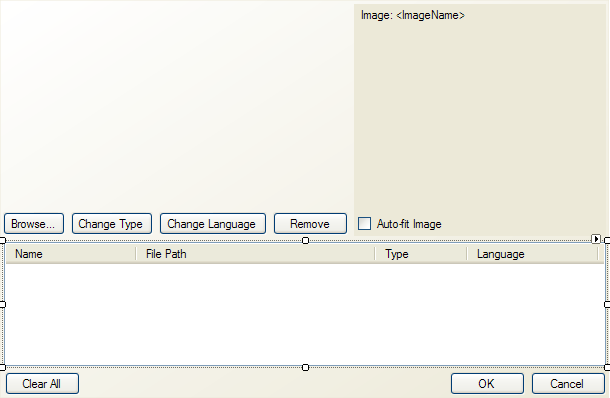
Add a Label for image file name, a PictureBox for previewing images and a CheckBox for Auto-fitting the image.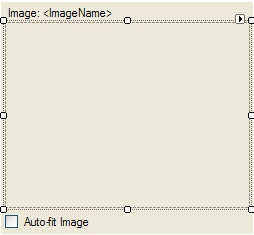
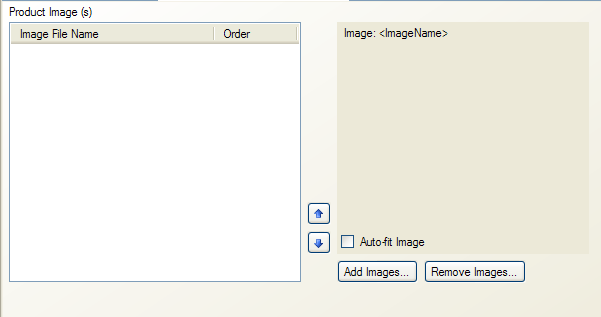
Now go back to Adding Image Management to your Commerce Site Part(II) post and review all the properties that needs to be added to our Product Catalog Edit Image Tab Control. Your designer should look like the following.
If you are creating a multilingual Catalog Manager the text in your Labels and Buttons should come from resource files. Catalog Manager uses CatalogResourceFile.resx under the root of the Catalog Manager and it's accessed by CatalogResource.cs file also under the root of Catalog Manager.
Create two more controls under the Wizard folder for uploading and searching and a From under Dialog to contain our two controls. Make sure that the namespaces reflect Microsoft.CommerceServer.UI.CatalogManaer. The inheritance of the two control are UserControlBase and IEditableItem. Both controls needs to have the using Microsoft.CommerceServer.UI.ControlLibrary; statement for the UserControlBase and remove the Access modifier public from the class. UserControlBase is the base class for all user controls.
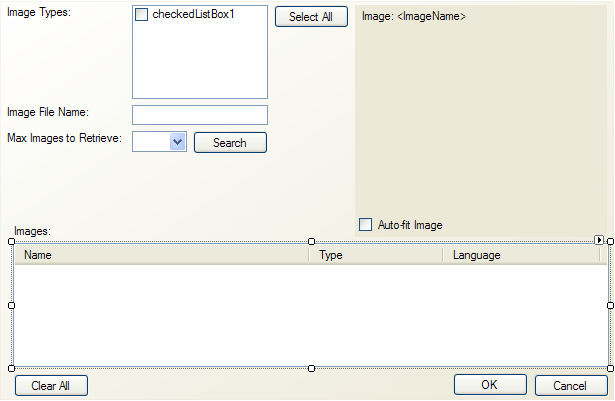
When the controls are completed you will need to create a Tab control in the Associate Images Form and add both Controls.

We will add finishing touches later for now we need to have the wire frame. You can delete the resx files that are created for the Controls and Form as we will not use them.
Note: If you want the form to be resizable you will need to work with the controls so they can scale when the form is resized.
ASP.NET and images
We will use some of the Commerce Server extensibility classes to create Commerce Modules to be used in ASP.NET context for displaying images on the site as well as the Image Web Service. I have a sample created in GotDotNET site for Commerce Server 2002 but it will also work for Commerce Server 2007.
Commerce Module for Image Management System
You can add the Image Module to your existing Image Management project or create a new one and add a reference to the Image Management project. For this sample we are going to create a new project and add this project to Commerce Server 2006 Partner SDK solution.
- Add a new Class Library and name it ImageModule.
- Reference Microsoft.CommerceServer.Runtime.
- Add using Microsoft.CommerceServer.Runtime; and using Microsoft.CommerceServer.Runtime.Configuration;
- Rename Class1 to something more meaningful then inherit CommerceModule.
- Add a reference to the Image Management project.
- Implement the CommerceModule interfaces.
We will fill the details in the next post.
Web Services for Images
We need to Extend the Catalog Web Service and create a new Web Service to implement interfaces for Image Management. Here is where our Commerce Module will be used with dependency on Catalog System. The Extension of the Catalog Web Service is to retrieve images as part of the Product Catalog and the purpose of the new Image Web Service is to perform CRUD operations. We also need to create a proxy class in our Image Management Project to access the Image Web Service.
- Catalog Web Service
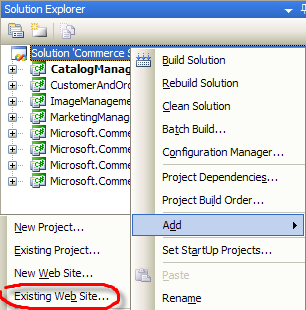
Add a new ASP.NET project by right clicking on Commerce Server 2006 Partner SDK and select Add Existing Web Site...
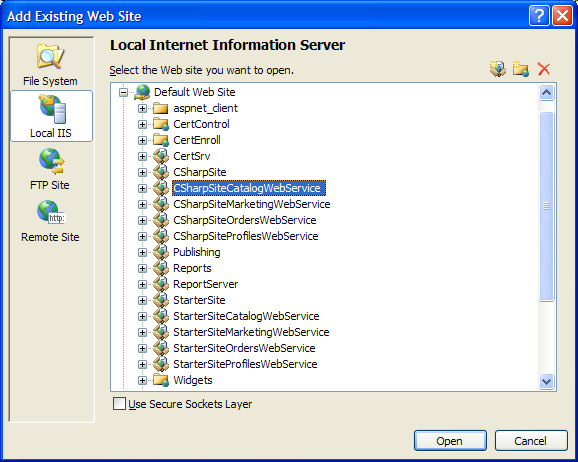
From the Add Existing Web Site select CSharpSiteCatalogWebService or whatever you named your Catalog Web Service.
To extend the Catalog Web Service I have post Extending Commerce Server 2007 Web Services. Take a moment to read up on it and extend the Catalog Web Service.
Rename the CatalogWebService.asmx to CatalogWebService.asmx.old.
Add a new Web Service called CatalogWebService.asmx.
Then extend the Catalog Web Service as stated in Extending Commerce Server 2007 Web Services.
You will need to add a reference to Microsoft.CommerceServer.Catalog.dll.
- Image Web Service
- Under the Catalog Web Service create a new Web Service and call it ImageWebService.asmx.
We will fill the details in the next post.
Proxy Class for the Image Web Service
We now need to create a proxy class for the Image Web Service.
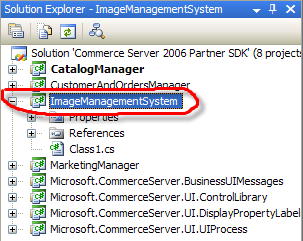
Right click on ImageManagementSystem project and select Add Web Reference... .
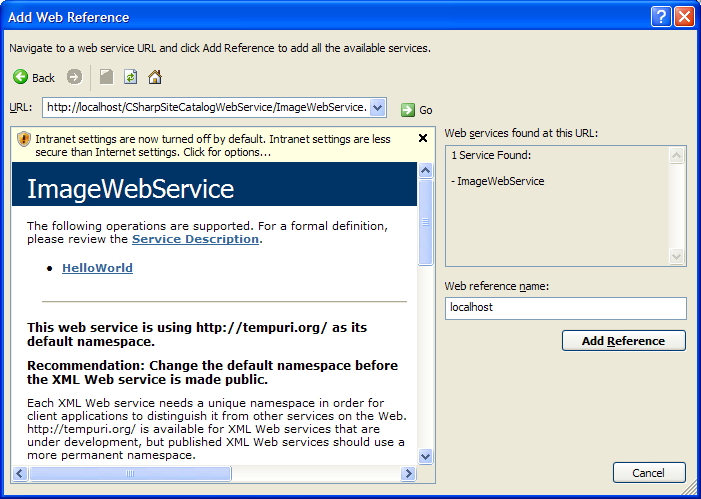
Next type "https://localhost/CSharpSiteCatalogWebService/ImageWebService.asmx" for the URL and select Go.
When connected to the Web Service select the Add Reference button.
Note: You may encounter an error if you update your Web Service Proxy "Unable to load one or more of the requested types. Retrieve the LoaderExceptions property for more information" if so see this KB article for a hotfix.
Summary
In this post we have created all the wire frame to our Image Management and have a good idea of how our projects interact with each other so the fun begins and we will code the details.