Simplifying Authorization Management of Commerce Server Web Services
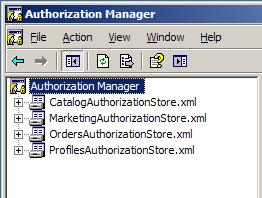
To make the job of your infrastructure easier you may want to follow my next piece of advice. When un-packaging a Commerce PUP you get four Web Services to manage your commerce engine. Each Web Service has a different Authorization XML store. Let’s find out what Authorization Manager is.
Authorization Manager
Authorization Manager (commonly known as AzMan) is a new general-purpose, role-based security architecture for Windows. AzMan is not tied to COM+, so it can be used in any application that needs role-based authorization. Using Authorization Manager, you can define roles and the tasks those roles can perform. You can nest roles to inherit characteristics from other roles, and you can define application groups. In addition, Authorization Manager lets you use scripts to modify permissions dynamically, and it allows you to wrap your security logic in a security policy that can be stored in Active Directory or an XML file. Authorization Manager also includes an easy-to-use API for running access checks. Commerce Server only supports the security policy to be stored in an XML file.
Simplify AzMan
Managing four different AzMan XML files can be difficult to manage. In order to simplify this, we need to merge all files into one AzMan XML Store.
The following is an example of the AzMan XML Store of the Catalog Web Service.
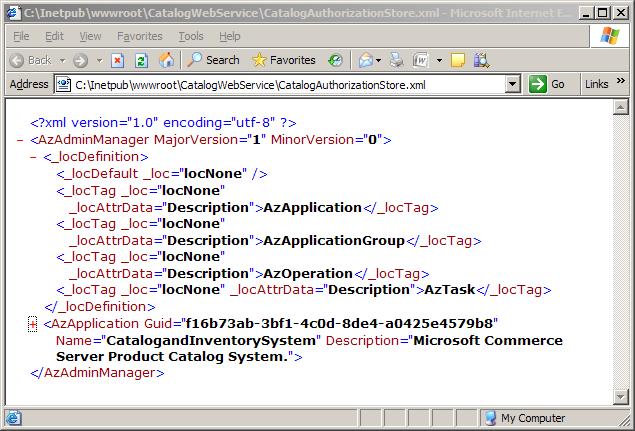
Note that the AzApplication node holds all the information required by AzMan to perform its’ internal policy actions. So we need to create a new XML file then copy the AzApplication node of every Web Service XML file.
- Open the Authorization Manager Management Console.
- From the AzMan MMC right click Authorization Manager.
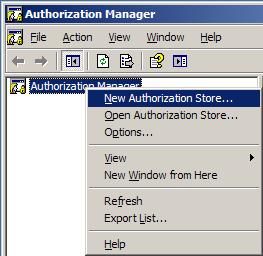
- From the New Authorization Store, Select XML, then name your Store and give a brief description. Next, close the AzMan MMC.
- Navigate using windows Explorer to where you saved the new AzMan Store and open it with notepad. Navigate to Catalog Web Service and open the CatalogAuthorizationStore.xml file in notepad. Then copy everything from AzApplication begin tag to the end tag. Next paste the copied XML tags to your new AzMan Store. Paste the copied XML nodes between AzAdminManager begin tag and end tag.
- Now follow step 4 for other Web Services.
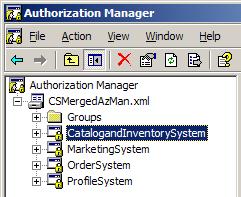
Now you can manage one file rather than four different store to ease administration.