Easily Backup SQL Databases to Azure
Microsoft has released a tool that will easily backup SQL Databases to Azure by simply installing a tool on the fileserver where you store your backups.
The tool is called the Microsoft SQL Server Backup to Microsoft Azure Tool.
You install the tool on a Server where you store database backups and you point the tool to an Azure Blob Storage Account and a folder on your server. Anytime a SQL backup is placed in the folder the tool will encrypt and compress the backup and store it in Azure. It it's place it leaves a stub file that you can use to restore the backup just like a regular SQL Backup.
Many of you have probably heard that starting in SQL Server 2012 you can backup a database to an Azure Blob store straight from SQL Server Management Studio. With this tool you can store backups from any version of SQL from 2005 and up in Azure.
Let's get started.
The tool is a free download and can be found here: https://www.microsoft.com/en-us/download/details.aspx?id=40740
It will run on Windows 7 SP1, Window 8, Windows 8.1, Windows Server 2008 R2 SP1, and Windows Server 2012 R2.
Download the tool from the above link. You can choose a 64 or 32 bit version of the tool.
Run the setup program and install the tool.
Run the Tool and you will see the following screen.
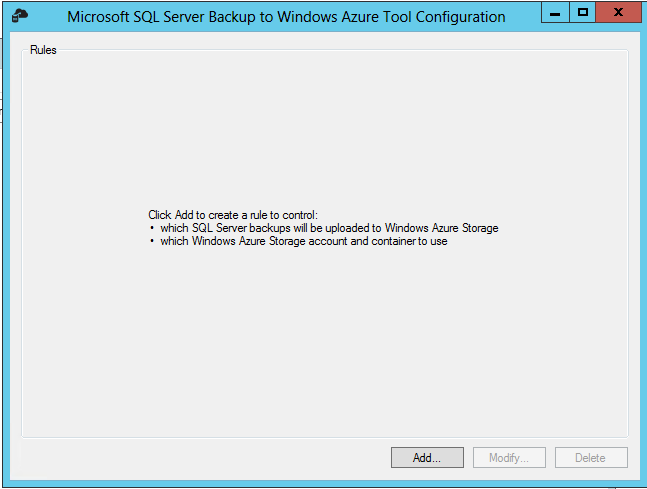
The tool can map multiple folders to multiple Blob Storage Accounts. In this example I will just map a single folder to a single storage account.
If you don't have an Azure blob storage account you should create one now. This article describes how to create a storage account in Azure: https://blogs.msdn.com/b/markm/archive/2015/06/30/creating-an-azure-blob-storage-account.aspx
Click on Add and I will walk you through mapping a folder to an Azure storage account.
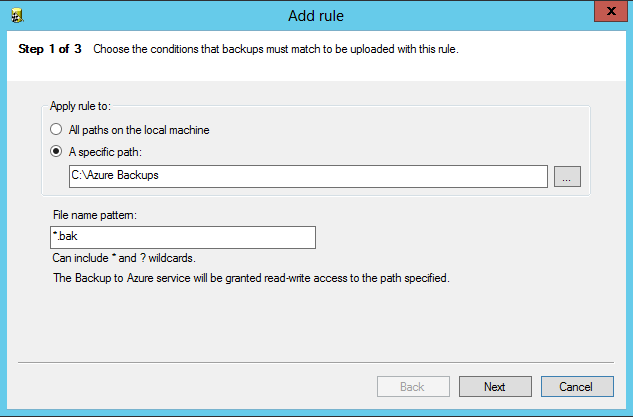
First select a folder you would like to MAP to an Azure Storage Account and a file name pattern you would like to use. Note: 1 option is to have all folders scanned for the file name pattern and backup anything in any folder that matches the file name pattern.
Once you have done this, you will need to provide the storage account name, key and a container.
Think of a container as a folder.
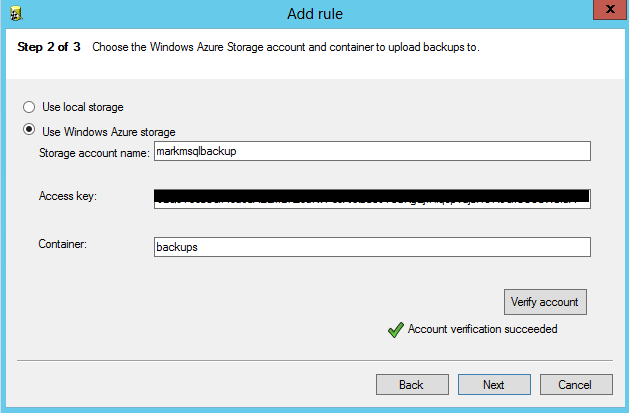
Once you have entered your information click on the Verify account button and once verified click next.
The next screen Allows you to choose if you want Encryption and/or Compression.
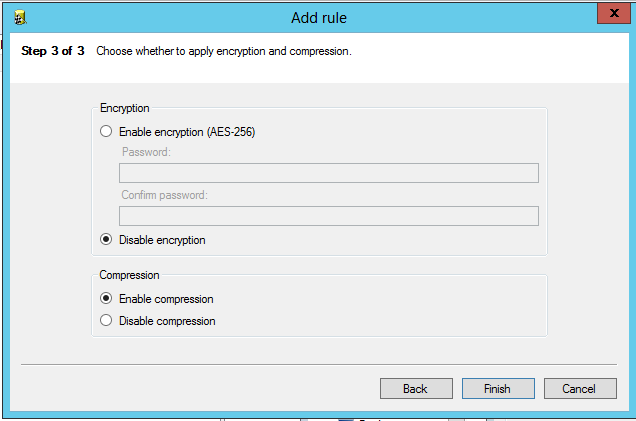
Click Finish and you have mapped your first directory to an Azure Blob Storage account. Remember only files matching the file pattern given will be backed up to Azure. We used *.bak so only files that match that pattern will be backed up to Azure.

Now to test it.
Open an Azure Storage Explorer to view the contents of your storage account. If you don't have a storage explorer instructions for downloading one are located here: https://blogs.msdn.com/b/markm/archive/2015/06/30/creating-an-azure-blob-storage-account.aspx
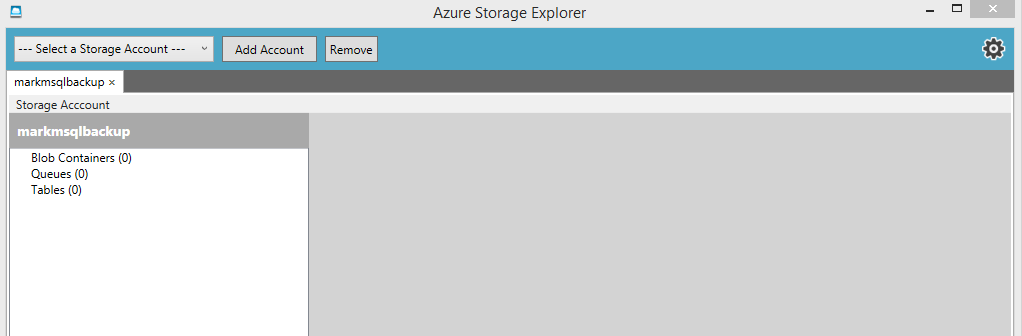
Notice this is a brand new storage account with nothing in it.
Now let's go to SQL Server Management Studio and backup a database into the folder we mapped to the above Azure Blob Storage Account.
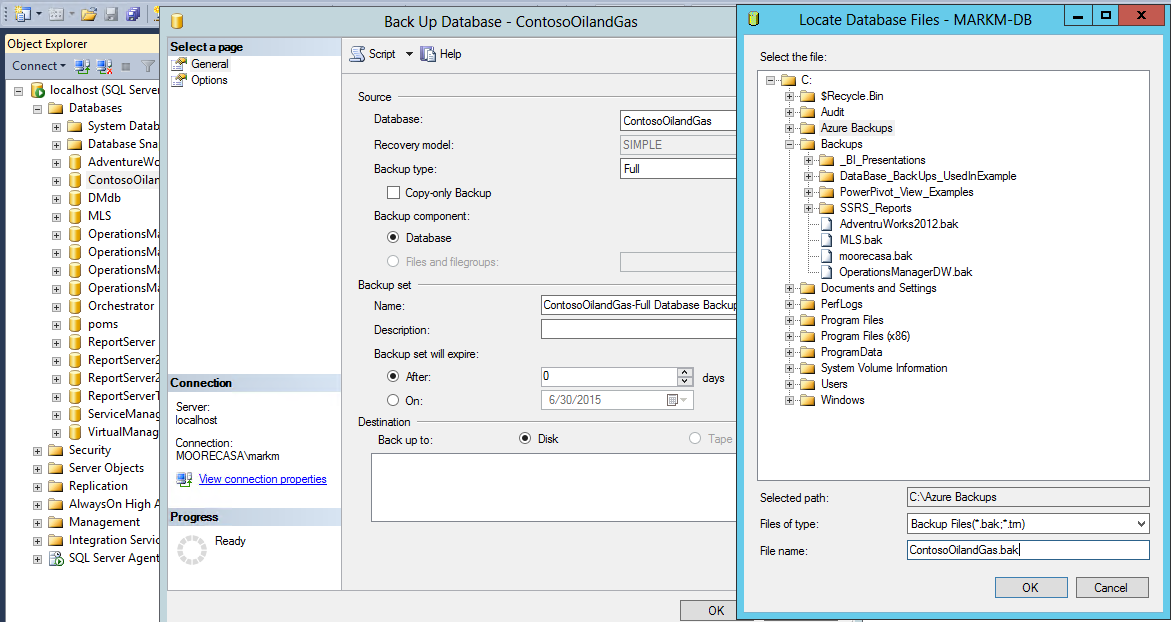
I set the backup to go to the new folder I created and mapped to an Azure Blob storage account.
When the backup completes we can check the Storage Explorer to ensure the backup did in fact get placed in Azure.

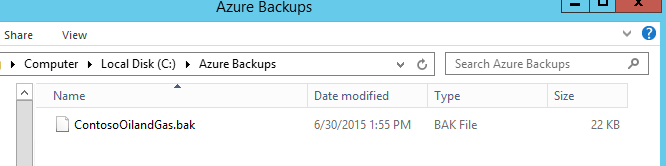
If I look in the folder on the computer I can see a stub file that I can use to restore the SQL Backup from Azure. Notice it's only 22KB.
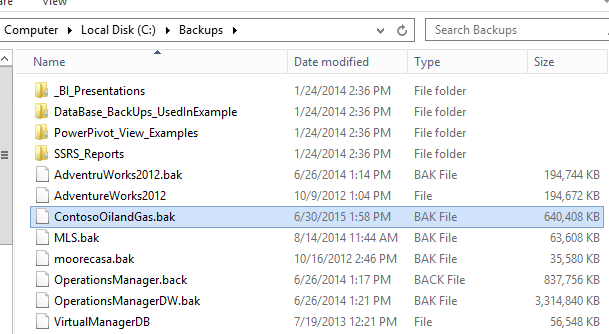
The actual back is much larger at 640K.
And that's all there is to it. A quick inexpensive way to safely store backups off site while maintaining the ability to instantly restore them.