Command Line Access to Azure VMs – SSH
In a previous post I showed how to configure a service to allow for remote access using PowerShell Remoting. Another way of achieving the same goal is to use SSH.
SSH is capable of more than just remote access – copying files and tunneling are a few of the extra features. I’ll show how to get a SSH daemon working and how to connect to it for a remote session. I haven’t tested other features, let me know if you try anything else.
Cygwin
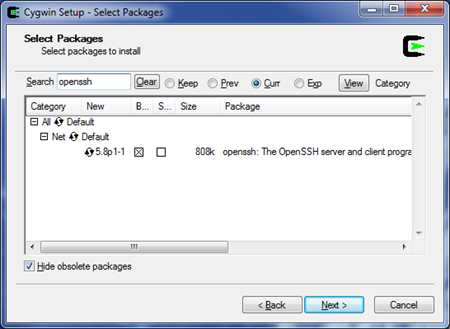
There are many SSH servers available for Windows. I will use the OpenSSH from Cygwin in this post.
The first task is to install Cygwin. It’s better to install it locally and package Cygwin in the Azure deployment package or create a zip file of the local installation and upload it to your Azure Storage account. The only extra package required is “openssh”.
Role Configuration
There are a few steps to configure a role to run the SSH service. I’ll describe only the main ones here, refer to the sample project at the bottom of the post for a complete working example.
1. Endpoint
The default SSH port is 22 hence the role must define the following endpoint:
   <Endpoints>
    <InputEndpoint name="SSH" protocol="tcp" port="22" localPort="22" />
  </Endpoints>
2. Create a user
You need an account to log in via SSH. Since this account will also be used to run the SSH Windows Service it must be in the Administrators Group.
   net user <username> <password> /add
  net localgroup Administrators <username> /add
3. Grant Privileges
The user account you created must have the required privileges to be used by a Windows Service. I used ntright.exe[2] for granting the SeServiceLogonRight privilege.
4. Fix Unix File Permissions
Because Cygwin was copied to the VM instead of installed the Unix permissions for a few critical files must be fixed. This must be done from within Cygwin via a script.
5. Add the New User to Cygwin
The user account you previously created must be added to the Cygwin users list. Once again this must be done from the Cygwin environment.
6. Create and Start the Service
Cygwin includes a script to configure SSH as a Windows Service - ssh-host-config. After running this script a new service will be available and can be started the regular way or using the cygrunsrv command from Cygwin. These commands must be run using the account created in step 2 [1].
Remote Access
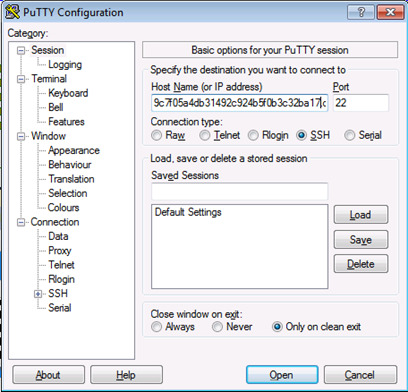
With the SSH enabled service deployed it’s time to connect to it. Using PuTTY simply enter the DNS name of your deployment in the Host Name field:
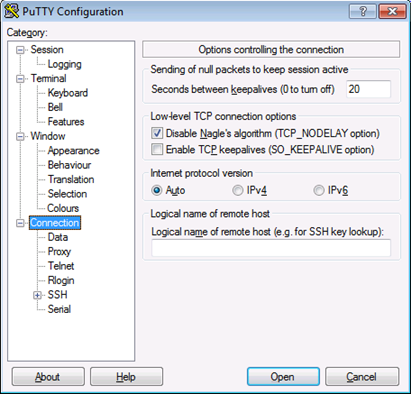
And if you want to avoid being disconnected because of timeouts you can set PuTTY to keep a heartbeat using any value under 60 seconds:
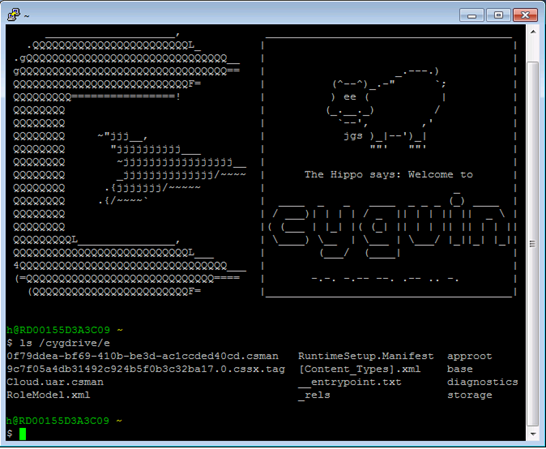
Then opening a connection will get you access to the VM:
SSH will actually allow you to connect to a service with multiple instances. You will not be able to specify the exact instance though, every new connection will be established to any one of the instances in the service.
Sample Project
This project creates a service with SSH enabled. It expects to find a zip file called cygwin.zip in your storage account. The zip file should contain the Cygwin install directory (e.g. C:\Cygwin).
Before you publish the project you must edit the EnableSSH.cmd and startSSH.sh files and enter the new username and password at the top of both files. There was no easy way to share that information between the Windows batch and the Shell script so it must be entered twice. You must also edit the DownloadBlob.ps1 file and enter your storage account information in the second to last line. You will also need to enter the container name in the same line.