Rendering in the DirectX Shader Compiler Editor
Last time we looked at how to disassemble a shader in the DirectX Shader Compiler Editor.
If you looked carefully at the code inserted when you use Ctrl+N to include a new document, you'll see that there's an #ifdef'd section near the bottom.
This #ifdef'ed section contains a bit of XML written in the same format used for execution tests in the compiler. You can place the cursor on an XML element name and press F1 to get a quick reference.
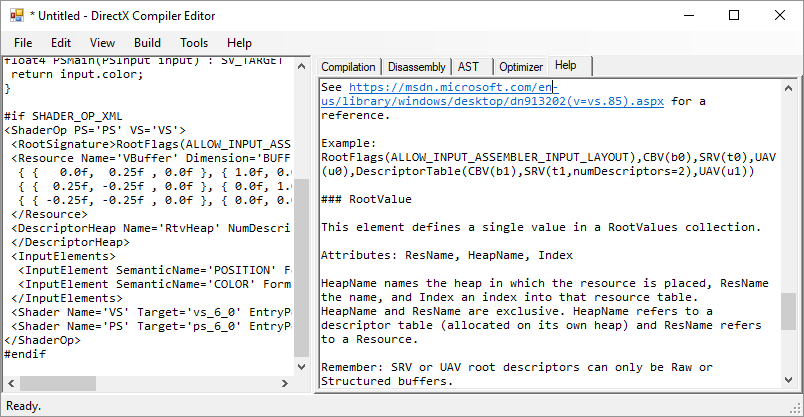
The idea behind this is that it describes a single Dispatch or Draw call with very fine-grained control, for example to check whether heaps laid out in specific ways are behaving properly.
Note that the implemented area is extremely basic and there are many features of D3D12 that aren't supported; however, you may find this useful for prototyping.
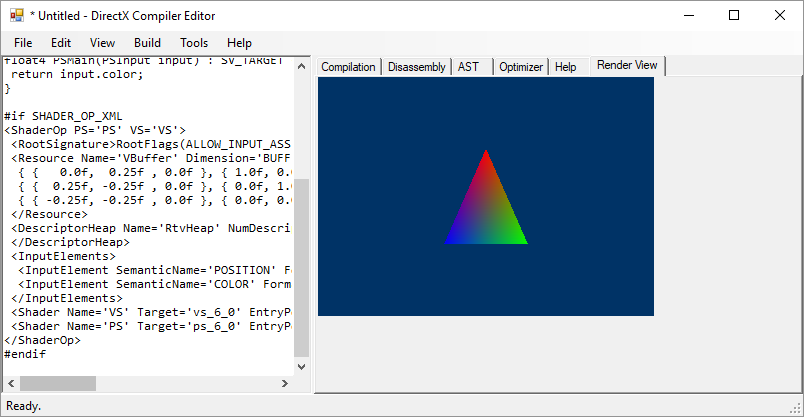
To run the operation, you can select the View | Render option.
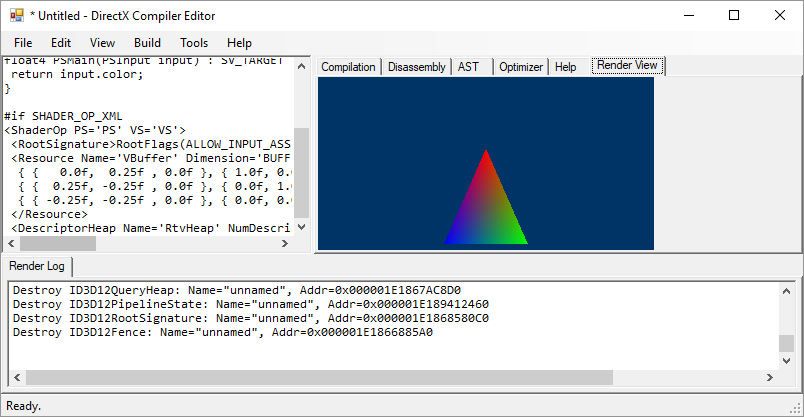
It's an excellent good idea to turn on the Output window to see the debug spew generated. The render runs with the validation layers enabled, so you will often find useful information there.
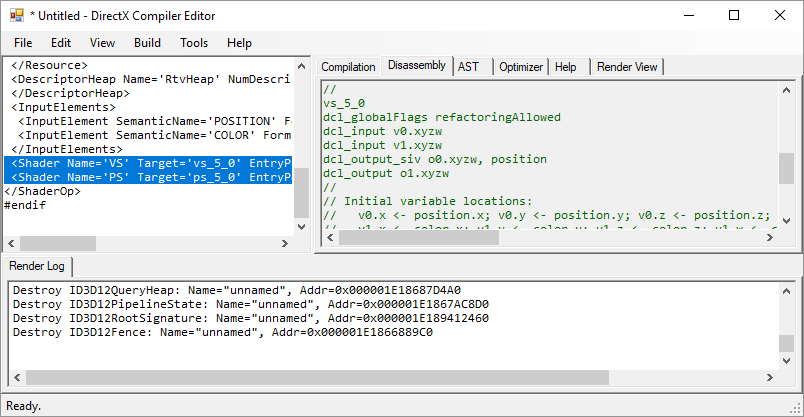
Finally, you have the option of using shader model 5.0 and 5.1 as well, both for disassembly and for rendering. To change the shader model used for disassembly, update the hlsl-target value specified in the first line of the file. To change the shader model used for rendering, update the Target attribute on the Shader elements in the XML section.
There is very little specific to the compiler here, other than the fact that it's very easy to try things out and so we use it when we want to look at a tiny bit of behavior in isolate - and so can you, including for cases when you're putting together a quick repro.
Enjoy!