Create you first ASP.NET Core App and host it in a Linux Docker container on Microsoft Azure (Part 3/3)
In the third part of this post we will push our image to Docker Hub and then host our container on Microsoft Azure. You can find the first part of this post here.
Part 3: Publish your container on Microsoft Azure
First we are publishing our container by pushing it to Docker Hub . Of course you an also use your private registry as well. To use Docker Hub we will have to create a Docker ID. You can do this through Docker Hub.
Now we can start by renaming / tagging our image:
docker tag firstaspapp DockerID/nameforyourimage

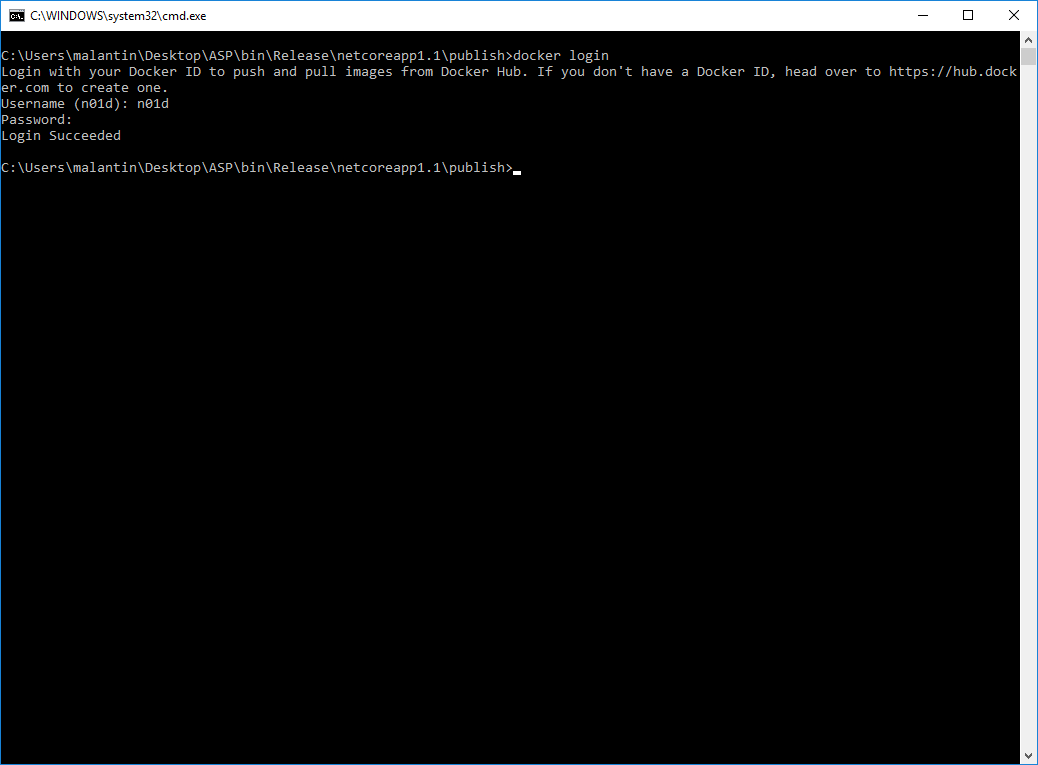
After you have done this log in with your ID and password:
docker login
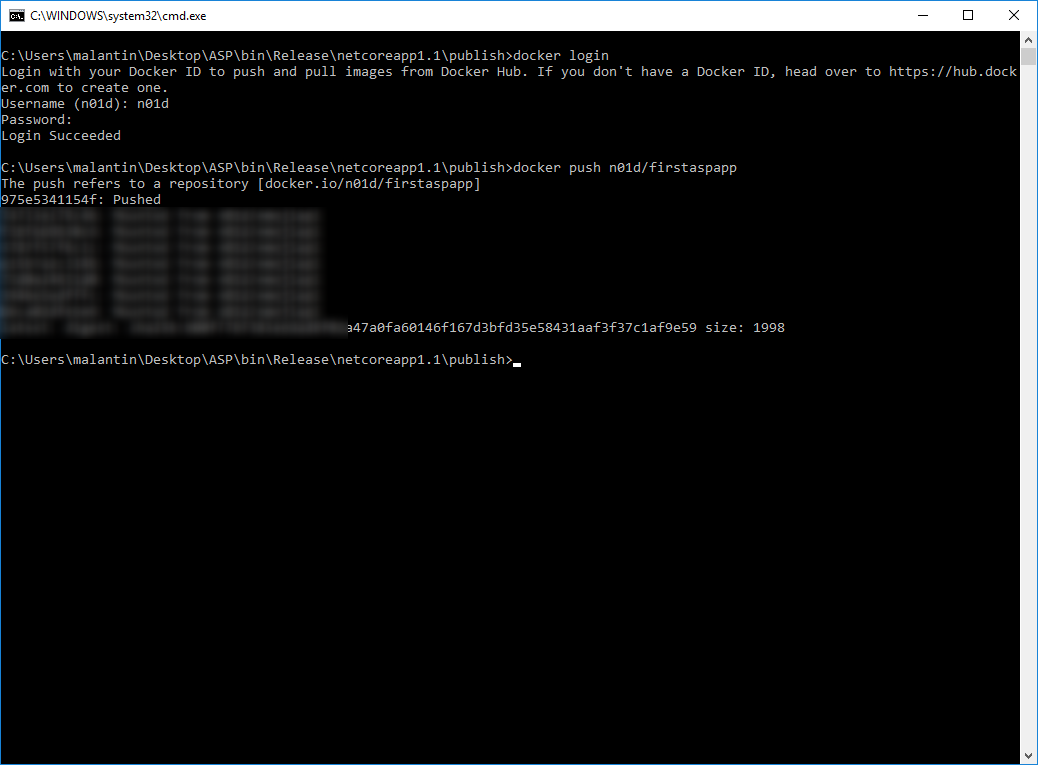
Now you can push your image to Docker Hub. If you prefer to use a private repository you will have to create it on Docker Hub first.
docker push yourDockerID/nameofyourimage
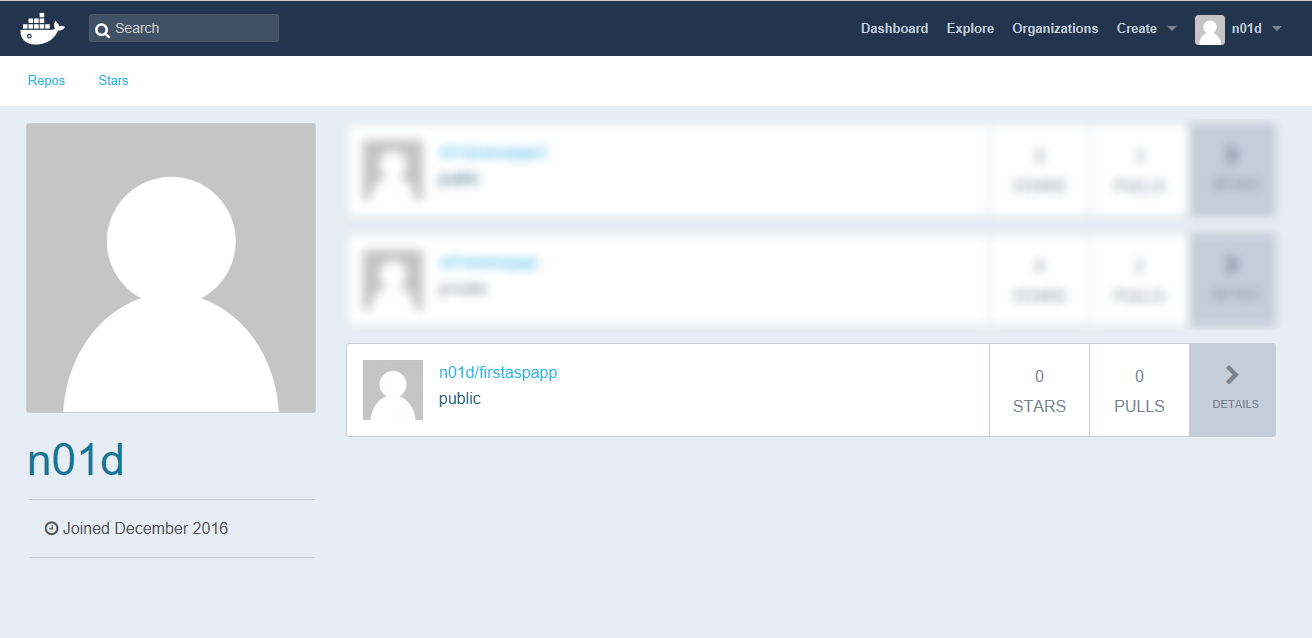
If you now visit your profile on Docker Hub you should be able to see your pushed image. For me it took some time to show up here.
Once your image is available on Docker Hub, we can publish our container to Microsoft Azure. To use Microsoft Azure you will need an Azure Subscription. There is a free trial subscription available if you don't have one yet.
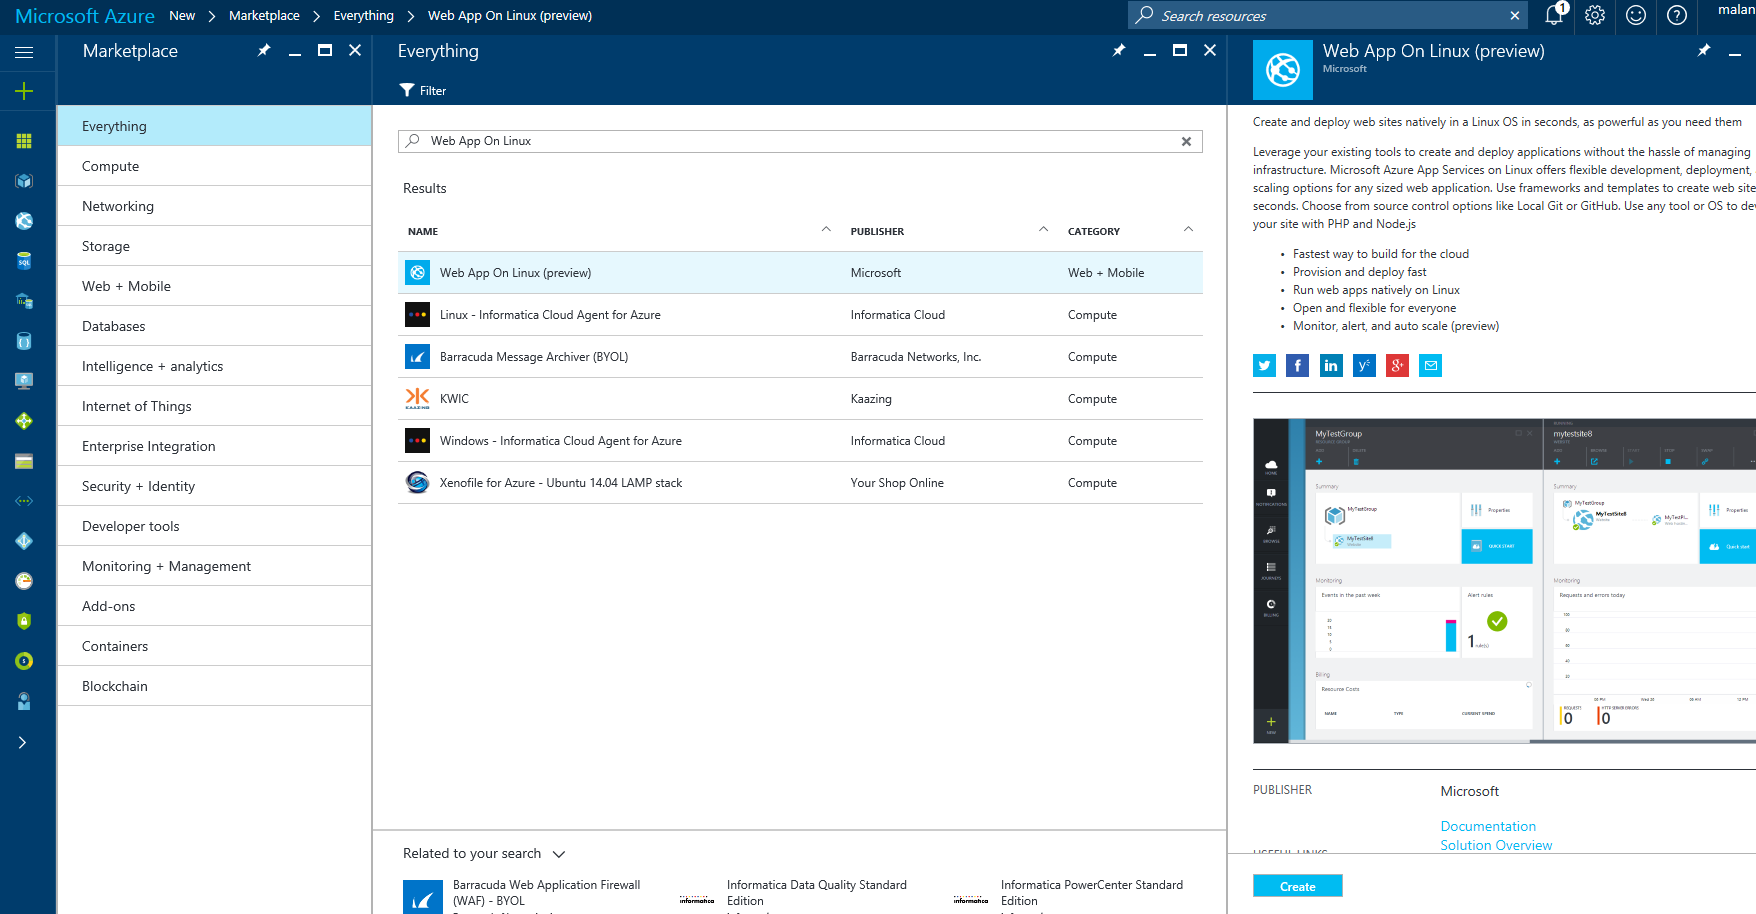
Log into the Azure Portal with your Microsoft or company account. Once on the Azure Portal click on the "+" to add a new resource and search for Web App on Linux. Azure Web Apps on Linux is a docker-based hosting environment that supports different programming languages like NodeJS, PHP and ASP.NET Core out of the box and offers you the opportunity to bring your own Docker containers. This is what we will use.
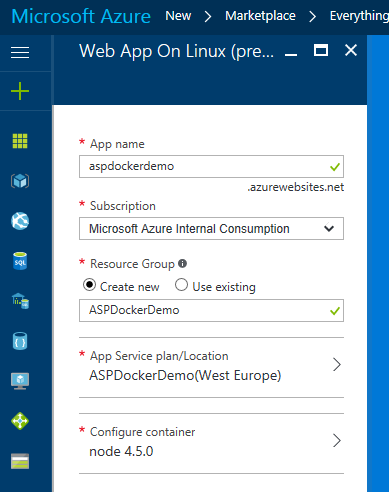
First select a name for your web app, pick a subscription, name or select a resource group and create or select an app service plan. When creating a new app service plan you can decide which Azure region to use for your application.
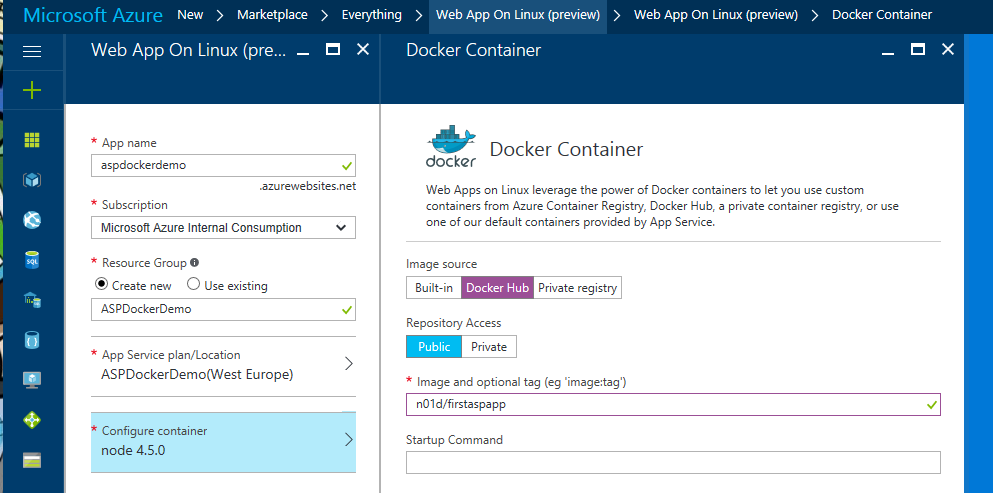
After you have done all this click on "Configure container" and then on "Docker Hub". Now select "Public" and enter the name for your image. If you chose to host your image in a private registry or private Docker repository you will also have to add your credentials here. Now confirm your settings and click on "Create".
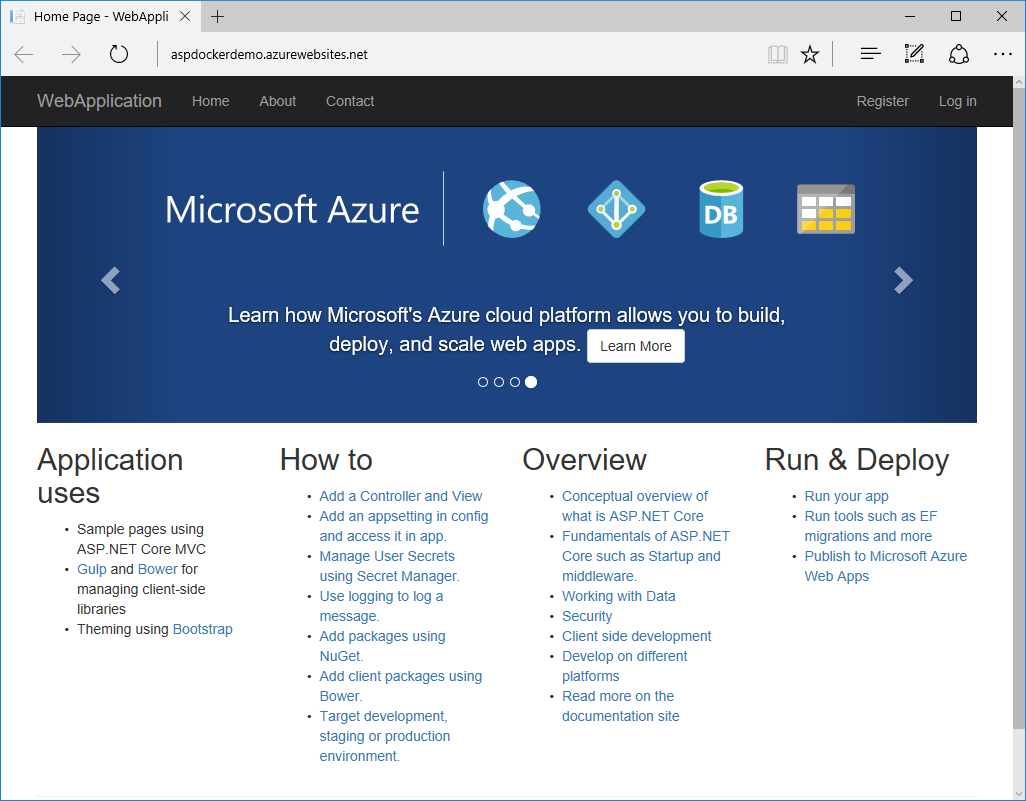
Creating you Azure Web App and starting your container will usually just take a few seconds. Once the Web App is created you can click on the URL for your web app to see your ASP.NET Core application running in a Linux Docker container on Microsoft Azure.
Depending on the App Service plan you picked you can now make use of different Azure features like scaling your application up as needed.
Links:
- Docker Hub: https://hub.docker.com/
- Microsoft Azure: https://azure.microsoft.com
- Part 1 of this blog post: https://blogs.msdn.microsoft.com/malte_lantin/2017/01/12/create-you-first-asp-net-core-app-and-host-it-in-a-linux-docker-container-on-microsoft-azure-part-13/
- Docker: https://www.docker.com/
- Microsoft Azure Trial: https://azure.microsoft.com/en-us/free/
- Azure Management Portal: https://portal.azure.com
- Azure Web Apps on Linux Documentation: /en-us/azure/app-service-web/app-service-linux-how-to-create-a-web-app