[English] Host your own Minecraft Server on Microsoft Azure
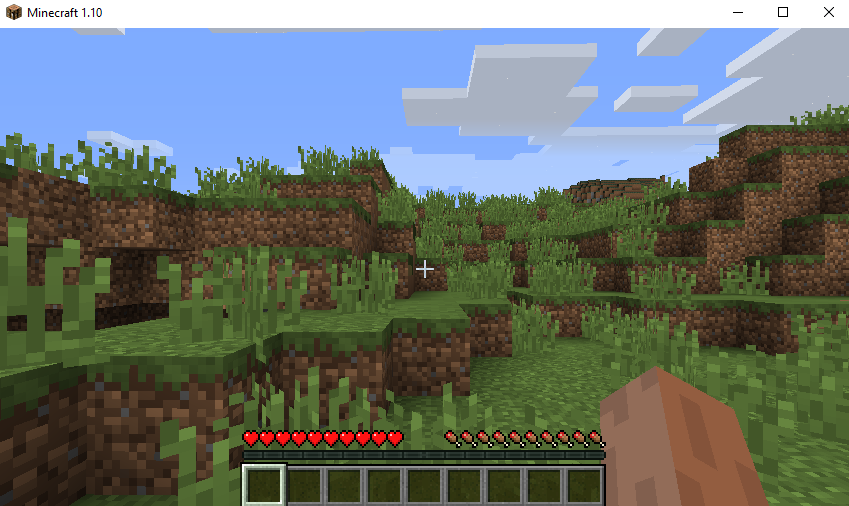
You might already play Minecraft on your Windows / Linux PC or Mac, but once you want to play with your friends you will need your own Minecraft Server. You can either get your own Minecraft world for a monthly fee through Minecraft Realms or just host the server yourself (this only works with the Java based Windows, Linux, Mac Version of Minecraft). Setting up your own server is documented here, but as you will find there are some hoops to jump through.
What if you could just use a preconfigured server, set it up for on demand usage and only pay when you are actually playing on your server? With Microsoft Azure you can do exactly that and you can even scale the size of your server (number of cpu cores, RAM, etc) when you need it.
There are just a few steps to take when setting up the server (up to date as of June 14th 2016):
1. Get a Microsoft Azure account. You can start with a free trial and credits for your first month here: https://azure.microsoft.com/en-gb/free/
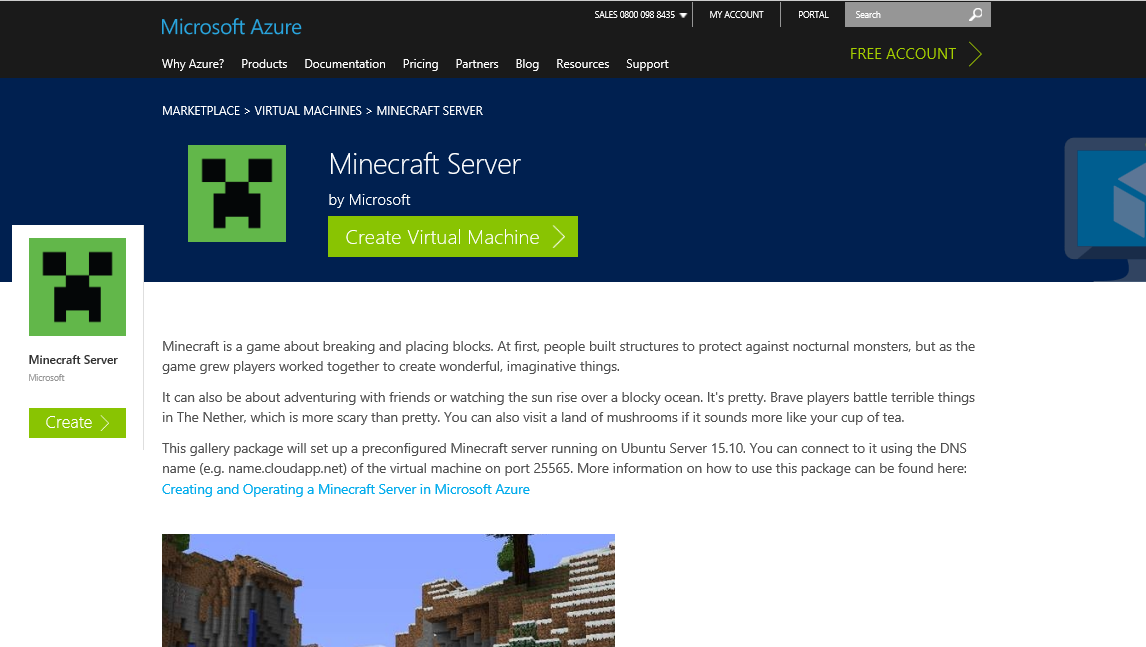
2. Select the Minecraft Server Virtual Machine from the Azure Marketplace: https://azure.microsoft.com/en-gb/marketplace/partners/microsoft/minecraftserver/
3. Click on "Create Virtual Machine"
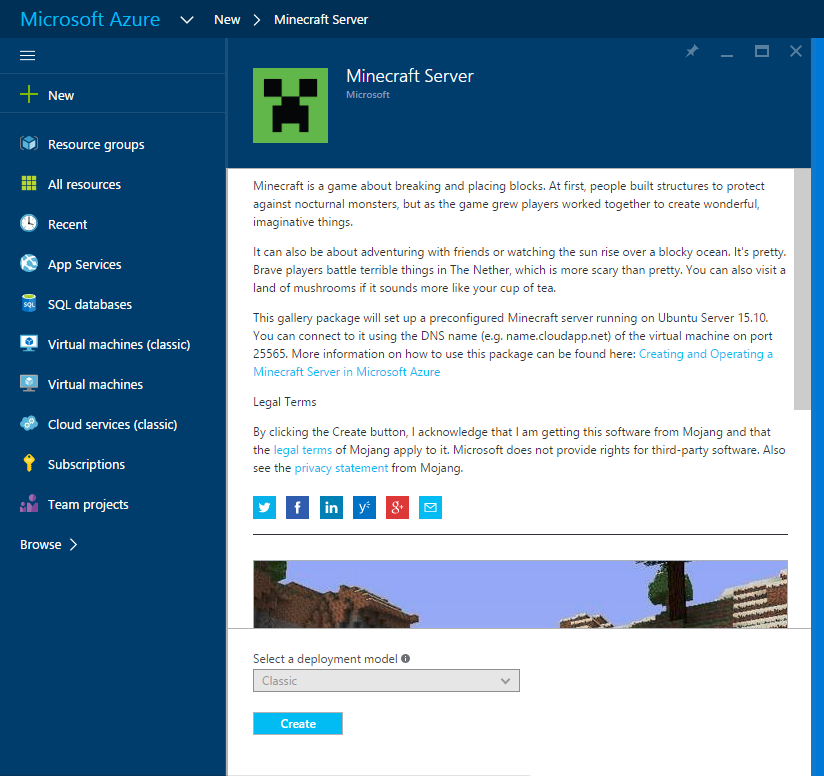
4. Log in with your Microsoft Account and click on "Create"
5. Now you need to do some basic configuration work:
- Pick a name for your server (the url for your server will be name.cloudapp.net)
- Enter a username to use as an administrator
- Define a password or upload an ssh key you will use to access your server
- Select a server size / pricing tier, A1 will be a good size to start with
- Optional: Configure Network, Storage and Diagnostics
- Optional: Select or define a name to group your Azure ressources
- Optional: Select the subscription to use if you have got multiple
- Select a location / data center to host your server, pick a location close to your users
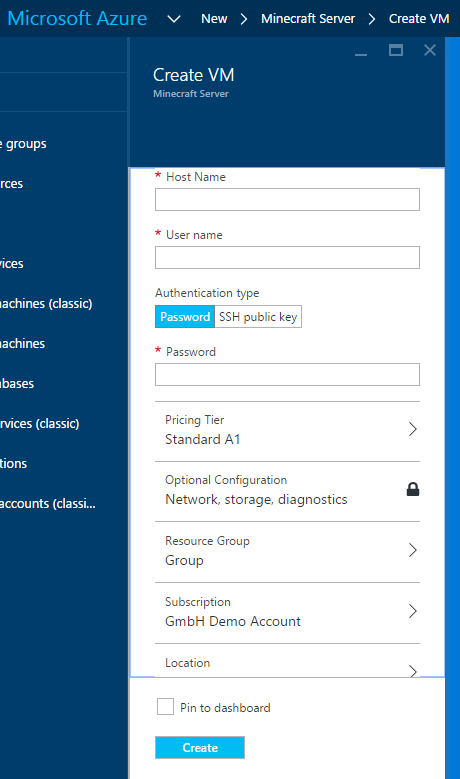
6. Now click on "Create" to have Azure create you Minecraft Server
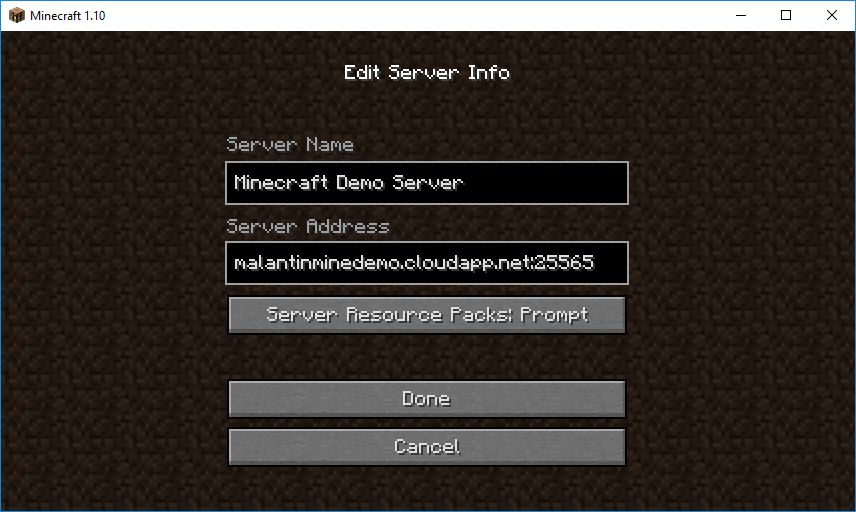
7. After a few minutes your server will be ready. To connect to this server in Minecraft just use the URL and Port 25565 like this: yourname.cloudapp.net:25565
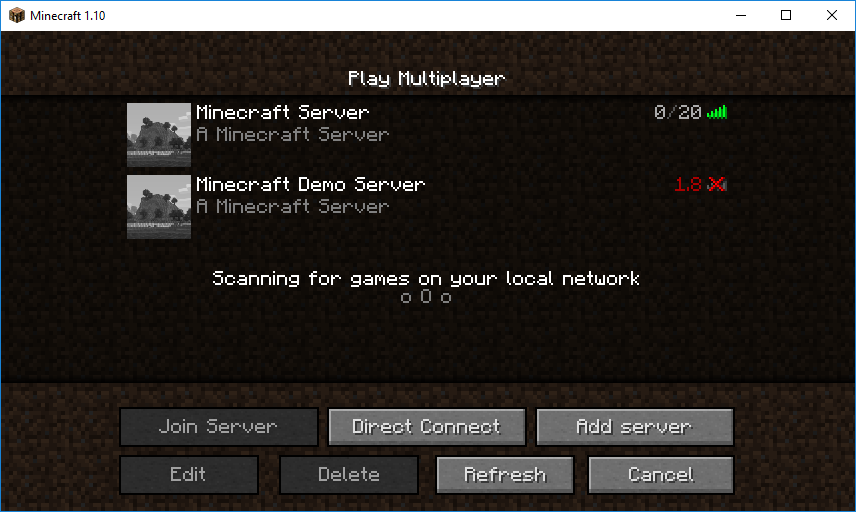
8. If you use a current version of Minecraft and try this right away, you will get the error message that your Minecraft server version needs to be updated from 1.8 to a current version.
9. To update your server (and do some additional settings), log into your server using ssh (Linux, Mac) or a tool like Putty (Windows). Bash and SSH will come to Windows soon.
10. After logging into your server with you username and password first switch to the folder of your Minecraft Server "cd /srv/minecraft_server".

11. Download the current version of the Minecraft server using CURL. Currently this would be "sudo curl --remote-name https://s3.amazonaws.com/Minecraft.Download/versions/1.10/minecraft\_server.1.10.jar". You can find an up to date link for downloading the current server version on https://minecraft.net/en/download/server.
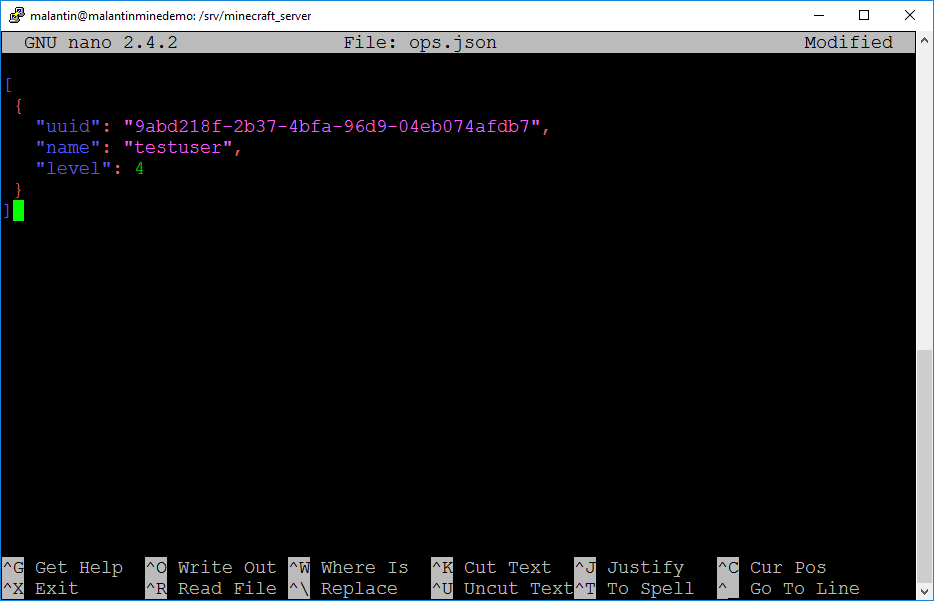
12. While in the correct folder let's also update ops.json file right now, so that we have got some rights to modify the game when logged into our server. We can edit the file using using nano like this: "sudo nano ops.json". Edit the file like shown below using your (or your friends) Minecraft user name and unique ID. You can find out the unique ID using the the tool on https://mcuuid.net.
[
{
"uuid": "uuid",
"name": "minecraft_username",
"level": 4
}
]
13. Now save the file using "CTRL + o" and exit Nano using "CTRL + x". You can also edit your "server.properties" file here to do some further configuration of your server. You can find more details about the server properties in the Minecraft Wiki.
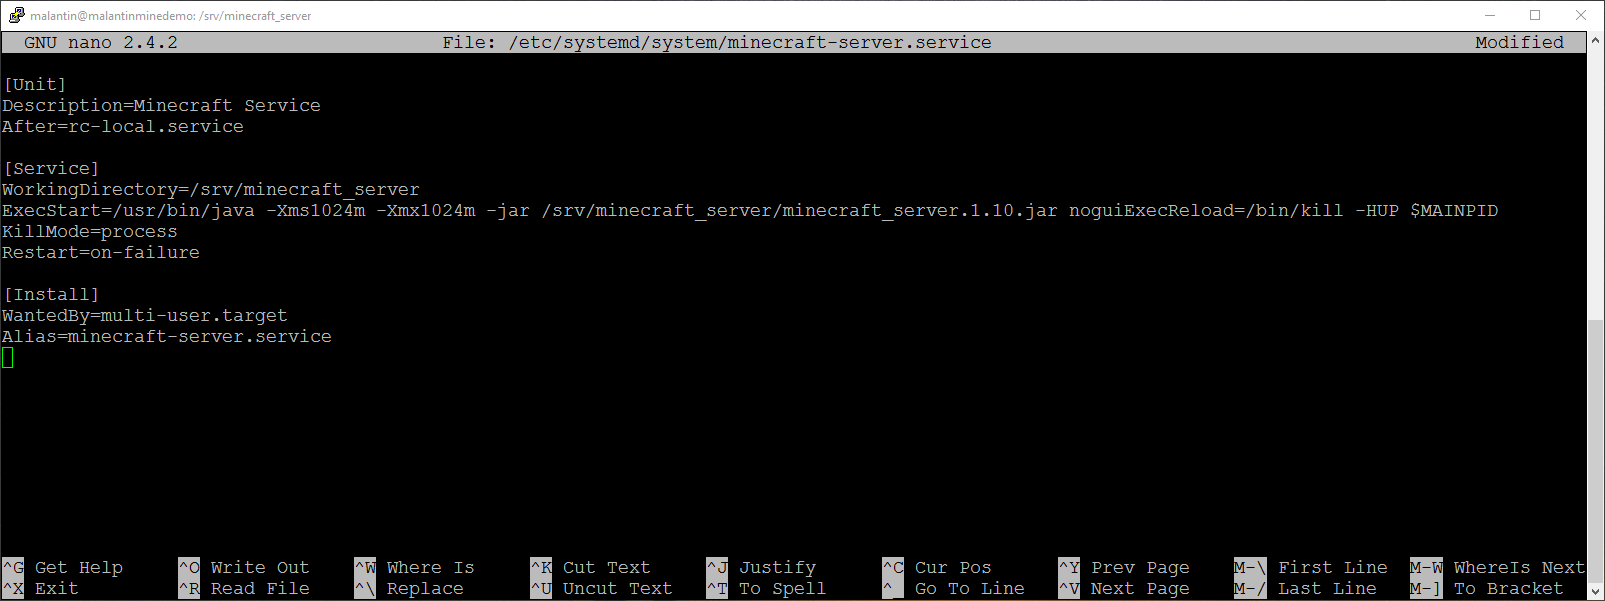
14. Let us now tell the Minecraft server service to use the current version of Minecraft we just downloaded. For that we will edit the service configuration using Nano like this: "sudo nano /etc/systemd/system/minecraft-server.service". We just need to reference the new version of the Minecraft Server here.
15. Save the file and exit Nano.
16. Now stop and restart the the Minecraft server service. You might need to reload the systemd state before using "systemctl daemon-reload". Now run "systemctl restart minecraft-server" to restart the service.
17. You will need to give the service a few seconds to restart. After that you can refresh your server in you Minecraft client and connect to your server.
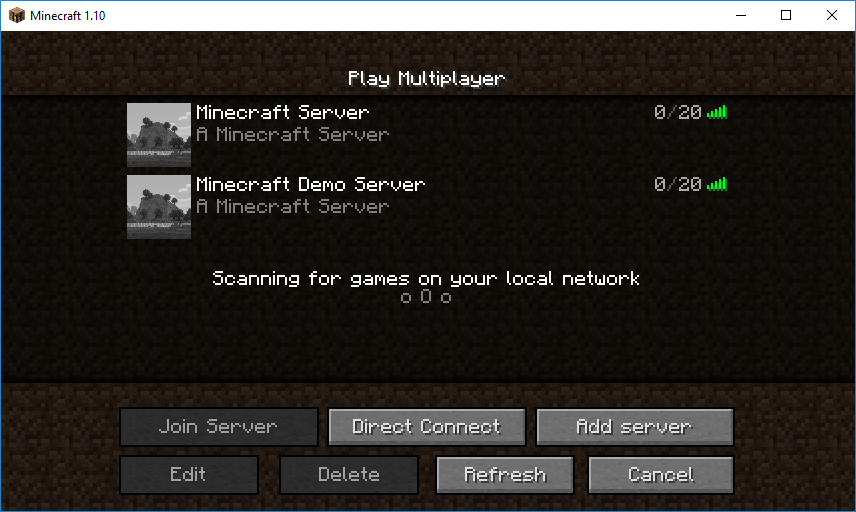
18. Congratulations! You have now set up your own Minecraft Server.
19. To make the Minecraft server service start automatically after you shutdown / start or reboot your server through the Azure Management Portal use the following command: "sudo ln -s /etc/systemd/system/minecraft-server.service /etc/systemd/system/multi-user.target.wants/minecraft-server.service"
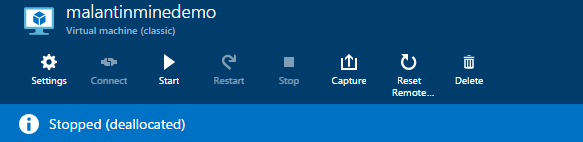
Use the Azure Portal (https://portal.azure.com) to stop your server when you don't use it. You can restart it when ever you need it. When your server is stopped through the Azure Portal it does not cause any VM charges. You just have to pay a small amount to keep your server drive persisted in Azure storage.

You can use the calculator on the Azure website to calculate your charges. Keep in mind that charges for runnig your server depend on the size of you virtual machine and are charged per minute. So just make sure your server is in the "deallocated" state when you don't use it.
Have fun with your new Minecraft server!
Links:
- Minecraft Website: https://minecraft.net
- Minecraft Realms: https://minecraft.net/en/realms/pc/
- Minecraft Wiki - Setting up a server: https://minecraft.gamepedia.com/Tutorials/Setting_up_a_server
- Microsoft Azure Trial: https://azure.microsoft.com/en-gb/free/
- Minecraft Server Azure Virtual Machine: https://azure.microsoft.com/en-gb/marketplace/partners/microsoft/minecraftserver/
- Minecraft Server Download: https://minecraft.net/en/download/server
- Minecraft Unique ID: https://mcuuid.net
- Minecraft Wiki Server Configuration: https://minecraft.gamepedia.com/Server.properties
- Azure Pricing Calculator: https://azure.microsoft.com/en-us/pricing/calculator/