Create Custom OS in Azure
1- Create you Custom VM in a Hyper-v in your local machine with disk format of VHD
2- Sysprep the Windows Machine or in Linux "waagent"
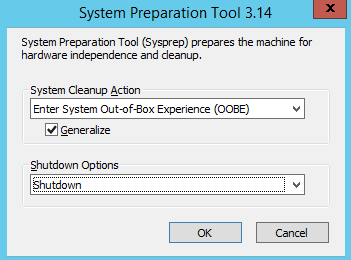
Sysprep for Hyper-v VM
- Open a Command Prompt window using Run as administrator
- Change the directory to %windir%\system32\sysprep.
- Run sysprep.exe as shown below
for Linux:
Follow the Linux waagent guide from this link https://azure.microsoft.com/en-in/documentation/articles/virtual-machines-linux-agent-user-guide/
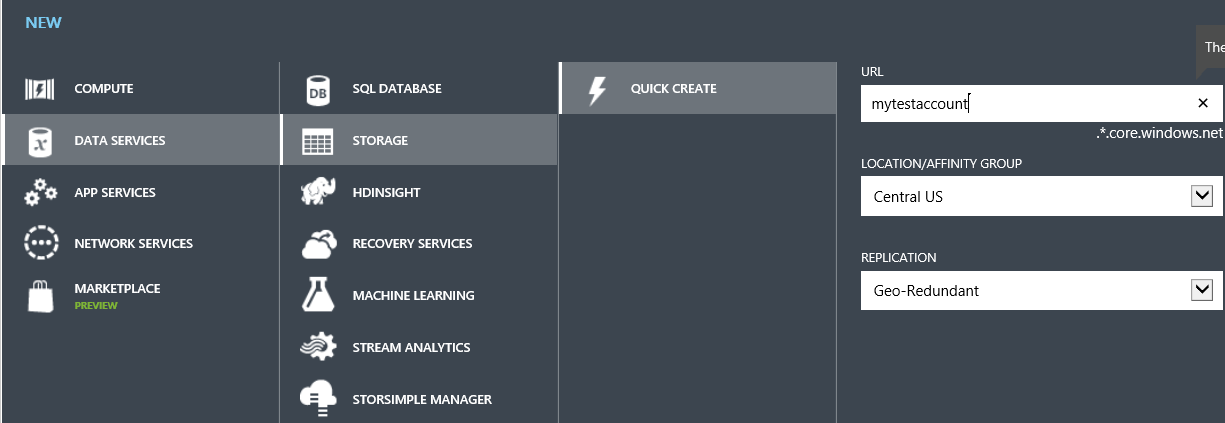
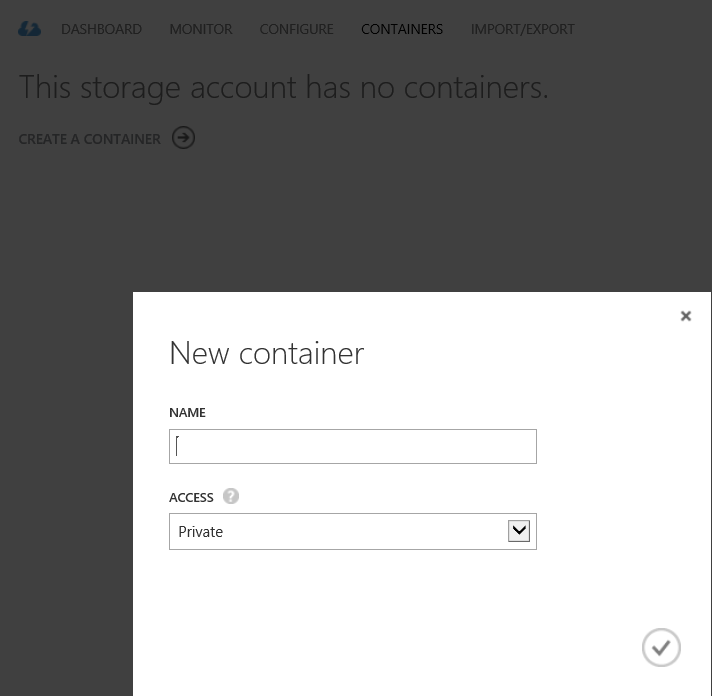
3- Create Azure Storage and create a container
Select the created storage account, click the CONTAINERS tab and click ADD CONTAINER .
4- Download and Install Azure PowerShell from here
https://github.com/Azure/azure-powershell/releases
5 - Connect to AzureAccount
After the installation is complete Open the Azure PowerShell console
Type the following command:
Add-AzureAccount
Enter your Azure Credentials
6- Upload your VHD to the container you created in Step 3
Add-AzureVhd -Destination https://mytestaccount.blob.core.windows.net/testcontainer/win7baseimage.vhd -LocalFilePath C:\vhd\MyWin7Image.vhd
7- Create an Image from the VHD
Navigate to Virtual Machines >> Images >> Create Image
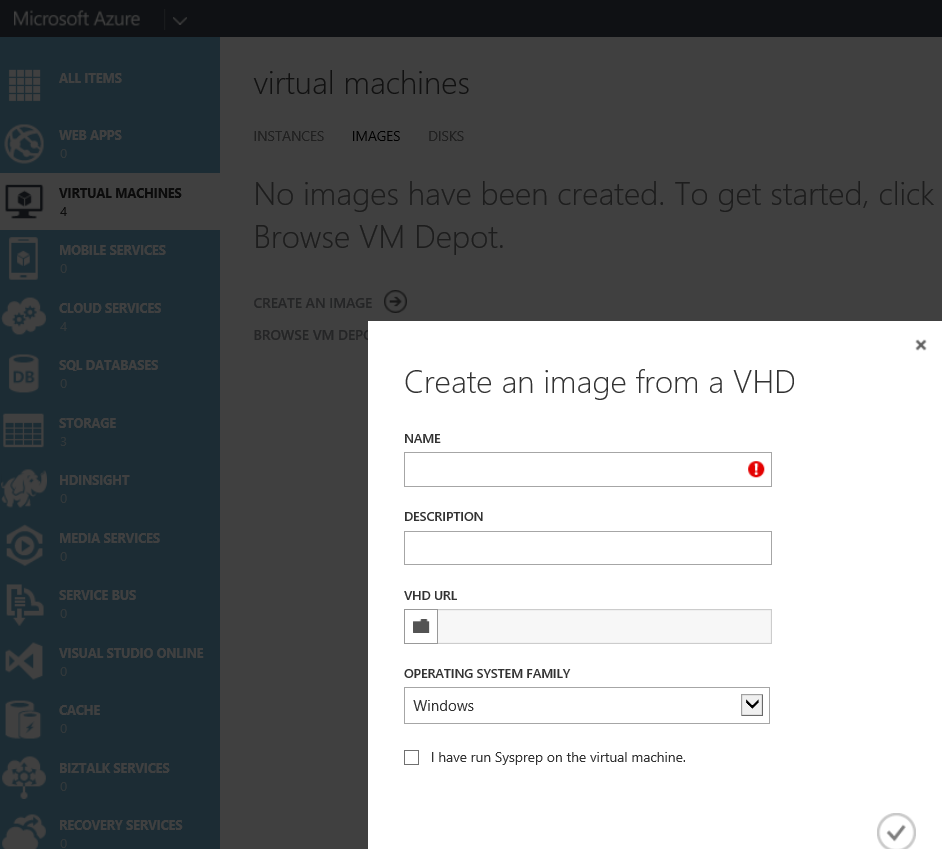
Type the Name, Description and Select the VHD you uploaded in Step 6, Select the OS type and continue
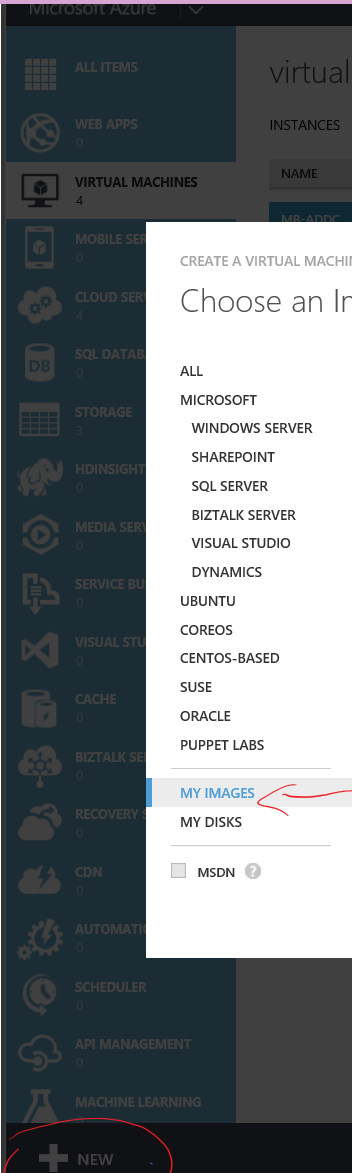
8- Create a Virtual Machine from "My Image" found in Gallery