Running Spring Boot Java application as a Microservice in Service Fabric - Part 1
This post covers authoring a new Spring Boot application using Maven.
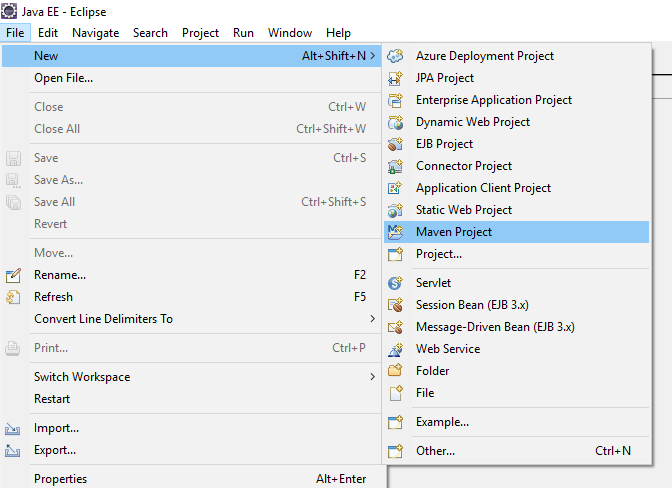
Start Eclipse and start with File-->New-->Maven Project.
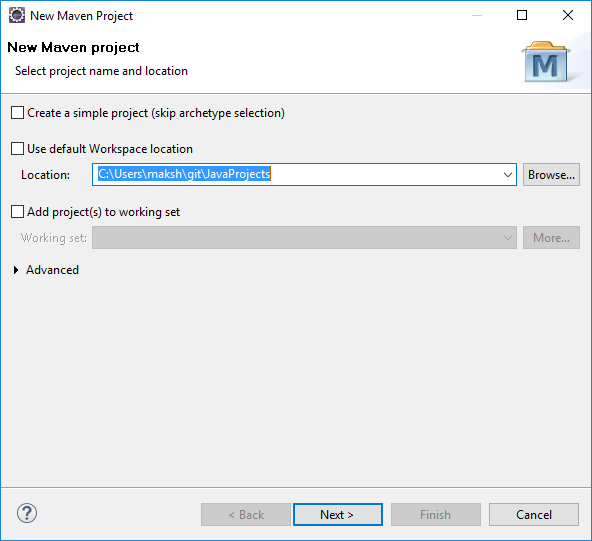
Select convenient location to save.
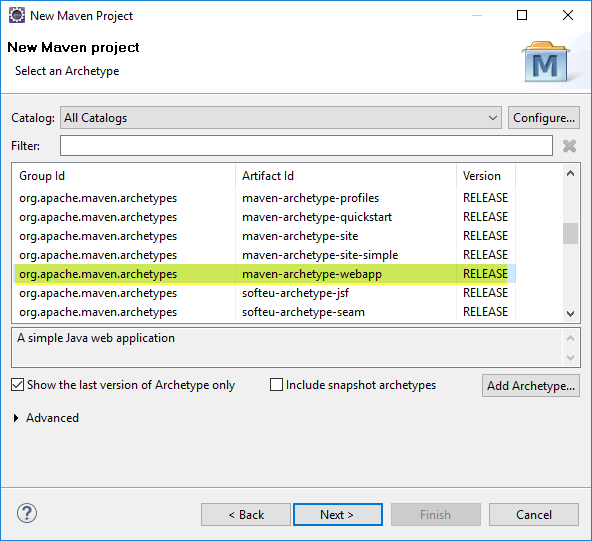
Select webapp as archetype.
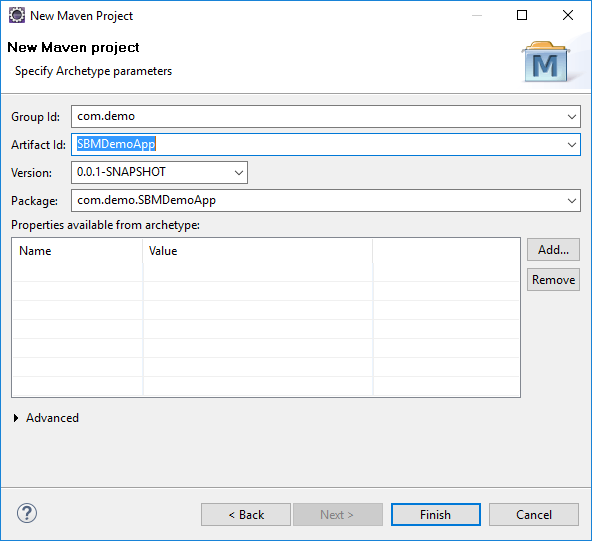
Provide a name for your application/JAR file.
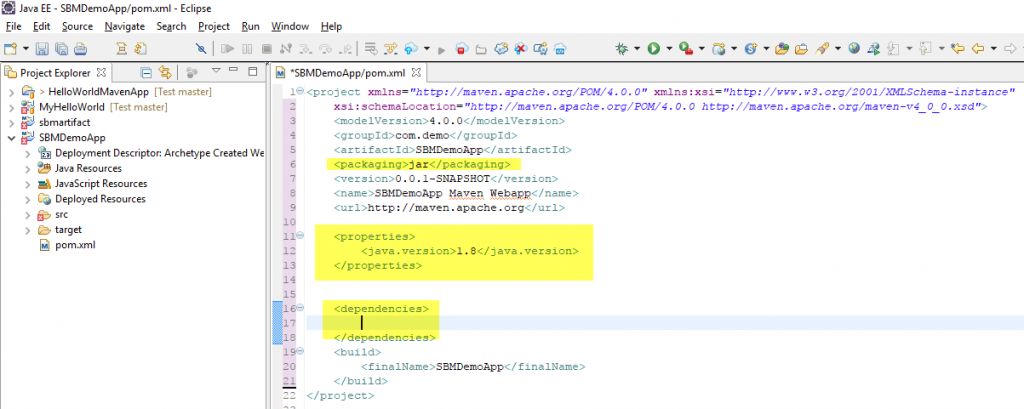
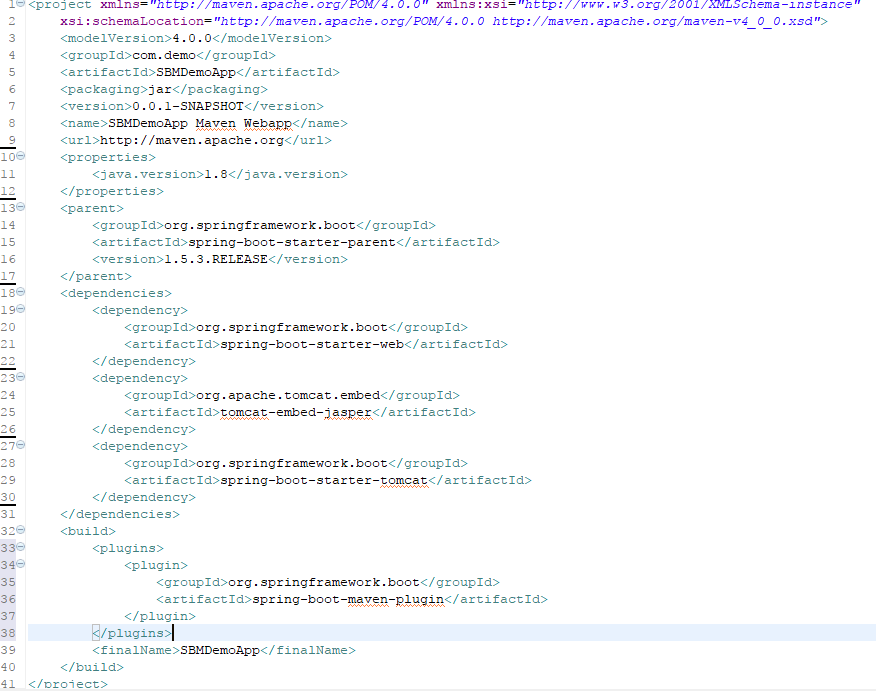
Navigate to pom.xml file thus generated. Change the packaging from WAR to JAR. Add additional sections for properties and dependencies. I am using Java 1.8 as depicted below.
More dependencies will be added in dependencies section.
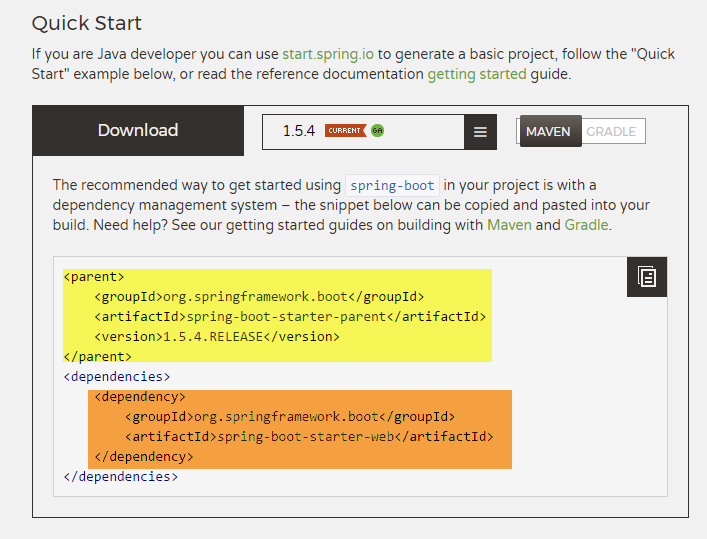
1st dependency to be added is Spring Boot Framework. Navigate to Spring Boot Website, click "PROJECTS".

Select and copy parent and dependency sections for Maven.
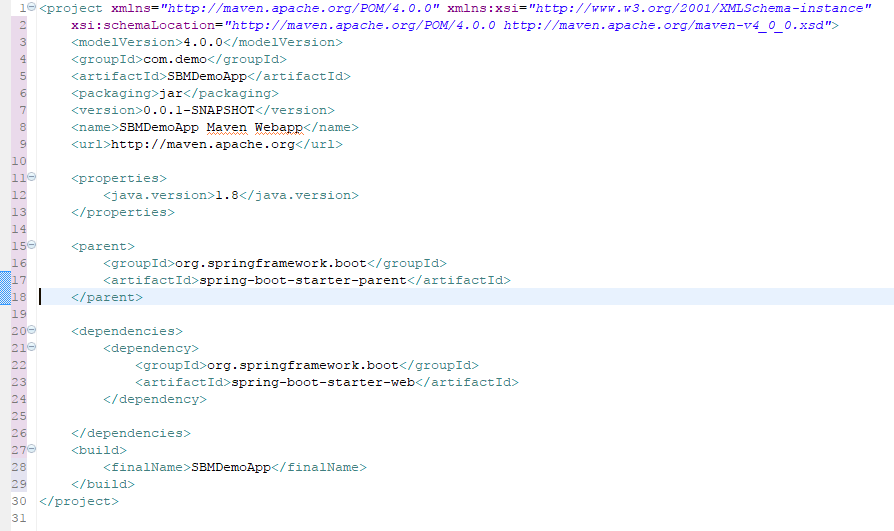
Paste copied content inside pom.xml file as shown below.
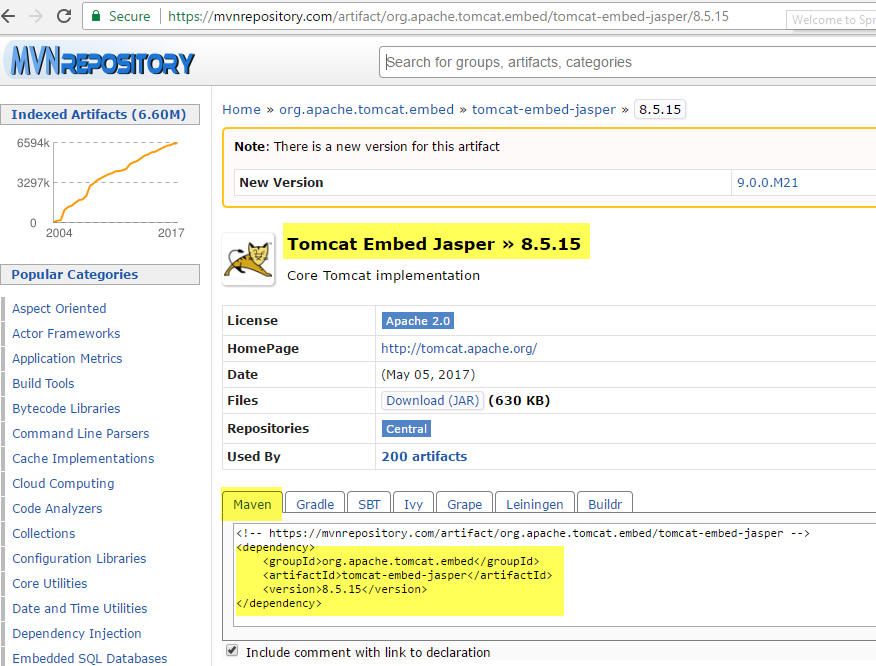
Next add Tomcat Embed Jasper dependency.
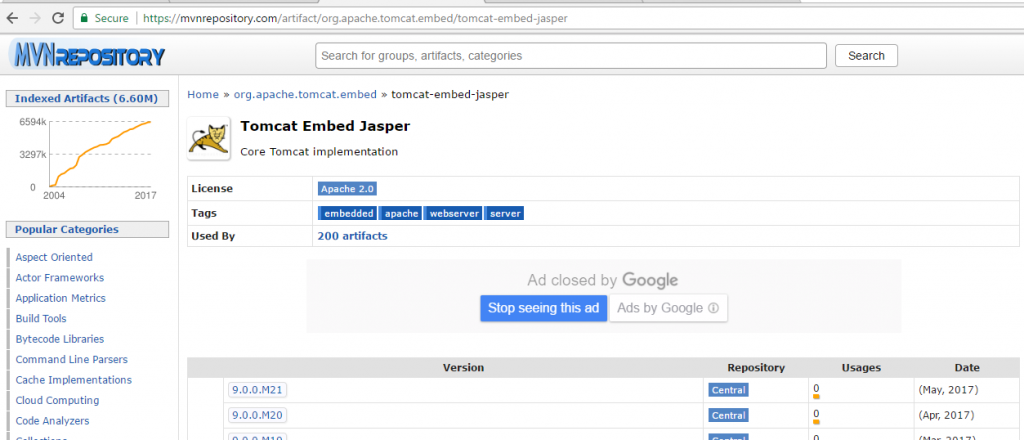
Ensure that a "Release" version is chosen before you copy the Maven config settings.

Select Maven specific config settings.
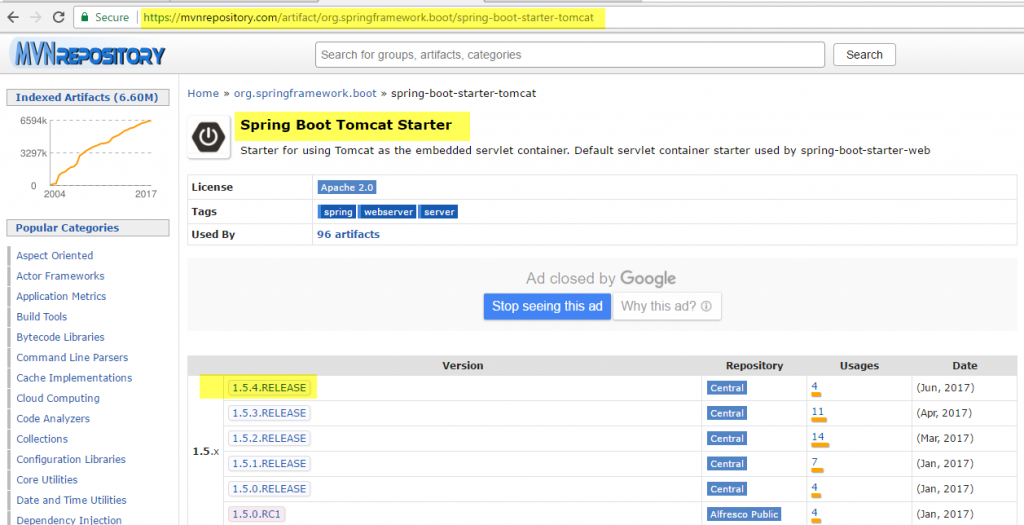
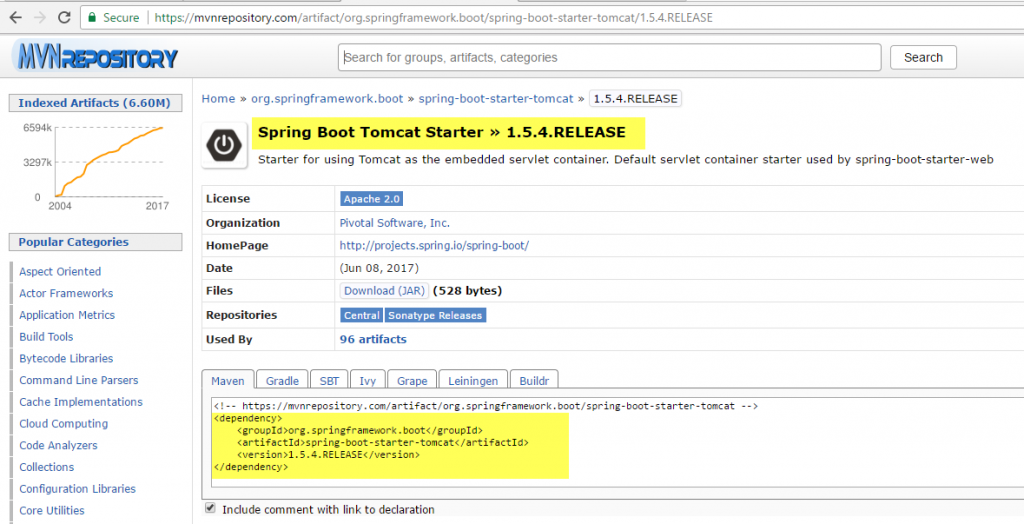
Add Spring Boot Tomcat Starter dependency. Ensure that "Release" version is selected.
Copy Maven specific config setting and paste it to pm.xml.
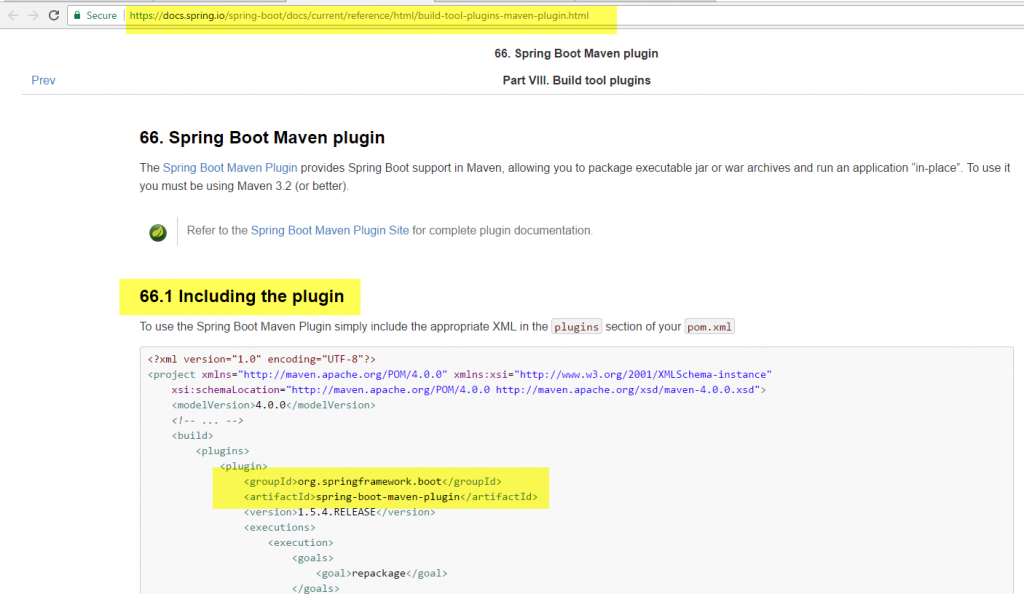
Next, add Maven plugin itself by navigating to Spring Boot Maven Plugin website. Copy plugin config setting as highlighted below.
After copying 4 dependencies - Spring Boot Frameork, Tomcat Embed Jasper, Spring Boot Tomat Starter and Maven plugin - pom.xml file should look like as below.
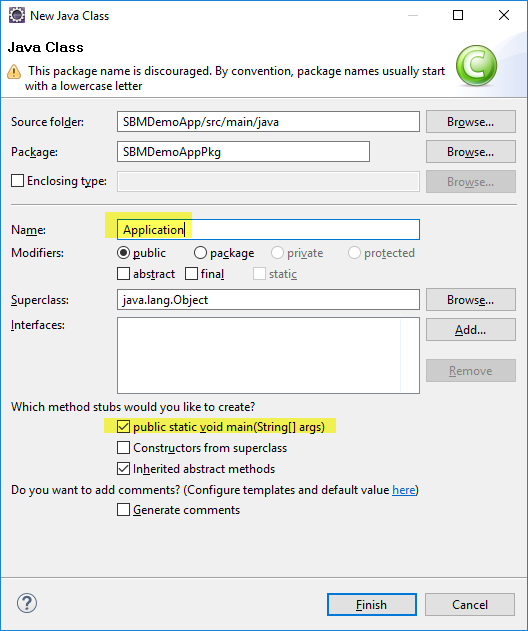
Now start writing some code :-) Add a Application class which will bootstrap application. Ensure that checkbox for creating public static void main is ticked.
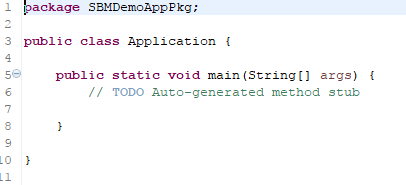
Skeleton of class should look something like below.
Now add Spring specific attributes and routes so that class looks like below.
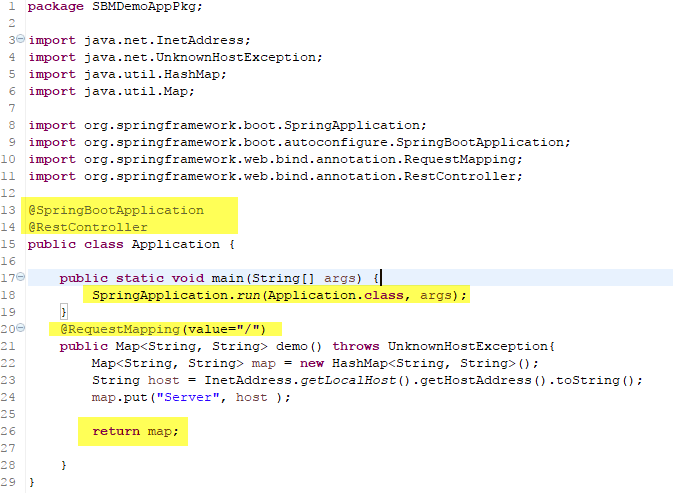
In this example, I am simply returning HOST name as a JSON from our Spring Boot API.
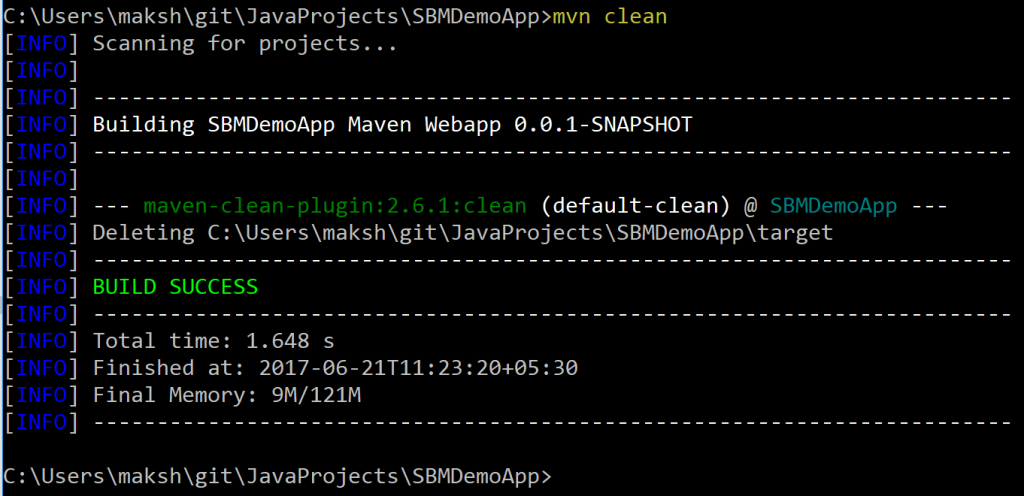
Now, let's clean the files and directories during compilation of application. Navigate to path where pom.xml file resides and issue mvn clean command as shown below.
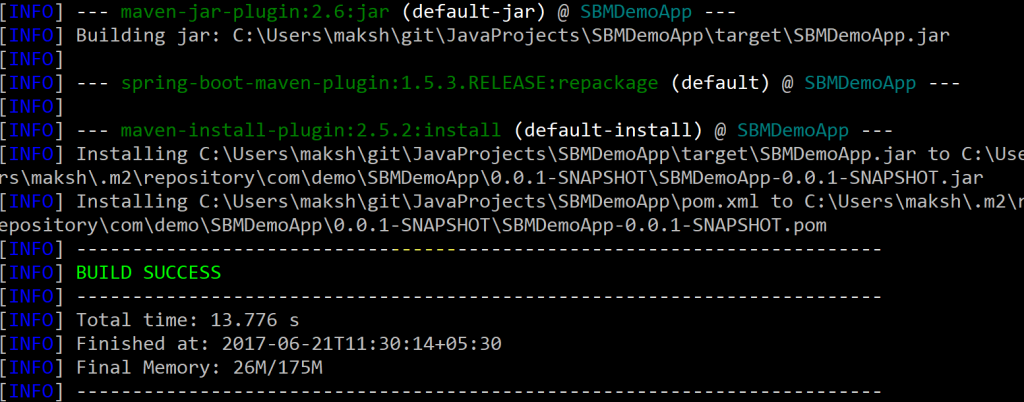
Now, lets build and package our fat JAR file. To do that, issue mvn install command as shown below.

After a successful completion, following message should appear.
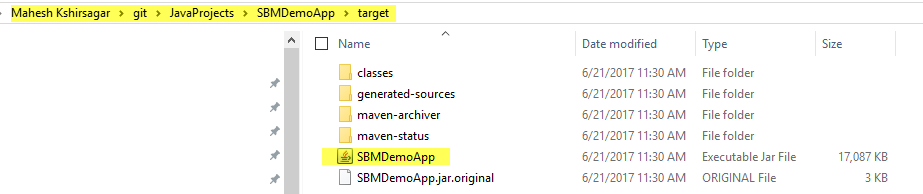
A fat JAR file should be created in target folder as shown below.
Lets run application by running following command.
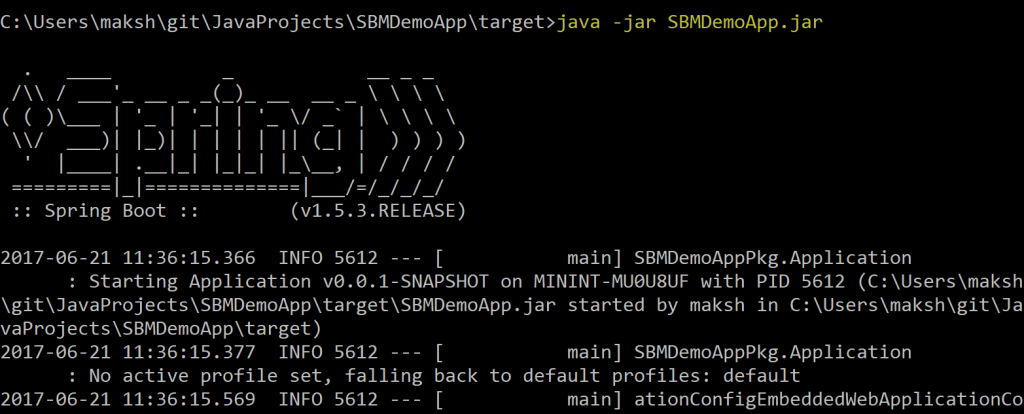
When it starts successfully, note down port number on which it has started. In my case, it is port 8080 as shown below.

Navigate to localhost:<portno> and verify if application is running.

We now have got a fat JAR spring boot application running locally.
In next post, let's see how we can use Service Fabric to run this application.