Running Spring Boot Java application as a Microservice in Service Fabric - Part 4
This series so far covered how Service Fabric can run Spring Boot application using JAR file. It uses java.exe which is bundled along with application to run this JAR file. This post will cover a more elegant approach - using containers instead of a full runtime.
Service Fabric already supports running Windows containers on Windows cluster and docker/linux containers on Linux cluster. With Hyper-V container support on roadmap, Service Fabric will be able to provide better isolation for multi-tenant applications where customers prefer to share nothing.
Coming back to Spring Boot application, it can be either containerized to a linux container or windows container with just a single line change and I'll cover how soon.
Lets start with windows container.
To containerize Spring Boot application, add dockerfile at the same location as pom.xml file. Let's look at content inside.
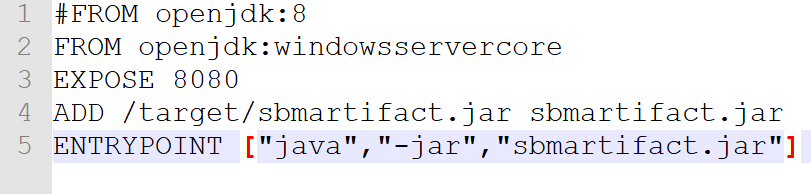
- 1st line is commented out (denoted by #). It is actually a switch between linux and windows container. If comment is removed, it will generate a linux container image.
- 2nd line is base image on top of which new image of application will be created. In this example, base image is of openjdk for windows server core available on Docker Hub.
- 3rd line exposes port 8080 on container.
- 4th line adds jar file from target folder in source directory to container.
- 5th line configures java to run added jar file using -jar switch.
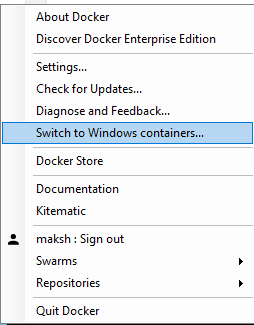
In Docker for Windows, switch to Windows container mode as shown below.
Navigate to folder containing dockerfile and issue following command.

This command is going to use dockerfile described above (denoted by . in the end) and create a container image called maksh/sbmappimagewin.
Once this command completes successfully (This may take some time due to large size base image!). Run following command to verify new image is successfully created.

Now run a container from this image using following command.

Switch -d is for running command in detached mode. -p is for port mapping between host and container port. A new container with Id 9d* has been successfully created. Lets extract its IP address by executing following command.
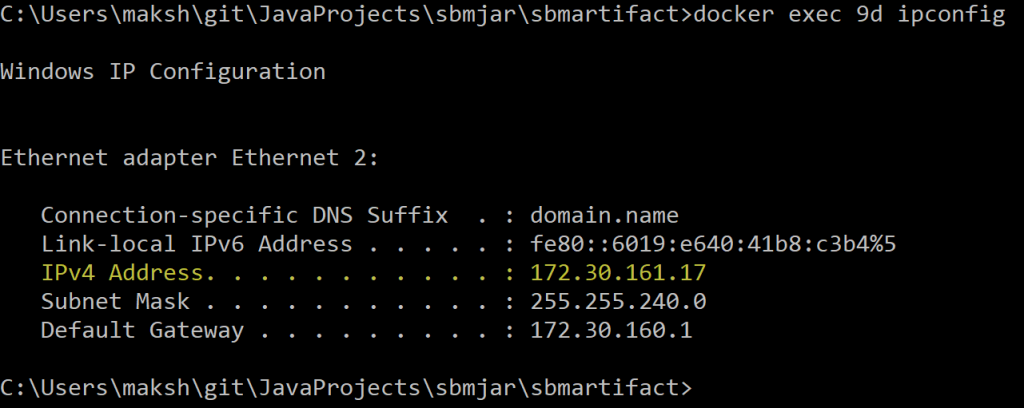
Command above executes ipconfig on container identified by 9d (2 initials that uniquely identifies this container). Copy the IP address and navigate to IP:PortNo combination.
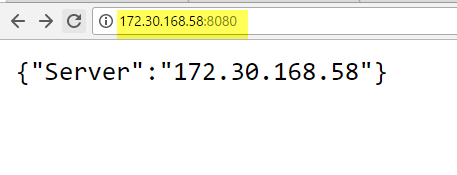
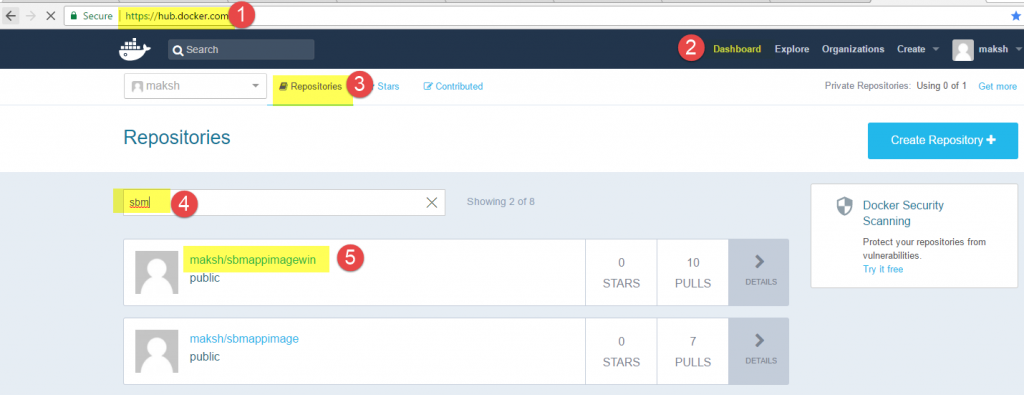
Spring Boot application is now running as a windows container locally. Next step is to push it to Docker Hub so that it can be used for deployment anywhere we want. Use docker login and push commands as illustrated below.

Local image (maksh/sbmappimagewin) should be available in Docker Hub after push operation completes successfully.
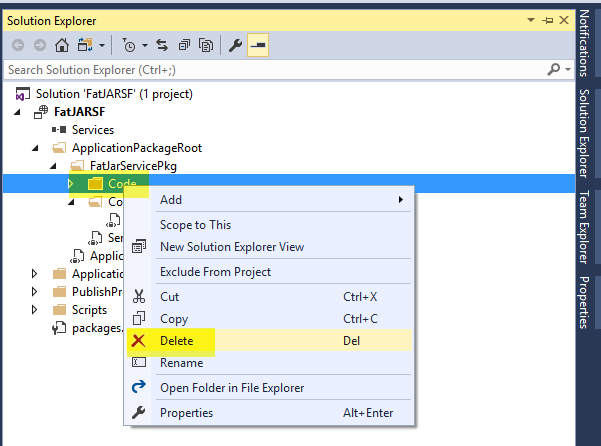
Now, this container image can be used to deploy application on service fabric. Open the Service Fabric VS Solution we created in part 2.
Delete the "Code" folder from solution.
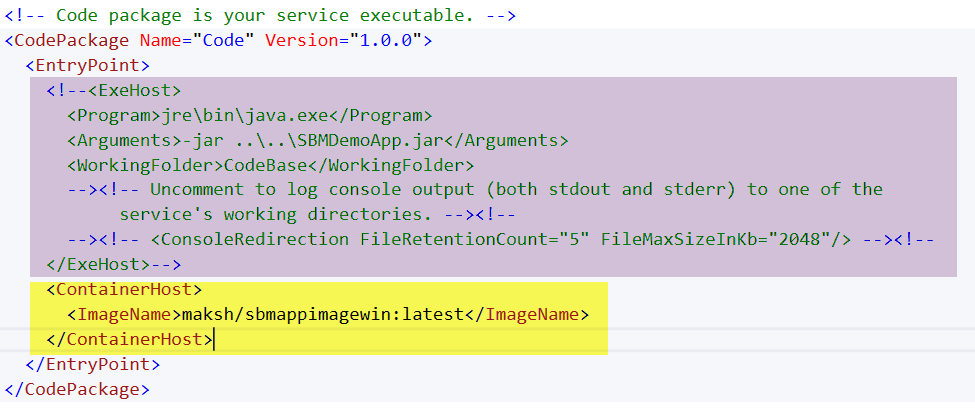
Comment out the ExeHost section and add new ContainerHost section in ServiceManifest.xml file as shown below.
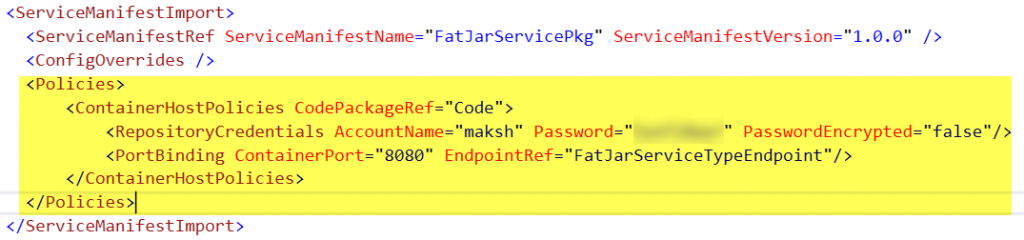
Add additional section as shown below in ApplicationManifest.xml file. Repository credentials are same as the ones used to connect with Docker Hub and push container image. Ensure that EndpointRef refers to Endpoint Name as in ServiceManifest.xml file.
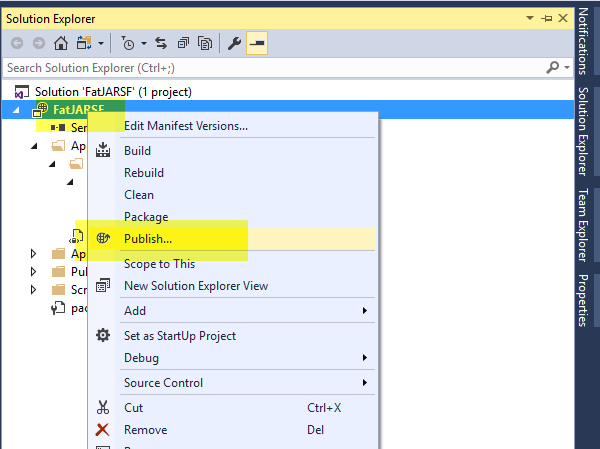
Next, select the project in solution explorer, right click and select "Publish".
In dialog box that appears, select Cloud.xml as Target profile and Connection endpoint pointing to Azure Service Fabric cluster.

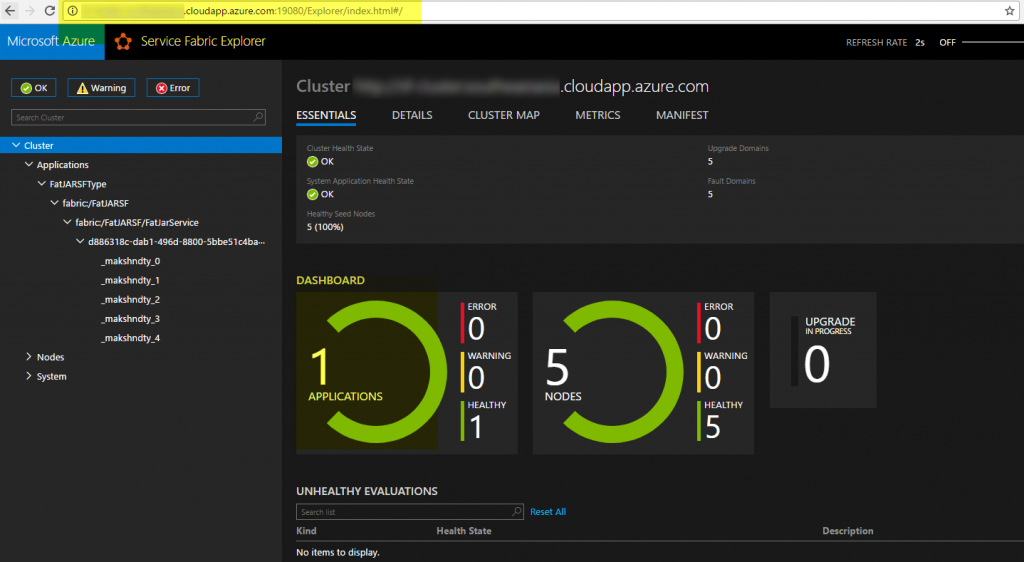
Verify that application is successfully deployed by navigating to Azure Service Fabric Explorer.
Finally, verify application as well :-)
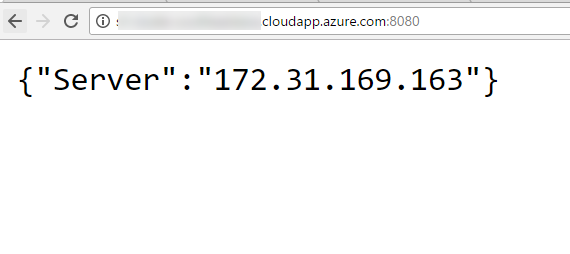
There it is again - a Spring Boot application running as a container in Service Fabric.