Containers in Enterprise, Part 1: Basics
In previous post, we discussed common bottlenecks faced in an enterprise. In this post, we'll talk about container basics.
Let's start with a ASP.NET Core application. We'll look at how to get started with container-ization of this applicaiton, how we can put a CI/CD pipeline for it and finally how to orchestrate in a multi-node deployment environment.
It's impossible for me to talk about containers and not talk about Docker. It's a company that has led the container revolution.So I am going to use their tools for containerization.
You can get started by installing Docker for Windows (Beta) . Note that you need to have a physical Windows 10 machine with anniversary update installed on it. this link describes the process well.
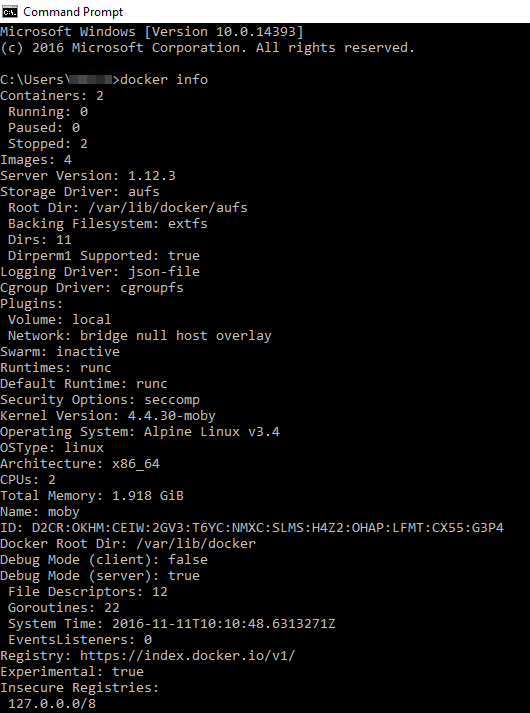
Once you have it installed, you can use docker CLI to play around with docker commands. Below is the output of docker info command.
Now, back to application. To container-ize an application, all you need is a dockerfile. Its a text file that can be created on your computer. Just be aware of the line endings. They should end with line feed (LF) as as opposed to CR/LF, which is default line terminator in Windows. Best way to get started with dockerfile is to download 1 from Github and then change it as per your requirements.
Dockerfile contains instructions to create a container image. Think of a container image as a template. If you are from development background, think of container image as a class and a container as a object. If you are from operations background, think of a container image as a server golden image and container as a actual server.
Below is how a dockerfile looks like.
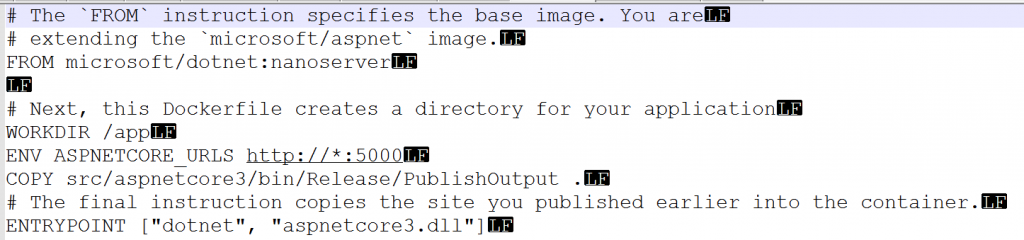
Lets spend some time talking about the dockerfile content. First 2 lines are comments. They start with #. 3rd line is most important line. It instructs that whatever container image gets created, it will use microsoft/dotnet:nanoserver as a BASE image. So application (or container) that will be created, will be running inside a nanoserver container.
6th line instructs to create a WORK DIRECTORY named app inside the container.
7th line sets ASP.NET Core environment variable.
8th line instructs to copy the folder content from host to the app folder inside container.
10th line specifies the entrypoint with the application and parameter that application will use.
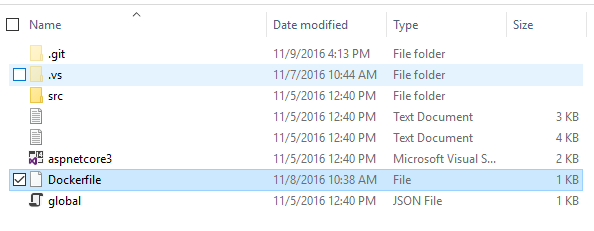
So, this file will be moved to the folder containing solution file of our ASP.Net application.
You then run following docker command from command-line after getting inside the solution folder that contains dockerfile.

This command essentially builds a container image and tags it as aspnetcore3appimg. It uses the dockerfile available at the folder from where command is run(denoted by .).
You can verify whether image is created or not by running following command.
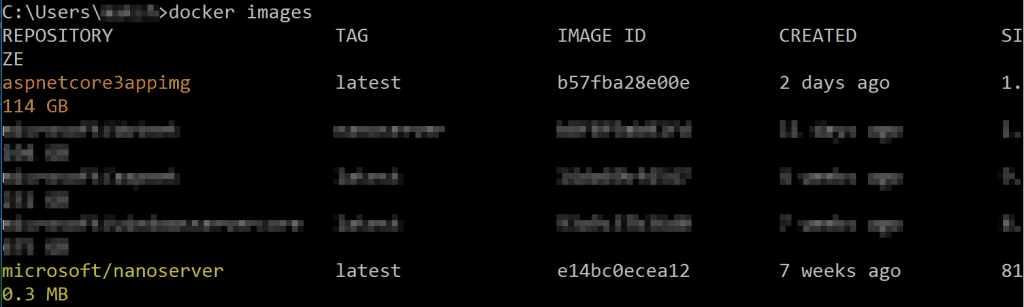
Note that the new image (aspnetcore3appimg) is successfully created. Also note that it has also brought down the microsoft/nanoserver image to local machine. This is very important point and highlights that a container image is packaged along with its dependencies.
Next, we'll create and run container from this image by running following command

Switch -d in above command instructs docker to run in detached mode so that control is returned back to console after command is executed. -p switch instructs to open port 8081 on host and 5000 on the container itself. --name switch gives name to the container that will be created. Finally, the name of image from which container will be created is passed, which is aspnectcore3appimg.
When command executes successfully, it returns the container id as below.

You can also get more details by running following command

With Docker for Windows, there is 1 more step that needs to be done. We need to get the IP address of the container. This is just a temporary bug and will be fixed soon. To get IP address of the running container, use following command.
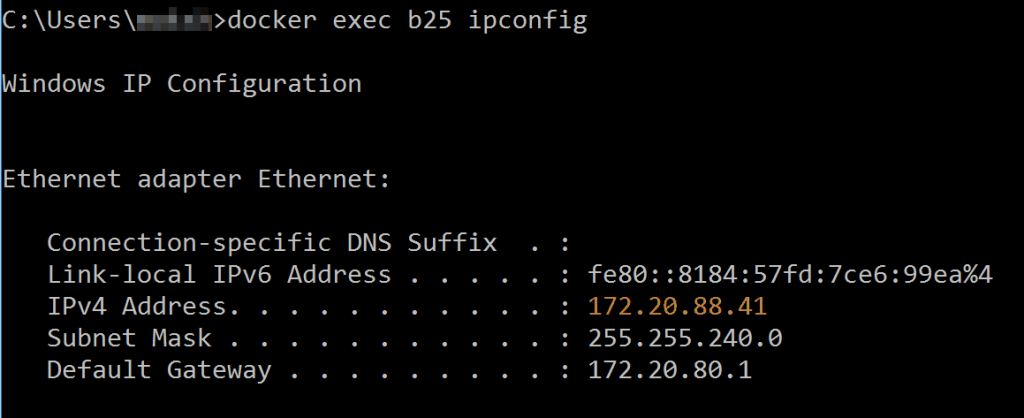
I run docker exec command and passing first 3 characters of container id so that those characters uniquely identifies the container. From the result I get back, I copy the IP address (highlighted in orange).
In the browser window, if I type this IP address followed by the container port(which is 5000 in our case), I get the result as below.
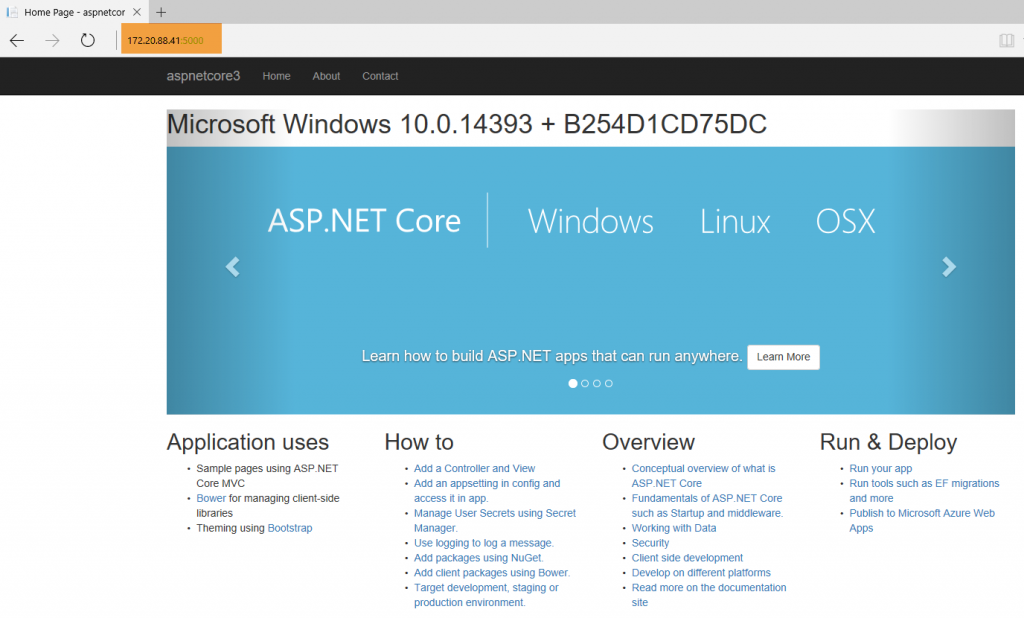
The OS Name and Machine name shown is due to the code I added which looks like below.

This is good. So we have created a application that runs inside a nanoserver container on Windows.
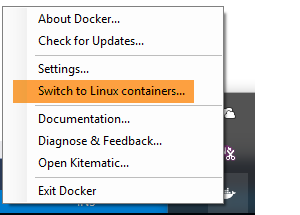
We can do more. Let's try to run same application inside a Linux/Unix container. On my machine, I'll switch the mode from Windows container to Linux Container. This can be done by right-clicking the Docker icon in system tray.
You might be thinking that to run this application in a Linux container you need to do code changes. However, that is not the case. All you need to do is change the dockerfile. So lets do that. I remove the old dockerfile which was using microsoft/nanoserver as base image. I put a new dockerfile that looks like below.
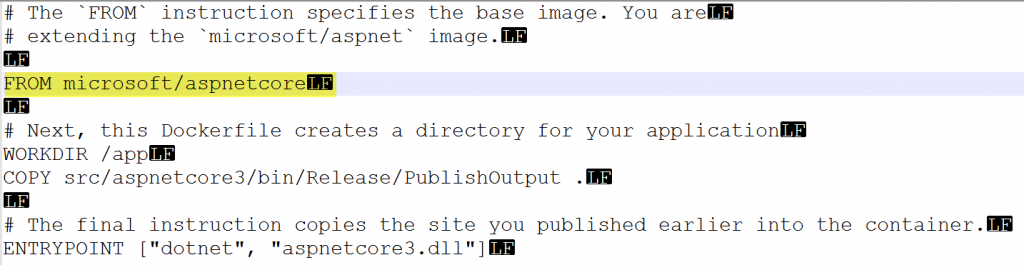
New dockerfile is almost same as the old one. The only change (highlighted in yellow) is the base image to be used is microsoft/aspnetcore. This base image is based on the microsoft/dotnet:1.0.1-core which in turn is based on Debian:Jessie, a debian distribution version 8 of Linux.
With just this change, same docker build and run commands are executed.


Note that when I create container, I change the host port to 8082 and container port to 80.
With Linux container, I don't need to get the IP address of the container. I can just hit the localhost on host port 8082 and I can browse to application.
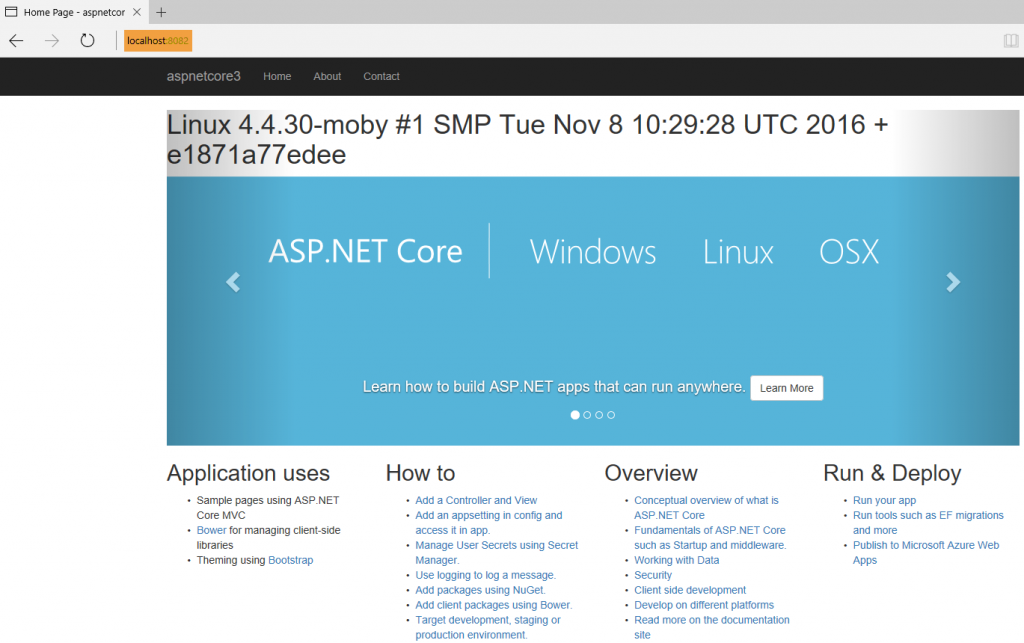
Note that OS name is now Linux instead of Windows. This is application virtualization in action!
It is enabled by Docker. Same application can run on Windows as well as Linux without any code change.
Let's quickly look at how containers can help solve bottlenecks we discussed earlier.
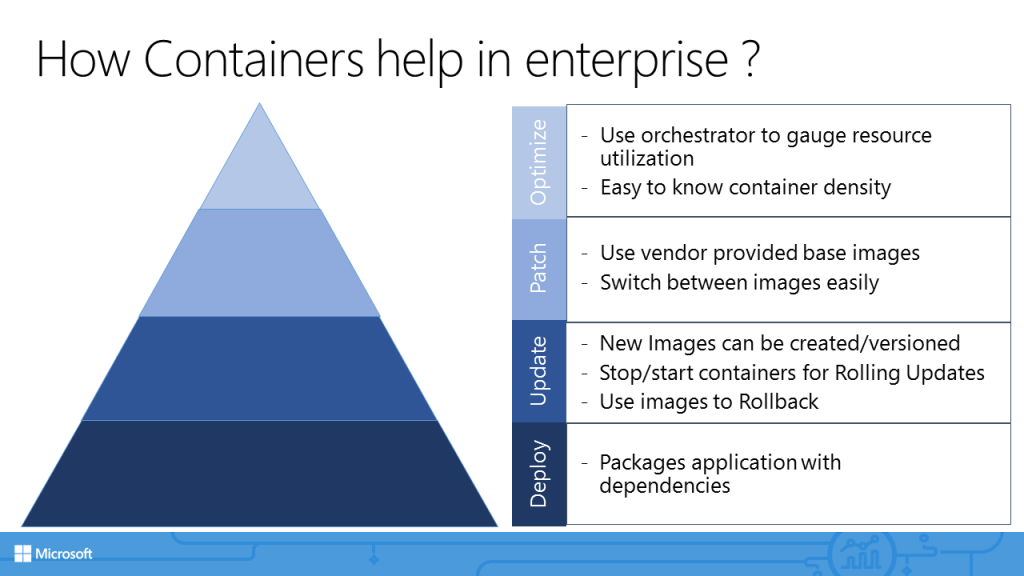
Deployment: With containers, application dependencies are packaged along with it. Earlier we saw that application used microsoft/dotnet:nanoserver and microsoft/aspnetcore as base images. These are dependencies. When we create container image, its dependencies gets packaged as well. We no longer have to create application specific installation media (such as EXE/MSI for Windows platform or JAR/WAR files for Java).
Updates: Application updates becomes very easy to manage as each update will have a new image (or a different tag). This approach greatly simplifies rollback process as well. You have images handy and it's very quick to create containers out of them.
Patching: As with updates, patching is also greatly improved. Note that base images are typically provided by vendor themselves(by Microsoft in our case). So the security/vulnerability aspect is already considered while creating those images. Any new threat detected later on will mean a new image (or a new version) being made available. All application team needs to do is refer new image as the base image in dockerfile.
Optimization: A host can run multiple containers. This means there is greater density of application that results in better resource utilization of the host. We'll also take a look at how resources can be assigned using orchestration.
In next post, we'll take a look at container DevOps.